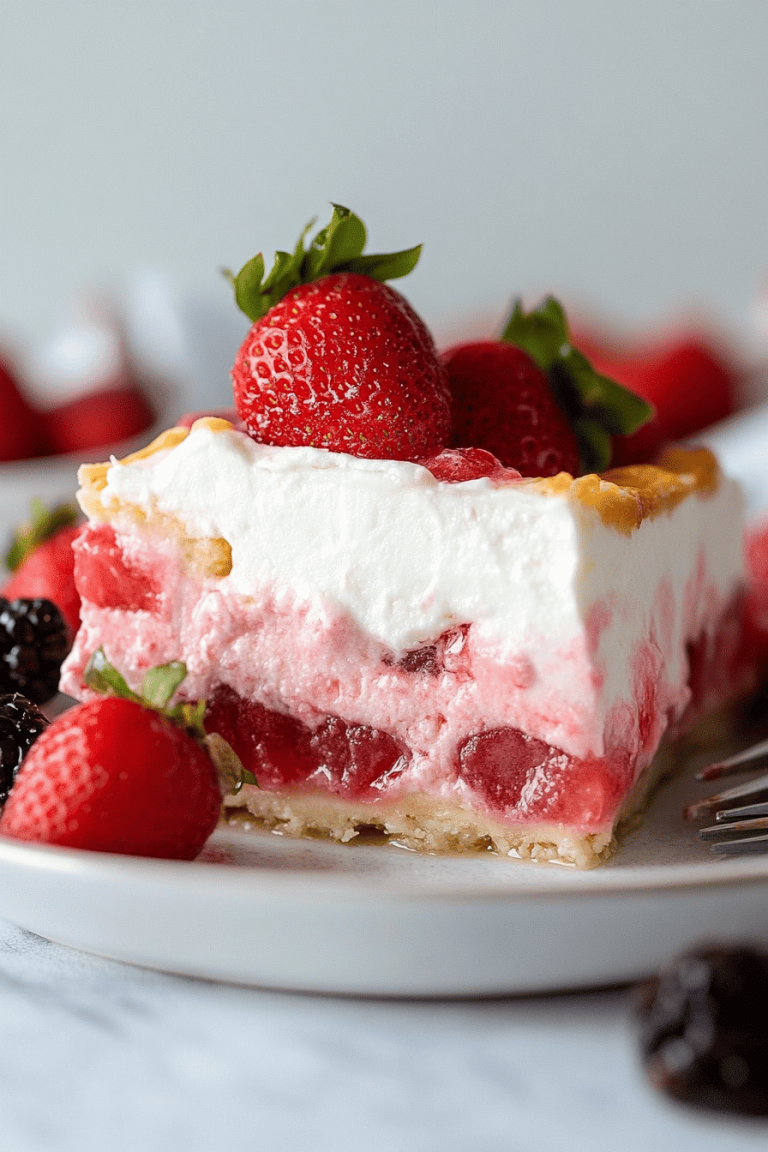
You know those days? The ones where the sun is just beaming down, and all you can think about is something cool, something refreshing, something that tastes like pure summer happiness? That’s precisely when my mind immediately goes to this whipped pink lemonade creation. It’s not quite a cake, not quite a pie, but something utterly magical in between. It reminds me so much of those endless childhood summers, chasing fireflies and begging Mom for just one more glass of lemonade. But this? This is lemonade elevated. It’s like taking that perfect, tart, sweet sip and transforming it into a dreamy, cloud-like confection. Honestly, if you love a good Lemon Meringue Pie but want something a bit more hands-off, or if you’re just looking for that perfect no-bake dessert that’s surprisingly simple, you are going to adore this. It’s become my absolute go-to when I need a little burst of sunshine, and trust me, it disappears in minutes at my house.
What is a wipped pink lemonade?
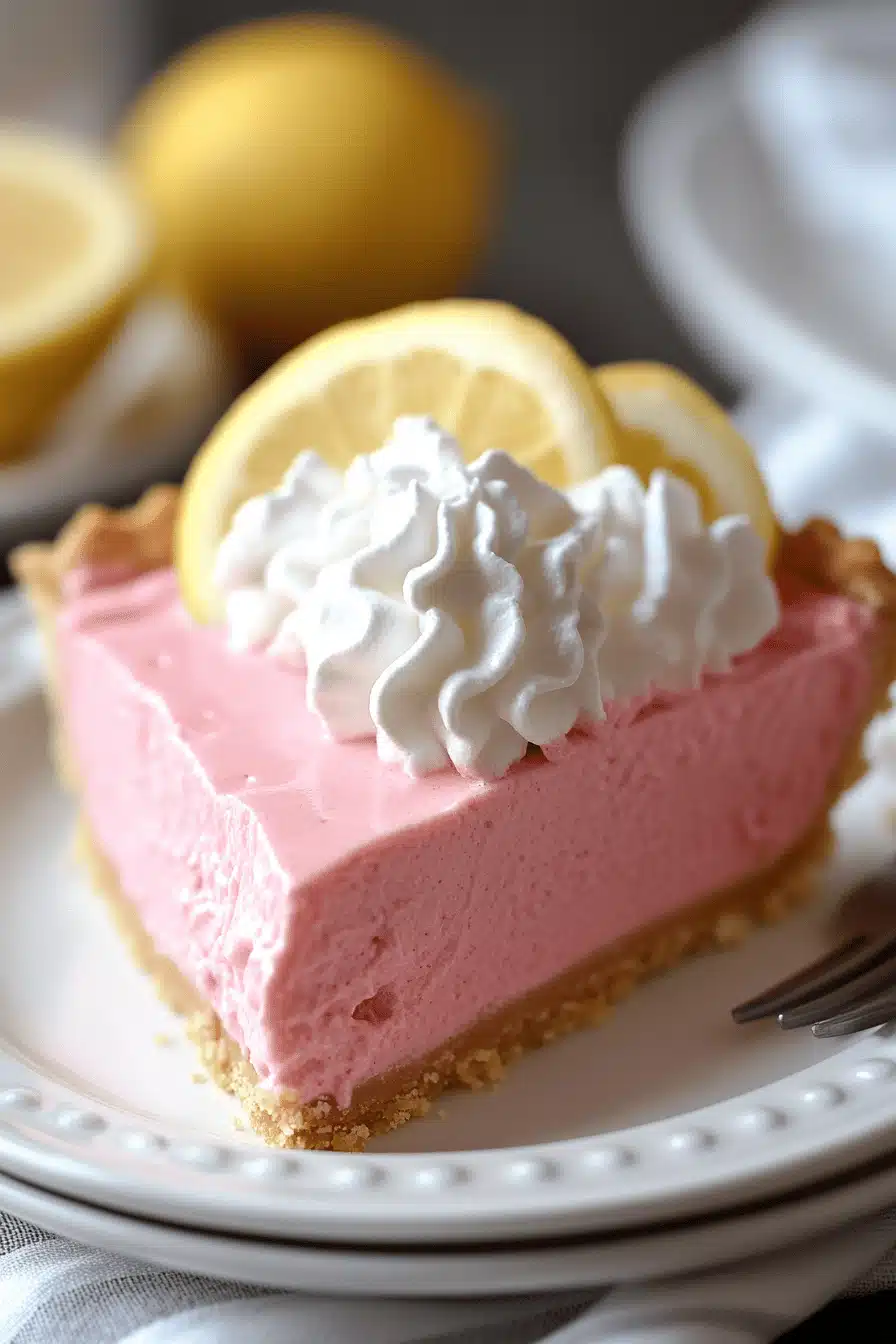
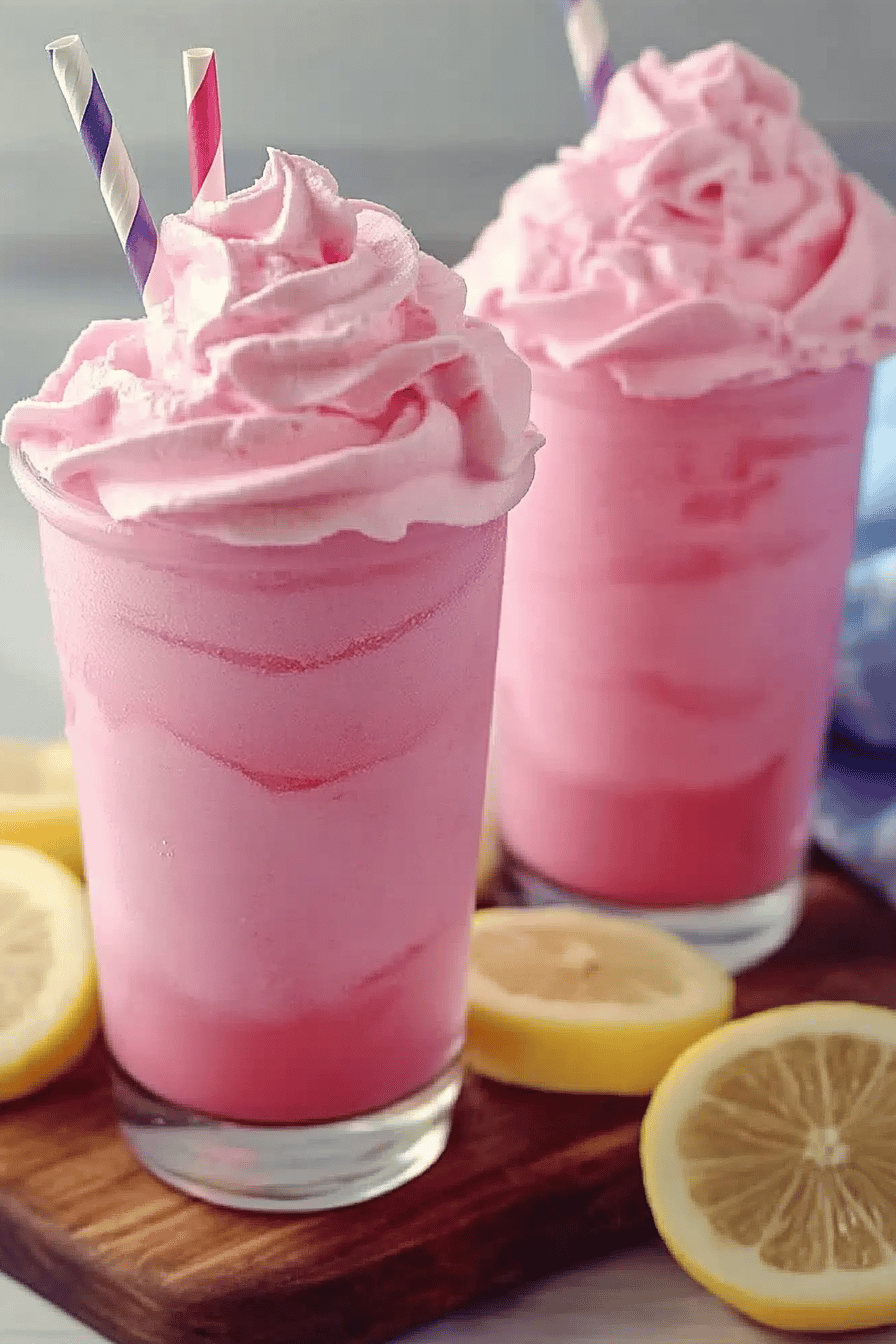
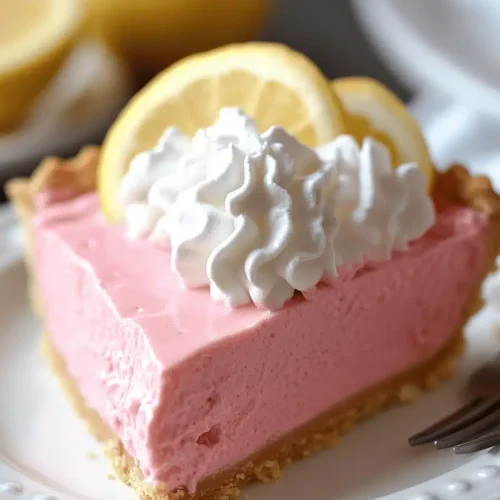
So, what exactly is this “whipped Pink Lemonade” I keep raving about? Think of it as a wonderfully light and airy dessert that captures all the bright, zesty essence of classic pink lemonade, but in a form that’s so much more decadent. It’s essentially a luscious, fluffy mousse or a no-bake cheesecake filling that’s been infused with that unmistakable pink lemonade flavor. The “pink” comes from a touch of cranberry or raspberry, giving it a beautiful hue and a subtle berry note that just sings alongside the tart lemon. It’s not overly sweet, which is my favorite part. It’s that perfect balance that makes you want another bite (and then maybe another!). The texture is what really sets it apart – it’s incredibly smooth, light as a feather, and just melts in your mouth. It’s the kind of dessert that feels elegant enough for company but is so easy, you can whip it up on a Tuesday night just because. It’s like a hug in a bowl, but a really bright, sunny hug!
Why you’ll love this recipe?
What are some of the best reasons to make whipped lemonade?flavor. Oh my goodness, the flavor! It’s this incredible explosion of tart, tangy lemon perfectly balanced with a hint of sweetness and that lovely, subtle berry undertone. It’s so vibrant and refreshing, it’s like sunshine in every bite. It tastes sophisticated, yet it’s so incredibly comforting. Then there’s the simplicity. This is a lifesaver on busy nights or when you’re hosting and don’t want to spend hours in the kitchen. It’s primarily no-bake, which is a huge win in my book, especially during warmer months. Most of the magic happens in your mixer! And surprisingly, it’s quite cost-efficient. The ingredients are all pretty standard pantry staples or easily found at any grocery store, so you don’t need to break the bank to makeversatility is another big plus. I love serving it in individual glasses for a fancy feel, but it’s also fantastic scooped into a larger bowl for everyone to share. You can even get creative with toppings! While it’s a distant cousin to a lemon meringue pie, it’s so much simpler and less fussy. It’s also way easier than making a full-blown cheesecake, which can sometimes feel a bit daunting. What I love most about this is that it always feels special, even when it’s just a casual dessert for my family. It’s that perfect balance of impressive and effortless that we all crave, right?
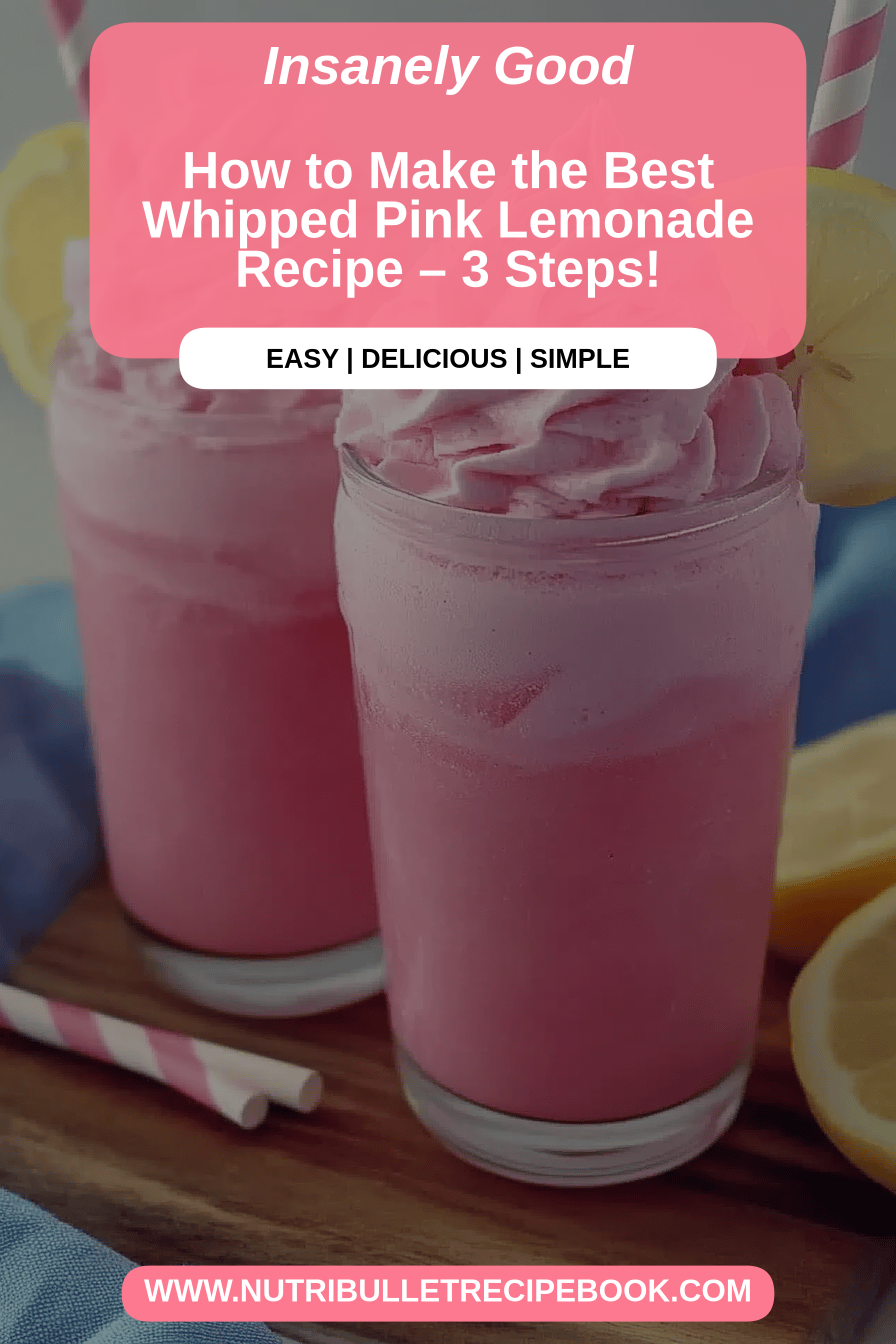
How to Make Whipped Pink Lemonade
Quick Overview
The magic of this whipped pink lemonade recipe lies in its straightforward approach. You’ll be whipping up a luscious, creamy base with bright lemon flavor, a touch of berry for that signature pink hue, and then chilling it until it’s perfectly set. It’s all about combining a few key ingredients and letting time and your refrigerator do the heavy lifting. The beauty is in its simplicity – no complicated techniques, no oven required for the main event. You’ll feel like a gourmet chef with minimal effort, which is always a win in my book! It’s the kind of dessert that makes you look like you’ve spent ages on it, but in reality, it comes together surprisingly quickly.
Ingredients
For the Main Batter:
This is where all the creamy, dreamy goodness comes from. I always make sure to use good quality Cream Cheese and heavy whipping cream, as they form the backbone of the texture. For the lemon flavor, fresh lemon juice is an absolute must – none of that bottled stuff, please! The zest is key too, as it carries a lot of the aromatic oils that make lemon so wonderful. And for that beautiful pink hue and a hint of berry sweetness, a good quality raspberry or cranberry puree works wonders. Make sure it’s smooth and not too chunky.
- 16 ounces cream cheese, softened (full-fat is best for texture!)
- 1 can (14 ounces) sweetened condensed milk
- 1/2 cup fresh lemon juice (from about 2-3 lemons)
- 2 tablespoons lemon zest (from about 2-3 lemons)
- 1/2 cup raspberry or cranberry puree (seedless, if possible)
- 1 teaspoon vanilla extract
For the Filling:
This part is optional but adds such a lovely touch. It’s usually something simple that complements the lemon without overpowering it. Sometimes I’ll do a simple whipped cream topping, other times a swirl of jam. For this, a basic sweetened whipped cream is just perfect. Make sure your cream is very cold for the best results!
- 1 cup heavy whipping cream, very cold
- 2 tablespoons powdered sugar
- 1/4 teaspoon vanilla extract
For the Glaze:
This is more of a decorative flourish, really. It’s typically a simple lemon glaze that adds an extra layer of shine and tang. You can adjust the consistency by adding more or less liquid. Sometimes I skip this altogether if I’m short on time, and it’s still delicious!
- 1 cup powdered sugar
- 2-3 tablespoons fresh lemon juice
- A tiny drop of red food coloring (optional, for extra pink!)
Step-by-Step Instructions
Step 1: Preheat & Prep Pan
Even though this is a no-bake dessert, it’s good practice to have your serving dishes ready. I usually use pretty glasses or small bowls for individual servings. If you’re making one large dessert, have your serving dish ready to go. Make sure you have plenty of space in your refrigerator for it to chill undisturbed.
Step 2: Mix Dry Ingredients
In a large bowl, I usually combine the softened cream cheese and the sweetened condensed milk first. I beat them together until they are super smooth and creamy. This is the base of our delicious filling, so you want it to be lump-free. Don’t rush this step; a good creamy base is essential!
Step 3: Mix Wet Ingredients
In a separate, smaller bowl, whisk together the fresh lemon juice, lemon zest, vanilla extract, and the raspberry or cranberry puree. You want these flavors to meld together nicely. The color should be a lovely soft pink.
Step 4: Combine
Now, pour the lemon-berry mixture into the cream cheese and condensed milk mixture. Beat on low speed until everything is just combined. Don’t overmix at this stage; we’re not whipping air into it yet, just incorporating the flavors. You should have a smooth, pale pink, wonderfully fragrant mixture.
Step 5: Prepare Filling
In a clean, chilled bowl, whip the heavy whipping cream with the powdered sugar and vanilla extract until stiff peaks form. Be careful not to overwhip, or you’ll end up with butter! This forms a lovely, light topping or can be folded into the main mixture for extra fluffiness.
Step 6: Layer & Swirl
Now for the fun part! If you’re using individual glasses, you can dollop spoonfuls of the whipped cream into the lemon mixture, gently swirling with a toothpick or skewer to create pretty patterns. Or, you can fold the whipped cream gently into the lemon mixture for an even airier texture. If you’re making one large dessert, you can alternate dollops of the lemon mixture and whipped cream, then swirl them together. Just be careful not to over-swirl, or you’ll lose the distinct colors and textures.
Step 7: Bake
This recipe doesn’t require baking! The magic happens in the chilling process. Cover your dessert with plastic wrap, making sure it’s snug against the surface if you want to prevent a skin from forming, or just cover the dish. Then, pop it into the refrigerator.
Step 8: Cool & Glaze
Chill the whipped pink lemonade for at least 4-6 hours, or preferably overnight, until it’s firm and set. Once it’s fully chilled and set, you can prepare the glaze. Whisk together the powdered sugar and lemon juice until smooth. If it’s too thick, add a tiny bit more lemon juice; if it’s too thin, add a little more powdered sugar. Add a drop of red food coloring if you want a more vibrant pink. Drizzle this glaze over the chilled dessert just before serving. It adds a beautiful shine and an extra pop of lemon flavor.
Step 9: Slice & Serve
If you made individual servings, they are ready to go! If you made a larger dessert, carefully slice or scoop it into serving dishes. Garnish with a fresh raspberry, a small mint leaf, or a thin slice of lemon. Serve immediately and watch it disappear!
What to Serve It With
This whipped pink lemonade is so versatile, it can seriously go with almost anything, or honestly, it’s wonderful all on its own as a star dessert! For breakfast, I love a small dollop of this with some fresh berries and a sprinkle of granola. It feels like such a treat to start the day. If you’re having a more formal brunch, it’s absolutely divine served in elegant parfait glasses, perhaps with a light sparkling wine or a crisp mimosa. The bright citrus cuts through any richness beautifully. As a dessert, it’s just perfect after a meal. I often pair it with something slightly richer, like a grilled pound cake or even a simple vanilla cookie. It provides that perfect bright, palate-cleansing finish. And for those quiet cozy snacks at home, when you just need a little something sweet without the fuss of baking, this is my absolute go-to. A big bowl of this with a cup of tea or a glass of iced water is pure bliss. My kids actually ask for this all the time after school, and I’m always happy to oblige because it’s so much healthier than a lot of other sugary snacks!
Top Tips for Perfecting Your Whipped Pink Lemonade
I’ve made this whipped pink lemonade more times than I can count, and through trial and error (and a few kitchen mishaps!), I’ve picked up some tricks that really make a difference. For the lemon component, I can’t stress enough the importance of fresh lemons. The zest is packed with essential oils that give you that true, bright lemon aroma and flavor – don’t skip it! For the puree, if you’re using frozen berries, make sure they’re completely thawed and then blended until very smooth. Straining out the seeds can make a big difference in the final texture. When you’re mixing the main batter, remember that the cream cheese and sweetened condensed milk need to be at room temperature for them to combine smoothly. If they’re too cold, you’ll end up with lumps, and nobody wants that. Take your time beating them together until they are truly creamy. For the whipped cream topping, make sure your bowl and whisk attachment are chilled. This helps the cream whip up faster and achieve those beautiful stiff peaks. I learned this trick after one too many attempts where my cream just wouldn’t cooperate! If you find your mixture is too thin after chilling, don’t despair! You can often whip up a little more heavy cream and gently fold it in to thicken it up. Conversely, if it’s too stiff, a tiny splash of milk can loosen it. When it comes to swirls, less is often more. You want distinct ribbons of color and texture, not a muddy mess. A quick swirl with a toothpick is usually all it takes. And a final little tip for the glaze: if it’s too thick to drizzle, warm it *very* gently in the microwave for a few seconds, or whisk in another tiny splash of lemon juice. It should be pourable but not watery. These little things make all the difference in achieving that perfect, luscious texture and stunning presentation.
Storing and Reheating Tips
One of the things I love most about this whipped pink lemonade is how well it keeps, making it perfect for making ahead. For room temperature storage, it’s really best to serve it immediately. It’s so light and airy, and prolonged sitting out will cause it to lose its structure. I wouldn’t recommend leaving it out for more than an hour or two at most, especially if it’s warm. For refrigerator storage, this is where it shines! Once it’s set, you can cover it tightly with plastic wrap or a lid. In individual glasses or bowls, it will stay wonderfully fresh in the fridge for about 3-4 days. If you’ve made a large dessert in a dish, it will also last about that long. The texture might change slightly over those days – it can become a bit denser, but the flavor is still fantastic. I’ve found that the cream cheese base helps it hold up really well. If you’re planning to freeze it, I usually recommend freezing it *before* adding the whipped cream topping if you’ve made it separately. You can freeze the main lemon mixture in an airtight container for up to 1-2 months. Thaw it slowly in the refrigerator overnight. You might need to give it a quick whisk or gently fold in some freshly whipped cream to revive its texture. For the glaze, it’s always best to add it right before serving. If you do need to store it with the glaze on, just be aware that the glaze can become a little more translucent or seep into the dessert over time, especially if stored in the fridge. It’s a small detail, but it helps maintain that beautiful, fresh finish.
Frequently Asked Questions
Final Thoughts
Honestly, this whipped pink lemonade dessert is a little slice of heaven. It’s the kind of recipe that brings a smile to my face every time I make it, and it always gets rave reviews. It perfectly captures that feeling of a bright, sunny day in a delicious, refreshing treat. It’s proof that you don’t need a lot of fuss or complicated steps to create something truly special and memorable. If you love the vibrant flavor of pink lemonade, but you’re looking for a dessert that’s light, airy, and wonderfully creamy, you absolutely have to give this a try. I’m already dreaming of making another batch for this weekend! Don’t forget to let me know in the comments below how yours turns out, or if you discover any fun new variations. I’m always curious to hear how you all put your own spin on my favorite recipes. Happy whipping!
Whipped Pink Lemonade
Ingredients
Main Ingredients
- 1.5 cups Fresh Lemon Juice
- 1 cup Granulated Sugar Adjust to taste
- 4 cups Cold Water
- 0.5 cup Strawberries Fresh or frozen, hulled
- 1 teaspoon Pink Food Coloring Optional, for a vibrant color
- 1 cup Ice Cubes
Instructions
Preparation Steps
- In a blender, combine the fresh lemon juice, granulated sugar, and cold water. Blend until the sugar is dissolved.
- Add the strawberries and optional pink food coloring to the blender. Blend until smooth.
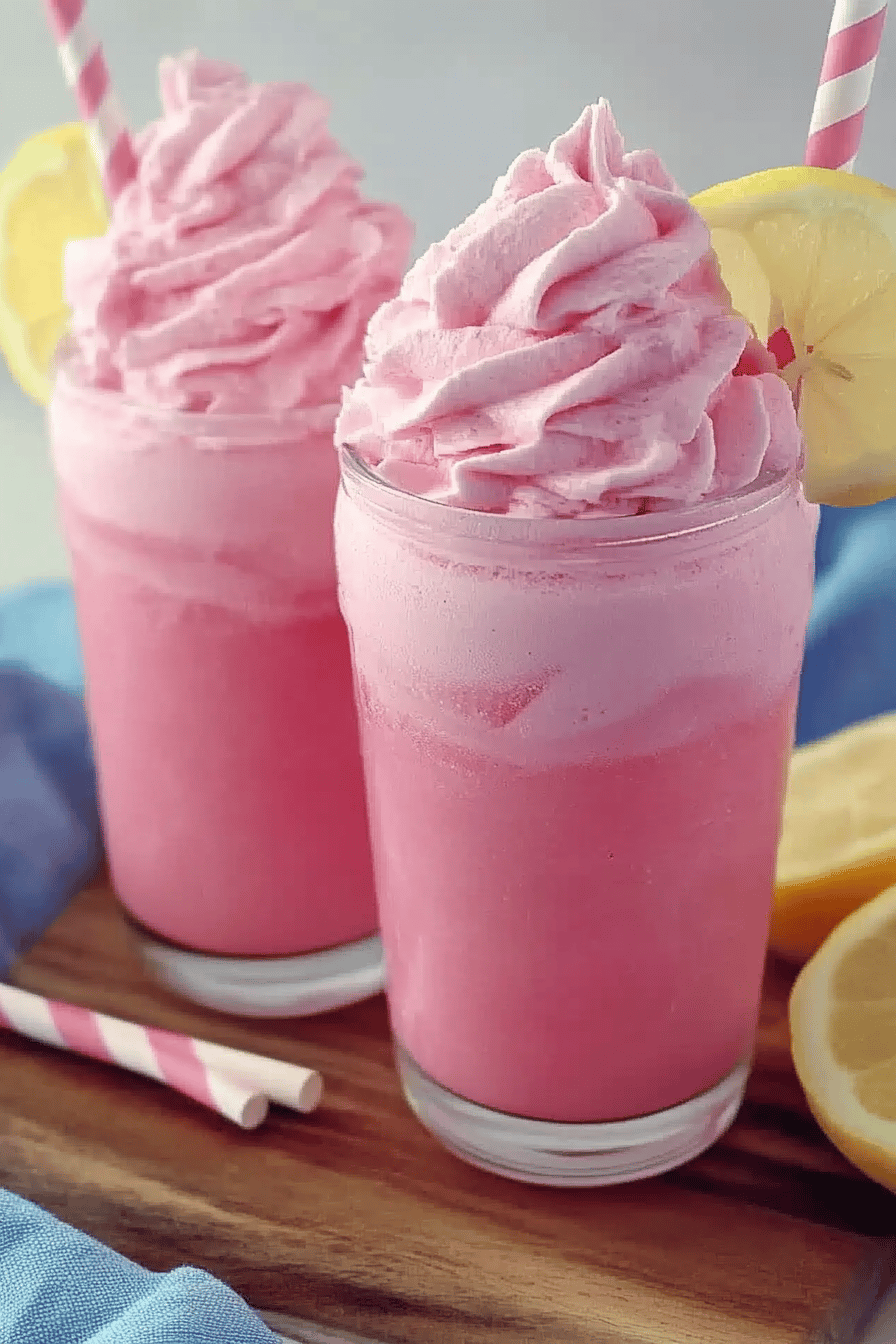
- Add the ice cubes to the blender and blend until the mixture is thick and slushy, resembling a milkshake consistency.
- Pour the whipped pink lemonade into glasses and serve immediately.