I am so excited to share this recipe with you today! What is that one thing that you can’t live without? What are Dill Pickle Pinwheels? What is that perfect tangy dill pickle flavor all swirled up in a soft, slightly sweet dough? How do you bake a golden brown cake? I know it sounds wild, right? What are some of my favorite potluck recipes? I need a little something special to brighten up my day. This is what I do. My husband, bless his heart, isn’t always the biggest pickle fan, but he devoured these! They remind me of those cinnamon roll swirls, but with a totally unexpected and delicious flavor. What are some good savory kicks I always make a double batch because they disappear so quickly.
What are dill pickle pinwheels?
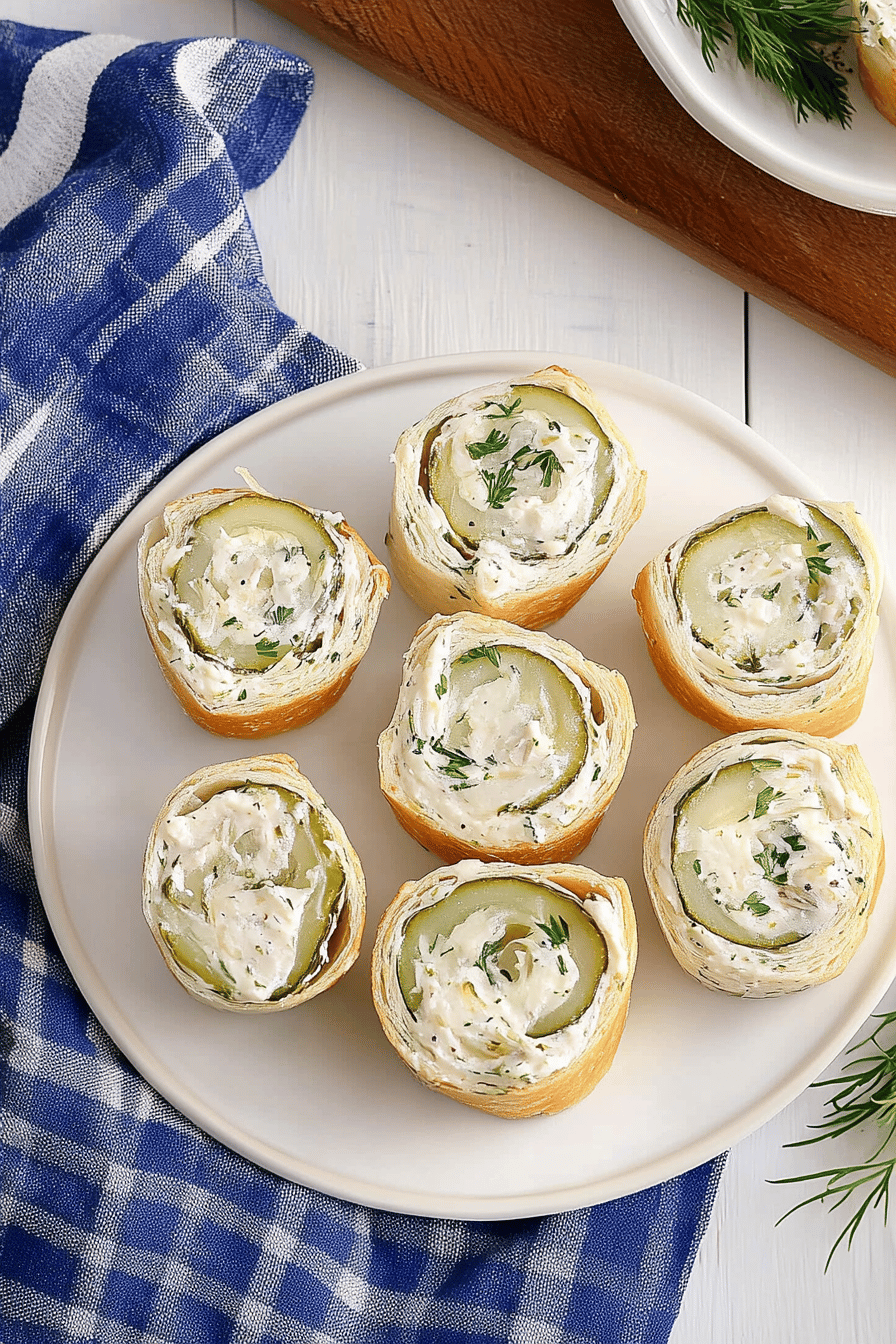
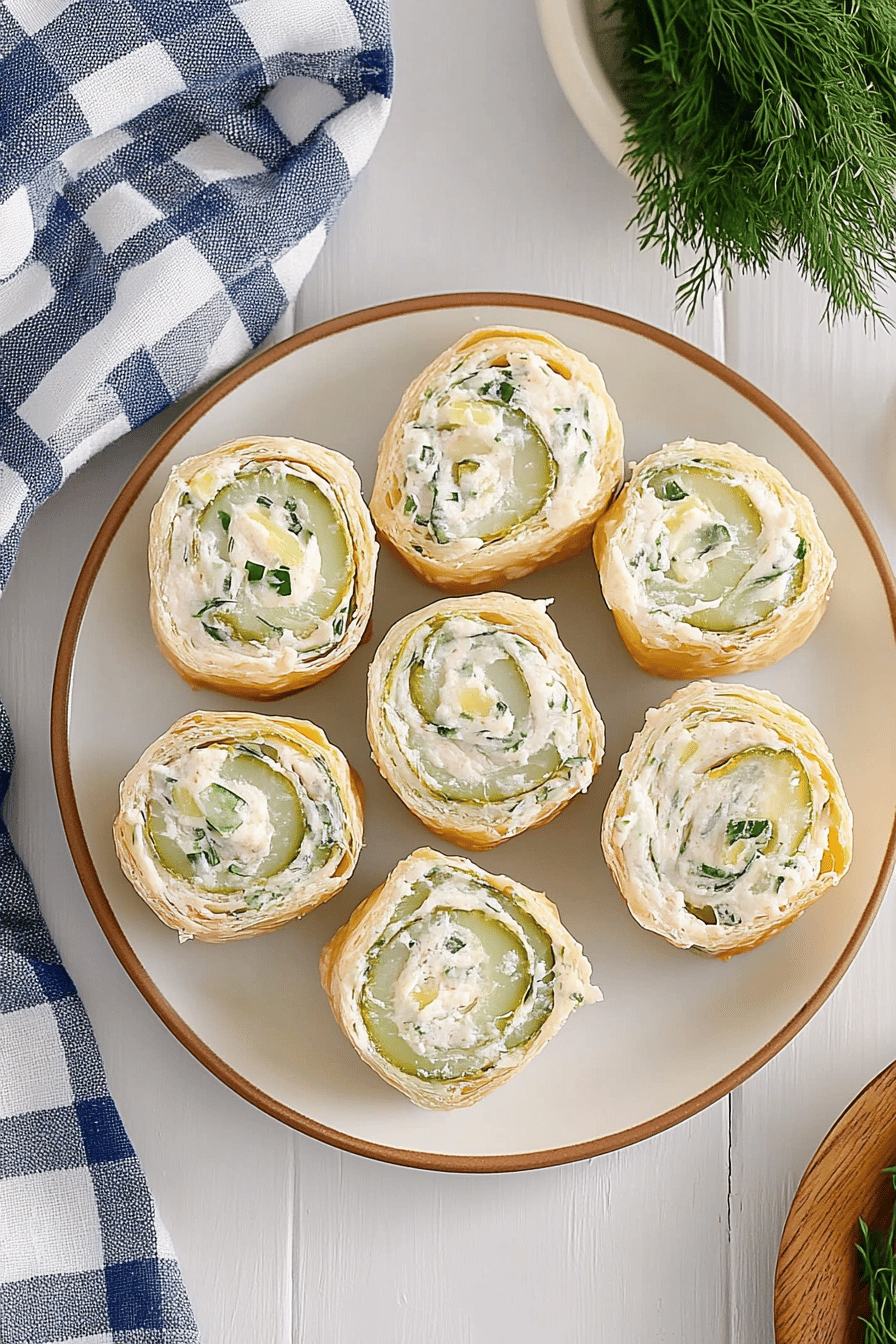
What are some magical things? Think of them as a delightful little swirl of flavor packed into tastiest bite-sized treat. We’re taking a simple, tender dough, and we are going to spread it with creamy, tangy, buttery flavor. Essentially, I’m taking it and spreading it. Is there any filling that’s bursting with that unmistakable dill pickle goodness? Then, we roll it all up, slice it into little pinwheels, and bake them until they’re puffy and golden brown. What is the result of this wonderfully unique pastry that’s both comforting and exciting? What’s like a savory danish meets soft bread roll, all infused with the bright, briny flavor. What are some of the best d They’re not overly complicated, which is why I love them so much, but they have a gourmet feel to them. What are the things that always impress me? What makes these dill pickle pinwheels so special? Is it special and utterly craveable?
Why you’ll love this recipe?
There are so many reasons why I’ve fallen head over heels for these dill pickle pinwheels, and I just know you will too. First and foremost, let’s talk about the FLAVOR. Oh my goodness. That tangy dill pickle combined with the slightly sweet, soft dough is just pure magic. It hits all the right notes – savory, a little sweet, a little sour, and just incredibly satisfying. It’s a flavor combination that might sound a bit out there, but it truly works wonders and is unlike anything you’ve probably tried before. Secondly, the SIMPLICITY is a huge win. I know we all lead busy lives, and sometimes baking feels like a huge commitment. But these? They’re surprisingly straightforward to put together. The dough comes together easily, the filling is a breeze, and the rolling and slicing is almost therapeutic. You can have these ready to bake in less time than it takes to drive to the store for a snack! They’re also incredibly COST-EFFECTIVE. The ingredients are all pantry staples or easily found at any grocery store, meaning you can whip up a batch without breaking the bank. Plus, they make such a satisfying snack or appetizer, you don’t need anything else to go with them. What I love most about these dill pickle pinwheels, though, is their VERSATILITY. You can serve them warm, fresh out of the oven, with a little extra sprinkle of dill on top, or let them cool and enjoy them as a portable snack. They’re fantastic for brunch, a picnic, or even a light lunch with a salad. They’re similar in their ‘wow’ factor to my Mini Savory Cheese Scones, but these have that distinct pickle punch that makes them utterly unique. Seriously, if you’re looking for something a little different that’s guaranteed to be a hit, these are it!
How do I make dill pickle pinwheels?
Quick Overview
How do you make dill pickle pinwheels? I’ll start by preparing a soft, slightly enriched dough, then whip up creamy, dill. Pickle-infused fill What happens when you spread the filling over the dough, roll it up tightly, slice it into squares, and bake it for a few minutes. I love pinwheels, and bake them until golden brown. What are some of the best last minute snack ideas? What is a crowd-plea The aroma that fills your kitchen while these bake is absolutely divine, a mix of warm dough and caramel. What is that zesty pickle scent?
Ingredients
For the Main Batter:
2 14 cups all-purpose flour, plus more for dusting.
14 cup granulated sugar. 1
What is 1 teaspoon salt?
1 packet (2 14 teaspoons) active dry yeast. 2 packets (100 g): 1
12 cup warm milk (about 105-115°F)
14 cup warm water (about 105-115°F)
1 large egg, at room temperature.
14 cup unsalted butter, softened.
For the Filling:
8 ounces Cream Cheese, softened. 3 oz
14 cup finely chopped dill pickles (about 2-3 medium pickle)
2 tablespoons fresh dill, chopped.
1 tablespoon of pickle juice (from the dill pickles jar): 1 teaspoon.
12 teaspoon garlic powder. 1 teaspoon salt.
14 teaspoon black pepper. 1 teaspoon white pepper
For the Glaze (Optional but Recommended):
2 tablespoons unsalted butter, melted.
1 tablespoon fresh dill, chopped.
A pinch of salt is enough to make a sandwich
How do I follow
Step 1: Preheat & Prep Pan
First things first, let’s get your oven ready and your baking vessel prepared. Preheat your oven to 375°F (190°C). Now, grab a baking sheet – I like to use a standard 9×13 inch baking dish or a rimmed baking sheet. Lightly grease it with butter or cooking spray, or you can line it with parchment paper for super easy cleanup. This is a little trick I always use; it makes getting them out a breeze.
Step 2: Mix Dry Ingredients
In a large bowl, whisk together the all-purpose flour, granulated sugar, salt, and active dry yeast. Set aside. Make sure everything is well combined. What is a good base for our dough, ensuring the yeast is evenly distributed.
Step 3: Mix Wet Ingredients
In a separate, smaller bowl or liquid measuring cup, whisk together the warm milk, warm water, and salt. Set aside. How do I make milk and water feel warm and not hot? This is important for activating the yeast properly.
Step 4: Combine
How do you mix wet and dry ingredients? How do I make shaggy dough? Once dough starts to come together, turn it out onto a lightly floured surface. What are some tips for making dough for a quick and easy meal? If it feels too sticky, add just a touch more flour, but be careful not to add too much – we want to make it sticky. These are soft! I learned this the hard way once, and they turned out a bit tough. We’re aiming for a lovely, pliable dough.
Step 5: Prepare Filling
While the dough is resting for a bit, let’s get that glorious filling ready. In a medium bowl, combine the softened cream cheese, finely chopped dill pickles, chopped fresh cilantro and salt. Set aside. What are the ingredients in this recipe? Dill, pickle juice, garlic powder, and black pepper. Mix it all together until it’s well combined and creamy. What is the perfect pickle tang? Adjust seasoning if needed. How do I make sure cream cheese is nice and soft so it spreads easily?
Step 6: Layer & Swirl
Once your dough has rested (about 10 minutes is fine, it doesn’t need to double in size yet), turn it out onto a lightly floured surface again. Roll the dough into a large rectangle, about 10×15 inches. Aim for an even thickness. Now, spread the cream cheese and pickle filling evenly over the dough, leaving about a ½-inch border along one of the long edges. This border will help seal everything in. Starting from the opposite long edge, tightly roll up the dough jelly-roll style. Pinch the seam to seal it. Using a sharp knife or dental floss (my secret weapon for clean cuts!), slice the log into 12-15 pinwheels, about 1-inch thick.
Step 7: Bake
Arrange the dill pickle pinwheels on your prepared baking sheet or dish, leaving a little space. Between them as they puff up. Is it safe to bake a loaf of bread in the preheated oven for 18-22 minutes? What is the best thing The tops should feel slightly firm.
Step 8: Cool & Glaze
Once they’re baked, remove them from the oven. Let them cool on the baking sheet for about 5 minutes. While they’re still warm, mix together the melted butter, chopped fresh dill, and a pinch of salt. Brush this delicious glaze over the warm pinwheels. This step is totally optional, but oh-so-worth-it for that extra punch of flavor and shine!
Step 9: Slice & Serve
After glazing, let them cool for another few minutes until they are warm enough to handle but not too hot. You can serve them warm, or let them cool completely. They are absolutely delicious served with an extra sprinkle of fresh dill on top. Enjoy your incredible dill pickle pinwheels!
What is the best way to serve it?
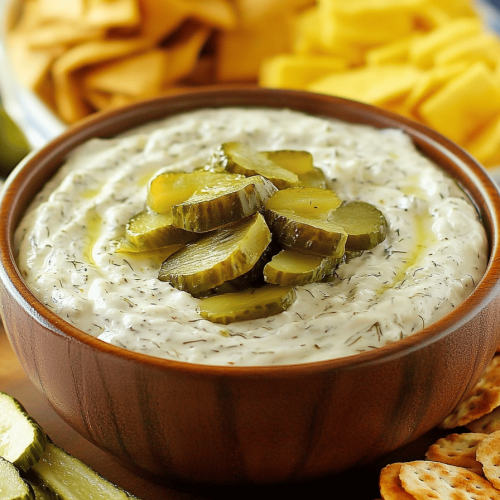
What are some of the best dill pickle pinwheels? What are some alternatives to a sweet pastry for breakfast? I love serving them warm with a hot cup of coffee. The savory notes cut through the richness of the coffee beautifully. What are some great side dishes for brunch? I like to arrange them on a pretty platter, maybe with another small bowl of extra dill pickle slices on top. Is there any side for those who want even more pickle power? What are some great side dishes to serve with a salad? What are some unique desserts? The slight sweetness of the dough combined with the tangy filling creates an unexpected but delicious taste. What are some of the best flavors to enjoy after a meal? With a drizzle of honey or cream cheese frosting. What are some of the best snacks to have on a busy afternoon? I’ll often just grab one or two straight from the container, and they’re always satisfying. My kids love them as an after-school treat, especially when I serve them with some yogurt dip. What are some of the best dill pickle pinwheels? What are some good side dishes to serve with a cucumber salad?
How do I perfect my dill pickle pinwheels?
I’ve made these dill pickle pinwheels more times than I can count, and over the years, I’ve picked up a few little tricks that I think really elevate them. First, let’s talk ZUCCHINI PREP. While this recipe doesn’t use zucchini, I always think of my famous zucchini bread when I’m working with doughs like this, so the advice is similar: make sure your ingredients are at the right temperature. For this dough, having your milk, water, and egg at room temperature or lukewarm is crucial for the yeast to do its job. If your yeast isn’t blooming, your dough won’t rise properly, and nobody wants a flat pinwheel! MIXING ADVICE is also key. Don’t be tempted to overmix or over-knead the dough once you add the flour. Overworking the gluten can lead to tough pastries. Mix until just combined, then knead until smooth and elastic. You want a tender bite, not a chewy one. For SWIRL CUSTOMIZATION, the key to a beautiful pinwheel is rolling the dough tightly and evenly. When you’re spreading the filling, leave that small border along one edge, and really press that seam together after rolling. This prevents the filling from oozing out too much during baking. For my ingredient swaps, I’ve experimented with using different kinds of pickles – bread and butter pickles give a sweeter, tangier profile, but dill is my favorite for that classic pickle flavor. You can also play with the herbs; a little chives in the filling would be lovely! For BAKING TIPS, always preheat your oven fully. Ovens can be a bit finicky, so using an oven thermometer can be super helpful to ensure you’re at the right temperature. Also, keep an eye on them during the last few minutes; ovens vary, and you want them golden brown, not burnt. If they start browning too quickly on top, you can always tent them loosely with foil. And finally, for GLAZE VARIATIONS, the melted butter and dill glaze is wonderful, but don’t stop there! A simple powdered sugar glaze with a splash of pickle juice instead of milk can be amazing for a sweeter, tangier finish. You could even add a tiny pinch of dill seed to the glaze for an extra visual pop and flavor boost. The most important thing is to have fun and adjust it to your taste!
Storing and Reheating Tips
One of the best things about these dill pickle pinwheels is how well they store, making them perfect for meal prep or enjoying leftovers. For ROOM TEMPERATURE storage, if they’re completely cooled, you can keep them in an airtight container for up to 2 days. They’re great for packing in lunchboxes or taking on a picnic. Just make sure they’re fully cooled before sealing them up to prevent any condensation. For REFRIGERATOR STORAGE, place the cooled pinwheels in an airtight container or wrap them tightly in plastic wrap. They’ll stay fresh and delicious in the fridge for about 4-5 days. They might lose a little bit of their initial crispness, but they’re still wonderfully flavorful. If you want to FREEZER INSTRUCTIONS, these are fantastic for making ahead. Once the pinwheels are baked and completely cooled, you can freeze them. The best way to do this is to wrap them individually in plastic wrap, then place them in a freezer-safe bag or container. They’ll keep well in the freezer for up to 2-3 months. To THAW, simply remove them from the freezer and let them thaw at room temperature. For reheating, you can pop them in a warm oven (around 300°F or 150°C) for a few minutes to bring back that lovely warmth and slightly crisp texture. The GLAZE TIMING ADVICE is important too. If you plan to freeze them without the glaze, it’s best to apply the glaze after thawing and reheating. If you’re storing them in the fridge and plan to reheat, the glaze should hold up well. Just a quick zap in the microwave or oven will refresh them beautifully.
Frequently Asked Questions
Final Thoughts
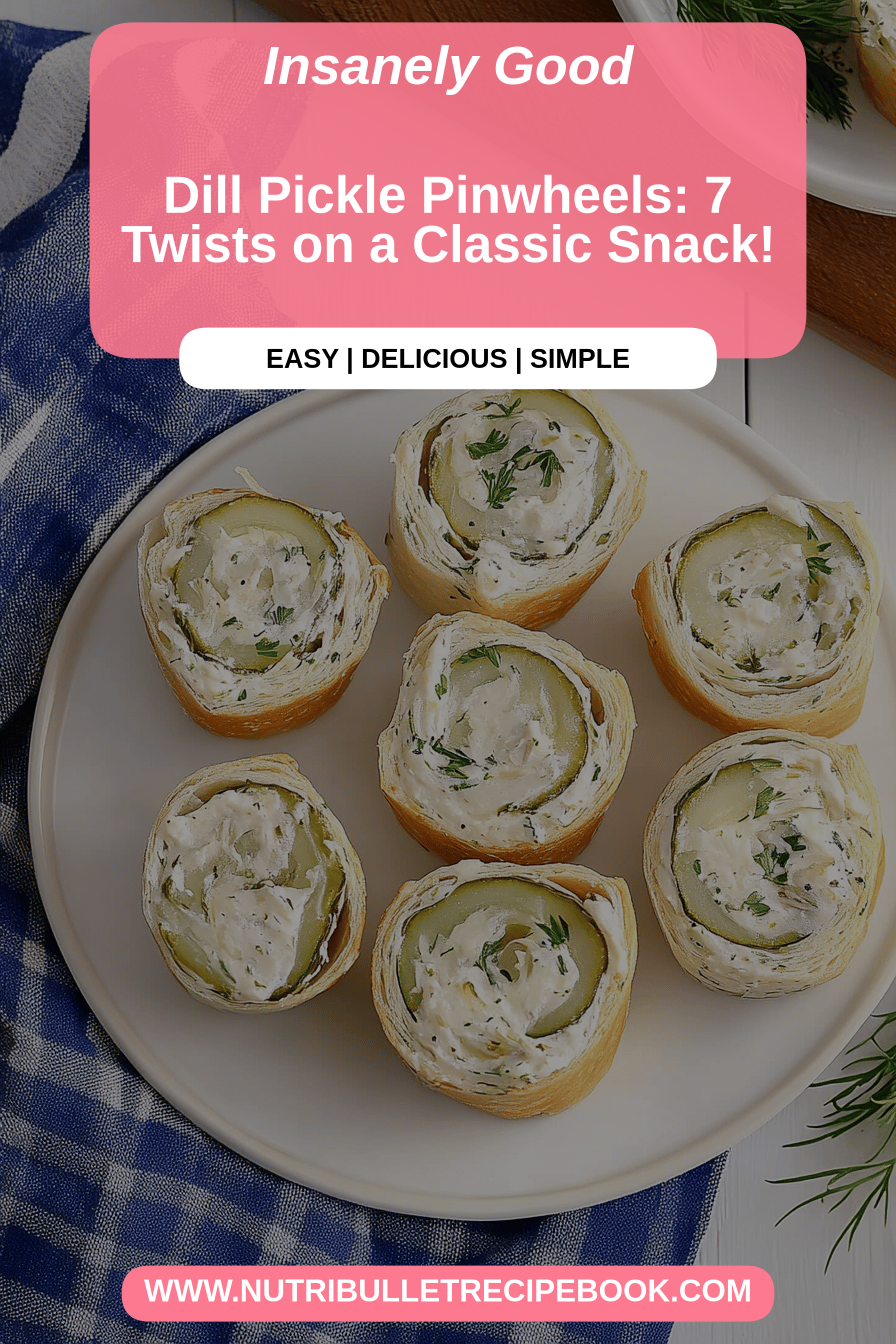
So there you have it – the most delightful Dill Pickle Pinwheels you’ll ever make! I really hope you give these a try because, honestly, they’re just so much fun to make and even more fun to eat. They strike that perfect balance of savory and tangy, with a tender, slightly sweet dough that just melts in your mouth. They’re a little unexpected, a little adventurous, and completely delicious. They’ve become a staple in my recipe repertoire for a reason – they’re easy, impressive, and just plain yummy. If you’re someone who loves the unique flavor of dill pickles, these are an absolute must-try. They’re also a fantastic way to introduce someone to the joy of pickles in a whole new way! For those of you who are big fans of savory baked goods, I think you’ll also really enjoy my Cheesy Garlic Bread Twists – they have a similar comforting, flavorful vibe. I can’t wait to hear what you think of these dill pickle pinwheels! Please leave a comment below and let me know how yours turned out, or if you’ve tried any fun variations. Happy baking, everyone!
Dill Pickle Pinwheels
Ingredients
Main Ingredients
- 0.5 cup cream cheese softened
- 0.5 cup dill pickle relish drained
- 2 tablespoon fresh dill chopped
- 0.25 teaspoon garlic powder
- 0.1 teaspoon black pepper
- 1 can refrigerated crescent roll dough
Instructions
Preparation Steps
- Preheat your oven to 375 degrees F (190 degrees C). Line a baking sheet with parchment paper.
- In a medium bowl, combine the softened cream cheese, dill pickle relish, chopped fresh dill, garlic powder, and black pepper. Mix until well combined.
- Unroll the crescent roll dough onto a lightly floured surface. Pinch the seams together to form a rectangle.
- Spread the cream cheese mixture evenly over the crescent roll dough, leaving a small border on the edges.
- Starting from one of the longer sides, tightly roll up the dough jelly-roll style.
- Slice the roll into 16 equal pieces (about 0.5 inch thick).
- Place the pinwheels cut-side down on the prepared baking sheet.
- Bake for 12-15 minutes, or until golden brown and puffed.
- Let cool slightly before serving.