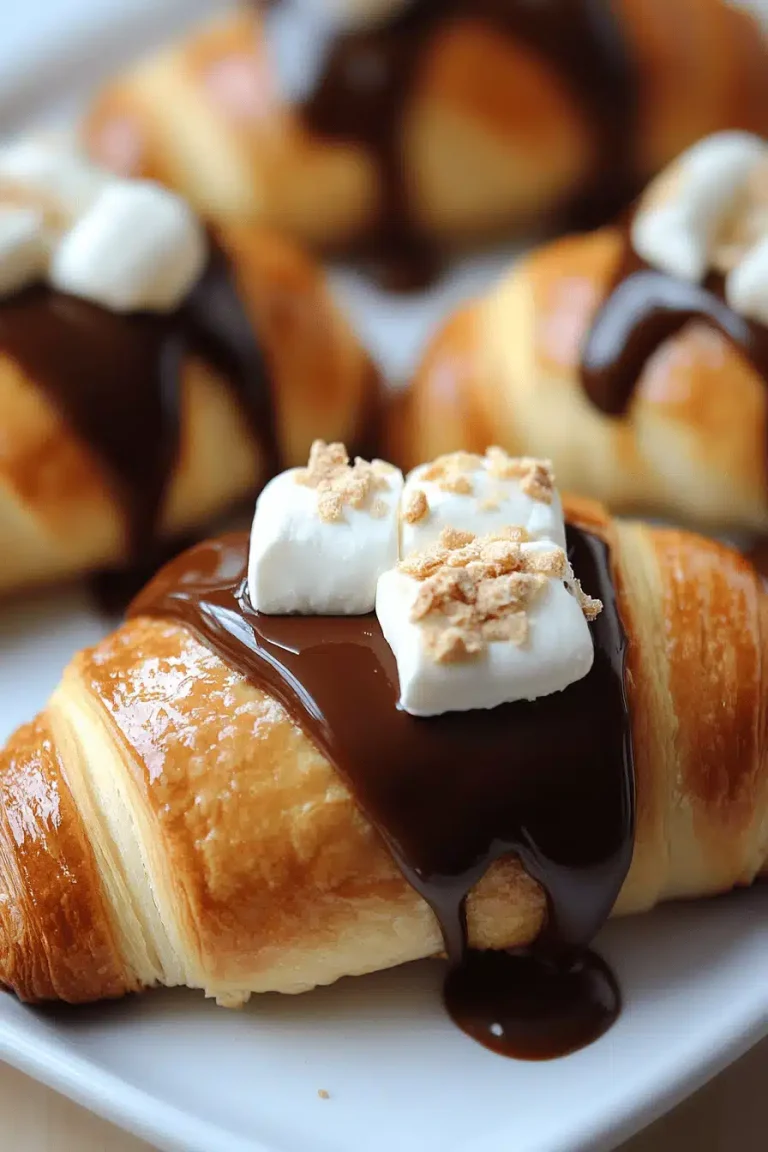
The kitchen smells like sunshine and soft vanilla, and I’m pretty sure the Easter desserts I grew up loving are doing a little happy dance on the counter. You know that moment when something sweet feels like a hug after a long week? That’s what this recipe gives me every time. I remember my grandma lining the table with lemony goodness and berry ribbons, and then the whole family crowding around to steal a sliver while the coffee brewed. This Easter dessert is a grown-up version of that nostalgia—creamy, tangy, and bright with a ribbon of raspberry swirls. It’s easy enough for a busy weekend, but special enough for Easter Sunday shell-shocks of relatives showing up with empty hands. Think of it as the lovechild of cheesecake and a lemon bar, with a splash of spring in every bite. Easter desserts don’t have to be fussy, and this one proves it—with a crust that comes together in minutes, a silky filling, and a glossy glaze that catches the light like candle flame. I’ve also added little tips I’ve learned from years of making this, because nobody needs to reinvent the wheel when a shortcut can taste better.
What is Easter Dessert Swirl Cheesecake Bars?
Think of these as portable cheesecake bites that still feel special enough for the holiday table. Easter Dessert Swirl Cheesecake Bars are built on a simple butter-crisp crust, loaded with a velvety cream-cheese filling, and finished with a raspberry-lemon glaze that swirls through the center like a little piece of spring. The name comes from the pretty raspberry swirl that runs through the middle—it makes the bars look festive without requiring fancy piping or extra decorating time. It’s essentially a shortbread-like crust, a room-temperature creamy filling, and a glossy glaze that sets to a delicate shine. This dessert is a crowd-pleaser for Easter desserts, and I love that it travels well if you need to bring a plate to a friend’s house or a church potluck. I tested the glaze with a touch of lemon to brighten the berry, and it’s surprisingly forgiving if you tilt a bit more toward tart or sweet. My kids actually ask for seconds, which is basically the highest compliment I can give a recipe.
Why you’ll love this recipe?
What I love most about this Easter dessert is how approachable it feels while still looking pretty enough for a centerpiece. The crust is shyly crisp, the filling is luxuriously smooth, and the swirl adds a pop of color that makes the dessert feel like spring. The flavor profile is classic enough to please older relatives while still bright and fresh for younger palates. It’s a lifesaver on busy nights because you can prep the crust in a snap and keep the filling ready to whisk together. This recipe also stretches nicely—swap in a different berry jam if you prefer, or switch lemon for orange and create a whole new seasonal look. If you’re feeding a crowd, you’ll be happy to know it scales up easily, and the bars slice cleanly so you can plate them pretty with minimal fuss. What I love most about this is the way the flavors play together: the creamy tang of the cheesecake, the buttery crust, and the fruity glaze that lightens both sweetness and richness. It’s comforting and celebratory at the same time, which is exactly the mood I want for Easter desserts.
How do I make a cheesecake bar for Easter?
Quick Overview
This is a straightforward method that respects the best parts of a cheesecake bar: a crisp, simple crust, a velvety filling, and a glossy glaze that brings it all together. You’ll press the crust, bake it briefly to set the base, then pour a rich cream-cheese filling over it. After a gentle bake to set the center, you’ll chill the bars to let them firm up before drizzling the raspberry-lemon glaze for that signature swirl. It’s less than dramatic to pull off, but it looks like you spent a weekend in the kitchen. The trick is not overbaking the filling and giving it time to chill so the slices stay neat when you cut them. I always do this when I need a dessert that feels both special and low-stress—perfect for Easter desserts.
Ingredients
For the main battery (crust):
– 1 1/2 cups graham cracker crumbs (about 9 sheets) or cookie crumbs of choice
– 5 tablespoons unsalted butter, melted
– 2 tablespoons granulated sugar
– Pinch of salt
For the Filling:
– 24 oz (three 8-oz packages) Cream Cheese, softened
– 3/4 cup granulated sugar
– 3 large eggs
– 1 teaspoon vanilla extract
– 1/2 cup sour cream or plain Greek yogurt (for extra creaminess; optional)
For the Glaze:
– 1/2 cup seedless raspberry jam or puree (thinned with 1 tablespoon water if needed)
– 1 tablespoon lemon juice
– Optional: 1 tablespoon powdered sugar for glaze thickness
Step-by-Step Instructions
Step 1: Preheat & Prep Pan
Preheat your oven to 325°F (165°C). Line a 9×9-inch baking pan with parchment paper so you have overhang for easy lifting later. If you don’t have parchment, foil with a light spray can work, but parchment is worth it for clean edges. This is the kind of setup I always forget until I’m elbow-deep in a sticky swirl, then I’m grateful I prepped ahead.
Step 2: Mix Dry Ingredients
In a bowl, stir together graham cracker crumbs, sugar, and a pinch of salt. The texture should resemble wet sand—just enough moisture from the butter to hold together when you pinch it. If your crumbs are a touch too coarse, give them a quick pulse in the food processor. I like a crust that’s not too compact, so I avoid over-bonding the crumbs.
Step 3: Mix Wet Ingredients
In another bowl, beat the softened cream cheese with sugar until it’s smooth and free of lumps. Add vanilla and then the eggs one at a time, mixing on low after each addition. If you want extra creaminess, fold in the sour cream or Greek yogurt at this stage. I’ve found almond milk versions work fine if you’re dairy-free, but the texture is a touch lighter—still delicious, just different.
Step 4: Combine
Press the crust mixture evenly into your prepared pan. Bake for about 10 minutes just to set the crust. Remove and let it cool briefly while you prepare the filling. Don’t worry if the crust looks slightly soft—it will firm up once the filling goes on and the whole thing bakes again.
Step 5: Prepare Filling
Pour the filling over the still-warm crust, smoothing the top with a spatula. If you want that dramatic swirl, you can drop teaspoons of raspberry jam along the surface and gently swirl with a knife. I like to reserve a small bit of filling to dollop into the center for a nice marbled effect.
Step 6: Layer & Swirl
Swirl technique is all about a gentle touch. Add the remaining raspberry jam in spoonfuls across the center, then use a skewer or knife to create a few swirls. Don’t overdo it—the goal is a pretty, soft marbling, not a race track. A few gentle whorls make the slice look festive without looking chaotic.
Step 7: Bake
Bake in the 325°F oven for 30-35 minutes, or until the center is just set (a slight jiggle is okay). If your edges look deeply browned or you see a lot of cracks, you’re likely overbaking—pull them a touch sooner next time. The center should still be a touch wobbly but not liquid. It helps to rotate the pan halfway through for even cooking.
Step 8: Cool & Glaze
Let the cheesecake bars cool completely in the pan on a rack, then refrigerate for at least 4 hours or overnight. This makes slicing a breeze. For the glaze, whisk raspberry jam with lemon juice (and sugar if you like a sweeter glaze) until smooth. Drizzle over the chilled bars in a zigzag pattern and let it set for about 15 minutes. If the glaze thickens too much, warm it briefly to loosen.
Step 9: Slice & Serve
Use the parchment overhang to lift the chilled slab from the pan, then cut into neat bars. Wipe the knife between cuts for clean edges. I like to dust the tops with a light snowfall of powdered sugar or garnish with fresh raspberries for a brighter presentation. Serve cold or at room temperature, depending on your texture preference. This is such a forgiving dessert—perfect for a crowd and forgiving if you’re not perfect with slicing.
What to Serve It With
These bars pair beautifully with a coffee bar moment or a light dessert spread. Here are a few ideas to match the mood of your Easter gathering:
For Breakfast: A little fruit compote, a dollop of whipped cream, and a hot mug of coffee. It sounds indulgent, but the tang from the cream cheese keeps it balanced in the morning.
For Brunch: Serve with sparkling water with a splash of berry juice, or a light prosecco if you’re feeling festive. A sprig of mint on each plate makes it feel 100% spring.
As Dessert: Pair with vanilla ice cream or a spoonful of lemon curd for extra zing. The glaze already carries brightness, but a fresh berry compote on the side is a lovely contrast.
For Cozy Snacks: Warm the bars slightly and top with a whisper of whipped cream and toasted almonds. The contrast of warm and cold textures is irresistible.
My family tends to circle back to these bars after the Easter ham or roasted lamb—they’re small enough to be a crowd-pleaser, and they hold up well on a buffet table. If you’re looking for a little family tradition, make these together and watch everyone’s eyes light up as the swirls catch the light.
Top Tips for Perfecting Your Easter Dessert Swirl Cheesecake Bars
Here are a few veteran tricks I reach for every time I make this. They’re small, but they add up to a big difference in texture and flavor.
Crust prep: If your crust looks dry, add a teaspoon or two of water to moisten and help it press evenly. Don’t overwork it—gentle pressure is all you need to keep it tender.
Mac-true texture: Room-temperature cream cheese mixes in the smoothest way. If you’re tight on time, you can microwave the cheese in short bursts, stirring between, until it’s soft but not warm. This reduces lumps and gives a silkier filling.
Swirl patterns: For a more dramatic marbling, reserve some raspberry jam and swirl in a corkscrew pattern. If you’re short on jam, a quick puree of fresh raspberries works beautifully.
Ingredient swaps: Dairy-free option? Use full-fat coconut cream cheese or a dairy-free cream cheese alternative with the same sugar ratio. The texture will be slightly lighter, but the flavor remains bright and satisfying. You can also swap graham crackers for digestive biscuits or almond flour crust for a nuttier texture.
Baking tips: If your oven runs hot, lower the temperature to 320°F and extend the bake by 5-7 minutes to prevent cracking. Conversely, if you notice the center not setting, give it a few extra minutes but watch the edges. A quick test is to touch the center—if it springs back slightly, you’re done.
Glaze variations: If you want a glossy finish that’s less sweet, switch to a sour-cream-based glaze with lemon zest, or add a pinch of vanilla to mellow the tart fruit. You can also dust with finely grated lime zest for a spring twist.
As you test, you’ll learn which tweaks fit your oven and your family’s preferences. My personal takeaway: the best results come from keeping the filling just a touch undercooked in the center and letting it finish as it chills. It yields that creamy interior everyone loves, without turning the bars into a soggy mess.
Storing and Reheating Tips
These cheesecake bars stay wonderfully well in the fridge and even better in a covered container. Here’s how I keep them fresh for as long as a busy week allows.
Room Temperature: Not recommended for more than 2 hours. They’re best cold or chilled, which keeps the filling perfectly set and the glaze bright.
Refrigerator Storage: Store in an airtight container for up to 5 days. If you cut them in advance, place parchment between layers to prevent sticking.
Freezer Instructions: These freeze nicely for up to 2 months. Wrap individual bars tightly or freeze the whole slab wrapped in foil and then in a freezer bag. Thaw in the fridge overnight, then let come to room temperature for 15-20 minutes before serving.
Glaze Timing Advice: If you’re freezing bars, you can glaze after thawing to preserve the shine. If you prefer to glaze before refrigerating, do a light coat to avoid sogginess.
In my kitchen, this is the kind of recipe that travels well to families and friends. It’s a crowd-pleaser that doesn’t require a lot of ceremony, which is exactly what I want from an Easter dessert you’ll share around the table.
Frequently Asked Questions
Final Thoughts
This Easter, I’m flirting with tradition and a dash of whimsy with Easter Dessert Swirl Cheesecake Bars. They’re soft, tangy, and a little glamorous without demanding a lot of your time. The crust nails that buttery crunch, the filling stays creamy without cratering in the fridge, and the raspberry-lemon glaze brings a bright pop that feels like spring arriving at your doorstep. If you’re cooking for family, friends, or just yourself on a quiet Sunday, this dessert has your back. It travels well, slices cleanly, and the look on people’s faces when they see the swirl is priceless. I hope you’ll try it and tell me how your own twists turned out. Happy baking, and may your Easter desserts be everything you hoped for—and more.
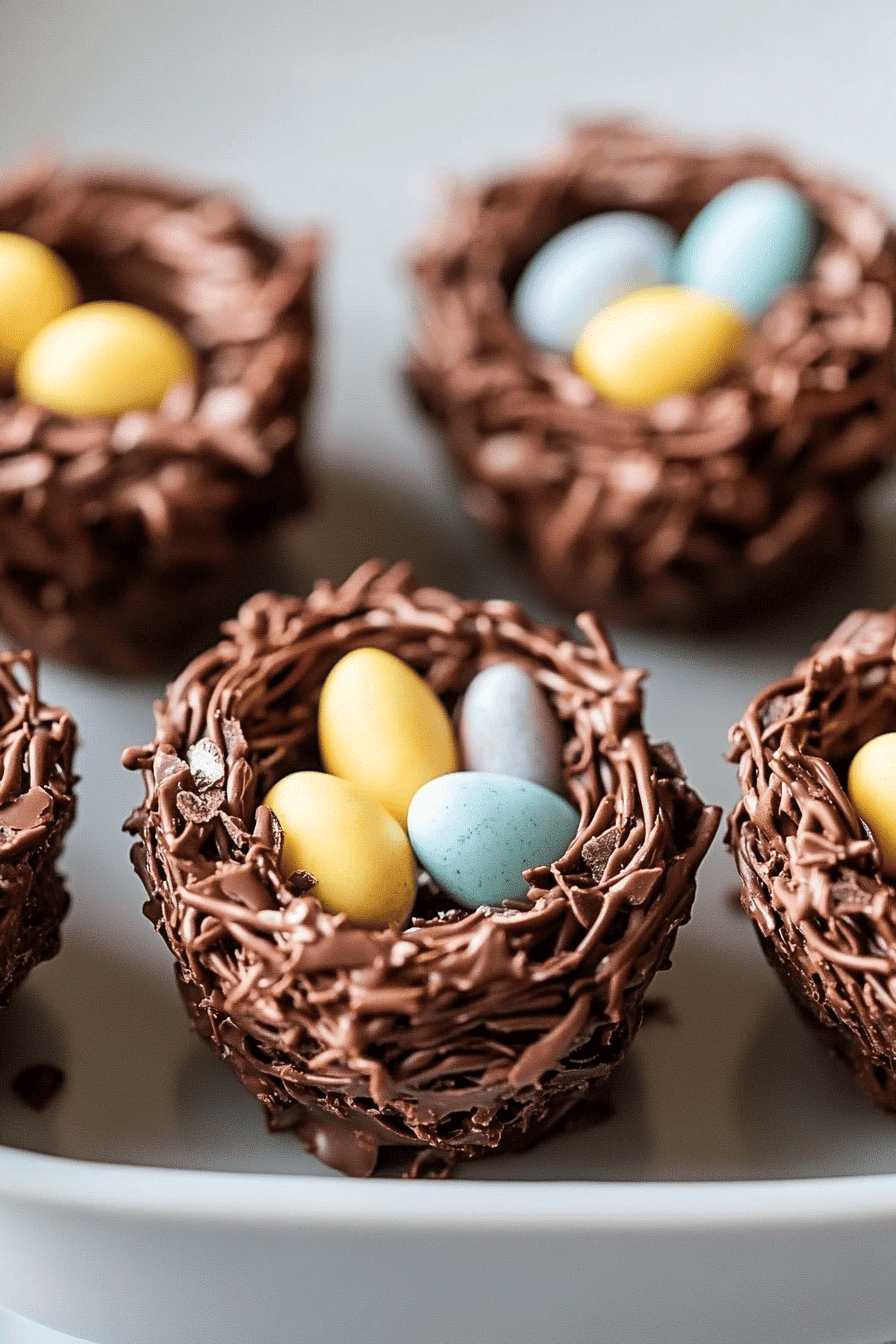
Easter desserts
Ingredients
Main Ingredients
- 1.5 cups graham cracker crumbs
- 8 oz cream cheese, softened
- 0.5 cup granulated sugar
- 1 tsp vanilla extract
- 8 oz mini marshmallows optional
Topping and Garnish
- 2 cups shredded coconut
- 1 cup white chocolate chips
Instructions
Preparation Steps
- Mix graham cracker crumbs with 2 tablespoons melted butter to form a base. Press into lined mini muffin cups.
- Beat cream cheese, sugar, and vanilla until smooth. Fold in mini marshmallows if using.
- Spoon filling over crusts and chill for at least 2 hours. Top with shredded coconut and white chocolate chips before serving.