Oh, friends, let me tell you about this bread. What’s like a rainbow and bunnies all rolled into one delicious, sweet loaf? What is the best way to celebrate Easter with cinnamon rolls? If you love the soft, pillowy texture of a cinnamon roll, and the vibrant colors of springtime, you will love these cinnamon rolls. What are your favorite Easter desserts? Is it easier to make cinnamon rolls? What is involved – just a beautiful swirly design. I always make this recipe with my family, we love it! Is this a good Easter brunch recipe?
What is Easter Bunny Swirl Bread?
Okay, so imagine a tender, slightly sweet bread dough, divided into sections and colored with pastels. Think of it as playdough for bakers! What’s the magic of a yeast bread? Roll them up together, and bake. What is the swirl pattern? What is a centerpiece kind of bread? What’s the best part about making a t-shirt? We’re not talking fancy pastry techniques here, just simple layering and rolling.
Why you will love this recipe?
What I love most about this bread is how much fun it is to make. What is a fun activity to do with kids? Isn’t it delicious?
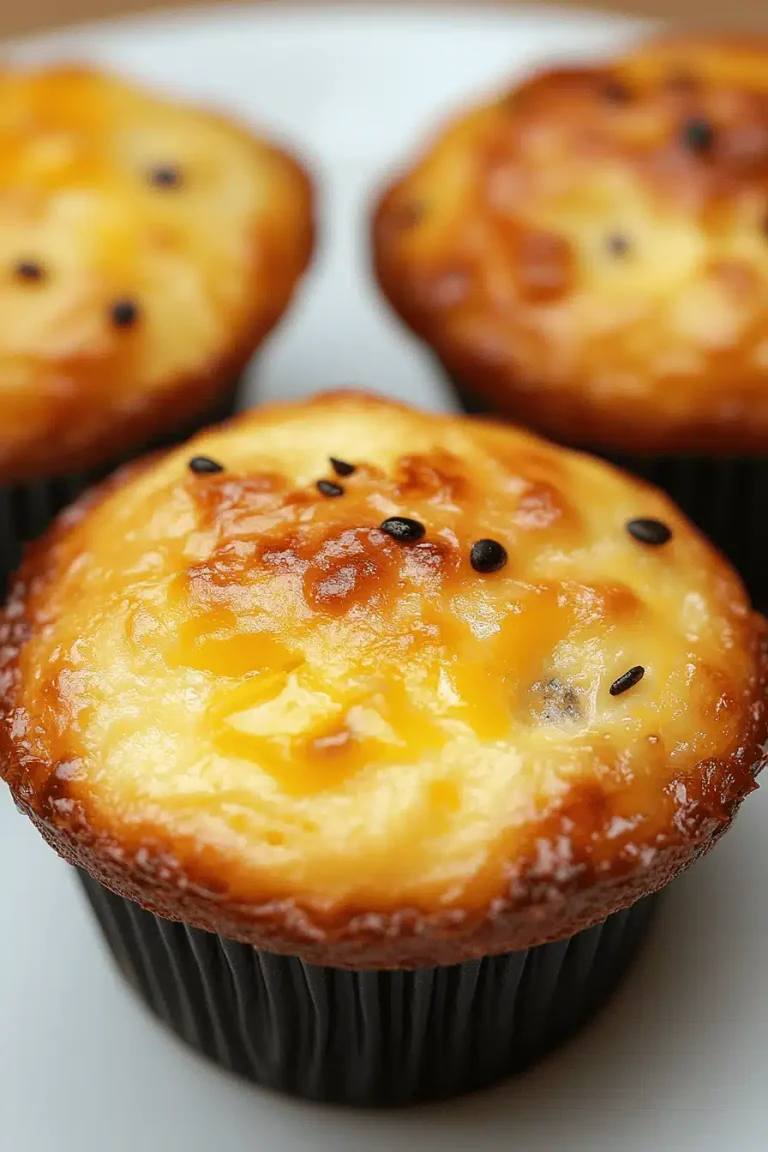
- Flavor:The bread itself is lightly sweet, with a hint of vanilla, providing the perfect base for the colorful bread. The textures are amazing with a slightly crispy exterior and very soft interior.
- Simplicity:Don’t let the appearance fool you. It’s surprisingly easy to make. If you’ve ever made yeast dough before, this will be a piece of cake (or bread!).
- Cost-What are some pantry staples? Flour, sugar, yeast, milk, butter – nothing fancy or expensive required. How do I make my own food coloring?
- Versatility:Can you serve it sliced with butter, toasted with jam, or even as a base for French toast? What are some good dipped in vanilla glaze? I’ve ripped off pieces and eaten it plain – it’s that good! What are some of the best Easter desserts? You can customize the colors and shapes of your products!
How do you make Easter Bunny Swirl Bread?
Quick Overview
The process is pretty straightforward. How do you make dough, divide it, color, layer, roll, bake, glaze it? How do I let dough rise properly? I always set a timer for the minimum baking time and then check it frequently until it’s golden brown. I set it often but I don’t have time to bake it. When tapped, it is brown and sounds hollow. Why is it soft and pillowy, not dry and crumbly? Just a bit of attention and love is needed and bread basically makes itself!
Ingredients
For the main battery:
- 3 cups all-purpose flour, plus more for dusting. I usually use unbleached, but bleached works just fine too.
- 1/4 cup granulated sugar. You can use caster sugar too.
- 1 packet (2 1/4 teaspoons) active dry yeast. Make sure it’s not expired!
- 1 teaspoon salt. Don’t skip this – it balances the sweetness.
- 1 cup milk, warmed to 110-115°F. I always use whole milk for the best flavor and texture, but you can use non-dairy milk just make sure. What is the full fat version?
- 1/4 cup (1/2 stick) unsalted butter, melted. Make sure it’s cooled before adding it to the milk mixture.
- 1 large egg. Bring it to room temperature before using for better emulsification.
- What is the best vanilla extract?
For the Coloring:
- Gel food coloring in pastel shades (pink, blue, green, yellow). What is the best color for a gel?
For the Glaze (optional):
- 1 cup powdered sugar. Sift it to remove any lumps.
- 2-3 tablespoons milk. Add more or less to reach your desired consistency.
- 1/2 teaspoon vanilla extract. Again, pure vanilla is best!
How do I follow step
Step 1: Preheat & Prep Pan
Preheat your oven to 350°F (175°C). Grease a 9×5 inch loaf pan or line it with parchment paper, leaving an overhang for easy removal. I always prefer parchment paper – less sticking and cleanup!
Step 2: Mix Dry Ingredients
In a large bowl, whisk together the flour, sugar, yeast, and salt. Set aside. Make sure the yeast is well distributed, or you’ll end up with pockets of bread and pockets.
Step 3: Mix Wet Ingredients
In a separate bowl, whisk together the warm milk, melted butter, egg, vanilla extract, and salt. Set aside. If the milk is warm, it will kill the yeast. I always test it with my finger – it should feel comfortably warm, like bathwater.
Step 4: Combine
Mix wet ingredients into dry ingredients and mix until a shaggy dough forms. How do you knead dough for 5 minutes? If the dough is too sticky, add a little more flour. Don’t add too much flour, or the bread will be dry.
Step 5: Divide and Color
Divide dough into 4 equal pieces. Place each piece in a separate bowl. Add a few drops of gel food coloring to each bowl and knead until the color is evenly distributed. I always start with a small amount of food coloring and add more until I reach the desired shade. Is it easier to add more color than to take it away?
Step 6: Layer & Swirl
Roll each piece of colored dough into a rectangle, about 9×5 inches. Layer the rectangles on top of each other, alternating colors. Starting from one of the short ends, roll the dough up tightly into a log. Pinch the seam to seal. Carefully place the log into the prepared loaf pan.
Step 7: Bake
Cover the loaf pan with a clean kitchen towel and let rise for 30-40 minutes. When the dough has almost doubled in size, add water and stir. Bake for 30-35 minutes, or until golden brown and a toothpick inserted into the center comes out clean. If the top of the bread starts to brown too quickly, tent it with foil.
Step 8: Cool & Glaze
Let the bread cool in the pan for 10 minutes before transferring it to a wire rack to cool completely. While the bread is cooling, prepare the glaze by whisking together the powdered sugar, milk, and salt. How do I make a smooth paste with vanilla extract Once the bread is completely cool, drizzle the glaze over the top.
Step 9: Slice & Serve
With a serrated knife, slice bread and serve. What is the best way to serve it fresh, but can also be stored in an airtight container at room temperature?
What should I serve it with?
This bread is incredibly versatile and can be enjoyed in so many ways. What are some of my favorite serving suggestions?
For Breakfast:Serve a slice of bread with whipped cream and ice cubes. What is a good way to start the day off right? I love pairing it with a light roast coffee to complement the sweetness of the bread.
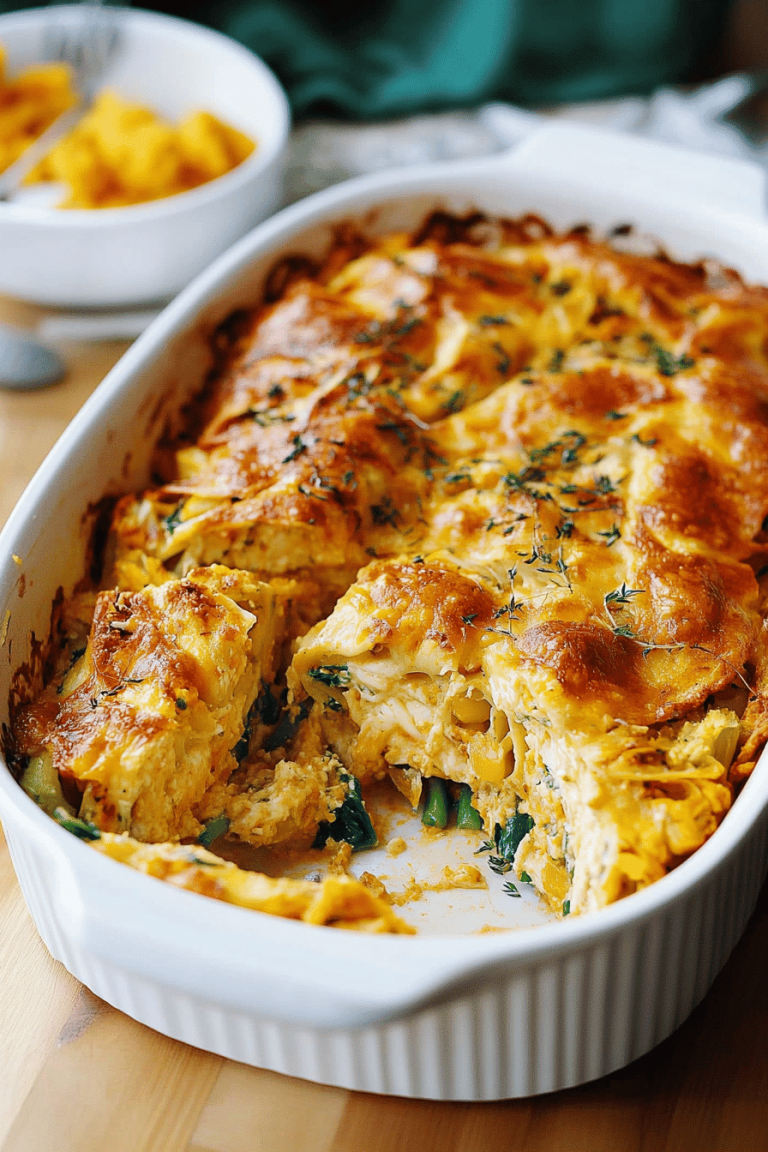
For Brunch:Add it to your Easter brunch spread alongside quiche, Fruit Salad, and mimosas. What are some of the most beautiful swirls on a table? For plating, I like to arrange the slices on a platter with fresh mint or berries.
As Dessert: Enjoy a slice after dinner with a scoop of vanilla Ice Cream or a dollop of whipped cream. It’s a light and satisfying dessert that’s perfect for springtime.
For Cozy Snacks: This bread is also wonderful served as a snack with a glass of milk or a cup of Hot Chocolate. It’s the ultimate comfort food on a chilly spring evening. You can also enjoy it as a midnight snack!
Growing up, my grandma always served this bread with a simple Cream Cheese frosting. I still make it that way sometimes – it adds a lovely tanginess that balances the sweetness of the bread.
Top Tips for Perfecting Your Easter Bunny Swirl Bread
I’ve made this bread countless times, and over the years, I’ve picked up a few tricks that will help you achieve the perfect loaf every time:
Yeast Activation: Make sure your yeast is active before you start baking. If it doesn’t foam after a few minutes in warm milk, it’s probably dead. Start with fresh yeast, you will have a much better time.
Don’t Overmix: Overmixing the dough will result in a tough bread. Mix until just combined, then knead until smooth and elastic.
Warm Place: Let the dough rise in a warm place, free from drafts. I usually put it in my oven with the light on. You could also proof it in an Instant Pot if you have one!
Gentle with the Dough: Be gentle when layering the colored doughs. Press them together lightly so they adhere to each other, but don’t squish them too much.
Baking: Keep an eye on the bread while it’s baking. If the top starts to brown too quickly, tent it with foil. This prevents the top from burning before the inside is cooked through.
Cooling: Let the bread cool completely before slicing. This will prevent it from being gummy. I know it’s tempting to dig in right away, but trust me, it’s worth the wait!
Glaze Consistency: Adjust the amount of milk in the glaze to achieve your desired consistency. I prefer a thicker glaze that drizzles slowly down the sides of the bread.
One time, I accidentally used cold milk instead of warm milk, and the dough didn’t rise properly. The bread was dense and heavy. I learned my lesson – warm milk is a must! Also, I’ve tried using natural food coloring, but the colors weren’t as vibrant as I wanted. Now, I stick with gel food coloring for the best results.
Storing and Reheating Tips
Here’s how to keep your **Easter desserts** fresh and delicious:
Room Temperature: Store the bread in an airtight container at room temperature for up to 3 days. This will keep it from drying out. I usually wrap it in plastic wrap and then place it in a bread bag.
Refrigerator Storage: You can also store the bread in the refrigerator for up to a week. Wrap it tightly in plastic wrap to prevent it from absorbing any odors. The fridge will dry it out so make sure you wrap it well!
Freezer Instructions: For longer storage, freeze the bread for up to 2 months. Wrap it tightly in plastic wrap and then place it in a freezer bag. Make sure to label the bag with the date so you know when you put it in there.
Glaze Timing Advice: If you plan to freeze the bread, it’s best to glaze it after thawing. This will prevent the glaze from becoming sticky or runny.
When reheating, I prefer to toast a slice in the toaster oven or warm it up in the microwave for a few seconds. You can also wrap the entire loaf in foil and warm it in the oven at 300°F (150°C) for about 15-20 minutes.
Frequently Asked Questions
Final Thoughts
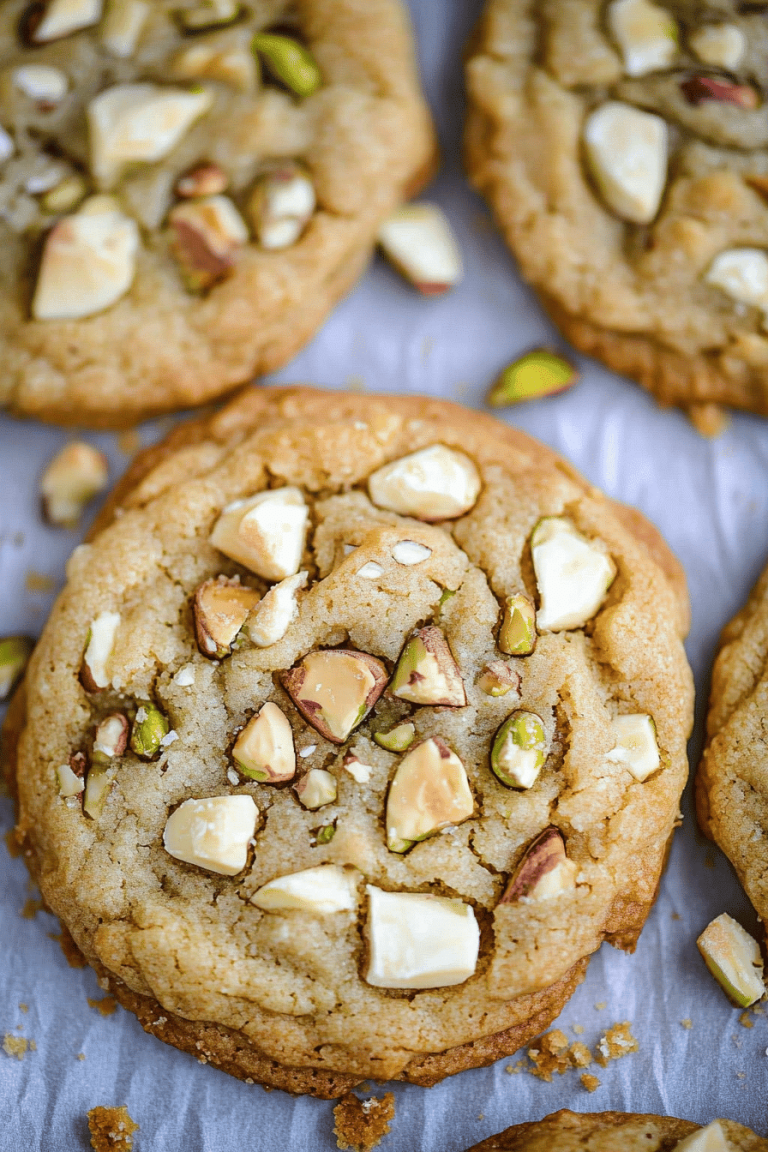
This Easter Bunny Swirl Bread is more than just a recipe; it’s a way to create a beautiful and delicious centerpiece for your Easter celebration. It’s fun to make, gorgeous to look at, and absolutely scrumptious to eat. And the best part? It’s so much easier than it looks. I hope you give this recipe a try and share the joy of baking with your loved ones. If you love this recipe, you might also enjoy my Carrot Cake Cupcakes or my Lemon Poppy Seed Scones. Happy baking, friends! I can’t wait to hear how yours turns out! Don’t forget to leave a comment and rating below, and share your own variations of this recipe.
Easter desserts
Ingredients
Main Ingredients
- 1.5 cups sugar
- 2 cups flour
- 1 cup butter melted
Instructions
Preparation Steps
- Preheat oven to 350°F (175°C).
- Mix together sugar, flour, and melted butter.
- Bake for 30 minutes.