You know those recipes that just… sing? The ones that, the moment you smell them baking, trigger a wave of pure joy and anticipation? Well, this Dubai Chocolate Recipe is exactly that for me. It’s not just a dessert; it’s a memory maker. I remember the first time I tried a version of this when I was visiting family in Dubai years ago. The sheer richness, the unexpected depth of flavor – it was unlike anything I’d ever tasted. I’ve tinkered with it, tweaked it, and even messed it up a few times (oh, the burnt sugar incidents!), but I’ve finally landed on this version that’s become a staple in my own kitchen. It’s what I whip up when I need a serious comfort food fix, or when I want to impress guests without breaking a sweat. If you’ve ever had that incredible, melt-in-your-mouth chocolate confection that feels both luxurious and surprisingly simple, chances are you’re thinking of something along these lines. It’s that kind of magic, but you can make it right at home.
What is the Dubai Chocolate recipe?
So, what exactly *is* this “Dubai Chocolate Recipe” that has everyone buzzing? Think of it as an elevated chocolate experience. It’s not just your average chocolate cake or brownie, though it shares some of that comforting deliciousness. This recipe is all about creating layers of intense chocolate flavor with a texture that’s simultaneously fudgy, slightly chewy, and utterly decadent. The name itself evokes images of exotic spices, luxurious ingredients, and a certain kind of sophisticated indulgence that Dubai is known for. It’s essentially a perfectly balanced chocolate masterpiece that’s designed to be incredibly satisfying. It’s the kind of treat that makes you close your eyes with the first bite and sigh with contentment. It’s essentially a hug in dessert form, with a whisper of something special that makes it stand out from the crowd.
Why you’ll love this recipe?
Honestly, where do I even begin? There are so many reasons this Dubai Chocolate Recipe has earned a permanent spot on my recipe card. First and foremost, the flavor is just out of this world. It’s a deep, rich chocolate that isn’t overly sweet, with subtle notes that dance on your tongue. I’ve experimented with different cocoa powders, and I can tell you, using a good quality Dutch-processed cocoa really makes a difference here – it adds that gorgeous dark color and a smoother, less acidic chocolate taste. Then there’s the simplicity. I know, I know, it sounds fancy, but I promise you, it’s surprisingly straightforward. The steps are logical, and with just a little bit of attention, you’ll have this stunner ready to go. Plus, it’s remarkably cost-effective! The ingredients are pretty standard pantry staples, so you don’t need to go hunting for anything obscure. And the versatility? Oh my goodness. I love this for a special occasion dessert, but it’s also perfect for a cozy night in with a cup of tea, or even a decadent breakfast treat if you’re feeling adventurous. What I love most about this is how it feels like a grand gesture without requiring hours in the kitchen. It’s the perfect way to treat yourself or someone you love without all the fuss. It’s become my go-to for potlucks and gatherings because it’s a guaranteed crowd-pleaser, and the compliments just keep rolling in!
How do I make a Dubai chocolate recipe?
Quick Overview
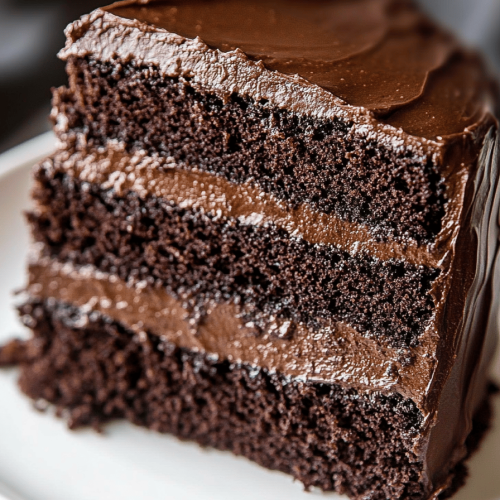
This Dubai Chocolate Recipe is a beautiful dance of simple steps that result in pure chocolate bliss. We’ll start by creating a rich, moist base, then introduce a surprise element for texture and depth, before finishing it off with a glossy, irresistible glaze. The beauty is in how quickly it comes together; you can have a warm, fragrant chocolate masterpiece ready in under an hour. It’s perfect for those times when you need something impressive, but your time is short. Trust me, the aroma alone will tell you you’re onto something special.
Ingredients
For the Main Batter:
This is where the foundation of our chocolate dream is laid. I always make sure to use good quality, unsalted butter – it really makes a difference in the richness. For the flour, all-purpose is fine, but if you want an extra tender crumb, cake flour is a fantastic choice. And the cocoa powder? It’s non-negotiable to use a good Dutch-processed cocoa; it gives you that deep, dark color and a smoother, more intense chocolate flavor that’s crucial to this Dubai Chocolate Recipe. I usually grab a good brand from a specialty baking store, but your favorite grocery store’s premium option will do wonderfully too. Don’t skimp on the vanilla extract; it’s the unsung hero that rounds out all those chocolate notes beautifully. And the eggs? Make sure they’re at room temperature. It helps them emulsify better with the butter and sugar, leading to a smoother batter.
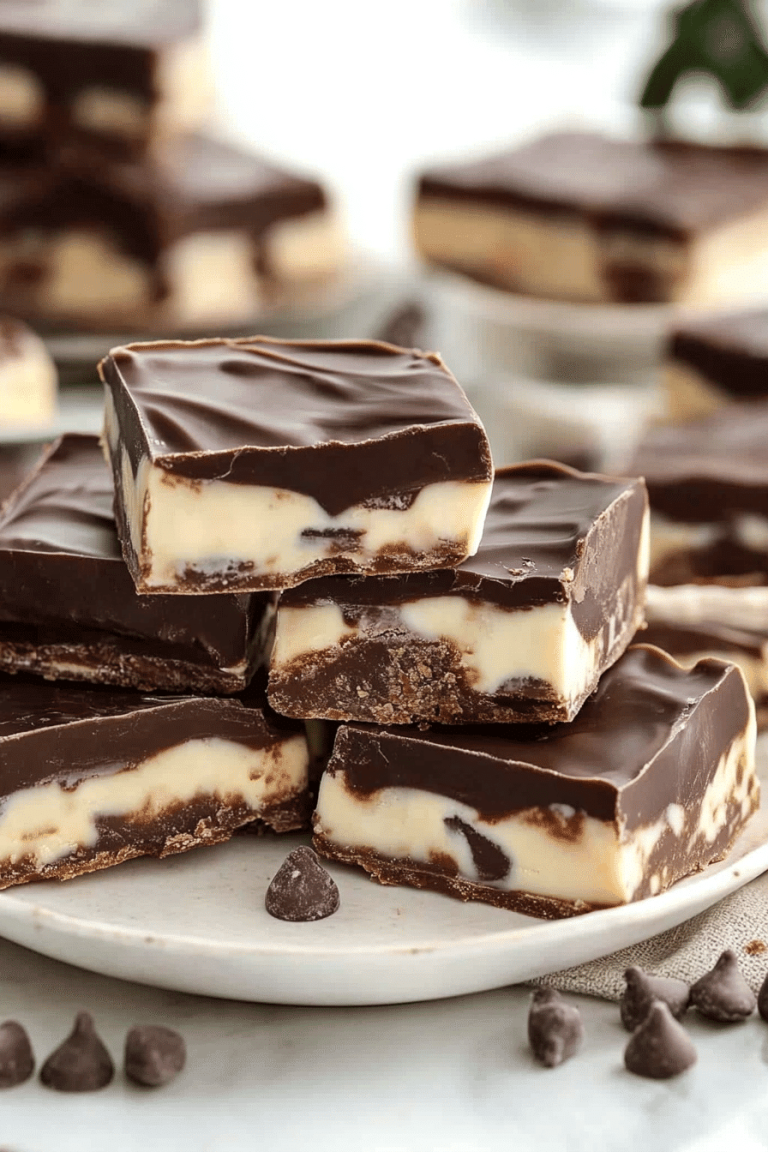
For the Filling:
This is where the magic really happens and what sets this Dubai Chocolate Recipe apart. We’re talking about a luscious, slightly tangy Cream Cheese mixture infused with even more chocolatey goodness. The cream cheese adds a subtle richness and a lovely tang that cuts through the sweetness perfectly. Make sure your cream cheese is softened, but not completely melted – you want it smooth and spreadable. I sometimes add a tiny pinch of instant espresso powder to the cream cheese filling; it doesn’t make it taste like coffee, but it really amplifies the chocolate flavor. If you’re feeling adventurous, a whisper of cinnamon or a tiny bit of cardamom can add a beautiful, subtle warmth that nods to Middle Eastern flavors.
For the Glaze:
A glossy, decadent chocolate glaze is the crowning glory. This isn’t just any glaze; it’s designed to be rich, pourable, and intensely chocolatey. I aim for a consistency that coats the back of a spoon beautifully without being too thick or too thin. Some people like a more ganache-like glaze, others prefer something lighter. This recipe aims for that perfect middle ground that sets up nicely but remains wonderfully fudgy. A splash of heavy cream is key for that luxurious mouthfeel, and a touch of melted butter ensures it stays glossy and doesn’t harden completely.
Step-by-Step Instructions
Step 1: Preheat & Prep Pan
First things first, let’s get your oven prepped. I like to set my oven to 350°F (175°C). It’s that sweet spot for baking that allows everything to cook through without drying out. Now, grab an 8×8 inch or 9×9 inch baking pan. I find that lining it with parchment paper is an absolute lifesaver. It makes lifting the whole beautiful creation out so much easier, and clean-up becomes a breeze. Just let a bit of the parchment hang over the sides like little handles. Then, give the parchment and the sides of the pan a light greasing with butter or cooking spray. This double-layer protection ensures absolutely no sticking, which is crucial for presentation!
Step 2: Mix Dry Ingredients
In a medium bowl, whisk together your all-purpose flour, unsweetened cocoa powder, baking soda, and a good pinch of salt. Whisking them together thoroughly ensures that the leavening agent and salt are evenly distributed throughout the batter. This means you won’t end up with pockets of salty or dense cake. It’s a small step, but it makes a difference in the final texture of your Dubai Chocolate Recipe. I always give it a good minute or two of whisking, just to make sure everything is perfectly combined and a little airy.
Step 3: Mix Wet Ingredients
Now for the wet ingredients. In a larger bowl, cream together your softened unsalted butter and granulated sugar until the mixture is light and fluffy. This is where an electric mixer really comes in handy, but you can definitely do it by hand if you have a bit of elbow grease! Beat in your eggs one at a time, making sure each one is fully incorporated before adding the next. Then, stir in the vanilla extract and your room temperature sour cream or Greek yogurt. The sour cream or yogurt is my secret weapon for extra moisture and a tender crumb. It adds a lovely tang that balances the sweetness beautifully, making the chocolate flavor really pop.
Step 4: Combine
Now, it’s time to bring those wet and dry ingredients together. Gradually add the dry ingredients to the wet ingredients, mixing on low speed or by hand just until everything is combined. Be careful not to overmix here! Overmixing can develop the gluten in the flour, resulting in a tougher texture. You want to see just a few streaks of flour remaining, then you can switch to a spatula to fold everything together gently until it’s just smooth. The batter will be thick and rich, and it should smell absolutely divine!
Step 5: Prepare Filling
While the batter rests for a moment, let’s whip up that decadent cream cheese filling. In a separate bowl, beat the softened cream cheese until it’s smooth and creamy. Then, beat in the powdered sugar until well combined. Stir in a beaten egg and a little vanilla extract. If you’re adding any optional flavorings like espresso powder or spices, now’s the time to mix them in. This filling should be thick and smooth, almost like a luxurious frosting.
Step 6: Layer & Swirl
Time to assemble our masterpiece! Pour about two-thirds of the chocolate batter into your prepared pan, spreading it evenly. Now, dollop spoonfuls of the cream cheese filling over the chocolate batter. Don’t worry about being too precise; the unevenness is part of the charm! Take a knife or a skewer and gently swirl the cream cheese into the chocolate batter. You want to create beautiful marbled patterns, but don’t over-swirl, or you’ll lose the distinct layers. Think elegant swirls, not a muddy mess. Then, gently spoon the remaining chocolate batter over the top, covering the cream cheese swirls as much as possible. You can even add a few more dollops of the filling on top and do a quick swirl for extra visual appeal.
Step 7: Bake
Carefully place the pan into your preheated oven. Bake for about 30-40 minutes. The exact time will depend on your oven, so keep an eye on it. You’ll know it’s done when the edges are set and a toothpick inserted into the center comes out with moist crumbs attached, but no wet batter. The top should look set and slightly cracked, which is totally normal and part of its rustic charm. Resist the urge to overbake, as it can make it dry!
Step 8: Cool & Glaze
Once baked, let the Dubai Chocolate creation cool in the pan on a wire rack for at least 15-20 minutes. This is crucial for allowing it to set properly before you even think about glazing. While it’s cooling, prepare your glaze. In a small saucepan, melt the butter over low heat. Whisk in the cocoa powder until smooth, then gradually whisk in the powdered sugar and heavy cream until you have a smooth, pourable glaze. Once the chocolate base has cooled slightly, pour the glaze evenly over the top, spreading it gently with an offset spatula if needed. Let it cool completely until the glaze is set – this usually takes another hour or so at room temperature.
Step 9: Slice & Serve
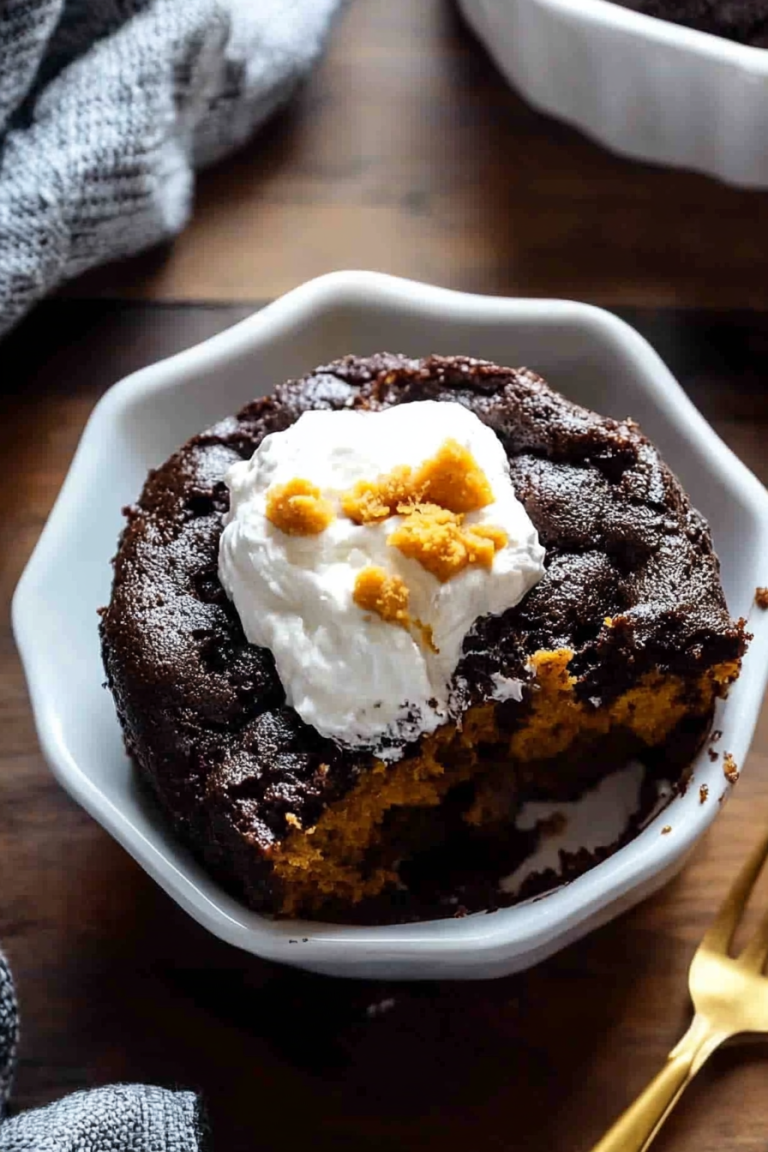
Once the glaze is set, use the parchment paper handles to carefully lift the entire creation out of the pan. Place it on a cutting board. I find using a sharp knife, wiping it clean between each cut, gives you the cleanest slices. This Dubai Chocolate Recipe is absolutely divine served slightly warm or at room temperature. It’s rich enough to be enjoyed on its own, but a dollop of whipped cream or a scoop of vanilla bean ice cream takes it to another level entirely!
What to Serve It With
This Dubai Chocolate Recipe is so versatile, it’s perfect for almost any occasion. For a delightful Breakfast treat, I love serving it cut into small squares alongside a strong, hot cup of Arabic coffee. The bitterness of the coffee is a perfect counterpoint to the rich chocolate. For a more elegant Brunch spread, I’ll slice it into elegant wedges and arrange them artfully on a tiered stand. It pairs beautifully with a glass of sparkling rosé or a fresh fruit salad. As a show-stopping Dessert, it’s a winner. I love serving it warm with a scoop of premium vanilla bean ice cream, or perhaps a raspberry coulis for a tart contrast. Sometimes, I’ll even dust the plate with a little extra cocoa powder or some edible gold flakes for a truly luxurious touch. And for those quiet, Cozy Snacks moments, just a simple slice with a tall glass of cold milk is pure comfort. My family has a tradition of having a slice on movie nights, and it’s become synonymous with relaxation and fun for us. It’s truly a dish that brings people together, no matter the setting.
Top Tips for Perfecting Your Dubai Chocolate Recipe
Over the years, I’ve learned a few tricks that I think really elevate this Dubai Chocolate Recipe from good to absolutely spectacular. When it comes to the Zucchini Prep (if you decide to add some for extra moisture – I sometimes do!), make sure you squeeze out as much water as possible. Grating it finely and then really wringing it out in a clean kitchen towel is key. Otherwise, you’ll end up with a soggy dessert. For Mixing Advice, remember that the key is gentle. Overmixing the batter develops gluten, which can make your final product tough. Mix just until the ingredients are combined, and don’t be afraid to finish with a spatula to ensure you’re not overworking the dough. When it comes to Swirl Customization, don’t stress about perfection. The beauty of this dessert is its marbled appearance. Aim for elegant, flowing lines rather than trying to create intricate patterns. For Ingredient Swaps, I’ve tested this with different milks, and while whole milk is best, I’ve had success with oat milk too for a slightly richer, dairy-free option (though the texture might be a *tiny* bit different). For Baking Tips, always trust your oven, not just the timer. Ovens can vary wildly! Use the toothpick test as your guide, and if you notice the top browning too quickly, you can always loosely tent it with foil. And for those delightful Glaze Variations, if you prefer a slightly thinner glaze, just add a touch more cream. If you want it thicker, whisk in a little more powdered sugar. A pinch of sea salt in the glaze is also a fantastic way to enhance the chocolate flavor and add a sophisticated salty-sweet contrast.
Storing and Reheating Tips
Proper storage is key to keeping this Dubai Chocolate Recipe tasting as amazing as the day you made it. At Room Temperature, it will stay fresh and delicious for up to 2-3 days, especially if kept in an airtight container. I usually just pop a lid on the baking dish or cover it tightly with plastic wrap. If you live in a warmer climate, or if it’s particularly humid, the refrigerator might be a better option. For Refrigerator Storage, wrap it tightly in plastic wrap or place it in an airtight container. It will keep well for about a week. When you take it out, let it sit at room temperature for about 20-30 minutes to soften up before serving. If you have a serious abundance (which rarely happens at my house!), you can definitely freeze portions of this. For Freezer Instructions, wrap individual slices or the entire portion tightly in plastic wrap, then in aluminum foil, or place them in a freezer-safe container. It can be stored in the freezer for up to 2-3 months. To thaw, simply transfer it to the refrigerator overnight, then let it come to room temperature. Regarding the Glaze Timing Advice, I always recommend letting the glaze set completely before storing or freezing. If you’re planning to freeze it, it’s best to glaze *after* thawing to maintain the freshest finish. For refrigerated portions, the glaze holds up beautifully.
Frequently Asked Questions
Final Thoughts
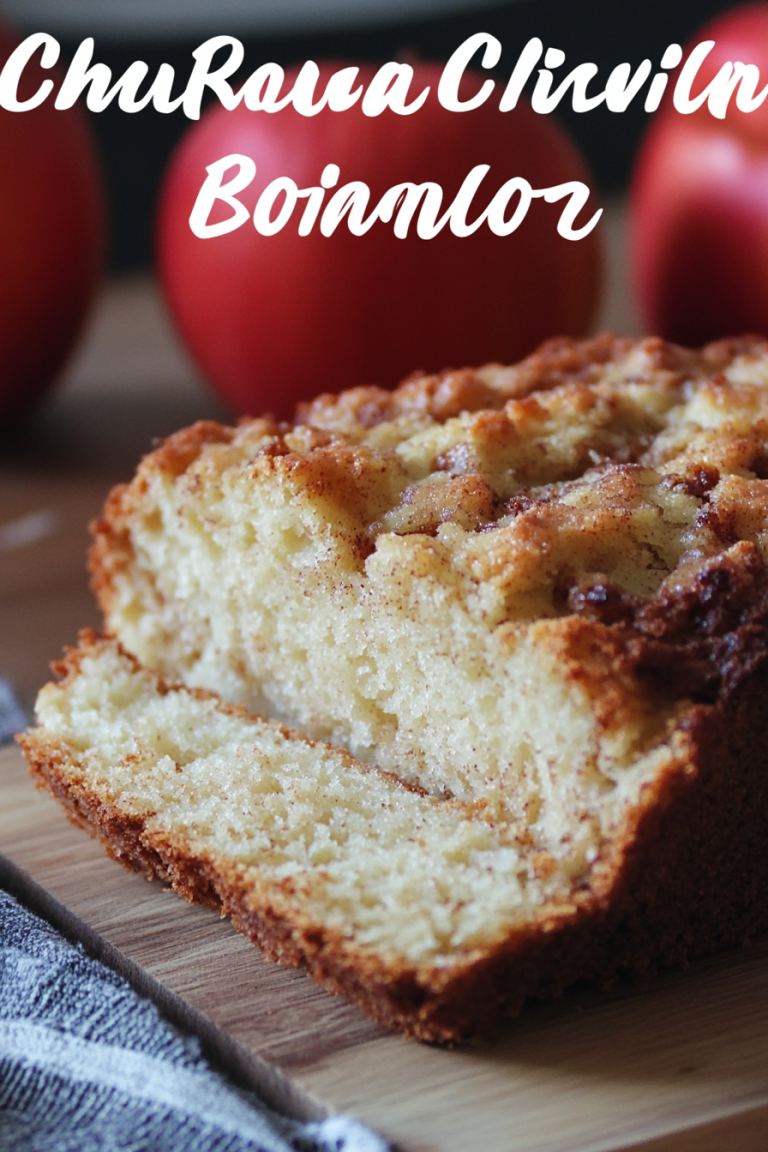
I truly hope you give this Dubai Chocolate Recipe a try. It’s more than just a recipe to me; it’s a source of comfort, a way to share joy, and a reminder of how simple ingredients can create something truly extraordinary. The way the deep chocolate flavor melds with that creamy filling, all topped off with that glossy glaze – it’s just pure happiness. If you love rich, decadent chocolate treats that are surprisingly easy to make, this one is for you. It’s the perfect balance of indulgent and approachable, and I know you’ll love the compliments you get. For those of you who enjoyed this, you might also like my Double Chocolate Zucchini Bread or my Ultimate Fudgy Brownies – they share that same spirit of rich, homemade goodness. I can’t wait to hear what you think! Let me know in the comments below how yours turned out, and feel free to share any of your own delicious twists. Happy baking!
Dubai Chocolate Recipe
Ingredients
Chocolate Shell
- 200 grams Dark Chocolate finely chopped
Pistachio Filling
- 150 grams Pistachios shelled, unsalted
- 50 grams Powdered Sugar
- 2 tablespoons Melted Butter
- 0.5 teaspoons Vanilla Extract
Instructions
Preparation Steps
- For the pistachio filling, pulse the shelled pistachios in a food processor until they form a coarse meal. Add the powdered sugar, melted butter, and vanilla extract. Process until a thick paste forms.
- Roll the pistachio paste into small balls, about 1 inch in diameter. Place them on a parchment-lined baking sheet and freeze for at least 30 minutes.
- Melt the dark chocolate gently. You can use a double boiler or microwave it in short intervals, stirring frequently.
- Dip each frozen pistachio ball into the melted chocolate, ensuring it's fully coated. Use a fork to lift it and allow excess chocolate to drip off.
- Place the coated balls back on the parchment-lined baking sheet. You can drizzle extra melted chocolate on top for decoration if desired.
- Refrigerate for at least 10-15 minutes, or until the chocolate has set.