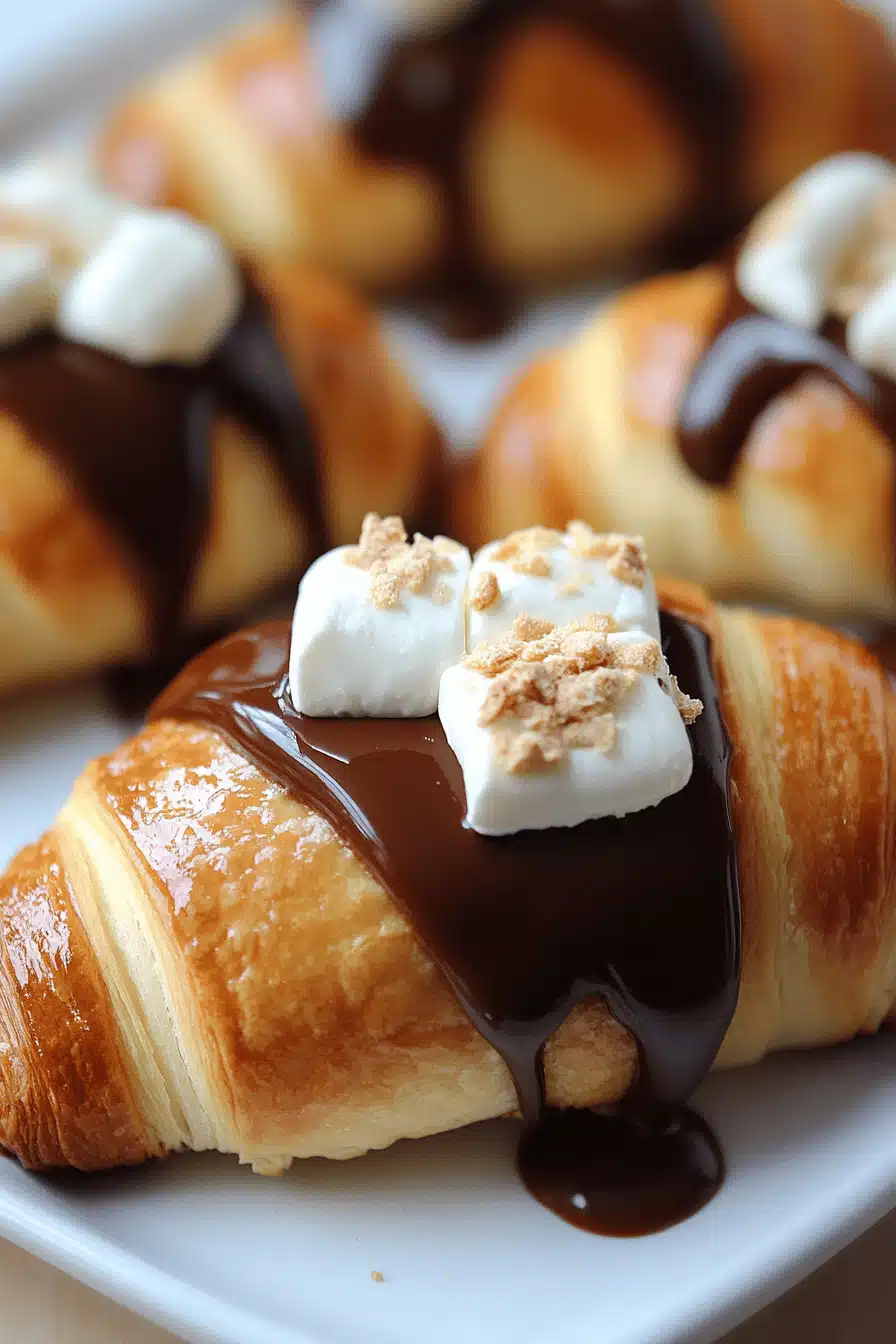
Oh, crescent rolls. Just the thought of them brings me back to Sunday dinners at my grandmother’s house, the smell wafting from her kitchen, promising something warm, comforting, and utterly delicious. There’s something magical about those golden, flaky rolls, isn’t there? They’re not just bread; they’re a hug in edible form. I’ve tried my fair share of recipes over the years, from those you pull out of a can (shhh, don’t tell Grandma!) to more complex yeast-risen versions. But this one? This is the one. It hits that sweet spot of being ridiculously easy to make, yet tasting like you spent hours slaving away. It’s the perfect accompaniment to literally anything, or honestly, just as a snack on its own. If you’ve ever felt intimidated by baking bread, or if you just want a foolproof way to impress your family and friends, you’ve landed in the right spot. These crescent rolls are a total game-changer, and I can’t wait to share them with you.
What are these glorious Crescent Rolls?
So, what exactly are these wondrous things we’re about to make? Think of them as your ultimate pantry staple, elevated. They’re essentially a soft, slightly sweet, enriched dough that’s rolled out, spread with a dreamy filling, and then swirled into those iconic crescent shapes before baking to a perfect golden-brown. Unlike the store-bought versions that can sometimes be a bit too buttery or a little too processed-tasting, these homemade crescent rolls have a tender crumb and a depth of flavor that’s just sublime. The beauty of this recipe is that it captures that nostalgic, comforting essence of classic crescent rolls, but with a little something extra that makes them truly special. It’s the kind of recipe that feels like a secret weapon in your baking arsenal – simple enough for a weeknight, but impressive enough for company.
Why you’ll love this recipe?
What are some of the reasons why I keep coming back to this recipe, time and time again?flavor is just out of this world. You get that subtle sweetness from the dough, a hint of richness from the butter, and then whatever magic you swirl into the center. It’s warm, comforting, and utterly irresistible. I’ve tinkered with this recipe quite a bit, and I swear, the aroma that fills my house when these are baking is enough to make anyone happy.
What is the second category?simplicity. I know, I know, baking bread can sound daunting, but I promise you, this is incredibly straightforward. No fussy proofing times, no complicated techniques. It’s a one-bowl wonder for the dough, and the rest is just rolling and swirling. It’s the kind of recipe that’s a total lifesaver on busy nights when you want something homemade without all the fuss. My kids actually ask for these all the time, especially when we have a quick weeknight dinner and I want a fresh side without ordering pizza!
And let’s talk about cost-efficiency. Most of the ingredients are pantry staples, meaning you probably have most of what you need already. Even if you need to grab a few things, it’s so much more budget-friendly than buying a dozen gourmet rolls.
But what truly sets this recipe apart for me is its versatility. While they are heavenly on their own, they are the perfect companion to so many meals. Think of them alongside a hearty soup, a comforting pasta dish, or even as a sweet treat with a dollop of jam. If you loved my recipe for [link to your cheesy garlic Bread Recipe], you’ll adore these too, as they offer that same comforting, carby goodness but in a different, equally delightful package. Honestly, I could write a whole post just on what to serve these with!
How to Make These Dreamy Crescent Rolls
Quick Overview
The magic of this recipe is how quickly it comes together, even though it tastes like it took hours. You’ll basically mix up a simple dough, let it rest briefly (while you prepare a quick, delightful filling), then roll, fill, swirl, and bake. It’s a straightforward process that yields incredibly impressive results. You get tender, flaky rolls with a wonderful aroma and flavor, all with minimal effort. Trust me, you’ll be making these again and again!
Ingredients
Alright, let’s get down to what you’ll need. The beauty of this recipe is its simplicity, using ingredients you likely already have on hand!
For the Main Batter:
- 2 ¼ teaspoons active dry yeast (one standard packet)
- ¼ cup warm water (around 105-115°F – not too hot, or it’ll kill the yeast!)
- ½ cup warm milk (whole milk gives the best richness, but 2% works fine)
- ¼ cup granulated sugar (this gives them that lovely slight sweetness)
- ½ teaspoon salt
- 1 large egg, room temperature
- 4 tablespoons unsalted butter, melted and slightly cooled
- 3 ½ to 4 cups all-purpose flour (start with 3 ½ and add more as needed to get a soft, slightly sticky dough)
For the Filling:
- ½ cup unsalted butter, softened (make sure it’s really soft so it spreads easily!)
- 2 tablespoons granulated sugar
- 1 teaspoon ground cinnamon (or nutmeg, or a mix – your choice!)
- Optional: a sprinkle of brown sugar for extra caramelization
For the Glaze:
- 1 cup powdered sugar
- 2-3 tablespoons milk or cream
- ½ teaspoon vanilla extract
Step-by-Step Instructions
Step 1: Preheat & Prep Pan
First things first, get your oven preheated to 375°F (190°C). While it’s warming up, lightly grease a 9×13 inch baking pan with butter or cooking spray. This is super important to prevent sticking and ensure those bottoms get a nice golden hue.
Step 2: Mix Dry Ingredients
In a large bowl (or the bowl of your stand mixer if you’re using one), combine the yeast and warm water. Give it a little stir and let it sit for about 5-10 minutes until it gets foamy. This tells you your yeast is alive and ready to work its magic! Once foamy, whisk in the warm milk, granulated sugar, salt, and the room temperature egg. Make sure everything is well combined.
Step 3: Mix Wet Ingredients
Now, add the melted and slightly cooled butter to the wet ingredients. Give it another quick whisk until everything is incorporated. It should look nice and smooth.
Step 4: Combine
Gradually add the flour, starting with 3 ½ cups. Mix with a dough hook on low speed (or by hand with a sturdy spoon) until a soft, slightly sticky dough forms. If it’s too wet and sticking to your fingers excessively, add the remaining ½ cup of flour, a little at a time, until the dough is soft and manageable, but not dry. You don’t want to overwork it at this stage – just mix until it all comes together. It should feel elastic and smooth. I always find it’s better to err on the side of slightly sticky; it makes for a moister roll.
Step 5: Prepare Filling
While the dough is resting for a moment (just about 5 minutes, no need for a long rise here!), quickly whip up your filling. In a small bowl, combine the softened butter, sugar, and cinnamon. Mix it with a fork until it’s a smooth, spreadable paste. This is where so much of that delicious flavor comes from!
Step 6: Layer & Swirl
Lightly flour a clean surface. Turn the dough out onto the floured surface and gently pat it into a rough rectangle. Now, using your rolling pin, roll the dough into a large rectangle, roughly 12×18 inches. Don’t stress about perfection here! Spread the cinnamon-butter filling evenly over the entire surface of the dough, going all the way to the edges. Starting from one of the long sides, tightly roll up the dough into a log. Pinch the seam to seal it. Now, using a sharp knife or dental floss (which I find makes cleaner cuts!), slice the log into 12-16 equal pieces. I usually aim for 12 for slightly larger rolls or 16 for a bit of a smaller bite.
Step 7: Bake
Arrange the rolled pieces cut-side up in your prepared baking pan. They should be touching each other. Cover the pan loosely with plastic wrap or a clean kitchen towel and let them rest for about 15-20 minutes. This little rest allows them to puff up a bit before baking. Once rested, pop them into your preheated oven. Bake for 18-22 minutes, or until they’re beautifully golden brown on top and around the edges. The smell is going to be incredible at this point!
Step 8: Cool & Glaze
Once they’re baked to perfection, remove the pan from the oven. Let the rolls cool in the pan for about 10 minutes. While they’re cooling, whip up the glaze. In a small bowl, whisk together the powdered sugar, 2 tablespoons of milk/cream, and vanilla extract until smooth. Add more milk, a teaspoon at a time, if you prefer a thinner glaze. Once the rolls have cooled slightly, drizzle the glaze generously over the warm crescent rolls. The warmth of the rolls will help the glaze melt just a little, creating that irresistible sticky-sweet topping.
Step 9: Slice & Serve
Serve these warm, directly from the pan. They are absolute perfection when they’re still a little gooey from the glaze and warm through. They practically melt in your mouth. You can also slice them individually if you prefer, but I love serving them family-style right from the baking dish.
What to Serve It With
Oh, this is my favorite part! These crescent rolls are so incredibly versatile, they really can go with almost anything.
For Breakfast: These are fantastic alongside a scrambled egg breakfast, a plate of crispy bacon, or even just with a cup of coffee to start your day. The subtle sweetness is just enough to make it feel like a treat.
For Brunch: Elevate your brunch spread by serving these warm. They’re the perfect counterpoint to savory dishes like quiches, omelets, or even Pulled Pork sliders. A mimosa or a fancy coffee drink pairs perfectly.
As Dessert: Yes, dessert! Drizzle with a little extra glaze, or serve with a side of fresh berries and a scoop of vanilla Ice Cream. They are also divine when served warm with a bit of chocolate ganache.
For Cozy Snacks: My kids go absolutely wild for these as an afternoon snack. They’re satisfying, a little sweet, and always a hit. Serve them with a glass of milk for a comforting pick-me-up. I’ve also found they are incredible dipped into a creamy tomato soup – it’s one of those comfort food pairings that just makes sense.
My family tradition is to always have these with our holiday meals. They disappear faster than anything else on the table! They’re just that universally loved.
Top Tips for Perfecting Your Crescent Rolls
I’ve made these so many times, I’ve picked up a few tricks along the way that I think can really help you achieve crescent roll perfection.
Dough Consistency: The key to a tender roll is not adding too much flour. The dough should be soft and slightly sticky when you turn it out. If it feels overly dry or tough, it will result in a dense roll. A very lightly floured surface for shaping is your friend here.
Mixing Advice: When you’re combining the wet and dry ingredients, mix just until the dough comes together. Overmixing develops the gluten too much, which can lead to tough rolls. You’re looking for a smooth, elastic dough, but don’t beat it into submission!
Swirl Customization: Feel free to play with the filling! While cinnamon sugar is classic, I’ve also tried adding a tablespoon of cocoa powder to the filling for a chocolatey twist, or even a bit of finely chopped nuts for crunch. You can also use a bit of jam instead of the cinnamon sugar if you prefer a fruitier flavor.
Ingredient Swaps: If you don’t have milk, water can be used, but it won’t be quite as rich. I’ve even experimented with almond milk and it worked beautifully, making them a touch lighter. For the butter, you can use margarine in a pinch, but real butter really does give the best flavor.
Baking Tips: Every oven is different, so keep an eye on your rolls. If your oven tends to bake hot on the bottom, you might want to place your pan on the middle or even upper-middle rack. They should have a beautiful golden-brown color on top and the internal temperature should reach around 190-200°F (88-93°C) when they’re done. The edges will be slightly more cooked and crispier, which is totally delicious!
Glaze Variations: If you want a less sweet glaze, just use a little more milk or cream. For a lemon-y kick, add a little lemon zest. If you’re not a fan of cinnamon, try a mix of nutmeg and cardamom, or even just a hint of orange zest!
Storing and Reheating Tips
These crescent rolls are truly best when they’re fresh and warm, but if you happen to have any leftovers (which is rare in my house!), here’s how to keep them delicious.
Room Temperature: Store any leftover rolls in an airtight container or tightly wrapped in plastic wrap at room temperature for up to 2 days. They’ll start to lose a bit of their tenderness after the first day, but they’re still good!
Refrigerator Storage: For longer storage, you can refrigerate them in an airtight container for up to 4-5 days. The texture will change a bit, becoming slightly firmer, but they can be easily revived.
Freezer Instructions: If you want to make a big batch and freeze some for later, that’s totally doable! Let the rolls cool completely. Wrap them tightly in plastic wrap, then in a layer of aluminum foil or place them in a freezer-safe bag. They’ll stay good in the freezer for up to 2-3 months. Thaw them overnight in the refrigerator before reheating.
Glaze Timing Advice: If you plan to store them for more than a day, I recommend holding off on the glaze until you’re ready to serve them, especially if you’re refrigerating. The glaze can make them a bit soggy if stored for too long. You can easily re-glaze them once they’re warm.
Frequently Asked Questions
Final Thoughts

So there you have it – my go-to recipe for the most delightful crescent rolls. I truly believe that this recipe is a keeper, one that will become a regular in your baking rotation. It’s more than just a recipe; it’s about creating those warm, fuzzy feelings that come with sharing delicious, homemade food with the people you love. The smell alone will have everyone flocking to the kitchen, and the taste will have them begging for more.
If you enjoyed this recipe and are looking for other comforting bakes, you might also love my recipe for [link to your favorite scone recipe] or my [link to your easy focaccia Bread Recipe] – they’re all about bringing that homemade warmth to your table.
I can’t wait to hear how your crescent rolls turn out! Please leave a comment below and let me know what you think, or share your own favorite filling variations. Happy baking, and enjoy every single bite!
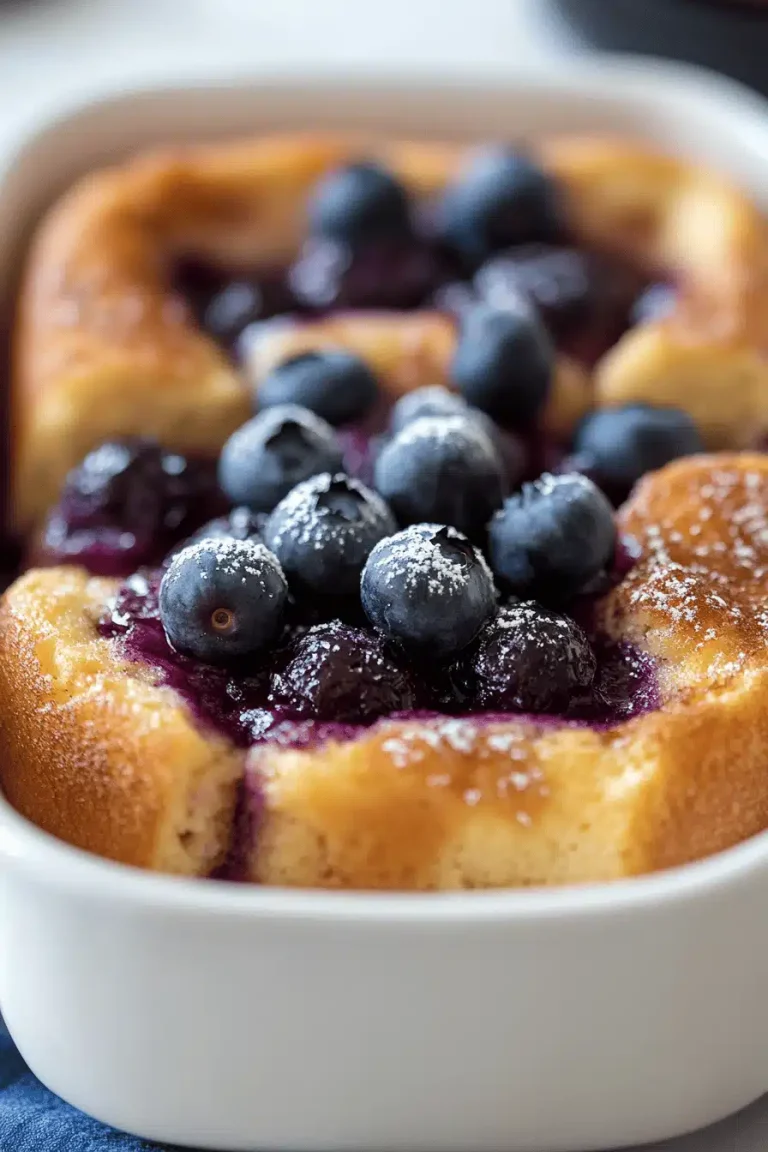
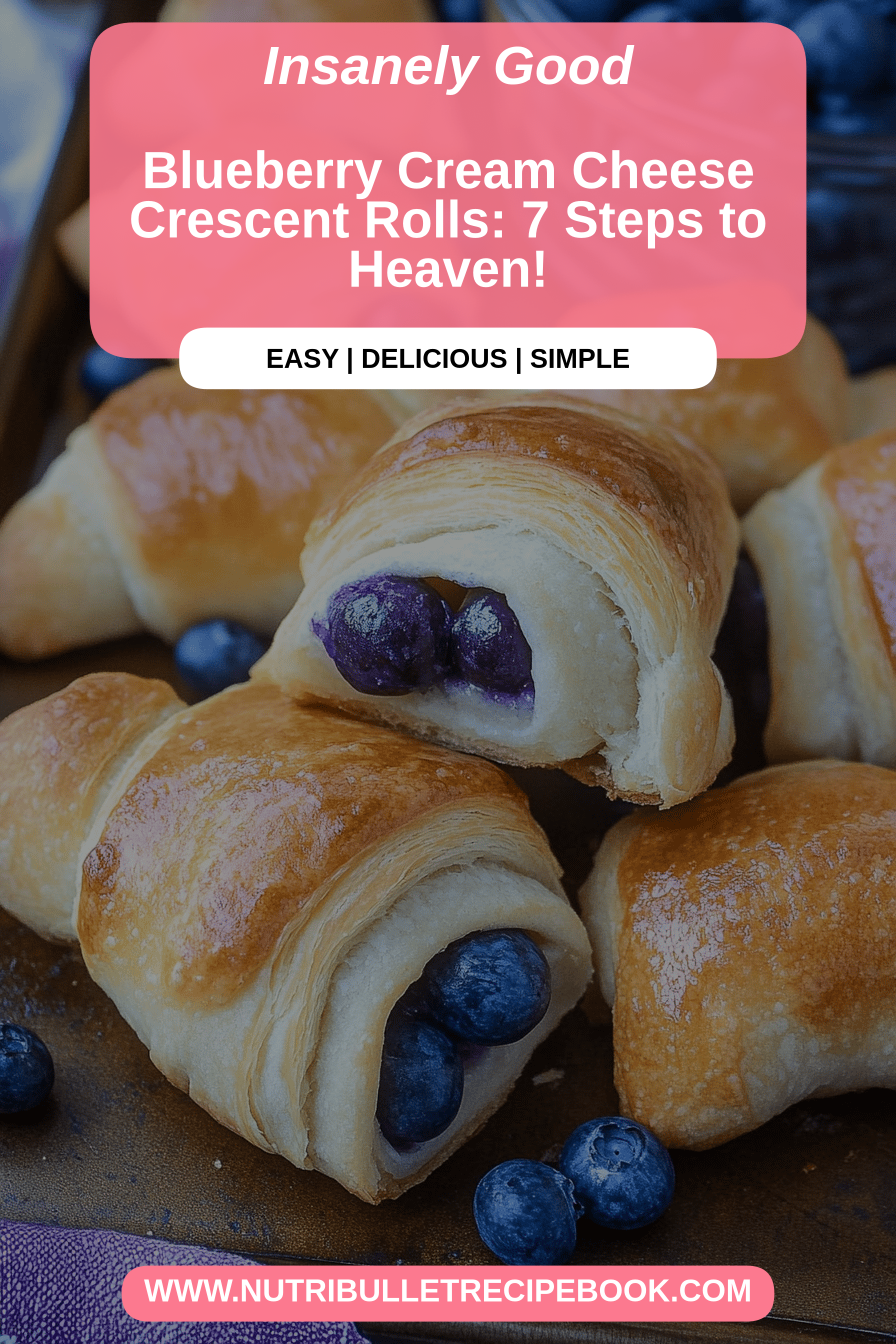
Blueberry Crescent Cream Cheese Rolls
Ingredients
Main Ingredients
- 1 package refrigerated crescent rolls
- 226.8 grams cream cheese softened
- 0.5 cup granulated sugar
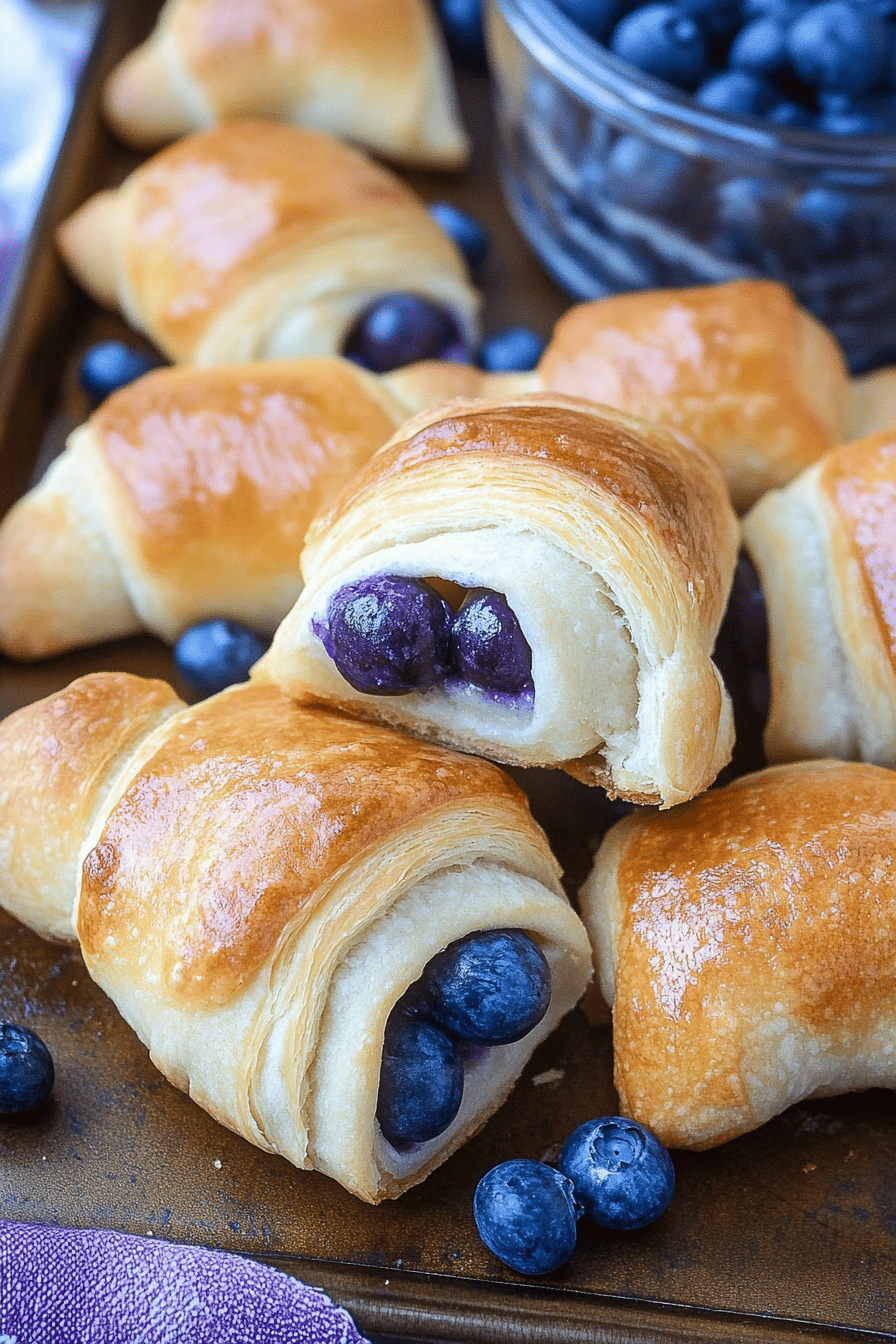
- 1 cup fresh blueberries
- 1 teaspoon lemon zest
For the Glaze
- 0.5 cup powdered sugar
- 1 tablespoon milk
Instructions
Preparation Steps
- Preheat your oven to 375°F (190°C). Line a baking sheet with parchment paper.
- Unroll the crescent roll dough and separate it into triangles.1 package refrigerated crescent rolls
- In a medium bowl, beat together the softened cream cheese and granulated sugar until smooth.1 package refrigerated crescent rolls
- Gently fold in the fresh blueberries and lemon zest into the cream cheese mixture.1 package refrigerated crescent rolls
- Spread about 1-2 tablespoons of the cream cheese mixture onto the wider end of each crescent roll triangle.
- Roll up each triangle, starting from the wide end and rolling towards the point.
- Place the rolled rolls onto the prepared baking sheet.
- Bake for 12-15 minutes, or until golden brown and puffed.
- While the rolls are baking, prepare the glaze by whisking together the powdered sugar and milk until smooth.1 package refrigerated crescent rolls
- Once the rolls are out of the oven and slightly cooled, drizzle with the glaze.
- Serve warm and enjoy!