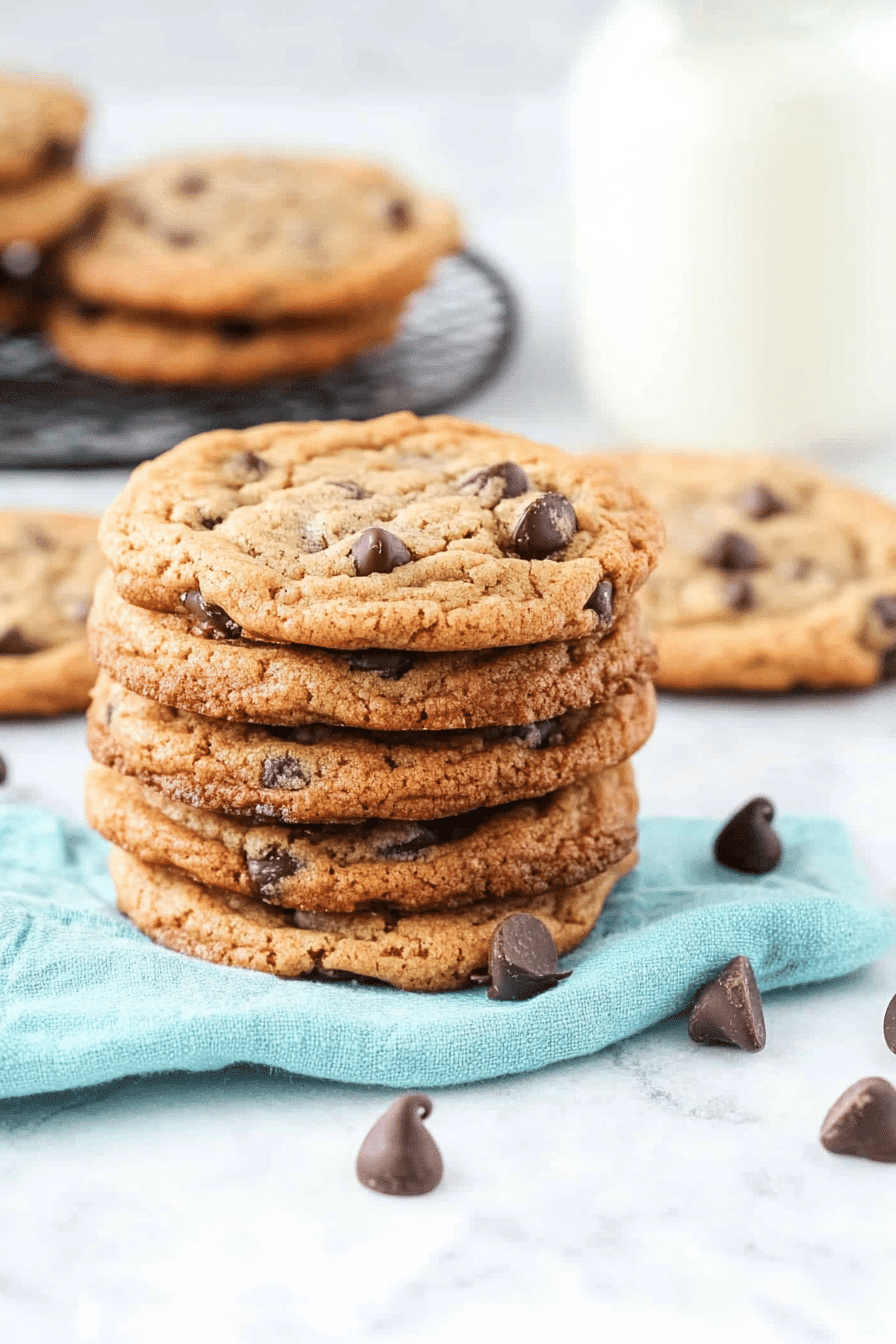
Just think of the moment you pull a tray from the oven and the kitchen fills with the kind of smell that makes you grin without thinking. That’s this, but even better: Chocolate Chip dessert pizza. It’s like a hug you can slice into neat wedges—crispy edges, soft center, and pockets of melty chocolate that stay gooey just enough as you fold a warm piece onto your plate. I’ll be honest: this started as a silly experiment after midnight with a fridge full of odds and ends, and somehow it became a staple in my weekly lineup. It’s incredibly forgiving, which is a lifesaver on busy nights, and the family never complains when I say, “Just one more bite before bed.” The first time I made it, my oldest whispered, “It tastes like a cookie and a pizza had a delicious, delicious baby.” I’m hooked. And yes, this Chocolate chip dessert pizza is every bit as comforting as it sounds—a sweet, shareable treat that comes together faster than you think, with a texture that’s a little bit cookie, a little bit cake, and a lot of joy.
What is chocolate chip pizza?
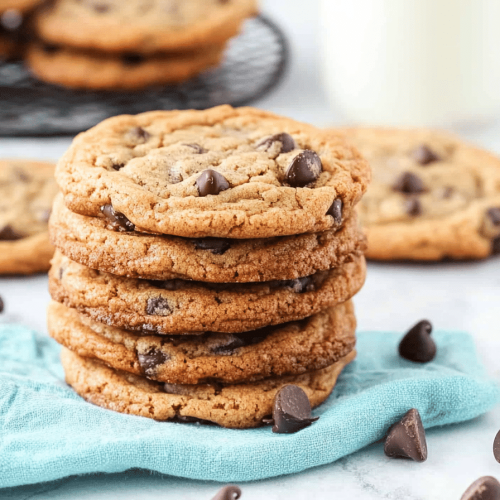
Think of Chocolate Chip dessert pizza as a playful cookie base baked flat on a pizza pan, loaded with chocolate chips and a gooey cream-cheese swirl, then finished with a glossy chocolate glaze. It’s essentially a coffee-break dessert that doubles as a crowd-pleasing snack for movie nights and weekend get-togethers. The name is delightfully descriptive: you’ve got the familiarity of chocolate-chip cookies, arranged like a pizza, with the convenience of toppings you’d usually reserve for a cake or donut. It’s the kind of recipe that feels indulgent but is actually simple enough to pull off on a weeknight. If you’ve ever made a batch of sugar cookies and wished they could be more exciting, this is the answer. It’s a cross between a bar cookie and a sugar cookie, with a little crème-cheese tang that brightens every bite. It’s a crowd-pleaser that travels well for potlucks, too.
Why you’ll love this recipe?
What I love most about this Chocolate chip dessert pizza is how it hits all the right notes without turning a simple night into a full-on bake-a-thon. First, the flavor. The cookie-base batter is subtly buttery with vanilla and just the right amount of brown sugar warmth, plus generous chocolate chips that melt into those soft edges. Then there’s the cream-cheese filling, which adds a tangy creaminess that keeps things from feeling too sweet. The glaze on top is the finishing kiss—a thin, glossy chocolate layer that makes every slice look irresistible. Second, the simplicity. You’ll whisk, spread, swirl, and bake—no complicated layers or frosting battles here. Third, the cost efficiency. It’s built with pantry staples; you’re likely to have most of what you need on hand. And finally, the versatility. Want peanut butter chips or white chocolate? Go for it. Swap in a dairy-free Cream Cheese for a lighter version? Totally fine. What I love most about this recipe is that it tastes special enough for guests, yet it comes together in one pan and one bowl. It’s become a reliable favorite for birthdays, weekend goodies, and those times you crave something sweet but don’t want to commit to a whole cake.
How do I make chocolate chip pizza?
Quick Overview
This is a one-pan dream: whisk together a cookie-dough-like batter, press it into a round pan, shower it with chocolate chips, dollop a tangy cream-cheese swirl, and bake until the edges are lightly crisp and the center stays soft. After it comes out of the oven, you drizzle a glossy chocolate glaze on top and let it set just long enough to slice. It’s wonderfully forgiving—if you’ve overbaked by a minute or two, you’ll still end up with a chewy, chocolatey slice that’s impossible not to love. The beauty is in the balance: a warm, cookie-like base, cool, creamy filling, and a little gleam of glaze to bring it all together. And yes, it freezes well, so you can have a quick dessert ready to go for last-minute guests.
Ingredients
For the Main Batter:
- 2 cups all-purpose flour
- 1 teaspoon baking powder
- 1/2 teaspoon baking soda
- 1/2 teaspoon salt
- 1/2 cup (1 stick) unsalted butter, melted and cooled
- 3/4 cup packed light brown sugar
- 1/4 cup granulated sugar
- 2 large eggs
- 1 tablespoon vanilla extract
- 1 1/2 cups chocolate chips (semisweet or a mix of chips)
For the Filling:
- 8 oz cream cheese, softened
- 1/3 cup powdered sugar
- 1 teaspoon vanilla extract
- 1/2 cup additional chocolate chips (optional, for a chunky swirl)
For the Glaze:
- 1/2 cup semisweet chocolate chips
- 1 tablespoon light corn syrup (optional, for shine)
- 1–2 tablespoons heavy cream or milk, as needed to loosen
Others:
- Nonstick spray or parchment for the pan
Step-by-Step Instructions
Step 1: Preheat & Prep Pan
Preheat your oven to 350°F (175°C). Lightly grease a 12-inch round pizza pan or springform pan with nonstick spray, then line with parchment if you have it. The parchment makes slicing later a breeze, and it helps the edges stay perfectly crisp without sticking. If you don’t have a round pan, a square baking sheet works too—just spread the batter evenly and keep an eye on the bake time.
Step 2: Mix Dry Ingredients
In a medium bowl, whisk together the flour, baking powder, baking soda, and salt. I like to whisk thoroughly so there aren’t any pockets of baking soda or powder. This step matters because it keeps the texture even—no crumbly, uneven spots in your slice.
Step 3: Mix Wet Ingredients
In a large bowl, whisk the melted butter with the brown sugar and granulated sugar until glossy. Add the eggs one at a time, whisking after each, then stir in the vanilla. The mixture should look silky and a touch glossy; this is the base that gives you that chewy cookie vibe in every bite.
Step 4: Combine
Pour the dry ingredients into the wet ingredients and mix just until combined. It’s okay if a few streaks of flour remain; you don’t want to overmix. Fold in the 1 1/2 cups of chocolate chips until evenly distributed. The batter should be thick and scoopable, not runny. If it seems a touch stiff, a splash of milk can help, but go slow.
Step 5: Prepare Filling
Beat the cream cheese with powdered sugar and vanilla until smooth and creamy. A few small lumps are okay if you’re in a hurry, but smooth is better for a clean swirl. If you’re feeling extra chocolatey, fold in the extra 1/2 cup chocolate chips at this stage. You’ll drop dollops across the surface later to create lovely marbling.
Step 6: Layer & Swirl
Spread the main batter evenly over the pan, reaching the edges. Dollop small spoonfuls of the cream cheese mixture across the surface, then use a knife or skewer to swirl it into the batter. Don’t overwork it; you want pretty marbling, not a uniform paste. If you like, dust a few more chips on top for a crisp finish.
Step 7: Bake
Bake for 18–22 minutes, until the edges are golden and the center is set but with a gentle jiggle. If you’re using a darker pan, check closer to 18 minutes to avoid overbaking. A toothpick inserted in the center should come out with a few moist crumbs; that’s the sweet spot for a tender center that’s still chewy in the middle.
Step 8: Cool & Glaze
Let the dessert pizza cool on a rack for about 10–15 minutes before glazing. Melt the 1/2 cup chocolate chips with a little cream until glossy. Drizzle over the warm surface in a thin, lattice-like pattern or simply spread it in a smooth layer. The glaze will set as the pizza cools, giving you a beautiful, shiny finish. If you’re in a rush, a quick dusting of powdered sugar works as well, but I adore the glossy, café-style finish of the glaze.
Step 9: Slice & Serve
Use a sharp pizza wheel or a large chef’s knife to cut clean wedges. For the most elegant look, wipe the blade between cuts to keep edges neat. Serve warm for the gooey-fudgy experience, or let it rest a bit longer to slice neatly and showcase the marbling. This is excellent with a scoop of vanilla bean ice cream and a light dusting of sea salt for contrast—the salt really makes the chocolate pop.
What to Serve It With
Chocolate chip dessert pizza is wonderfully versatile and shines in different contexts. Here are a few ideas I’ve loved over the years, with the casual, friendly vibe that makes this dish so approachable.
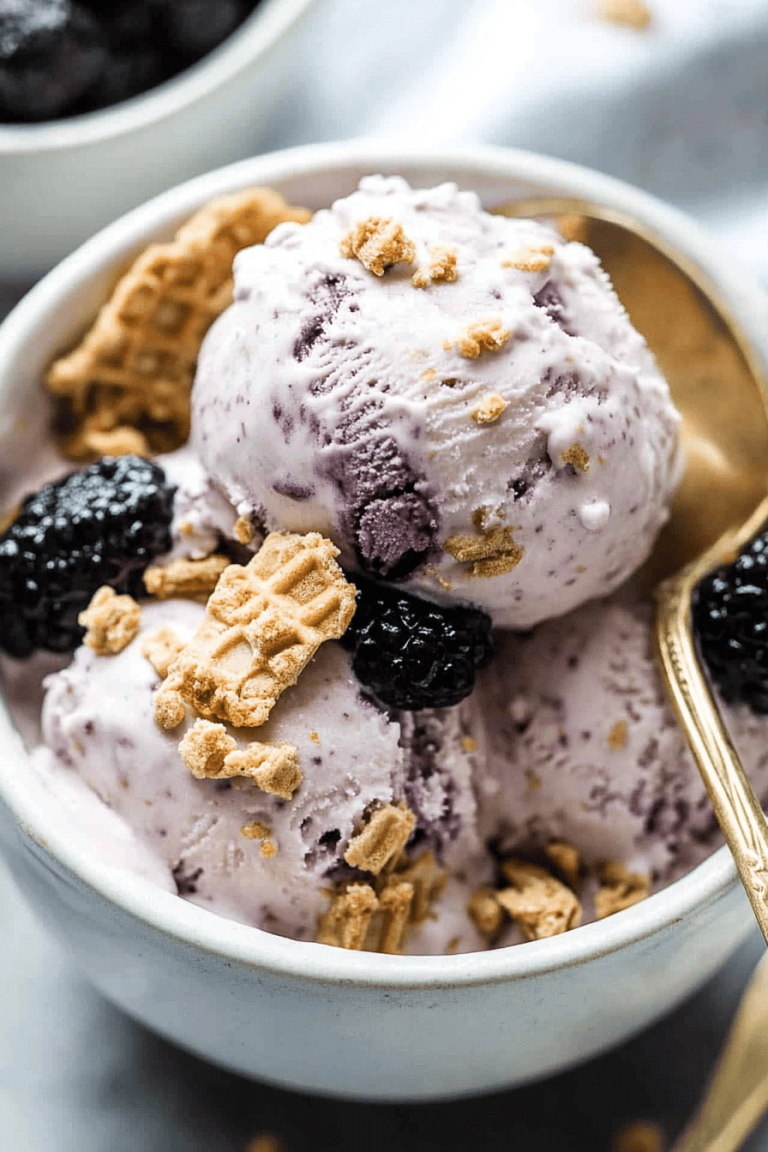
For Breakfast: Warm slices with a strong cup of coffee or a creamy latte. The idea of dipping a bite into a little milk or foam is irresistible. I sometimes thinly slice the pizza and serve it beside berries for a quick, indulgent morning treat. The scent alone makes the kitchen feel welcoming and bright.
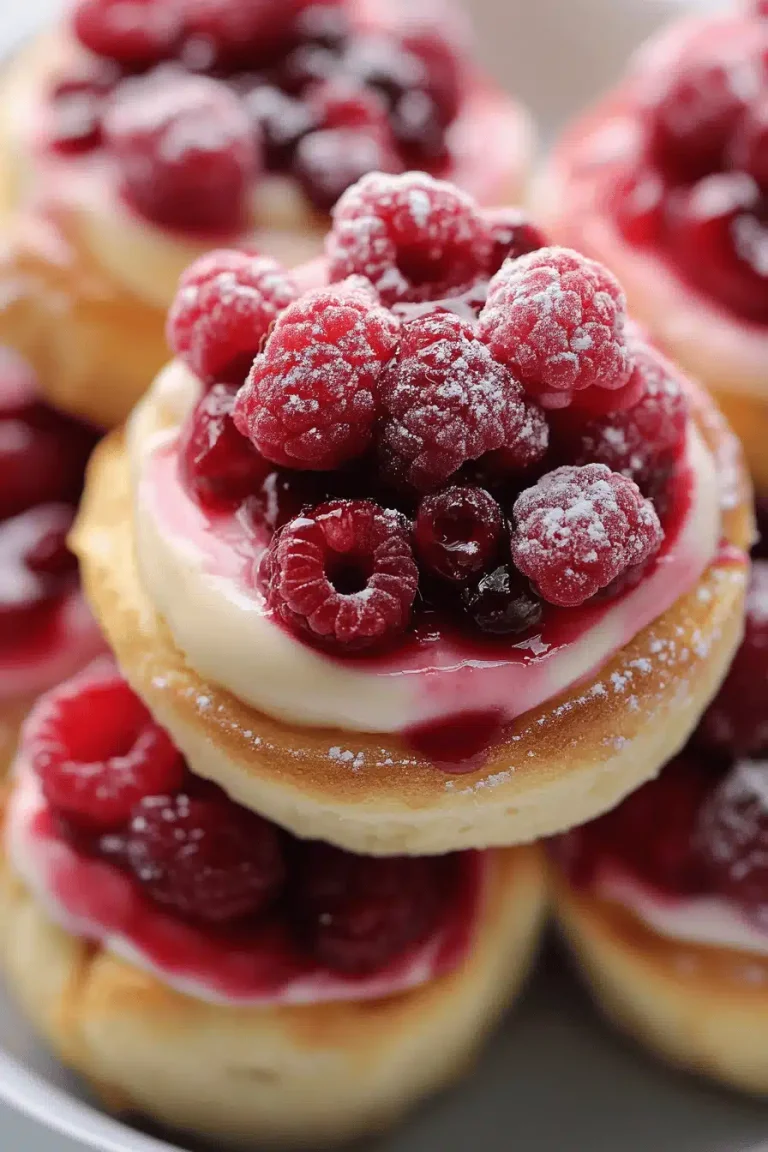
For Brunch: Present wedges on a wooden board with fresh fruit, a sprinkle of flaky sea salt, and a side of whipped cream or yogurt. A light, citrusy sparkling beverage pairs beautifully with the chocolate and cream cheese, cutting through the richness just enough to feel balanced.
As Dessert: A dollop of lightly whipped cream or vanilla ice cream beside a warm wedge. Add a drizzle of extra glaze or a quick espresso sauce for a little coffee-chic finish. My neighborhood friends always fight over the last slice—trust me on this one, it disappears in minutes.
For Cozy Snacks: Cut small squares and serve with mugs of hot cocoa, cinnamon tea, or chai. It’s the kind of thing you reach for after a long day, when you want something comforting and easy to share. I’ve found this version to be the perfect bedtime treat—sweet enough to satisfy but gentle enough not to keep you up all night.
In our house, we rotate toppings and fillings to keep things interesting: sometimes we swap in white chocolate chips, add a sprinkle of crushed pretzels for a salty crunch, or swirl in peanut-butter ribbons. The recipe adapts to what you have on hand, and that flexibility is part of the charm. If you’ve got a favorite add-in, I’d love to hear about it in the comments—I’m always curious how other kitchens personalize this one.
Top Tips for Perfecting Your Chocolate chip dessert pizza
These aren’t just notes—they’re the small tweaks that save weekends and turn good bakes into favorites.
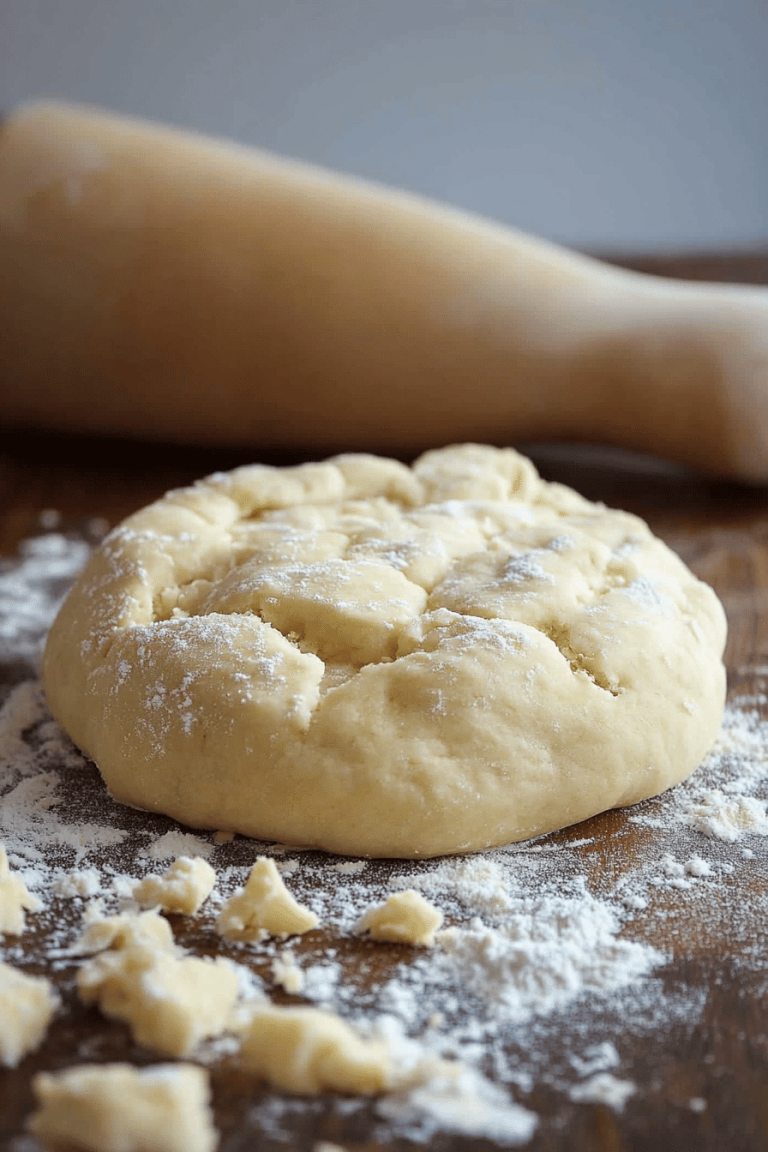
Dough Prep: Make sure the butter is truly cooled before mixing with the eggs. If it’s too warm, it can thin the batter and cause spreading, leading to thinner, crisper edges rather than a chewy center. A quick chill of the batter for 15–20 minutes helps, especially on warm days, and makes slicing neater later on.
Mixing Advice: Resist the urge to overmix the batter once the flour hits the wet ingredients. A few streaks of flour are fine—the goal is a cohesive batter, not a pancake batter. Overmixing can break down the gluten and result in a tougher bite. You want a tender, slightly chewy crumb with a glossy surface.
Swirl Customization: The marbling looks gorgeous and tastes wonderful, but don’t stress about perfect patterns. If you want a more dramatic swirl, drop thicker dollops of the cream-cheese mixture and use a skewer to create wider ribbons. Alternatively, swirl with a bit of peanut butter or hazelnut spread for a richer contrast.
Ingredient Swaps: This recipe is forgiving. For a gluten-free version, substitute a 1:1 gluten-free flour blend and a touch more milk if needed to loosen the batter. Dairy-free? Use a plant-based butter and a non-dairy cream cheese substitute. The flavor remains comforting, and the texture stays tender. If you’re using darker chocolate chips, you’ll notice the glaze shows differently—embrace the contrast for a deeper, café-like finish.
Baking Tips: Oven temperatures vary. If your oven runs hot, bake at 325–335°F and watch for doneness a bit earlier. If your oven runs cool, you may need a couple more minutes. A light touch with the glaze helps keep the center moist rather than dried out; glaze when the surface is still warm for a glossy finish that sets beautifully as it cools.
Glaze Variations: If you want a more intense chocolate hit, add 1–2 teaspoons of espresso powder to the glaze. For a maple-kissed finish, whisk in 1 tablespoon of maple syrup. If you’re avoiding dairy, use coconut cream to thin the glaze and omit the cream cheese entirely for a cookie-bar vibe that still delivers on the chocolate and richness.
Lessons learned: this recipe never fails because it’s forgiving. I’ve pulled it from the oven a minute early and the center still held together with a soft, fudgy center. I’ve also stretched the pan to a sheet for a thinner, crisper finish—both versions are delicious, and both have their fans. My biggest tip is to taste as you go—tiny adjustments to sugar, chocolate, and glaze can make a big difference in your kitchen’s vibe on any given night.
Storing and Reheating Tips
Here’s how I keep this Chocolate chip dessert pizza fresh for days, because leftovers are never truly leftovers in our house.
Room Temperature: If you’re planning to eat within a day, keep it in a loose cover on the counter for up to 24 hours. The glaze helps preserve moisture, but you don’t want it to trap too much humidity and soften the edges too quickly.
Refrigerator Storage: Wrap the cooled pizza tightly in plastic wrap or place in an airtight container. It will stay good for 3–4 days. Reheat slices for 8–10 minutes at 325°F (165°C) to restore some of the warmth and tenderness without drying out the edges.
Freezer Instructions: Freeze baked slices in a single layer on a sheet pan, then transfer to a freezer bag. They’ll keep for up to 2–3 months. Thaw overnight in the fridge, then rewarm in a 300°F (150°C) oven for 8–12 minutes or until heated through. If you’re reheating from frozen, add a few extra minutes to the bake time.
Glaze Timing Advice: If you’re planning to freeze, consider applying the glaze after thawing and warming to maintain a glossy finish. If you must glaze before freezing, expect a slightly duller finish after thawing—feel free to re-glaze quickly before serving for maximum shine and flavor.
Frequently Asked Questions
Final Thoughts
This Chocolate chip dessert pizza is a little like a well-loved family recipe: simple, comforting, and a touch nostalgic. It’s the kind of dessert that makes the house feel cozier, especially when you pair it with conversation and the glow of a late-night kitchen lamp. It’s flexible enough to amuse picky eaters and sophisticated enough to impress guests without needing a pastry chef’s toolkit. I hope you’ll try it, tweak it to your taste, and make this your own little kitchen ritual. If you give it a go, tell me in the comments what you swapped, what you loved, and which topping you chose to top it off. Happy baking! And if you have a moment, drop a quick rating—it helps me keep sharing recipes that feel like a warm hug in dessert form.
Chocolate chip dessert pizza
Ingredients
Main Ingredients
- 0.5 cup unsalted butter, softened
- 0.75 cup brown sugar
- 0.25 cup granulated sugar
- 1 large egg
- 1 teaspoon vanilla extract
- 1.75 cup all-purpose flour
- 0.5 teaspoon baking soda
- 0.25 teaspoon salt
- 1 cup semi-sweet chocolate chips
Instructions
Preparation Steps
- Preheat the oven to 350°F (175°C) and grease a round 12-inch pizza pan or line with parchment.
- Cream the butter and sugars together until light and fluffy.
- Beat in the egg and vanilla until well combined.
- Stir in the flour, baking soda, and salt just until a soft dough forms.
- Fold in the chocolate chips, press dough into the prepared pan, and bake for 12 to 15 minutes until edges are golden.
- Cool slightly, slice into wedges, and serve warm with ice cream if desired.