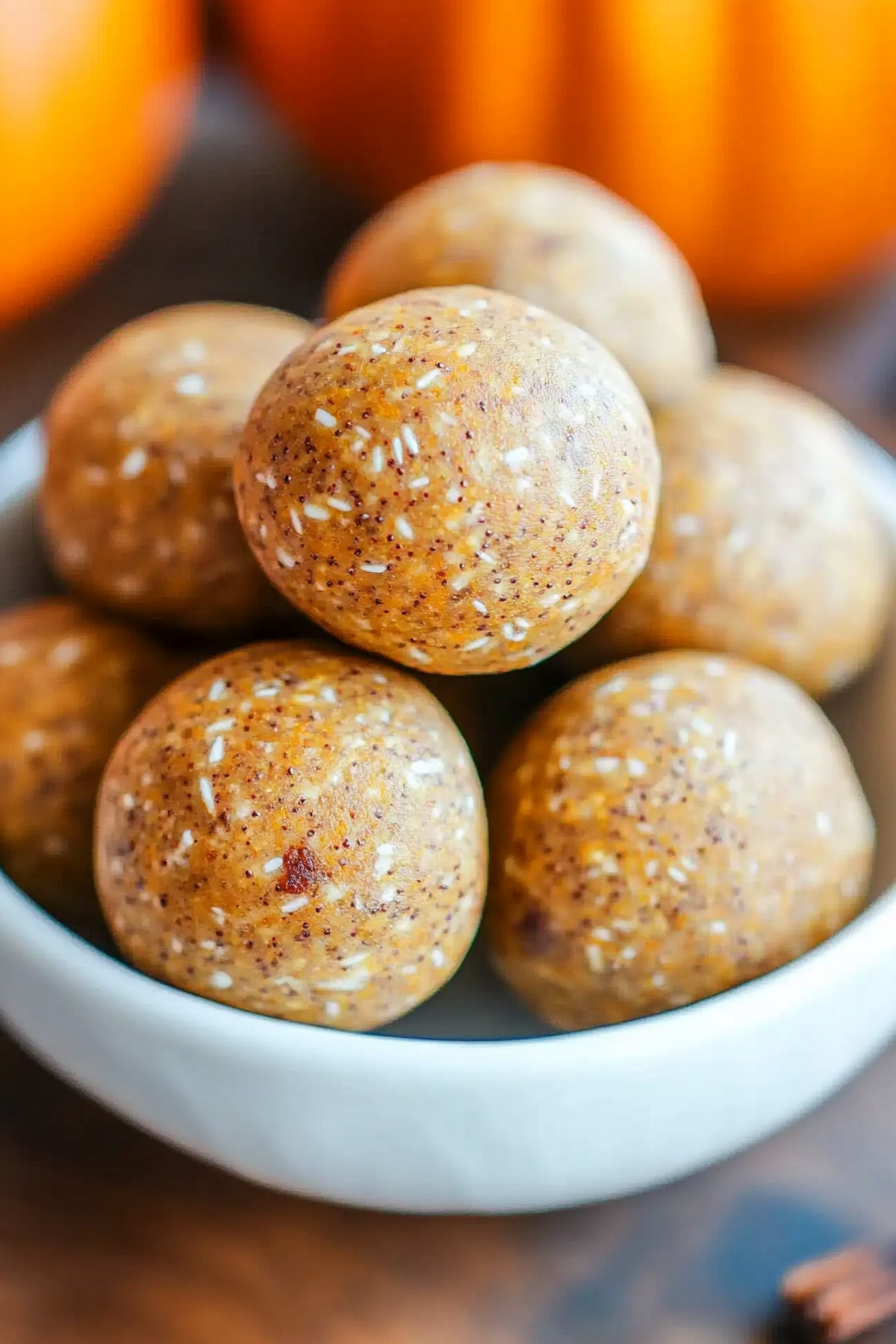
When the leaves start turning, I crave that warm, cozy Pumpkin Pie flavor—but I don’t always want to bake. That’s how pumpkin pie energy balls showed up in my kitchen: as a quick, portable, no-fuss way to get pumpkin spice happiness in every bite. They smell like a bakery at dawn—cinnamon, vanilla, a hint of nutty almond butter—and they feel so indulgent, yet they’re perfectly simple to whip up on a busy weeknight. I’ll be honest: this little tray of bite-sized treats is basically a comforting hug you can hold in your hand. Compare them to a slice of pumpkin pie and you’ll see how they capture all that seasonal warmth in a still-crisp, bite-sized form. My kids love them because they’re sweet, chewy, and not overly fussy; my partner loves that they travel well, so we can tuck a few into lunch boxes or on car trips. This is the kind of recipe you reach for when you need a little sweetness that doesn’t derail the day. And yes, pumpkin pie energy balls can be your secret weapon on a chaos-filled afternoon—just grab a few and go.
What are pumpkin pie energy balls?
Think of Pumpkin Pie energy balls as tiny, portable bites that taste like autumn in a bite-sized sphere. It’s essentially a no-bake fusion: pumpkin puree meets oats, nut butter, a touch of maple, and pumpkin pie spice, all bound together into chewy, flavorful balls. The name comes from that classic pumpkin pie flavor profile—creamy pumpkin, cinnamon warmth, vanilla cozy notes—translated into an easy, grab-and-go snack. They’re the kind of treat you can assemble in minutes and stash in the fridge for rushed mornings or late-night cravings. It’s like a mini pie filling, but every bite is a chewy, oat-based ball you can pop into your mouth without dirtying a single dish beyond your mixing bowl. If you love pumpkin pie but want something that travels and lasts, this is your new go-to.
Why you’ll love this recipe?
What I love about this recipe is how it delivers Pumpkin Spice magic without the fuss. Here are the big wins you’ll notice from the first bite:
- Flavor: The pumpkin puree, maple syrup, and pumpkin pie spice create a cozy, slightly caramelized mouthfeel that tastes like a sun-kissed pie slice in compact form. It’s creamy but not heavy, and the vanilla lingers pleasantly.
- Simplicity:What can I do when I don’t want to heat up the kitchen?
- Cost-efficiency: You’ll likely have most of these ingredients on hand—rolled oats, pumpkin puree, peanut or almond butter, maple syrup, and a few spices—so you’re not chasing pricey groceries for a dessert you’ll gobble up in minutes.
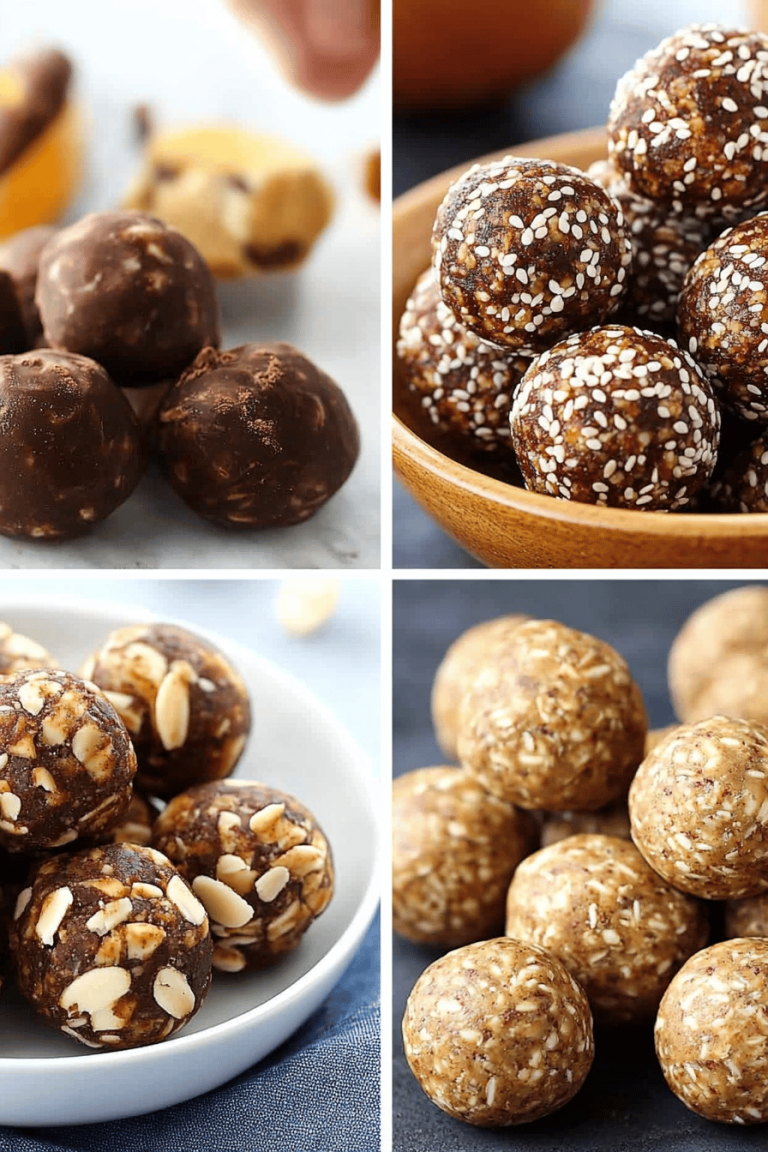
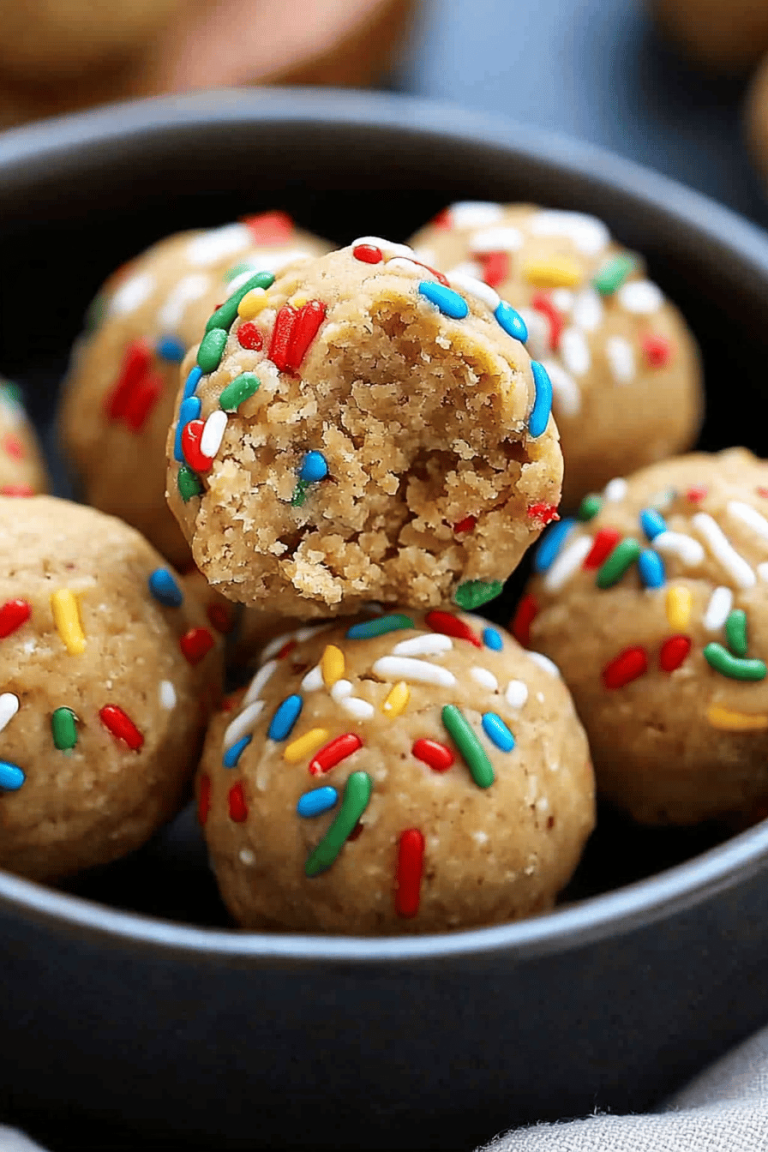
- Versatility: It’s easy to customize with nuts, seeds, chocolate, or dried fruit. You can swap almond butter for peanut butter, use coconut, or add chia for a little extra texture. It also makes a fantastic base for a patient kid who wants to “design” their own bite.
- Make-ahead magic: These bite-sized treats stay delicious for days and travel well. They’re perfect for lunchboxes or school snacks, and they’re the kind of thing you can portion into little containers for the week.
What makes pumpkin pie energy balls feel special is that you can keep them simple or dial them up with a few tweaks. I often reach for a handful of dark chocolate chips in mine or toss in chopped pecans for extra crunch. If I’m feeding a crowd, I’ll make a double batch and set out a little dipping bowl of yogurt or Cream Cheese Glaze for a fun finish. This is one of those recipes that has earned a place in my weekly rhythm because it’s dependable, comforting, and just right for sharing with friends who pop by unannounced.
How to Make Pumpkin Pie Energy Balls
Quick Overview
Here’s the short version: whisk together the dry ingredients, blend the wet ingredients until smooth, stir them together until the mixture cozy-bonds, then roll into bite-sized balls. If you want a playful swirl, you can add a ribbon of glaze or a center surprise before rolling. The beauty is in the no-bake approach—a quick chill in the fridge lets the texture set so they stay firm in your hand, not crumbly on the counter. You’ll end up with a tray of bite-sized pumpkin pie energy balls that taste like dessert but feel like a smart, satisfying snack. It’s fast, it’s flexible, and it’s reliably delicious.
Ingredients
For the Main Batter:
- 1 cup old-fashioned oats (gluten-free if needed)
- 1/2 cup pumpkin puree, not pumpkin pie filling
- 1/3 cup creamy almond butter or peanut butter
- 1/4 cup pure maple syrup or honey
- 1/2 teaspoon pumpkin pie spice
- 1/4 teaspoon ground cinnamon
- 1/2 teaspoon vanilla extract
- Pinch of fine salt
For the Filling:
- Optional add-ins: 2–3 tablespoons mini chocolate chips or chopped pecans
- Optional twist: 1 tablespoon chia seeds for extra texture and nutrition
- Optional swirl: a few teaspoons cream cheese glaze or Greek yogurt drizzle (see glaze below)
For the Glaze:
- 2 tablespoons cream cheese, softened (or dairy-free cream cheese)
- 1–2 teaspoons maple syrup or honey
- 1/2 teaspoon vanilla extract
- Thin splash of milk or dairy-free milk to reach drizzling consistency
Step-by-Step Instructions
Step 1: Preheat & Prep Pan
You don’t actually bake these, so there’s no real need to heat the oven. Still, if you want to toast the oats for a deeper nuttiness, you can quick-toast them in a dry skillet over medium heat for 3–4 minutes, stirring often, until they smell toasty. Line a baking sheet or set out a plate for the finished bites. If you’re not toasting, that’s totally fine—these come together fast as is.
Step 2: Mix Dry Ingredients
In a large bowl, whisk the oats, pumpkin spice, cinnamon, and salt. The spices wake up the oats and set the stage for that classic pumpkin pie scent. This is where your kitchen already feels like autumn, even if the weather outside hasn’t caught up yet.
Step 3: Mix Wet Ingredients
In a separate bowl, blend the pumpkin puree, almond butter, maple syrup, and vanilla until smooth. If your almond butter is a touch stiff, a quick stir helps loosen it up; you want a cohesive, shiny mixture that coats the oats without feeling greasy.
Step 4: Combine
Pour the wet mixture into the dry and stir until a thick, cohesive dough forms. If it feels too dry, add a teaspoon or two of water or a splash of milk. If it’s too wet, add a couple more tablespoons of oats. It should be easy to pinch together, not crumbly or sticky to the touch.
Step 5: Prepare Filling
Fold in any optional add-ins—mini chocolate chips, chopped pecans, or a pinch of chia seeds. If you’re adding a swirl, this is also the moment to gently incorporate it into portions of the dough so each bite has a hint of that creamy contrast.
Step 6: Layer & Swirl
To create a fun swirl, portion the dough and roll into a ball, then flatten slightly and add a tiny dot of glaze or extra nut butter in the center before sealing. Roll again, so the inner swirl is tucked inside. If you prefer clean, uniform bites, skip the swirl and roll smooth balls instead.
Step 7: Bake
Here’s the thing: pumpkin pie energy balls are no-bake by nature. Bake them if you’d like a extra-firm texture, but you’ll typically skip this step. If you do want a brief set in heat, bake at a very low temp (around 300°F / 150°C) for 6–8 minutes, just to firm up the edges. Otherwise, chill in the fridge for 20–30 minutes or until set. This is the moment the kitchen fills with that comforting pumpkin aroma, and you realize you’re about to have a bite of fall love, in bite-sized form.
Step 8: Cool & Glaze
If you’re glazing, whisk the glaze ingredients until smooth and pourable. Drizzle lightly over the tops of the balls or dip each ball halfway for a glossy finish. Let the glaze set slightly before moving the tray to the fridge so the coating doesn’t smear. The glaze adds a creamy contrast that echoes the tang of a cream cheese frosting on a tiny pie—without the extra sugar binge.
Step 9: Slice & Serve
There’s no slicing necessary with energy balls, but for a pretty presentation, you can arrange them in a parade on a platter or in little muffin cups. Serve them at Room Temperature or slightly chilled; I love them right after they’ve settled in the fridge—firmer on the outside, chewy inside. If you’re sharing with friends, a little dusting of extra cinnamon on top looks festive and invites that warm, cozy vibe. These pumpkin pie energy balls disappear quickly, especially when the house smells like spiced autumn goodness.
What to Serve It With
These pumpkin pie energy balls are wonderfully versatile and snackable in all kinds of moments. Here are a few ideas that pair nicely with their flavor profile:
For Breakfast: A few balls with a mug of strong coffee or chai latte; arrange on a plate with a dollop of yogurt and pomegranate seeds for a breakfast that tastes like a morning stroll through a pumpkin patch.
For Brunch: Set out a small tray beside a fall fruit platter, drizzle a little maple yogurt on the side, and let guests pick their favorites. A light dusting of cinnamon across the tray makes it feel seasonal and cozy.
As Dessert: Serve with a warm caramel sauce on the side or a tiny scoop of vanilla ice cream for a deconstructed pumpkin pie moment. A few crushed pecans sprinkled on top add crunch and color.
For Cozy Snacks: Pair with a mug of warm apple cider or spiced chai. They’re the kind of bite-sized treat that fits neatly into a busy afternoon without derailing your goals.
Family tradition note: I often keep a stash for weekend adventures and late-night study sessions. The kitchen fills with the scent of cinnamon and pumpkin, and it feels like a tiny celebration every time we gather around the counter. My sister swears by swapping half of the oats for almond meal for a softer bite, and it’s become a little ritual whenever we test a new batch. These pumpkin pie energy balls travel well—I’ve tucked them into lunch boxes, tucked under backpacks for a quick pick-me-up, and even brought them to potlucks where they disappeared in minutes.
Top Tips for Perfecting Your Pumpkin Pie Energy Balls
Here are the practical tricks I’ve learned after countless batches. They’ll help you nail the texture, flavor, and finish every single time.
Texture & Binding: If your dough is too crumbly, add a teaspoon of water or milk and mix gently. If it’s too sticky, add a tablespoon of oats or almond flour. The goal is a cohesive dough that holds its shape without cracking when rolled.
Sweetness Balance: Start with 3–4 tablespoons of maple syrup and adjust to your taste. If you’re using very sweet add-ins like chocolate chips, you can dial back the syrup a touch. I’ve found that a touch of vanilla extract really helps round out the sweetness without making it sugary.
Flavor Adjustments: If you love a stronger spice profile, add a pinch of cloves or allspice. A squeeze of orange zest can brighten the pumpkin flavor beautifully if you’re aiming for a brighter note.
Swirl & Visual Interest: For eye-catching marbling, drop small dollops of extra pumpkin puree or a light swirl of glaze into the center of the ball before sealing. When you roll it, you’ll end up with pretty ribbons in each bite.
Ingredient Swaps: Swap peanut butter for almond butter, or use sunflower seed butter for a nut-free version. Oats can be replaced with crushed nuts for texture if needed. Coconut in small amounts adds a tropical note that pairs surprisingly well with pumpkin.
Baking Tips: If you choose to bake, keep it gentle: 300–325°F (150–165°C) for 6–9 minutes, just until the edges set. Don’t overbake, or they’ll lose their chewiness. Most of us, though, prefer the no-bake route for the perfect bite every time.
Glaze Variations: Try a lemon-vanilla glaze for a tangy contrast, or a cinnamon-dusted yogurt glaze for that tart-sweet balance. If you’re dairy-free, use coconut yogurt and maple for a similar effect. The glaze should be thin enough to drizzle but thick enough to stay put on the surface of the balls.
Lesson learned: the best pumpkin pie energy balls come from balancing texture with flavor. I tested these with almond milk to thin the glaze and found it actually made the glaze creamier and less likely to crack. I’ve also learned to chill them before glazing so the surface stays smooth and glossy instead of clouding with condensation. Trust me on this one—a quick chill makes the finish that professional touch you want.
Storing and Reheating Tips
Storing pumpkin pie energy balls properly makes all the difference in keeping their texture and flavor intact. Here’s how I do it:
Room Temperature: They’re fine for a day or two in a tight container with a lid, at room temperature. If your kitchen tends to be warm, refrigerate sooner to keep the texture from getting too soft.
Refrigerator Storage: For best texture, store in an airtight container in the fridge for up to 1 week. Layer sheets of parchment between layers to prevent sticking if you’re stacking them.
Freezer Instructions: Freeze them on a baking sheet until solid, then transfer to a freezer-safe bag or container. They’ll keep for up to 2–3 months. Thaw in the fridge or at room temperature for 20–30 minutes before enjoying.
Glaze Timing Advice: If you’re making glaze, you have two options: glaze right away and refrigerate, or glaze when you’re ready to serve. Glazed balls tend to stay crispier if you glaze at the last minute and keep them refrigerated until serving.
Quality indicators: they should be chewy with a slight snap when you bite into them, and they’ll hold their shape well when kept cold. If they crumble, you’re probably too dry—add a splash of milk and knead gently. If they’re too soft, a bit more oats will tighten them up. After a few batches, you’ll have a natural sense for the exact texture you want in your kitchen.
Frequently Asked Questions
Final Thoughts
Pumpkin pie energy balls have become a little ritual in my kitchen—an easy, comforting, and inexpensive way to bring that familiar fall flavor into everyday life. They’re not a novelty; they’re a reliable, flexible favorite you’ll reach for when you want something sweet that won’t derail your day. The aroma alone reminds me of baking with family, the steady hum of conversations, and the quiet joy of sharing something delicious. If you try these, you’ll notice how forgiving the recipe is: you can tweak the sweetness, swap in different nuts or add-ins, and still end up with something you can’t stop reaching for. I’d love to hear how your batch turns out—what tweaks did you try, what did you swirl inside, and which add-ins won your heart? Happy baking, friend, and may your kitchen smell like a cozy autumn evening. Can’t wait to hear how yours turns out!

pumpkin pie energy balls
Ingredients
Main Ingredients
- 2 tbsp paleo flour
- 1 tbsp vanilla protein powder
- 1 tbsp pumpkin pie spice
- 1 cup cashew butter
- 1 tbsp maple syrup
- 2 tbsp pumpkin puree
Instructions
Preparation Steps
- In a large bowl, whisk together paleo flour, vanilla protein powder, and pumpkin pie spice until evenly mixed.
- Warm cashew butter with maple syrup and pumpkin puree until smooth and creamy.
- Pour the warm mixture into the dry ingredients and stir until a cohesive dough forms. Chill for 10 minutes.
- Roll dough into 16 to 20 small balls and refrigerate until firm. Enjoy as a quick fall snack.

