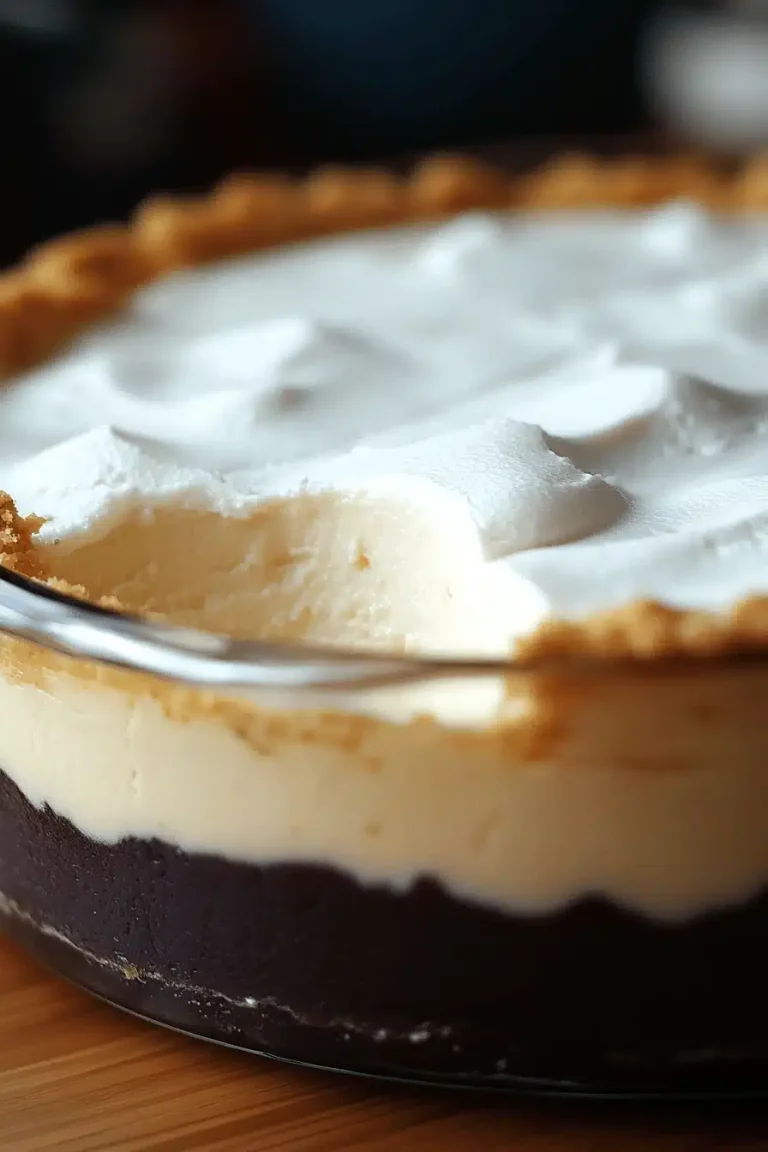
I’ve kept this Pineapple cheesecake tucked in my recipe notebook for years, a little sunset-yellow treasure that always travels well from kitchen to picnic blanket. I remember making it with my aunt on a warm Saturday, the kitchen smelling like melted butter and sunshine, the pineapple tang cutting through the richness like a bright chorus. This Pineapple cheesecake isn’t just dessert—it’s a memory you can slice into. It’s a tad lighter than a heavy chocolate cake, yet indulgent enough to feel special. It’s also surprisingly easy, which is why I reach for it on busy weeknights, especially when the kids stumble in with sticky fingers and big smiles. The first bite feels creamy, a little tangy from the pineapple, and somehow comforting, like a hug from someone who knows you need a little sweetness. If you’ve got a can of pineapple in the pantry and a craving for something creamy and sunny, this Pineapple cheesecake is your new go-to. Trust me, this is the one you’ll keep coming back to, spoonful after spoonful.
What is Pineapple Cheesecake?
Pineapple cheesecake is essentially a bright twist on the classic cheesecake, blending a smooth, rich filling with tropical pineapple for a gentle fruity lift. Think of it as a cheesecake that borrows a vacation vibe from the tropics without losing the comforting, custardy texture you crave after a long day. The name says it all: pineapple lends sweetness and acidity in harmony with the tang of Cream Cheese, while a buttery crust anchors the slice. It’s not about overwhelming fruit; it’s about balance. Some versions lean toward a no-bake approach, while others stay true to a traditional baked cheesecake. My spin sits mid-road: a lightly baked crust, a creamy filling studded with pineapple bits, and a glossy glaze that echoes that sunny pineapple aroma. It’s essentially a dessert you can slice into after dinner, yet cozy enough to enjoy with coffee on a lazy weekend morning.
Why you’ll love this recipe?
What I love most about this Pineapple cheesecake is how approachable it feels. The flavor is undeniably sunny, but the technique stays friendly enough for first-timers to feel confident. Here are a few reasons you’ll reach for this recipe again and again:
- Flavor: The pineapple provides a citrusy brightness that brightens the creamy cheese without tipping into tart exhaustion. It’s a tropical note that makes the slice feel special, yet familiar enough for everyday dessert craving moments.
- Simplicity: You can assemble most of the work in a single bowl, then pour, swirls included, into a ready-made crust.
- Cost-efficiency: What is the best way to measure cost-efficiency?: With pantry staples like graham crackers, cream cheese, and canned pineapple, you get a show-stopping dessert without breaking the bank. It’s a great way to use up a half-open can, too.
- Versatility: Swirl in extra pineapple, switch to a coconut glaze, or swap in a berry ribbon for a different mood. It’s a canvas you can customize to fit what you have on hand or what your family loves.
- Make-ahead magic: The flavor deepens a touch after a night in the fridge, and it’s easy to slice into perfect squares or generous wedges the next day.
What I’ve learned over the years is that this Pineapple cheesecake is forgiving: slightly overbake becomes a creamy, custardy center rather than a dry block, and a touch of glaze can be dialed up or down to suit your texture preference. My kids ask for seconds every time, and friends always ask for the “tropical twist” when they’re craving something comforting but exciting. If you’re chasing a tasteful, crowd-pleasing dessert that still feels personal, this Pineapple cheesecake is a keeper.
How to Make Pineapple Cheesecake
Quick Overview
This Pineapple cheesecake starts with a simple, crunchy crust that gives way to a super-creamy filling studded with pineapple bits. The technique is straightforward: blind-bake the crust just enough to set its shape, beat the cream cheese with sugar until luxuriously smooth, fold in pineapple, and bake until the edges are set and the center still wobbles softly. A quick pineapple glaze finishes it off, adding a little gloss and extra tropical aroma. What makes this method special is the balance—crusty edges, a lush center, and a kiss of pineapple sweetness that doesn’t overwhelm. It’s a dessert you can assemble in advance and pull out when you’ve got guests or a spontaneous craving, no stress required.
Ingredients
For the Main Batter (Crust):
- 1 1/2 cups graham cracker crumbs (or digestive biscuits), finely crushed
- 2 tablespoons granulated sugar
- 4 tablespoons unsalted butter, melted
- Pinch of salt
For the Filling:
- 24 ounces cream cheese, room temperature (three 8-ounce blocks)
- 3/4 cup granulated sugar
- 3 large eggs, room temperature
- 1 cup crushed pineapple, well drained
- 1 teaspoon vanilla extract
- Pinch of salt
For the Glaze:
- 1/2 cup crushed pineapple, well drained
- 2 tablespoons sugar
- 1 teaspoon lemon juice
- 1 teaspoon cornstarch (optional, for a thicker glaze)
- Slivered almonds or toasted coconut for topping (optional)
Step-by-Step Instructions
Step 1: Preheat & Prep Pan
Heat your oven to 325°F (165°C). Lightly butter a 9-inch springform pan and line the bottom with a circle of parchment if you like extra insurance against sticking. Wrap the exterior with a double layer of foil to guard against leaks—this is my little trick to keep things tidy and ensure clean boundaries between crust and filling. Set aside while you mix the crust.
Step 2: Mix Dry Ingredients
Into a bowl, combine graham cracker crumbs, sugar, and a pinch of salt. I like a fine crumb here because it makes the crust feel silky rather than granulated. If you don’t have graham crackers, digestive biscuits work beautifully and offer a slightly lighter texture.
Step 3: Mix Wet Ingredients
Pour in the melted butter and stir until the crumbs look uniformly damp—they should clump together when you pinch them, but not be soggy. The goal is a crust that holds its shape when pressed into the pan, not one that falls apart at the first slice.
Step 4: Combine
Press the crust firmly into the bottom and about 1/2 inch up the sides of the pan. Use the back of a spoon or a flat-bottomed glass to smooth and compact. Bake just until it smells toasty and looks set at the edges, about 8–10 minutes. Remove and let cool while you prepare the filling. This crust doesn’t need to be fully baked; you’re aiming for a light set so it won’t crumble when you slice later.
Step 5: Prepare Filling
In a large mixer bowl, beat the cream cheese and sugar on medium speed until it’s smooth and glossy, about 2–3 minutes. Scrape down the sides, then beat in eggs one at a time, letting each incorporate fully before adding the next. Stir in the vanilla and salt, then fold in the drained crushed pineapple. If you’re worried about lumps, give it a gentle hand with a spatula instead of overmixing—this keeps the filling creamy rather than airy.
Step 6: Layer & Swirl
Pour the filling onto the cooled crust. For a pretty pineapple swirl, drop spoonfuls of an extra 1/4 cup of crushed pineapple onto the surface and use a knife or skewer to swirl lightly through the batter. You’re aiming for delicate ribbons, not a marbleized mess, so go slow and deliberate.
Step 7: Bake
Set the pan on the middle rack and bake for 50–60 minutes. The edges should be set while the center remains a little jiggly—that’s how you get that luscious, creamy texture. If the top browns too quickly, loosely tent with foil to prevent over-browning. A clean toothpick inserted near the edge should come out with a few moist crumbs; the center may still look slightly underdone, and that’s perfect for a cheesecake that finishes setting as it cools.
Step 8: Cool & Glaze
Let the cheesecake cool in the pan on a rack for about 1 hour, then refrigerate for at least 4 hours, ideally overnight. For the glaze, simmer the crushed pineapple with sugar and lemon juice until it thickens slightly, about 3–5 minutes. If you want a thicker glaze, whisk in a slurry of cornstarch and a little water during simmering. Drizzle over the chilled cheesecake just before serving, and sprinkle with toasted coconut or slivered almonds if you like a little crunch.
Step 9: Slice & Serve
Run a knife around the edge of the pan to loosen, then remove the springform ring. Use a hot, wet knife to slice cleanly through the creamy center. Wipe the blade between cuts for the nicest slices. This Pineapple cheesecake shines with a dollop of lightly whipped cream and a few fresh pineapple chunks on top for color and extra tropical aroma.
What to Serve It With
This Pineapple cheesecake pairs beautifully with coffee or a bright, sparkling tea. Here are a few serving ideas that feel special but still comfortable:
For Breakfast: A dollop of coconut yogurt, a light dusting of lemon zest, and a coffee with a splash of vanilla. The pineapple makes the morning feel like a little celebration. My family loves this with a side of citrus fruit and a flaky croissant.
For Brunch: Thin slices plated with a mint leaf, a scattering of toasted coconut, and a mimosa or a cold brew coffee duo. The balance between creamy cheesecake and crisp fruit is stunning with a bright beverage.
As Dessert: Serve with vanilla bean ice cream or a whisper-thin layer of whipped cream. A tropical fruit salad on the side echoes the pineapple notes nicely and keeps the plate feeling light. If you’re entertaining, a few edible flower petals on top can turn this into a show-stopper without extra work.
For Cozy Snacks: Small wedges with a hot cup of tea or a mug of hot chocolate. It’s the perfect companion for a late-night chat or a movie marathon when you want something sweet but not overbearing.
Family traditions often emerge around these moments—the kids begging for seconds, the grown-ups trading bite-sized pieces, and the kitchen filling with that warm, sweet pineapple perfume that says, “Sunday is here.” This Pineapple cheesecake has a knack for turning ordinary evenings into small celebrations.
Top Tips for Perfecting Your Pineapple Cheesecake
Here are some practical tricks I’ve learned over the years that help elevate your Pineapple cheesecake from great to unforgettable:
Crust prep: If your crust crumbles, try adding another tablespoon of melted butter and pressing again. The crust should feel like a compact sandcastle—enough to hold together in slices but not rock-hard. If you’re gluten-free, swap in almond flour crust with a touch more butter for cohesion.
Mixing technique: Avoid overmixing the filling after adding the eggs. Stop as soon as the batter looks smooth and even. Overworking introduces air, which can cause cracks or a drier center. A gentle fold in pineapple bits preserves texture and prevents weeping later.
Swirl beauty: For a prettier swirl, reserve a small amount of pineapple and drop it in late, then use a toothpick to drag lines through the batter in a few deliberate turns. It creates pink-tinged ribbons that look like sunshine on the cheesecake.
Ingredient swaps: If you don’t have heavy cream cheese, you can blend part ricotta for a lighter texture, or a splash of sour cream to smooth the filling. For a dairy-free version, try dairy-free cream cheese alternatives with coconut milk—your texture will be slightly different, but the flavor remains delightful.
Baking tips: If your oven runs hot, bake at 320–325°F (160–165°C) to prevent cracking and over-browning. If it runs cool, you might need an extra 5–10 minutes. Check by wobble: the center should give slightly when you gently shake the pan, then set as it cools.
Glaze variations: A glaze can be plain pineapple, lemon-ginger, or even a light rum glaze for adults. If you’re freezing leftovers, hold the glaze until serving day to keep the surface bright and glossy.
Over the years, I’ve learned that this Pineapple cheesecake is forgiving, as long as you keep the balance: filling creaminess with a kiss of pineapple and a crust that doesn’t crumble under pressure. It travels well, slices neatly, and tastes better the next day when the flavors have had a chance to mingle. My little tricks—like cooling gradually and not overmixing—have saved many a bake, and they’re the secret to a consistently luscious result you can proudly share with friends and family.
Storing and Reheating Tips
Storage is where desserts often fail to impress, but this Pineapple cheesecake holds up beautifully with a few simple rules:
Room Temperature: Not more than 2 hours for safety and quality. If you’re cutting and serving right away, you can keep slices on a plate covered loosely with plastic wrap for the first hour, then refrigerate.
Refrigerator Storage: Transfer leftovers to an airtight container or wrap individual slices tightly with plastic wrap. They’ll stay fresh for 3–4 days. The glaze may soften slightly, but the filling remains silky.
Freezer Instructions: You can freeze the cheesecake for up to 2–3 months. Wrap tightly in plastic wrap, then foil. Thaw overnight in the fridge for best texture, or cut into slices and thaw individually for a quick dessert moment.
Glaze Timing Advice: If you’re freezing, hold the glaze until serving. For refrigerate-and-serve, drizzle the glaze after slicing. If you’re transporting, keep the glaze on the side and spoon just before serving to avoid sogginess.
Quality indicators: the crust stays intact, the filling remains creamy rather than gel-like, and the pineapple bits stay bright and juicy. If you notice a grainy texture, you may have overmixed slightly or not drained the pineapple well enough; next time, squeeze a bit more moisture from the fruit before folding it in.
Frequently Asked Questions
Final Thoughts
In the end, this Pineapple cheesecake is about balance—the way the creamy tang of the filling meets the bright kiss of pineapple, the gentle sweetness of a well-made crust, and a glaze that just glows. It’s the kind of dessert that looks effortless but feels personal, the kind you want to share after a long day, with a cup of coffee or a sparkling drink in hand. If you try it, I’d love to hear how your Pineapple cheesecake turned out—did you swirl extra pineapple, or go for a bold glaze? Leave a comment with your tweaks or a photo of your slice. And if you’ve got a friend who loves sunshine in a plate, share this post with them. Happy baking, and may your kitchen smell like bright, tropical mornings!