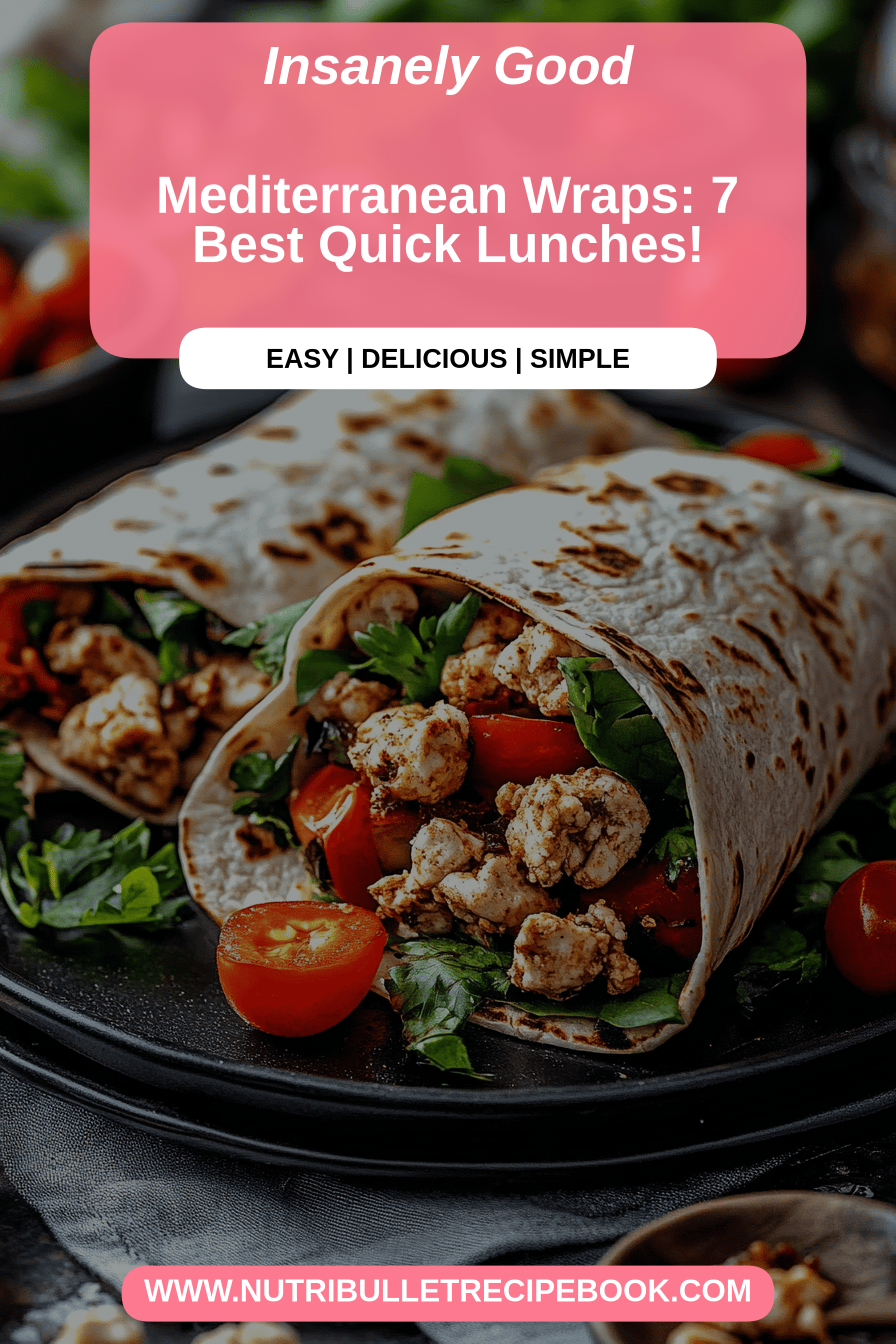
You know those nights? The ones where the clock is ticking, the kids are practically humming with hunger, and the thought of a full sit-down meal feels like climbing Everest? Yeah, I live for those nights because they always lead me to these amazing Mediterranean wraps. Honestly, they’re my secret weapon for deliciousness that’s ready in a flash. It feels almost wrong calling them “wraps” because they’re so much more vibrant and satisfying than your average rolled-up lunch. They’re packed with so much flavor, like a fresh breeze from the coast on a plate. If you love a good Greek salad or have ever swooned over a gyro, you’re going to fall head over heels for these. They’re like a deconstructed, super-charged version of all your favorite Mediterranean flavors, all bundled up in a soft, warm tortilla. My family devours them, and I feel like I’m sneaking in a ton of good-for-you stuff without anyone even noticing!
What are Mediterranean wraps?
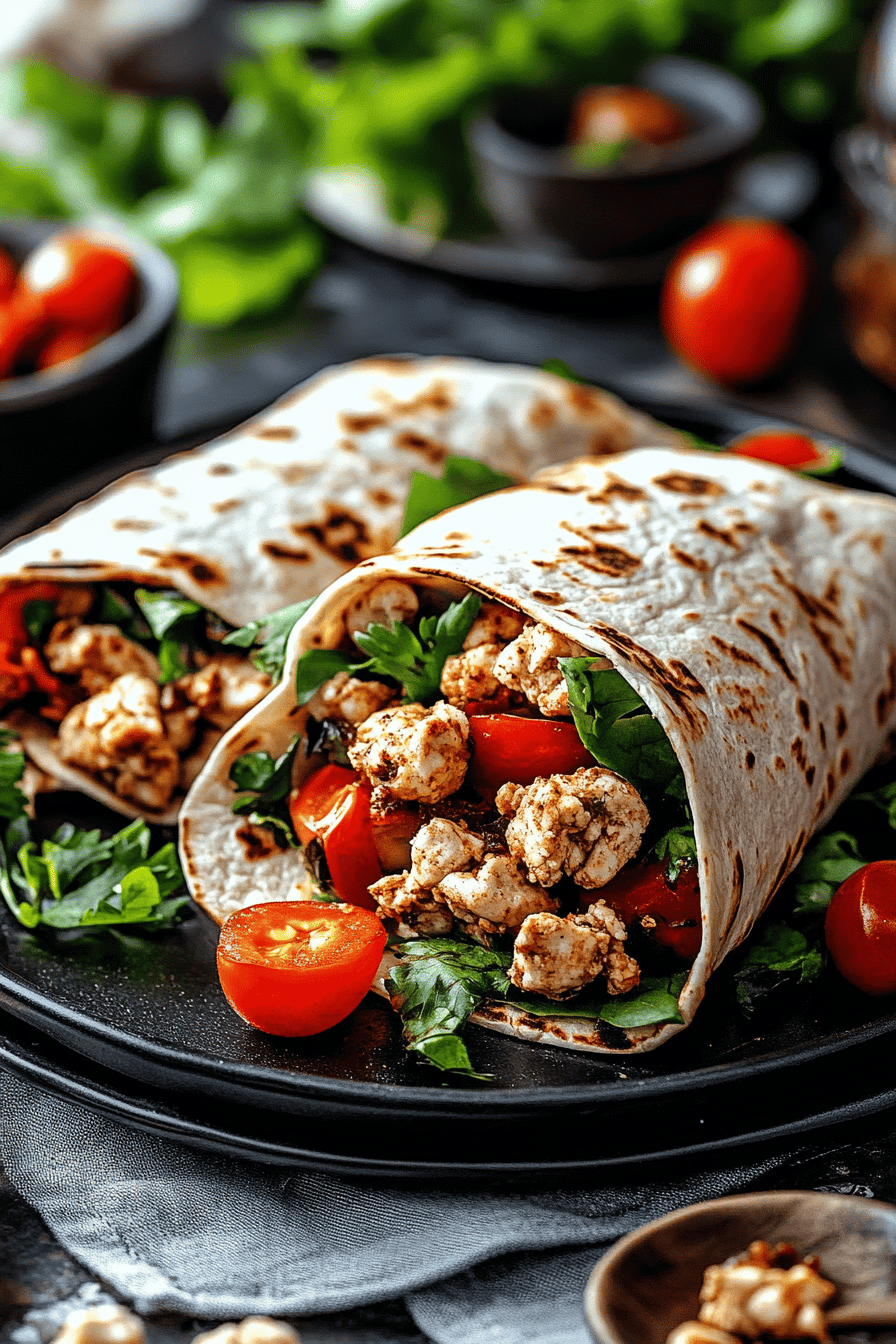
So, what exactly are these magical Mediterranean wraps? Think of it as a vibrant, flavor-packed fiesta happening inside a soft tortilla. It’s essentially a delightful combination of fresh, crunchy veggies, savory protein, creamy, tangy spreads, and often some briny olives and salty feta, all brought together with a zesty dressing. The beauty of it is that it’s endlessly customizable. It’s less about a strict recipe and more about a feeling – that bright, sunny, Mediterranean vibe. We’re talking about ingredients like crisp lettuce, juicy tomatoes, cool cucumber, tender chicken or chickpeas, creamy hummus, and that essential salty bite of feta. It’s a meal that feels both healthy and indulgent, and it’s the perfect vehicle for whatever delicious goodies you have on hand. It’s the kind of food that makes you close your eyes and savor every single bite, transporting you straight to a sun-drenched patio, even if you’re just in your own kitchen.
Why you’ll love this recipe?
Why do I love Mediterranean wraps?flavor is just out of this world. Every bite is a burst of freshness – the crunch of the cucumber and lettuce, the sweetness of the tomatoes, the savory punch of seasoned chicken or chickpeas, all mingled with the creamy tang of hummus and tzatziki, and that salty kick from the feta. It’s a symphony for your taste buds! Then there’s the simplicity. Seriously, this recipe is a lifesaver on busy weeknights. You can have these assembled and on the table in less than 30 minutes, and a lot of that is just chopping. It feels like a gourmet meal without any of the fuss. Plus, they are incredibly cost-efficientWhat are some good ways to eat leftover chicken, canned chickpeas, or whatever veggies you have lying around the kitchen?versatility! You can switch up the protein, add different veggies, play with the spreads – the possibilities are endless. I often find myself making a big batch of the filling and keeping it in the fridge for quick lunches all week. It’s far more exciting than a sad desk salad, that’s for sure. What I love most about these wraps is that they satisfy that craving for something fresh and light, yet also incredibly filling. They’re a complete meal that feels good to eat, and that’s a big win in my book.
How to Make Mediterranean Wraps
Quick Overview
The process for these fantastic Mediterranean wraps is wonderfully straightforward, making it an absolute dream for even the busiest of cooks. You’ll basically be prepping your fresh ingredients, tossing your protein with a vibrant marinade, whipping up a quick and creamy dressing, and then layering it all into soft, warm tortillas. The magic happens when all these simple components come together, creating a flavor explosion that feels far more complex than the effort involved. It’s the kind of meal that reassures you that delicious food doesn’t have to be complicated. Trust me, you’ll be making this one on repeat!
Ingredients
For the Main Wraps:
- 8 large (10-inch) whole wheat or spinach tortillas: I always go for whole wheat for that extra fiber, but spinach ones add a fun subtle flavor and color. Make sure they’re soft and pliable!
- 2 cups cooked, shredded or diced chicken breast (rotisserie chicken is my secret shortcut!): You can also use seasoned grilled chicken, or for a vegetarian option, 2 cans (15-ounce each) of drained and rinsed chickpeas.
- 1 cup crumbled feta cheese: Good quality feta makes a difference here – the salty, briny bits are crucial!
- 1 cup chopped ripe tomatoes: Cherry tomatoes are great because they’re sweet and easy to chop.
- 1 cup thinly sliced cucumber: English cucumbers are best as they have fewer seeds.
- 1/2 cup thinly sliced red onion: If raw onion is too strong for you, soak the slices in ice water for 10 minutes before using.
- 1/2 cup Kalamata olives, pitted and halved: These add that perfect Mediterranean tang.
- 1/2 cup chopped fresh parsley: Don’t skip the fresh herbs, they really brighten everything up!
- 1/4 cup chopped fresh mint (optional, but highly recommended!): This adds an unexpected burst of freshness.
For the Creamy Lemon-Herb Dressing:
- 1/2 cup plain Greek yogurt: Full-fat Greek yogurt makes the creamiest dressing.
- 1/4 cup mayonnaise: Just a little mayo adds richness and helps it emulsify.
- 2 tablespoons fresh lemon juice: From about 1 juicy lemon.
- 1 tablespoon olive oil: Extra virgin, of course!
- 1 clove garlic, minced: Or use 1/2 teaspoon garlic powder if you’re in a pinch.
- 1 teaspoon dried oregano: Or use 1 tablespoon fresh oregano, chopped.
- Salt and freshly ground black pepper to taste: Season generously!
For Serving (Optional but recommended!):
- Hummus: A generous smear inside each wrap.
- Tzatziki sauce: If you love that cool, cucumber-yogurt combo.
Step-by-Step Instructions
Step 1: Preheat & Prep Pan
This step is more about getting your workspace ready than anything actually cooking. First, make sure all your veggies are washed and chopped. If you’re using chicken, dice or shred it into bite-sized pieces. If you’re using canned chickpeas, give them a good rinse and drain. I like to have everything ready to go before I start mixing, so it’s a smooth assembly line. If you’re warming your tortillas, you can do that now too – a quick pass on a dry skillet over medium heat for about 30 seconds per side until they’re warm and pliable, or wrap them in a damp paper towel and microwave for about 30 seconds. This just makes them easier to roll without tearing.
Step 2: Mix Dry Ingredients
In a large bowl, combine your cooked chicken or chickpeas, crumbled feta cheese, chopped tomatoes, sliced cucumber, red onion, pitted olives, fresh parsley, and fresh mint (if using). Give everything a gentle toss to distribute the ingredients evenly. This is where the color really starts to pop, and you can already smell the deliciousness coming together. It’s so satisfying to see all these vibrant components mingling!
Step 3: Mix Wet Ingredients
In a separate, medium-sized bowl, whisk together the Greek yogurt, mayonnaise, fresh lemon juice, olive oil, minced garlic, and dried oregano. Continue whisking until the dressing is smooth and creamy. Taste it and season with salt and freshly ground black pepper. You want it to have a nice tang and a good balance of flavors. This dressing is so versatile; I often make extra just to have on hand for salads or as a dip!
Step 4: Combine
Pour about half to two-thirds of the creamy lemon-herb dressing over the chicken and vegetable mixture. Gently toss everything together until all the ingredients are lightly coated in the dressing. You don’t want to drown everything, just enough to bind it together and add that lovely creamy, zesty flavor. You can add more dressing if you prefer it more dressed, or save the rest for dipping or drizzling over the finished wraps.
Step 5: Prepare Filling
This step is essentially done in Step 4! The ‘filling’ is the delicious mixture you’ve just tossed with the dressing. Make sure it’s well combined but don’t overmix, as you want to maintain the texture of the vegetables. If you’re using it for lunches later, it’s good to have the filling ready to go, and then assemble the wraps right before eating to prevent them from getting soggy.
Step 6: Layer & Swirl
Lay out a warm tortilla on a clean surface. If you’re using hummus, spread a generous layer over the tortilla, leaving a small border. Then, spoon a good amount of your dressed Mediterranean filling onto the center of the tortilla. Don’t overfill, or it will be difficult to wrap! You want enough to be satisfying, but not so much that it bursts out.
Step 7: Bake
These Mediterranean wraps are typically served fresh and don’t require baking. The warmth comes from the optional pre-warmed tortillas. If you prefer them warm, you can assemble them and then briefly warm them in a skillet or oven, but I usually find they’re best enjoyed as is, right after assembly.
Step 8: Cool & Glaze
Since these are no-bake wraps, there’s no cooling or glazing involved in the traditional sense. The “glaze” is essentially the creamy dressing that coats the filling. You might want to add a final drizzle of extra dressing or a dollop of tzatziki on top before rolling for extra moisture and flavor.
Step 9: Slice & Serve
Once you’ve filled your tortilla, fold in the sides slightly, then tightly roll it up from the bottom. You can slice the wrap in half diagonally for easier handling and a prettier presentation. Serve immediately! These are best enjoyed fresh, when the tortillas are soft and the fillings are crisp and vibrant.
What to Serve It With
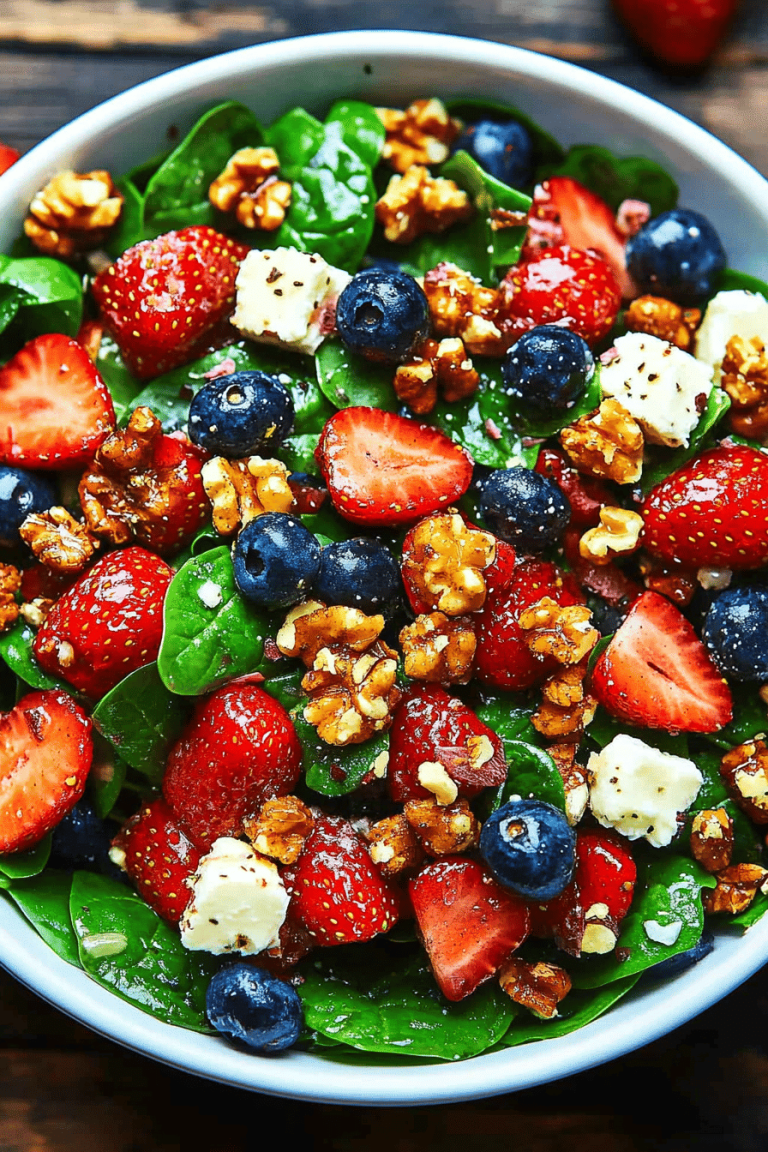
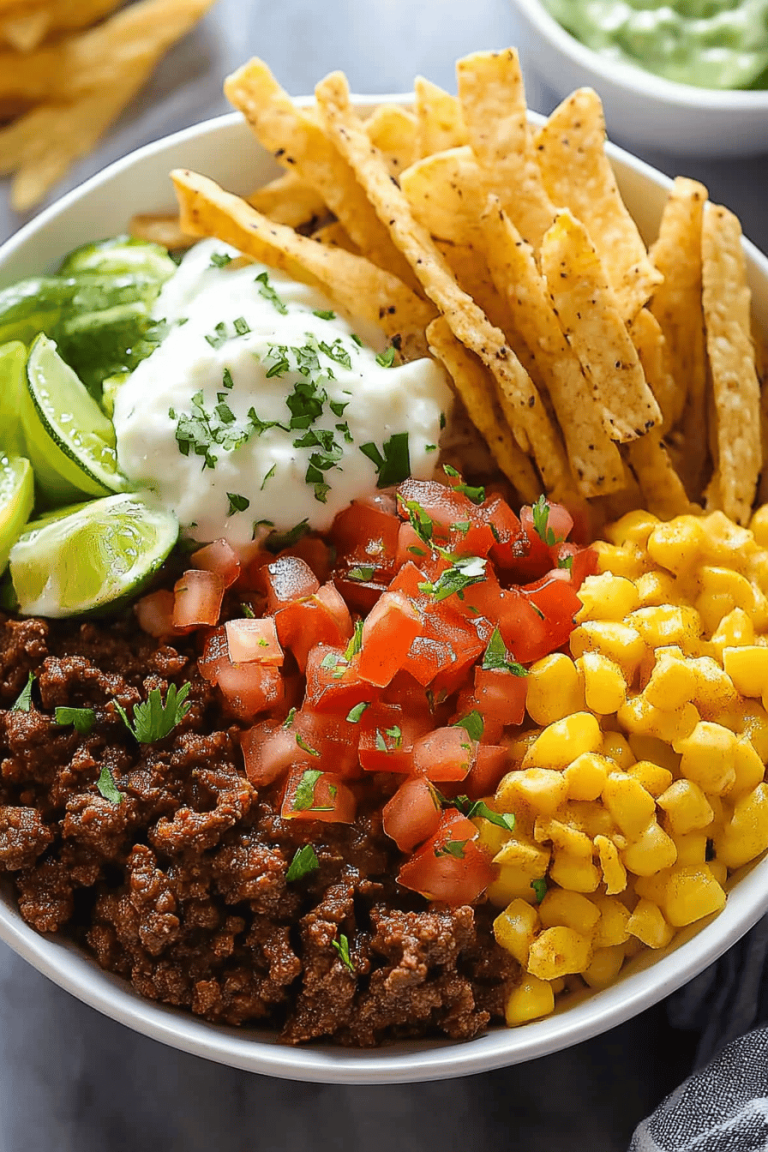
These Mediterranean wraps are practically a meal in themselves, but they also play beautifully with a few other dishes! For a light and refreshing breakfast, I sometimes just have a half wrap with a strong cup of coffee – it’s surprisingly satisfying and gives you a great start to the day. For a more elaborate brunch spread, I love serving them alongside some fresh Fruit Salad, maybe a bowl of olives and some crusty bread. They look so pretty cut in half on a platter! If you’re looking for a lighter dessert after a heartier meal, or just a sweet treat, these aren’t exactly a dessert, but they *could* work in a pinch if you’re craving something savory-sweet. However, for a true dessert, I’d lean towards something like baklava or fresh figs with honey. But for cozy snacks, they’re perfect! I’ll often make a couple for myself and enjoy them with a bowl of crunchy pita chips and some extra hummus for dipping. My family also loves them with a side of sweet potato fries. The warmth and slight sweetness of the fries contrast wonderfully with the fresh, zesty wraps. It’s all about finding that balance of flavors and textures that makes your taste buds sing!
Top Tips for Perfecting Your Mediterranean Wraps
I’ve made these Mediterranean wraps more times than I can count, and over the years, I’ve picked up a few tricks that make them even better. First, when it comes to the zucchini prep, if you’re adding any raw zucchini to the mix (I often do, in addition to cucumber!), make sure to finely chop or even grate it and squeeze out any excess moisture. Soggy veggies are the enemy of a good wrap! For mixing advice, don’t be afraid to get your hands in there to gently toss the filling. It ensures everything is coated evenly without bruising the delicate ingredients. And remember, the dressing is there to enhance, not to make everything soupy. You can always add more dressing, but you can’t take it away! The swirl customization is all about how you layer your ingredients. If you like distinct flavors in each bite, layer them separately before rolling. If you prefer everything melded together, give it a good mix in the bowl. For the chicken or chickpeas, I sometimes like to marinate them for about 30 minutes beforehand in a little lemon juice, olive oil, garlic, and oregano. It adds another layer of flavor! When it comes to ingredient swaps, don’t be shy! Bell peppers (any color!), artichoke hearts, sun-dried tomatoes, or even a sprinkle of capers can all add wonderful dimensions. If you’re out of Greek yogurt, sour cream or even a thicker almond-based yogurt can work in the dressing, though the tang might change slightly. And for baking tips, while these are no-bake, if you decide to warm your tortillas, a cast-iron skillet works wonders for that perfect char and pliability. Just a quick 30 seconds per side over medium heat is all you need. For the glaze variations, if you’re not a fan of the creamy dressing, you can simply drizzle with a good quality olive oil and a squeeze of lemon, or even just use a thin layer of hummus as your “binder.” A little sprinkle of sumac over the top also adds a lovely citrusy note!
Storing and Reheating Tips
One of the best things about these Mediterranean wraps is how well they hold up, making them perfect for meal prep. For room temperature storage, I wouldn’t recommend leaving them out for more than two hours, especially if they have dairy in them. They’re really best enjoyed shortly after assembly. If you’re packing them for lunch the next day, keep the filling and the tortillas separate until just before you’re ready to eat. This is my top tip to avoid soggy wraps! For refrigerator storage, you can absolutely store the filling for up to 3-4 days in an airtight container. The vegetables will soften slightly but will still be delicious. Keep your tortillas separate, and assemble your wraps fresh each time. If you must assemble them ahead of time, wrap them tightly in plastic wrap or foil and they should be okay for about a day, but the tortilla might get a little less crisp. For freezer instructions, I generally don’t recommend freezing assembled wraps as the texture of the tortilla and fresh vegetables can suffer. However, you can certainly freeze the cooked chicken or chickpea filling (without the fresh veggies and dressing) for up to 2-3 months. Thaw it overnight in the refrigerator and then proceed with making the wraps. The glaze timing advice is crucial: always add the dressing just before you assemble and serve, or keep it on the side for dipping. This ensures your wraps stay fresh and the ingredients retain their best texture. If you’re bringing these to a picnic, pack everything in separate containers and assemble on-site!
Frequently Asked Questions
Final Thoughts
So there you have it – my absolute favorite Mediterranean wraps! They’re more than just a quick meal; they’re a vibrant explosion of flavor, a healthy boost, and a surefire way to get everyone at the table smiling, even on the most chaotic evenings. The best part is how adaptable they are; you can truly make them your own. If you love this recipe, you might also enjoy my Quick Greek chicken skewers or my Zesty Lemon Orzo Salad – they have that same fresh, Mediterranean vibe. Give these wraps a try, and I promise they’ll become a staple in your kitchen too. I can’t wait to hear what you think! Let me know in the comments below if you tried them, how you customized them, or any other favorite Mediterranean combinations you love. Happy wrapping!
Mediterranean Wraps
Ingredients
Main Ingredients
- 4 large whole wheat tortillas
- 1 pound cooked chicken breast, shredded
- 1 cup chopped cucumber
- 0.5 cup chopped red onion
- 1 cup chopped tomatoes
- 0.5 cup crumbled feta cheese
- 0.25 cup kalamata olives, pitted and halved
- 0.5 cup fresh spinach
Tzatziki Sauce
- 1 cup plain Greek yogurt
- 0.5 cup grated cucumber, squeezed dry
- 1 clove garlic, minced
- 1 tablespoon fresh dill, chopped
- 0.5 tablespoon lemon juice
- 0.25 teaspoon salt
- 0.125 teaspoon black pepper
Instructions
Preparation Steps
- In a small bowl, combine Greek yogurt, grated cucumber, minced garlic, chopped dill, lemon juice, salt, and pepper. Stir well to combine. This is your Tzatziki sauce.
- Warm the tortillas slightly according to package directions, if desired.
- Spread a generous amount of Tzatziki sauce onto each tortilla.
- Layer the spinach, shredded chicken, cucumber, red onion, tomatoes, feta cheese, and olives onto each tortilla.
- Fold or roll up the tortillas to create wraps. Serve immediately.