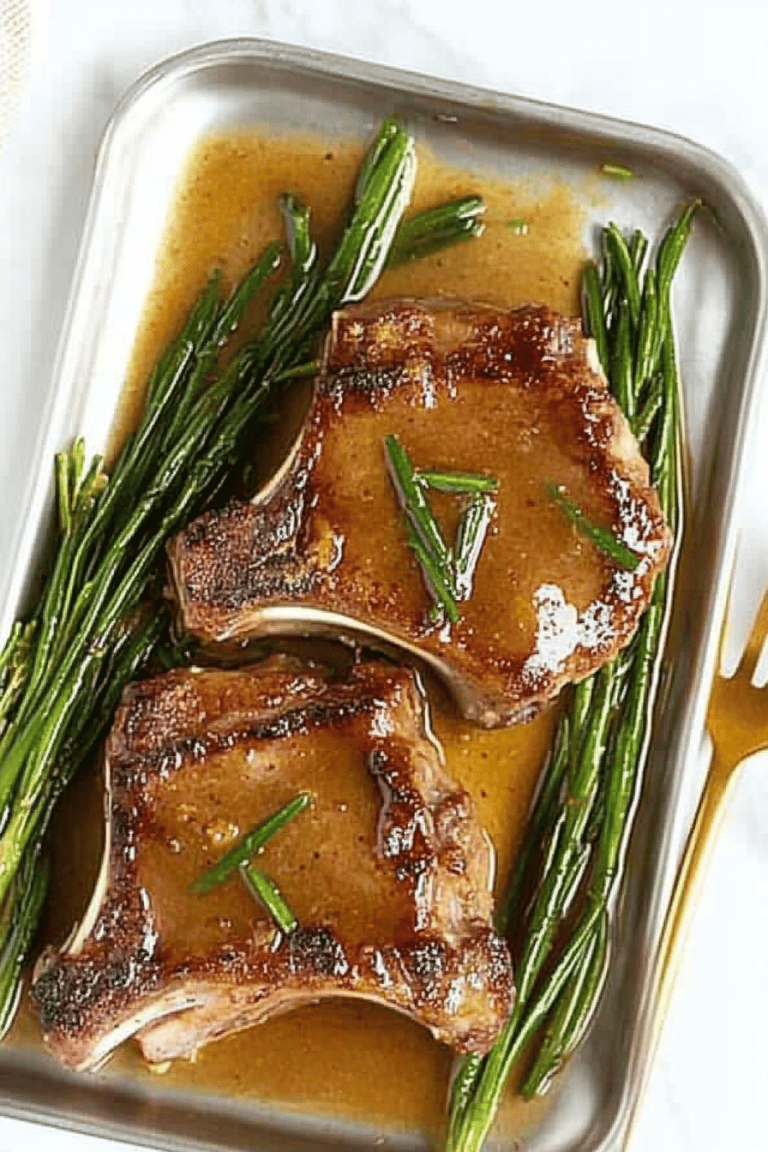
Oh, this frittata! I swear, it’s one of those recipes that feels like a warm hug on a plate. I remember the first time I made it for my family – my son, who was usually quite picky, took one bite and his eyes just lit up. He actually asked for seconds! That’s when I knew I’d struck gold. It reminds me of lazy Sunday mornings at my grandma’s house, the smell of something delicious baking filling the entire kitchen. It’s not just a meal; it’s a memory. It’s incredibly simple, far easier than a quiche and with a much more forgiving nature. If you’re looking for something that’s a guaranteed crowd-pleaser, especially when you need a quick but satisfying dish, then learning how to make frittata is absolutely the way to go. It’s my secret weapon for those mornings when we’re rushing out the door or for a light, satisfying dinner that doesn’t feel like a ton of work. It truly is a lifesaver!
What is a Frittata?
So, what exactly is a frittata? Think of it as Italian cousin to an omelet, but baked in the oven until it’s wonderfully set and slightly puffed up. It’s an egg dish, for sure, but it’s so much more than just scrambled eggs. It’s usually made with a base of whisked eggs, often with a splash of milk or cream for richness, and then loaded up with all sorts of goodies – vegetables, cheese, sometimes even bits of cooked meat. The beauty of it is that you cook it mostly on the stovetop to get a nice golden crust on the bottom, and then you finish it off in the oven to cook it through. It’s incredibly versatile; you can throw in whatever vegetables you have lingering in the fridge. It’s essentially a delicious, customizable baked egg dish that’s perfect for any meal of the day.
Why you’ll love this recipe?
Honestly, I could go on and on about why this frittata is so special, but let me try to narrow it down to the absolute highlights. First off, the flavor. It’s just… pure comfort. The eggs get beautifully tender, the cheese melts into gooey pockets, and whatever veggies you’ve added bring their own unique taste and texture. It’s savory, it’s rich, and it’s incredibly satisfying. Then there’s the simplicity. I’ve made this countless times, and it genuinely never fails to impress, yet it requires minimal fuss. You don’t need fancy techniques or a long list of complicated ingredients. It’s also surprisingly cost-efficient. Eggs are relatively inexpensive, and you can use up leftover bits of vegetables or cheese that might otherwise go to waste. What I love most about this frittata is its sheer versatility. It’s fantastic for breakfast, a light lunch, or even a quick dinner. You can easily adapt it to your taste or what you have on hand. For instance, if you’re a fan of my Cheesy baked oatmeal, you’ll appreciate how this frittata offers a similar comforting vibe but in a savory way. It’s also way less fussy than trying to get a perfect, thin omelet every single time. This frittata is forgiving, delicious, and always a hit.
How do you make a Frittata?
Quick Overview
Making this frittata is a delightful breeze, I promise! You’ll start by sautéing your chosen veggies right in an oven-safe skillet. Then, you’ll pour a mixture of whisked eggs and creamy goodness over them, let it set a bit on the stovetop, and finish it off in a hot oven until it’s puffed and golden. It’s that simple. The magic happens in the oven, where it transforms into a beautiful, sliceable dish that’s way easier than you might think. This method ensures a lovely tender interior and a slightly crisp bottom. It’s perfect for when you need something quick and delicious without a lot of stress.
Ingredients
For the Main Batter:
6 large eggs – I always opt for farm-fresh if I can get them; the yolks are a richer color and they just taste better! If not, good quality store-bought eggs are perfectly fine.
1/2 cup whole milk or heavy cream – Whole milk gives a lovely creaminess, but for an extra decadent treat, heavy cream is divine. I’ve even tested this with a dairy-free milk like unsweetened almond milk, and it worked beautifully, making it surprisingly light but still creamy!
1/4 teaspoon salt – Don’t skip this; it really wakes up the flavors.
1/8 teaspoon black pepper – Freshly ground is always best for that little kick.
A pinch of nutmeg (optional but highly recommended!) – This is my little secret ingredient. It adds a subtle warmth that you can’t quite place but makes everything taste more sophisticated. Trust me on this one!
For the Filling:
1 tablespoon olive oil – Or any cooking oil you prefer.
1/2 cup finely chopped onion – Yellow or white onions work well.
1 cup chopped vegetables – Think spinach, bell peppers, mushrooms, broccoli florets, or even cooked asparagus. Whatever you have on hand! I love using leftover roasted vegetables for a flavor boost.
1/4 cup shredded cheese – Cheddar, Gruyere, Parmesan, or a blend. Choose something that melts well and complements your veggies.
For the Glaze:
This part is optional but adds a lovely finishing touch! I like to keep it simple:
2 tablespoons sour cream or Greek yogurt
1 teaspoon chopped fresh chives or parsley – For a pop of freshness and color.
Step-by-Step Instructions
Step 1: Preheat & Prep Pan
First things first, let’s get our oven nice and hot. Preheat it to 375°F (190°C). Now, grab an 8-inch oven-safe skillet. Cast iron is my absolute favorite for this because it heats so evenly, but any good quality oven-safe skillet will do. Add your tablespoon of olive oil and place the skillet over medium heat on your stovetop. Let it get nice and warm – you want it hot enough to sizzle your veggies but not so hot that they burn immediately.
Step 2: Mix Dry Ingredients
While the pan is heating up, let’s get our egg mixture ready. In a medium bowl, crack all 6 of your large eggs. Add the milk or cream, salt, pepper, and that optional pinch of nutmeg if you’re feeling fancy. Now, grab a whisk and beat everything together until it’s well combined and slightly frothy. You don’t need to go crazy with it, just make sure the yolks and whites are fully incorporated and there are no streaks of egg white left. This ensures a uniform texture in your finished frittata.
Step 3: Mix Wet Ingredients
This step is already done in Step 2! So, you’ve already mixed your wet ingredients (the eggs, milk/cream, salt, pepper, and nutmeg). Just give them another quick whisk if they’ve been sitting for a few minutes to make sure everything is still evenly distributed before you pour it into the skillet.
Step 4: Combine
This step is about combining the eggs with the cooked vegetables in the pan. Once your oil is shimmering in the skillet, add your chopped onion and cook for about 3-4 minutes until it starts to soften and become translucent. Then, add your chosen chopped vegetables (like bell peppers, mushrooms, or spinach). Sauté them for another 5-7 minutes, or until they’re tender and any excess moisture has evaporated. If you’re using spinach, add it last and let it wilt down. Once your veggies are cooked and fragrant, give your egg mixture one last quick stir, then pour it evenly over the vegetables in the skillet. Sprinkle your shredded cheese over the top. Let the frittata cook on the stovetop over medium-low heat for about 5-7 minutes. You want the edges to start setting and looking opaque, but the center should still be a little wobbly.
Step 5: Prepare Filling
The filling preparation is integrated into Step 4! We’ve already sautéed the onions and vegetables, and seasoned them. The cheese is sprinkled on top just before it goes into the oven. This ensures everything is cooked through and flavorful without overcooking the eggs. I’ve found that sautéing the vegetables first really deepens their flavor and gets rid of any excess water, which is crucial for a good frittata consistency. If you’re adding any cooked meats like pre-cooked bacon or sausage, you’d typically add them in with the vegetables here.
Step 6: Layer & Swirl
There’s no real “swirling” in the traditional sense for this frittata, but the layering is key! After you’ve poured the egg mixture over the sautéed veggies and sprinkled the cheese on top in Step 4, you want to ensure the cheese is distributed somewhat evenly. The eggs will naturally create a beautiful, slightly uneven surface as they cook and set. The goal is to have the ingredients mixed throughout the egg base, creating pockets of flavor and texture rather than distinct layers. Once it’s in the oven, the eggs will puff up slightly and cook evenly, making it look like a beautifully cohesive dish ready to be sliced.
Step 7: Bake
Carefully transfer your skillet from the stovetop to the preheated oven. Bake for 20-25 minutes, or until the frittata is set, puffed, and golden brown on top. You can test for doneness by gently shaking the skillet – the center should be firm and not jiggly. Alternatively, insert a thin knife or toothpick into the center; it should come out clean. Ovens can vary, so keep an eye on it during the last few minutes of baking.
Step 8: Cool & Glaze
Once it’s done, carefully remove the skillet from the oven. Be warned, that handle is HOT! Let the frittata cool in the skillet for at least 5-10 minutes. This is a crucial step! It allows the frittata to fully set and makes it much easier to slice. If you’re using the glaze, whisk together the sour cream or Greek yogurt with the chopped fresh herbs in a small bowl. Drizzle this over the top of the slightly cooled frittata just before serving, or offer it on the side. The glaze adds a delightful tang and freshness.
Step 9: Slice & Serve
After it’s had a good rest, carefully slide the frittata out of the skillet onto a cutting board or serving plate. You can serve it directly from the skillet too, if you prefer, just be mindful of the hot pan. Slice it into wedges, just like you would a pie or a cake. It’s delicious served warm, at room temperature, or even cold. It holds its shape beautifully, making it perfect for packing in lunchboxes or taking to picnics.
What to Serve It With
This frittata is so incredibly versatile, it truly fits into any mealtime scenario! For a classic breakfast, I love serving it with a side of fresh fruit, like berries or melon. A good cup of coffee is practically mandatory, of course! For a more leisurely weekend brunch, it pairs wonderfully with a light green salad with a bright vinaigrette. Some crusty bread or even some crispy home fries on the side would make it feel extra special. If you’re looking for a light yet satisfying dinner, it’s fantastic on its own, but I often like to serve it with a side of roasted asparagus or some garlic sautéed greens. And for those cozy snack times? Just a simple wedge, maybe with a dollop of plain yogurt or a sprinkle of red pepper flakes, is pure comfort. My family loves it so much, sometimes we just have it for dinner with some good crusty bread to mop up any cheesy goodness. It’s honestly one of those dishes that never disappoints, no matter how you serve it.
Top Tips for Perfecting Your Frittata
Over the years, I’ve learned a few tricks that make this frittata consistently amazing. For the vegetables, especially if you’re using something like zucchini or spinach that holds a lot of water, make sure to sauté them until most of the moisture has evaporated. You don’t want a watery frittata! Squeezing excess liquid out of spinach after wilting it is a game-changer. When you’re mixing the eggs, don’t overbeat them. Just a good whisk until combined is perfect; too much air can make it tough. The key to a great frittata texture is gentle handling. When you combine the eggs and veggies, let it sit on the stovetop for those few minutes to get the edges setting; this helps it cook evenly in the oven. For the cheese, I find that grating it yourself from a block melts much better than pre-shredded varieties, which sometimes have anti-caking agents. If you’re feeling adventurous with your swirls, you could try adding a spoonful of pesto or tapenade to the egg mixture and swirling it in gently just before baking for a beautiful marbled effect. When it comes to baking, always use an oven-safe skillet, and be mindful of your oven’s hot spots. If the top is browning too quickly, you can always loosely tent it with foil. The most important baking tip I can give you is to let it rest after baking. This allows the frittata to firm up beautifully, making it super easy to slice and serve without it falling apart. I learned this the hard way after impatiently trying to slice one that was too hot and it turned into a delicious mess, but a mess nonetheless!
Storing and Reheating Tips
This frittata is a champion when it comes to leftovers, which is another reason I love making it. If you have any (and that’s a big ‘if’ in my house!), you can leave it in the oven-safe skillet, cover it tightly with plastic wrap or foil, and store it at room temperature for a couple of hours. For longer storage, pop it into the refrigerator. It keeps beautifully in the fridge for up to 3-4 days. Just make sure it’s well-covered to prevent it from drying out. I usually just pop the whole skillet in, or transfer any remaining slices to an airtight container. Reheating is super simple! You can gently warm individual slices in a non-stick skillet over low heat for a few minutes until heated through, or pop them in the oven or toaster oven at around 300°F (150°C) for about 5-10 minutes until warmed. If you’re not adding the glaze until serving, that’s perfect for storing leftovers. If you did add the glaze and are refrigerating, it might be a bit less vibrant, but still delicious. I don’t recommend freezing the frittata with the sour cream glaze as it can affect the texture, but plain frittata can be frozen. Wrap individual portions tightly in plastic wrap and then in foil. It will keep in the freezer for up to 1-2 months. Thaw it overnight in the refrigerator before reheating.
Frequently Asked Questions
Final Thoughts
So there you have it – my go-to recipe for a frittata that’s just bursting with flavor and so wonderfully easy to make. It’s the kind of dish that feels special enough for guests but is simple enough for a weeknight. I truly hope you give this a try, and I can’t wait to hear what you think! If you love this recipe, you might also enjoy my recipe for a hearty Vegetable Quiche or my quick and easy Shakshuka. They share that comforting, versatile vibe that makes me so happy in the kitchen. Remember, the best part of cooking is making it your own, so feel free to experiment with your favorite veggies and cheeses. Let me know in the comments how yours turns out, and if you have any fun ingredient combinations you discover! Happy cooking!
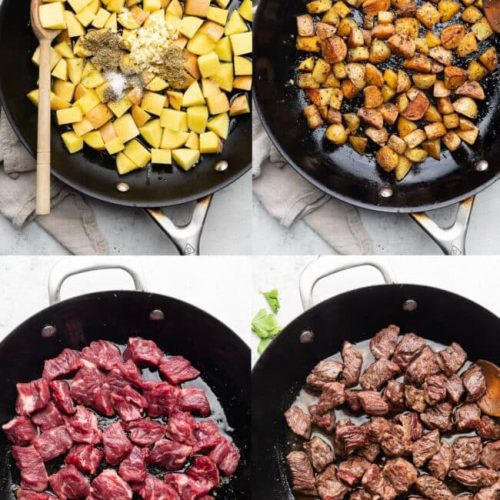
How to Make Frittata
Ingredients
Main Ingredients
- 0.5 cup Chopped Onion
- 0.5 cup Chopped Bell Pepper
- 1 cup Spinach fresh or frozen, thawed and squeezed dry
- 8 large Eggs
- 0.5 cup Milk
- 0.5 cup Shredded Cheese cheddar, mozzarella, or your favorite
- 2 tablespoon Olive Oil
- 0.25 teaspoon Salt
- 0.25 teaspoon Black Pepper
Instructions
Preparation Steps
- Preheat oven to 375°F (190°C).
- Heat olive oil in an oven-safe skillet (about 10-inch) over medium heat.
- Add chopped onion and bell pepper to the skillet and cook until softened, about 5-7 minutes.
- Stir in the spinach and cook until wilted, about 1-2 minutes.
- In a medium bowl, whisk together the eggs, milk, salt, and pepper.
- Pour the egg mixture evenly over the vegetables in the skillet.
- Sprinkle the shredded cheese over the top.
- Transfer the skillet to the preheated oven and bake for 20-25 minutes, or until the frittata is set and lightly golden brown.
- Let the frittata cool slightly before slicing and serving.

