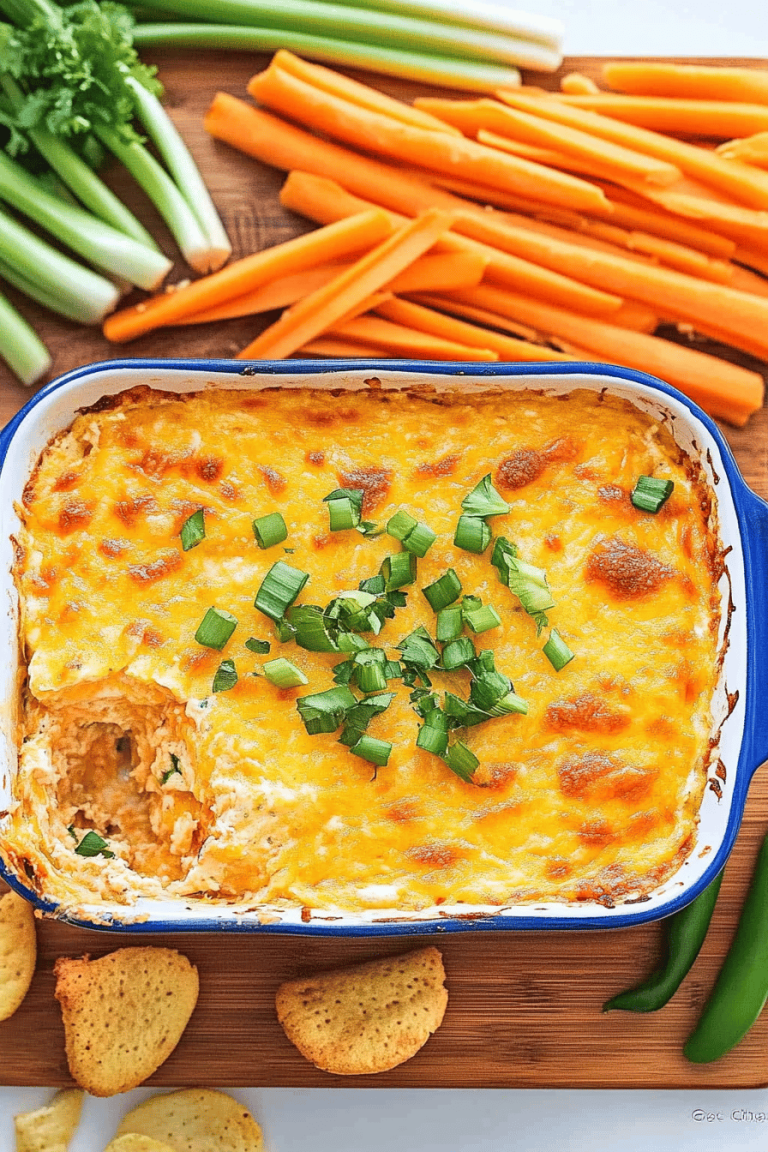
You know those recipes that just *feel* like home? The ones you make on a whim when a craving hits, or whip up for unexpected guests, and they always, always deliver? This homemade salsa is exactly that for me. It’s not fancy, it doesn’t require obscure ingredients, and it’s leagues better than anything you’ll find in a jar. Honestly, the first time I made it, I felt like I’d unlocked a secret level in the kitchen. It’s my little culinary superpower. Compared to the store-bought stuff, this is like comparing a meticulously crafted watercolor painting to a blurry photocopy – the depth of flavor, the bright, fresh zing… it’s just on another level. If you’ve ever thought making salsa from scratch was intimidating, trust me, this recipe is about to change your mind. It’s my absolute favorite way to get my fresh salsa fix, and I can’t wait to share it with you.

What is home made Salsa?
So, what exactly *is* this magic elixir we’re talking about? At its heart, homemade salsa is a vibrant, fresh blend of chopped vegetables and seasonings, usually featuring tomatoes, onions, peppers, cilantro, and lime juice. It’s that burst of freshness that elevates everything from tacos to tortilla chips to grilled chicken. Think of it as the kitchen’s version of a palate cleanser and flavor enhancer all rolled into one. It’s essentially nature’s confetti for your food! This specific version is my go-to because it strikes that perfect balance: not too chunky, not too smooth, with just the right amount of heat and tang. It’s the kind of salsa that makes people ask, “Wow, where did you get this?” and then I get to beam and say, “Oh, I made it!” It’s a simple concept, but the execution is what makes all the difference, and I think you’ll find this recipe to be incredibly approachable and rewarding.
Why you’ll love this recipe?
There are so many reasons why this homemade salsa recipe has become a staple in my kitchen, and I just know you’re going to feel the same way. First off, the FLAVOR. Oh my goodness, the flavor! It’s so incredibly fresh and bright, with a little kick that wakes up your taste buds. You get the juicy sweetness of the tomatoes, the sharp bite of the onion, the fresh herbaceousness of cilantro, all brought together with that zesty lime. It’s a symphony of deliciousness! Then there’s the SIMPLICITY. I’ve made this on a Tuesday night after a long day, and it took maybe 10 minutes, tops. No complicated techniques, no fancy equipment. Just chop, mix, and chill. It’s a lifesaver when you need a quick, healthy snack or an appetizer for unexpected guests. Plus, it’s incredibly COST-EFFECTIVE. Buying good quality salsa at the store can add up, especially if you go through it as quickly as we do. Making it yourself with fresh ingredients is so much easier on the wallet, and you know exactly what’s going into it – no preservatives or weird fillers. And the VERSATILITY! This isn’t just for chips, though it’s fantastic for that. I dollop it on tacos, burritos, scrambled eggs, grilled fish, Chicken Breasts, even avocado toast. It’s amazing how it can transform a simple meal into something special. What I love most about this specific recipe is how it balances all those elements perfectly. It’s not too spicy for the kids, but it has enough zing for the adults. It’s the kind of recipe that makes you feel like a culinary rockstar without any of the stress.
How do I make homemade Salsa?
Quick Overview
Making this homemade salsa is wonderfully straightforward. You’ll essentially be combining fresh, ripe ingredients and letting them mingle to develop their incredible flavors. The beauty lies in the simplicity: a few minutes of chopping, a quick stir, and then a short chill in the fridge to let everything meld together. What makes this method special is the focus on ingredient quality and simple techniques that let the natural flavors shine. It’s almost foolproof, and the result is a salsa that’s so much more vibrant and delicious than anything you can buy. You get to control the heat, the texture, and the freshness – it’s a truly customizable experience!
Ingredients
For the Freshness Base:
2 pounds ripe Roma tomatoes, cored and roughly chopped (using Roma tomatoes gives a good, meaty texture and less watery juice)
1 medium white onion, finely diced (white onion has a nice sharp bite that works well here; you can substitute yellow if that’s all you have)
1-2 jalapeño peppers, seeded and finely minced (adjust to your spice preference – start with one if you’re unsure, you can always add more heat later!)
1 bunch fresh cilantro, stems removed and finely chopped (don’t be shy with the cilantro, it’s key to that fresh flavor!)
2 cloves garlic, minced (fresh garlic is a must for that authentic punch)
Juice of 1-2 limes (start with one, taste, and add more if needed – fresh lime juice is non-negotiable!)
1 teaspoon salt, or to taste (sea salt or kosher salt works best)
Optional Flavor Boosters:
1/2 teaspoon cumin (adds a lovely earthy depth)
Pinch of red pepper flakes (for an extra layer of heat)
1/4 cup of corn kernels, fresh or frozen (adds a pop of sweetness and texture)

Step-by-Step Instructions
Step 1: Prepare the Tomatoes
Start by coring your Roma tomatoes. You don’t need to peel them; the skins add great texture. Give them a rough chop. You want pieces that are about ½ inch in size. If your tomatoes are particularly juicy, you can gently squeeze out some of the excess seeds and liquid, but don’t go overboard – that juice adds flavor! The goal is a good, chunky texture.
Step 2: Dice the Aromatics
Finely dice your white onion. The finer you dice it, the better it will distribute its flavor without overwhelming the salsa. Seed and finely mince your jalapeño peppers. Remember, the seeds and the white membranes inside are where most of the heat resides, so remove them if you prefer a milder salsa. If you love a bit of fire, leave some seeds in!
Step 3: Chop the Cilantro and Mince Garlic
Strip the leaves from the cilantro stems and give the leaves a fine chop. You want small pieces that will integrate seamlessly. Mince your fresh garlic cloves as finely as possible. If you don’t have fresh garlic, you could use a little garlic powder in a pinch, but fresh really makes a difference here.
Step 4: Combine the Base Ingredients
In a medium mixing bowl, combine the chopped tomatoes, diced onion, minced jalapeño, chopped cilantro, and minced garlic. Give it a gentle stir to distribute everything evenly.
Step 5: Add Lime Juice and Salt
Squeeze in the juice from one lime. Add the salt. Now, give everything a good stir. This is where you start tasting! You want a good balance of acidity and salt. If it tastes a little flat, you likely need more salt or lime juice. If it’s too tart, you might need a tiny pinch of sugar or a touch more tomato.
Step 6: Stir in Optional Add-ins (if using)
If you’re adding cumin, red pepper flakes, or corn, now’s the time to stir them in. Make sure they’re evenly distributed throughout the salsa.
Step 7: Taste and Adjust
This is the most important step! Taste your salsa. Does it need more salt? More lime? A bit more heat from another pinch of jalapeño or red pepper flakes? This is your chance to make it perfect for *your* palate. Don’t be afraid to tweak it until it sings.
Step 8: Chill to Meld Flavors
Cover the bowl and refrigerate for at least 30 minutes. This step is crucial! It allows all those wonderful flavors to meld and deepen. The longer it chills, the better it gets, up to a couple of days.
Step 9: Serve and Enjoy
Give your salsa a final stir before serving. It’s ready to be scooped up with your favorite tortilla chips, spooned over tacos, or used as a vibrant topping for countless dishes!
What to Serve It With
This homemade salsa is seriously a culinary chameleon! Its bright, fresh flavor profile means it pairs beautifully with so many things, elevating everyday meals and making them feel extra special. For breakfast, I absolutely love dolloping a generous spoonful on top of scrambled eggs or a simple omelet. It adds a much-needed zest that cuts through the richness of the eggs. It’s also fantastic alongside some breakfast tacos or a breakfast burrito. For brunch, it’s a must-have on a charcuterie board or alongside some savory quiches and frittatas. It’s a refreshing counterpoint to richer brunch fare. As a dessert? Okay, maybe not a traditional dessert, but it’s the perfect accompaniment to a light and fresh meal that feels like dessert for your palate – think grilled fish with a side of roasted Sweet Potatoes. And for those cozy snack moments? This is where it truly shines. Forget boring chips and dip; this salsa is the star. Serve it with a big bowl of good quality tortilla chips, and watch it disappear! It’s also amazing with quesadillas, nachos, or even just spread on a piece of toasted sourdough. My family loves it with grilled chicken or fish – it’s our go-to way to make weeknight dinners feel a bit more exciting. The key is its incredible ability to complement without overpowering, adding a vibrant pop of flavor to almost anything you can imagine.
Top Tips for Perfecting Your Homemade Salsa
Over the years, I’ve learned a few tricks that have taken my homemade salsa from good to absolutely amazing. Here are my top tips to help you achieve salsa perfection:
Tomato Choice: While Roma tomatoes are my favorite for their meaty texture and fewer seeds, you can use other ripe tomatoes. Just be mindful of their water content. If they’re very watery, you might want to drain them a bit more after chopping. Always use ripe, flavorful tomatoes – they are the star!
Onion Technique: For a milder onion flavor that doesn’t overpower the other ingredients, you can rinse your diced white onion under cold water for about 30 seconds after chopping, then drain it well. This mellows out its sharpness a bit. Alternatively, soaking it in ice water for 10 minutes also works wonders.
Heat Control: Jalepeños vary in heat. If you’re sensitive to spice, always remove the seeds and the white membranes. If you love heat, leave some in, or even use a spicier pepper like a serrano. Remember, you can always add more heat, but you can’t easily take it away!
Cilantro Power: Don’t be afraid of cilantro! It’s what gives salsa that signature fresh, vibrant flavor. Use the leaves and tender parts of the stems. If you’re not a fan of cilantro, you can try substituting with fresh parsley, though it will change the flavor profile significantly.
Lime Love: Fresh lime juice is non-negotiable. Bottled lime juice just doesn’t have the same bright, zesty punch. Start with one lime, but always taste and adjust. You might need more depending on the tartness of your limes and your personal preference.
The Salt is Key: Salt not only enhances flavor but also helps to draw out the natural sweetness of the tomatoes and balance the acidity of the lime. Taste and adjust the salt carefully. You want it to taste *seasoned*, not salty.
Don’t Skip the Chill: This is probably the most crucial step for developing depth of flavor. Letting the salsa sit in the fridge for at least 30 minutes (and ideally longer) allows all the ingredients to meld together. The flavors become more complex and harmonious. I often make it a day ahead!
Texture is Personal: Some people like chunky salsa, others prefer it smoother. You can pulse it briefly in a food processor for a smoother texture, but be careful not to over-process into a puree. I prefer a manual chop for better texture control.
Ingredient Swaps: Feel free to experiment! Some people add a finely diced bell pepper (red or green) for extra crunch and color. A bit of finely diced avocado added just before serving is also delicious, though it shortens the shelf life.
Storage Smarts: Store your salsa in an airtight container in the refrigerator. It’s usually best consumed within 3-4 days, as the fresh ingredients will start to break down over time. The flavors actually tend to get even better on the second day!
Storing and Reheating Tips
One of the best things about this homemade salsa is how well it keeps, meaning you can enjoy that incredible fresh flavor for days. For optimal freshness, it’s always best to store it in an airtight container. If you’re planning to serve it within a few hours, leaving it at room temperature is fine, but for longer storage, the refrigerator is your best friend.
Refrigerator Storage: Once your salsa has chilled and the flavors have melded, transfer it to an airtight container. Glass containers are my preference because they don’t hold onto odors. It will keep beautifully in the fridge for about 3 to 4 days. I’ve noticed that the flavors actually deepen and improve on the second day, so making it ahead is a great strategy!
Room Temperature: It’s generally recommended to consume salsa within a couple of hours of being at room temperature, especially if it contains fresh tomatoes and onions. If you’re taking it to a potluck or party, keep it chilled in a cooler until it’s time to serve.
Freezer Instructions: While I don’t typically recommend freezing homemade salsa because the texture of the tomatoes can become mushy upon thawing, it is possible if you’re desperate. If you choose to freeze it, use a freezer-safe airtight container or heavy-duty freezer bags. Squeeze out as much air as possible. It should last for about 1 to 2 months. To thaw, transfer it to the refrigerator overnight. Keep in mind it will have a softer texture and may be more watery, so you might want to drain it well after thawing and perhaps add some fresh cilantro or a bit more lime juice to revive it.
Glaze Timing Advice: Since this recipe doesn’t involve a glaze in the traditional sense, this point isn’t directly applicable. However, if you were to add any delicate ingredients like fresh avocado or sour cream *into* the salsa itself, those should always be added just before serving, not for storage or reheating.
The key is to keep it cool and covered. When you’re ready to enjoy it again, just give it a good stir. Sometimes a little liquid can separate, but a quick mix brings it all back together.
Frequently Asked Questions
Final Thoughts
There you have it – my absolutely favorite way to make homemade salsa! It’s more than just a dip; it’s a vibrant burst of flavor that can transform so many meals. I genuinely believe that once you try making salsa from scratch with this recipe, you’ll never go back to store-bought. The freshness, the customizable heat, the sheer deliciousness – it’s all worth those few minutes of chopping. It’s the kind of recipe that makes you feel proud of what you’ve created in your own kitchen, and it’s so rewarding when your family and friends rave about it. If you love this recipe, you might also enjoy my Pico de Gallo, which is similar but a bit chunkier and often made with just tomatoes, onion, cilantro, jalapeño, and lime. Or perhaps my Corn and Black Bean Salsa for something with a bit more substance. Don’t hesitate to experiment with the ingredients to make it perfectly your own. I can’t wait to hear how yours turns out – let me know in the comments below if you try it and what you think! Happy salsa making!


Homemade Salsa
Ingredients
Main Ingredients
- 1 can (15 ounce) diced tomatoes, drained
- 1 medium onion, chopped
- 2 cloves garlic, minced
- 1 medium jalapeno pepper, seeded and minced adjust to spice preference
- 0.5 cup fresh cilantro, chopped
- 1 lime juice
- 0.5 teaspoon salt
- 0.25 teaspoon ground cumin
Instructions
Preparation Steps
- Combine all ingredients in a food processor.
- Pulse until desired consistency is reached. For a chunkier salsa, pulse a few times. For a smoother salsa, process longer.
- Taste and adjust seasoning if needed.
- Serve immediately or chill for at least 30 minutes to allow flavors to meld.


