I’ve always believed that a really great dip can turn a weeknight dinner into a little celebration. When I first tasted a version labeled “Greek hummus,” it felt like a sunny afternoon in Santorini—lemon in the air, oregano whispering from the herbs, and a touch of feta that brightened every bite. This Greek-inspired hummus isn’t chasing novelty; it’s layering familiar flavors into something comforting and punchy at the same time. I still remember the first time I served it to friends over a casual lunch—the table noise went up a notch, and someone asked if I’d traded tahini for sunshine. The answer is yes, in a way: this Greek hummus uses bright lemon, olive oil, kalamata olives, and a sprinkle of dill and feta so every scoop feels like a small Mediterranean vacation. It’s incredibly quick to whip up, incredibly easy to customize, and absolutely guaranteed to disappear in minutes at my house. This version is my go-to on busy nights and a crowd-pleaser for small gatherings—my kids actually beg for seconds and thirds, which is a rare win in our kitchen.
What is Greek Hummus?
Think of Greek hummus as hummus with a sunny tilt toward the Aegean coast. It’s essentially the same creaminess you love from classic chickpea hummus, but infused with lemony brightness, a whisper of oregano, and the salty kiss of kalamata olives or feta crumbles. The name hints at the flavor philosophy: Mediterranean ingredients meeting a traditional chickpea base. It’s not a completely new dish, just a confident, bright variation that pairs beautifully with pita, veggies, or warm pita chips. I often tell myself that Greek hummus is a dip you can snack on all day—perfect for breakfast with a drizzle of extra-virgin olive oil, or for a mezze spread that turns a simple dinner into something celebratory. It’s essentially hummus with personality—fresh enough to satisfy a weekday craving and bold enough to feel special on weekends.
Why you’ll love this recipe?
What I love most about this Greek hummus is how forgiving it is without losing its bright identity. It’s a dip that tastes like you spent ages on it, even though you didn’t. The flavor profile hits all the right notes: creamy, tangy, and just a little briny from olives or feta. The lemon zest lightens the finish, while oregano and dill bring a whisper of herbaceous perfume that makes you lean in for more. It’s also incredibly practical. You can whip this up in a blender or food processor in minutes, then customize with pantry staples you already have. The cost-per-portion is surprisingly friendly, especially if you use dried chickpeas and cook them ahead. It’s versatile, too: scoop it with veggies for a crisp snack, slather it on warm pita for a quick lunch, or dollop it onto a board for a casual party. This is the kind of recipe that earns a permanent spot on my weekly meal plan because it’s dependable yet exciting, comforting yet a little adventurous.
- Flavor:What are some of the best flavors to serve with a dip?
- Simplicity:What are some pantry staples, a quick blend, and you’re tasting a dish that feels special without demanding hours in the kitchen.
- Cost-efficiency: This comes together with pantry staples or canned chickpeas; it’s easy on the wallet, especially when you compare it to takeout options.
- Versatility: It’s comfortable as a dip, a spread, or a topping for roasted vegetables and grains. It plays nicely with olives, feta, sun-dried tomatoes, or dill.
- Family vibe: My kids ask for this all the time because it’s not just tasty; it’s fun to decorate with toppings and watch the swirls reveal themselves on top.
If you’re curious about how this Greek hummus stacks up against other Mediterranean dips, I always compare it to a bright tzatziki or a smoky babaganoush—all great, but Greek hummus feels like a cozy, weeknight-friendly cousin who still brings the party to the table.
How to Make Greek Hummus
Quick Overview
If you’ve got a food processor or blender at the ready, you’re already halfway there. Start with a creamy base of chickpeas and tahini, brighten it with lemon and garlic, then fold in olive oil and a touch of feta or olives for that characteristic Greek glow. The beauty is in the layering: you don’t overblend, you taste as you go, and you finish with a perfume of herbs and a drizzle of olive oil. It’s a forgiving process, so you can adjust thickness with a little aquafaba (the chickpea broth) or water. This Greek hummus comes together fast, and the flavor blossoms even more after a short rest in the fridge.
Ingredients
For the Main Hummus Base:
- 2 cups cooked chickpeas (or 1 (15 oz) can, drained and rinsed; reserve 2–4 tablespoons of the liquid)
- 2–3 tablespoons tahini (adjust for your preferred nuttiness and creaminess)
- 2–3 tablespoons extra-virgin olive oil (plus extra for serving)
- 1–2 lemons (zest and juice, to taste)
- 1–2 garlic cloves, peeled
- Salt to taste (start with 1/2 teaspoon and adjust)
- 1/2 teaspoon ground cumin (optional, adds warmth)
For the Filling:
- 1/4 cup crumbled feta (optional, for a tangy finish)
- 2 tablespoons chopped kalamata olives (pitted), or sun-dried tomatoes for a sweeter note
- 2 tablespoons fresh dill or parsley, chopped
- Additional toppings: chopped cucumber, capers, or toasted pine nuts
For the Glaze:
- Extra-virgin olive oil for drizzling
- Smoked paprika, za’atar, or a pinch of oregano for finishing
- Fresh lemon zest for a bright finish
Step-by-Step Instructions
Step 1: Preheat & Prep
If you’re planning to dress things up with a topping swirl, line up your toppings and measure your lemon juice. Have your feta, olives, and herbs chopped so you’re not scrambling at the last minute. No oven preheat here—your blender is your stage, not a hot oven. Have a jar of olive oil ready for a glossy finish.
Step 2: Mix Dry Ingredients
In this Greek hummus moment, the “dry” is mostly salt and a pinch of cumin if you’re using it. Give the cumin a quick toast in a dry pan if you want a deeper aroma, then grind lightly with a mortar and pestle or a quick spin in the processor to wake up the flavor.
Step 3: Mix Wet Ingredients
Into your blender go the chickpeas, tahini, garlic, lemon zest, and lemon juice. Add a splash of the reserved aquafaba or water as needed. Start on a low speed and ramp up; you want a thick, creamy paste, not a runny soup. If you like a brighter lemon edge, add a touch more juice—taste as you go.
Step 4: Combine
Blend until smooth and glossy, stopping to scrape down the sides as needed. If it’s too thick, add a teaspoon of aquafaba or water and blend again. Don’t overblend—too much aeration can thin it and dull the creaminess you’re aiming for in a Greek hummus.
Step 5: Prepare Filling
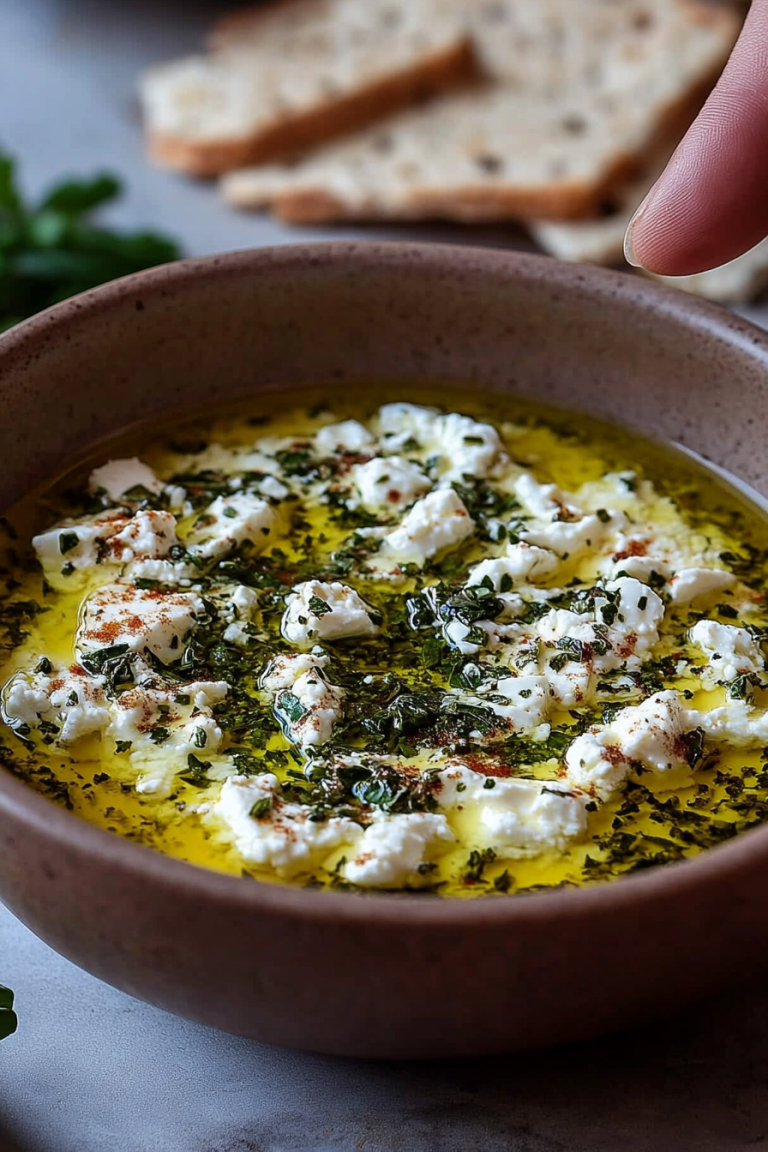
This is where you decide how fancy you want to go. Crumble feta into a small bowl, chop olives and herbs, and keep a few bright toppings handy. If you’re serving as a party dip, a light sprinkle of dill and a few capers can make it feel like a complete spread.
Step 6: Layer & Swirl
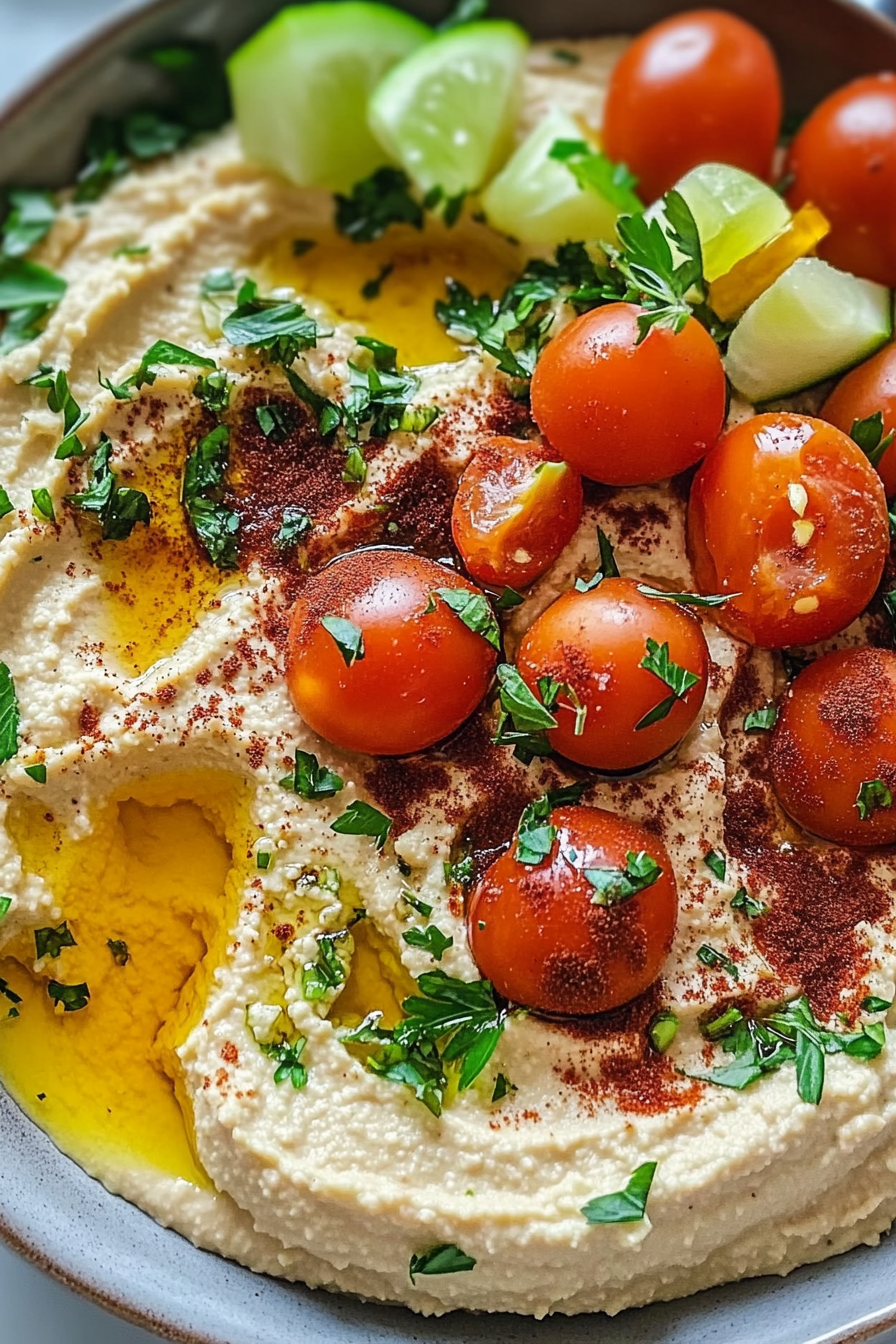
Spoon the hummus into a shallow serving dish. Make a few shallow wells with the back of a spoon and drizzle olive oil into the wells. Scatter feta, olives, and herbs across the top. For a pretty swirl, you can drag a toothpick from center outward and sprinkle with paprika or za’atar for color.
Step 7: Bake
Optional, but delightful: give the hummus a quick warm-up in a 350°F (175°C) oven for 5–8 minutes to bloom the flavors and soften the cheese topping a touch. If you’re serving soon, you can skip this step and serve immediately for the freshest texture.
Step 8: Cool & Glaze
Let the hummus sit for 10–15 minutes to mellow. Drizzle with a final kiss of olive oil, a pinch of lemon zest, and a light shower of oregano or paprika. This glaze is all about elegance—keep it light so the flavors of the Greek hummus still shine through.
Step 9: Slice & Serve
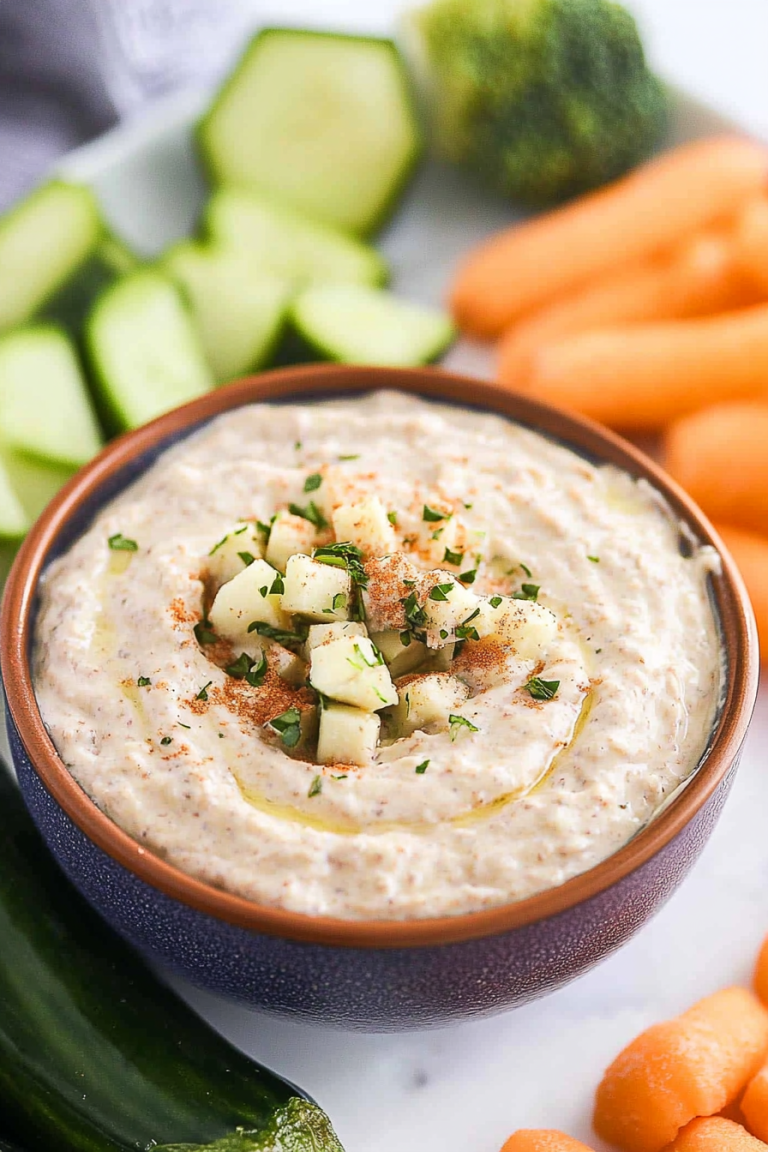
Scoop with a spoon or pile onto warm pita wedges, cucumber rounds, carrot coins, or crunchy crostini. If you’ve roasted peppers on hand, adding a few ribbons of pepper can bring a smoky sweetness that contrasts beautifully with the tangy Greek hummus base. This is the kind of dish that invites dipping and swooping—share with friends, watch the smiles appear, and don’t worry about getting every dip-perfect; it’s meant to be enjoyed.
What to Serve It With
This Greek hummus shines on a mezze board, but it’s endlessly versatile. Here are a few ideas that keep the flavors front and center.
For Breakfast: Scoop onto toasted sourdough with sliced cucumber and a sprinkling of dill. A side of crisp radishes and a strong cup of coffee makes a Sunday morning feel indulgent but still balanced.
For Brunch: Build a small board with cucumber ribbons, pepper strips, warm pita triangles, kalamata olives, and a light feta crumble. Pair with sparkling water with lemon or a citrusy cooler for a refreshing contrast.
As Dessert: Believe it or not, a hint of honey and cinnamon in a yogurt-based dip can pair with a savory-sweet hummus to create a Mediterranean-inspired dessert board. Serve in small bowls with crisp shortbread or fig slices for contrast.
For Cozy Snacks: Use as a spread on crusty bread with tomato slices and a drizzle of olive oil. It’s a lifesaver on busy nights—filling, satisfying, and easy to portion out for little helpers who love to dip.
My family loves this with warm pita and crisp veggies; my sister swears the feta-topped version tastes like a sunlit Greek afternoon. It’s the same base, just dressed differently depending on the mood. You can even keep a simple, bright version in the fridge and add toppings as you go so the flavors stay fresh and lively.
Top Tips for Perfecting Your Greek Hummus
Here are proven techniques that keep this Greek hummus consistently delicious, along with a few small tweaks you can experiment with.
Chickpeas Prep: If you’re using canned chickpeas, rinse well and shake off excess moisture. For a creamier texture, you can simmer the drained chickpeas in a little water for 5–10 minutes and then blend. If you’re using dried chickpeas, soak overnight and cook until tender. A little extra chickpea liquid can help you reach the perfect body without thinning out the flavor.
Mixing Advice: Don’t overblend the olive oil and tahini into the hummus on high for too long. A brief, steady blend—then a quick scrape and a second pass—keeps the dip lush and not gluey. Taste and adjust salt, lemon, and cumin in small increments as you go.
Swirl Customization: The swirl is where your personality shines. A thin line of olive oil with a paprika or za’atar dusting creates a visually striking finish. If you’re feeling fancy, top with microgreens or a few delicate shavings of lemon zest for brightness that clings to every bite.
Ingredient Swaps: Swap olives for roasted red peppers for a sweeter bite, or use feta crumbles in place of a salty, briny finish. If you’re dairy-free, skip the feta and amp up with sun-dried tomatoes and capers for a punchier profile.
Baking Tips: If you bake the hummus, keep it gentle—just long enough to bloom flavors without drying it out. A light cover of foil helps retain moisture. If you prefer chunks or rustic texture, pulse a few chickpeas back in for a few seconds to reintroduce some bite.
Glaze Variations: Try a lemon-scented olive oil glaze or a warm-spice finish with smoked paprika. A light dusting of za’atar or sumac can add a tangy, aromatic finish that elevates the Greek hummus without overpowering the base.
This is the kind of recipe that rewards you for documenting small changes. I’ve learned to trust my own palate: a touch more lemon, a touch less salt, a careful crumble of feta. The result is a Greek hummus that tastes like it’s been shared across generations—simple, soulful, and utterly comforting.
Storing and Reheating Tips
Storing Greek hummus properly keeps the texture silky and the flavor fresh. Here’s how I handle it at home so I don’t lose that just-made vibe.
Room Temperature: Hummus is best kept cool. If you’re serving soon after making it, you can leave it uncovered for a short time to let the surface dry a touch and improve the drizzle’s grip—but no longer than two hours total to keep things safe and fresh.
Refrigerator Storage: Transfer to a glass container with a tight lid. It will stay vibrant for 3–5 days. A quick stir before serving redistributes any added olive oil and keeps the top from drying out.
Freezer Instructions: Freeze in small portions for up to 2–3 months. Thaw in the fridge overnight, then whisk with a teaspoon or two of water or aquafaba to restore creaminess. The texture might loosen a bit, but it’s still wonderful for dipping and spreading.
Glaze Timing Advice: If you know you’ll be freezing, you may want to hold off on the glaze until you thaw and reheat. A fresh drizzle of olive oil and a pinch of lemon zest just before serving makes it taste bright and new every time.
Whether you’re storing a batch for the week or freezing a portion for future cravings, Greek hummus stays flexible and forgiving—a quality I deeply value in a dip that keeps showing up at my table.
Frequently Asked Questions
Final Thoughts
This Greek hummus is more than a dip; it’s a friendly invitation to slow down and savor something simple that tastes like a little holiday. The creaminess comes from a classic chickpea-tahini base, but the lemon, dill, and feta—along with those olives—light up every bite with personality. It’s a dip you can assemble in minutes, yet it carries a sense of celebration that makes your kitchen feel alive. I love how adaptable it is—swap olives for sun-dried tomatoes, or switch feta for a peppery olive crumble, and you’ve got a new mood with the same comforting core. If you’re craving more bright Mediterranean flair, try pairing this Greek hummus with a cucumber-yogurt salad or a simple roasted vegetable platter. I’d love to hear how you customize yours—leave a comment with your favorite topping or a tip that kicked your version up a notch. Happy dipping, friends, and may your olives always be plentiful!
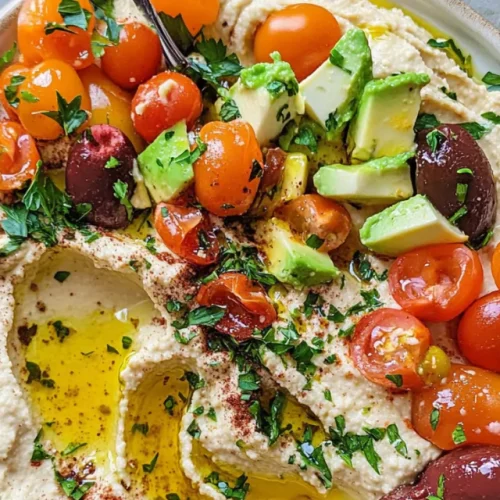
Greek hummus
Ingredients
Main Ingredients
- 1 can chickpeas (drained and rinsed)
- 2 tablespoons tahini
- 2 tablespoons lemon juice
- 2 cloves garlic, minced
- 1 tablespoon olive oil
- 0.5 teaspoon ground cumin
- 0.5 teaspoon salt
- 2 tablespoons water
Instructions
Preparation Steps
- Drain and rinse chickpeas. In a food processor, combine chickpeas, tahini, lemon juice, garlic, olive oil, cumin, salt, and water. Blend until smooth, adding more water as needed to reach desired consistency. Taste and adjust salt or lemon as desired.

