You know those nights? The ones where a craving hits you like a freight train, and all you can think about is that rich, fudgy, utterly decadent taste of brownie batter? But then reality sets in – the oven needs preheating, you’ve got to mix flour and sugar and eggs, and honestly, sometimes you just don’t have the energy for a full-blown baking session. I’ve been there, my friends, more times than I care to admit. That’s why I’m so thrilled to share this little miracle with you today: my absolute favorite brownie batter dip. It’s the answer to all those late-night sweet tooth emergencies and a guaranteed crowd-pleaser at any gathering. Think of it as the glorious, spoonable essence of your favorite brownie, without all the fuss. It’s shockingly easy, incredibly addictive, and tastes *exactly* like the best part of baking brownies – that glorious, lick-the-bowl stuff.
What is Brownie Batter Dip?
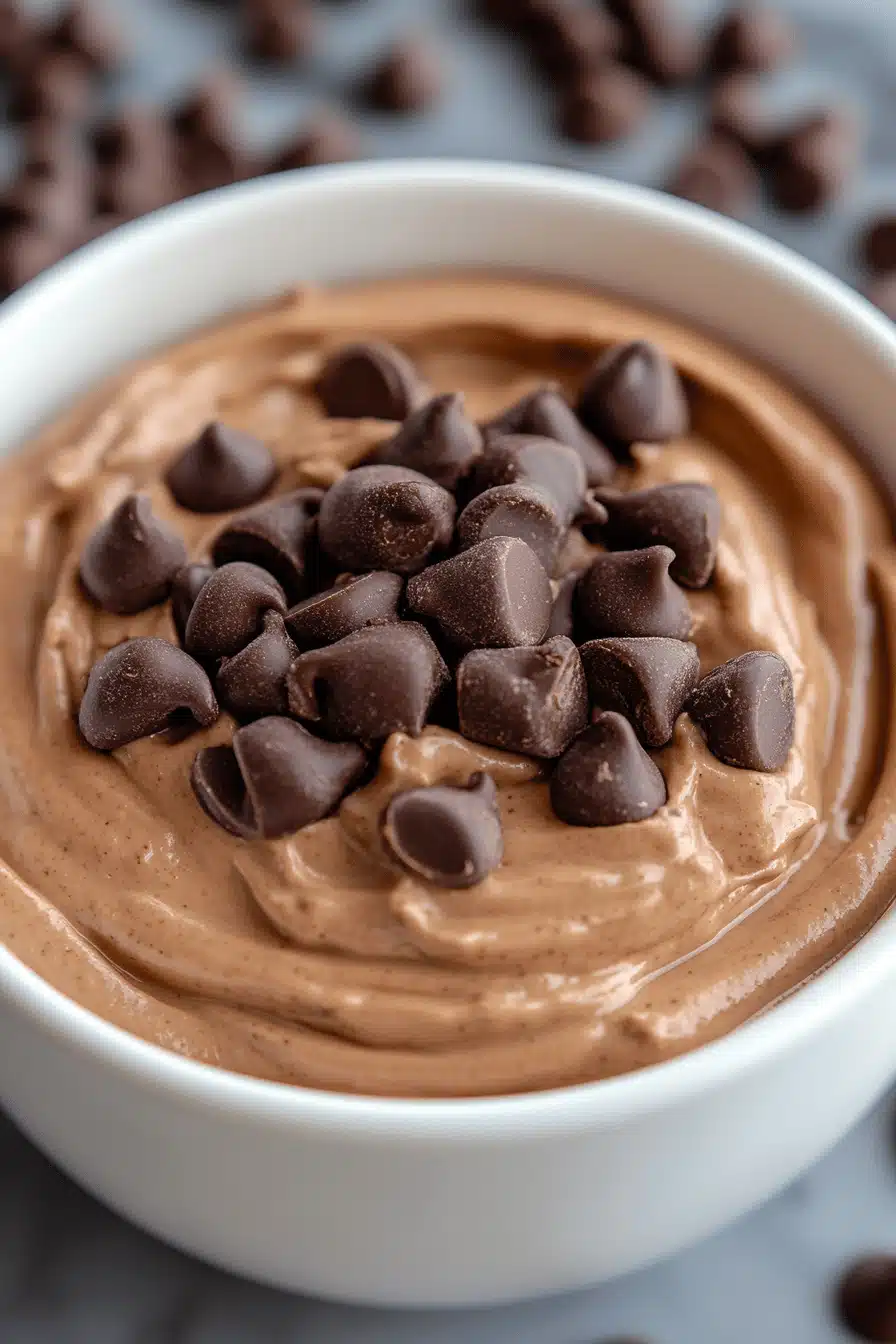
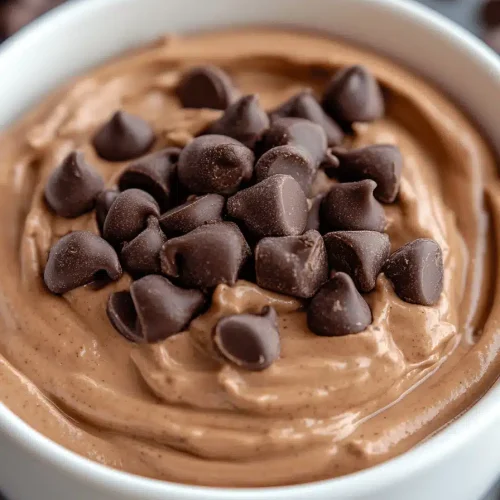
So, what exactly is this magical concoction I’m calling brownie batter dip? Well, it’s pretty much what it sounds like! It’s a creamy, dreamy, scoopable dessert that captures all the rich, chocolatey, slightly gooey goodness of actual brownie batter, but in a form you can just dive into with a spoon or a pretzel. Unlike actual raw brownie batter, which, let’s be honest, isn’t the safest to eat in large quantities (though we’ve all dabbled!), this dip is made with ingredients that are perfectly safe and utterly delicious when combined. It’s essentially a no-bake dessert that’s been perfected to mimic that irresistible flavor and texture. Imagine the most intensely chocolatey frosting you’ve ever had, but a little lighter, a little more dip-able, and ridiculously satisfying. It’s the cheat code to satisfying your deepest chocolate desires!
Why you’ll love this recipe?
Honestly, where do I even begin with why this brownie batter dip is a kitchen staple for me? First off, the FLAVOR. Oh my goodness, the flavor. It’s pure, unadulterated chocolatey heaven. It’s rich, it’s decadent, it’s got that slight chewiness you’d expect from a perfect brownie, and it just melts in your mouth. It tastes so much like real brownie batter, it’s almost uncanny.
Then there’s the SIMPLICITY. This is the kind of recipe you can whip up when you suddenly realize you have guests coming over in an hour, or when you’re just staring into the pantry at 9 PM wondering what magic can happen with what you have on hand. It requires minimal ingredients, most of which you probably already have in your kitchen, and the steps are so straightforward, even your littlest helpers can get involved (and they *love* getting involved with this one!).
And let’s talk COST-EFFICIENCY. Baking can sometimes get pricey with specialty flours or expensive chocolates. But this brownie batter dip? It’s incredibly budget-friendly. You don’t need fancy ingredients to achieve that incredible chocolate flavor. It’s a perfect example of how you can create something truly spectacular without breaking the bank.
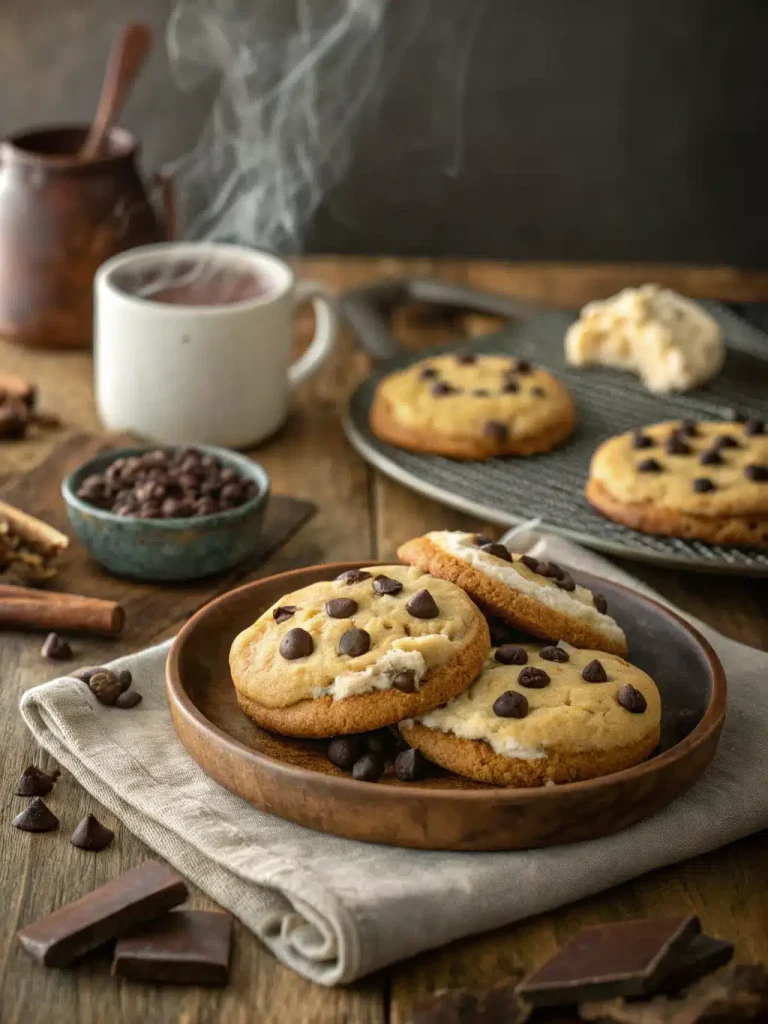
But what truly sets it apart for me is its VERSATILITY. You can serve it with just about anything! Crunchy pretzels, salty potato chips (don’t knock it ’til you try it!), fresh fruit, graham crackers, cookies – the possibilities are endless. It’s also fantastic for parties because you can make a big batch and people can just graze throughout the evening. It’s even made an appearance at potlucks where it’s always the first thing to disappear. I’ve made this countless times, and it truly never fails to impress, whether it’s for a casual weeknight treat or a more festive occasion. It’s my go-to when I’m craving something intensely chocolatey but don’t want the commitment of baking a whole cake or pie.
How do I make a Brownie Batter Dip?
Quick Overview
The magic of this brownie batter dip is how ridiculously easy it is to bring together. Essentially, you’re just whipping together some key ingredients until you get that signature thick, fudgy consistency. It’s a no-bake wonder, meaning no oven time is required, making it perfect for those scorching summer days or when you’re just not feeling the heat from the oven. You’ll simply combine your wet ingredients with your dry ingredients, giving it a good mix until it’s smooth, rich, and ready to be devoured. Seriously, it’s that simple. It’s a lifesaver on busy nights when you need a dessert fix, stat!
Ingredients
For the Main Batter:
This is where we get that luscious, brownie-like base. I always look for good quality unsalted butter; it really makes a difference in the flavor. Make sure your butter is softened to room temperature – this is key for achieving that smooth, creamy texture without any lumps. I usually set mine out on the counter for about an hour before I plan to start mixing.
- 1 cup (2 sticks) unsalted butter, softened
- 3/4 cup granulated sugar
- 1/2 cup packed light brown sugar
- 1 large egg
- 1 teaspoon vanilla extract
- 1 1/4 cups all-purpose flour
- 1/2 cup unsweetened cocoa powder (Dutch-process gives a deeper flavor, but natural works too!)
- 1/4 teaspoon baking soda
- 1/2 teaspoon salt
- 1/4 cup milk (any kind works, dairy or non-dairy!)
For the Filling (Optional, but highly recommended!):
This is where you can really take it over the top. I love adding mini chocolate chips for little bursts of gooey chocolate, but you can also swirl in some cookie dough or even a caramel sauce. The key is to not overdo it so you can still maintain that smooth dip consistency.
- 1/2 cup mini chocolate chips (or your favorite add-in)
For the Glaze (Also optional, but oh-so-worth-it):
A simple chocolate glaze adds that extra layer of indulgence and makes it look as good as it tastes. You want it to be pourable but not too thin. I usually adjust the milk or powdered sugar to get it just right.
- 1/2 cup powdered sugar
- 2 tablespoons unsweetened cocoa powder
- 2-3 tablespoons milk (start with 2 and add more if needed)
- Pinch of salt
Step-by-Step Instructions
Step 1: Preheat & Prep Pan
This recipe actually doesn’t require baking, so you don’t need to preheat your oven! What you *do* need is a good-sized mixing bowl. Make sure it’s clean and dry. I usually use my stand mixer for this, but a hand mixer works just as well, or even a sturdy whisk and some elbow grease if you’re feeling ambitious! Having everything ready to go makes the process so much smoother.
Step 2: Mix Dry Ingredients
In a separate medium bowl, whisk together the flour, cocoa powder, baking soda, and salt. Whisking them together before adding them to the wet ingredients helps to ensure that the leavening agents and salt are evenly distributed throughout the batter, which is super important for the texture and flavor. It also helps to break up any lumps in the cocoa powder. Give it a good whisk until everything looks uniformly combined and a lovely chocolatey brown.
Step 3: Mix Wet Ingredients
In your large mixing bowl (the one you’ll use for the main batter), cream together the softened butter, granulated sugar, and brown sugar. Beat them until the mixture is light and fluffy – this usually takes about 3-5 minutes with a mixer. This creaming step is crucial because it incorporates air, which contributes to the texture of the dip. Then, beat in the egg and vanilla extract until just combined. Don’t overmix here; you just want it all incorporated smoothly.
Step 4: Combine
Now, it’s time to bring it all together! Gradually add the dry ingredients to the wet ingredients, alternating with the milk. Start and end with the dry ingredients. Mix on low speed (or stir gently) until *just* combined. You don’t want to overmix the flour, or you can end up with a tough dip, which is definitely not what we’re going for here. Stop mixing as soon as you no longer see streaks of flour. The batter should be thick and fudgy.
Step 5: Prepare Filling
If you’re adding in extras like mini chocolate chips, gently fold them into the batter now. Just use a spatula or a wooden spoon to incorporate them evenly. You want to distribute them throughout the dip so you get a surprise bite of chocolatey goodness in every scoop. This step is entirely optional, but it really does add an extra dimension of texture and flavor that my family adores.
Step 6: Layer & Swirl
This step is more for presentation and a fun textural element if you choose to add a swirl of something extra, but for this basic brownie batter dip, you’re essentially done with the base! If you wanted to add a swirl of something like peanut butter or Cream Cheese, you’d do it now by dolloping it on top and gently swirling with a knife. For this recipe, we’re just going straight to serving!
Step 7: Bake
Good news! There’s no baking required for this brownie batter dip. It’s a no-bake recipe, which makes it incredibly fast and convenient. You can serve it immediately after mixing, or chill it for a bit if you prefer a firmer consistency.
Step 8: Cool & Glaze
If you choose to make the glaze, whisk together the powdered sugar, cocoa powder, and 2 tablespoons of milk in a small bowl until smooth. Add more milk, a teaspoon at a time, until you reach your desired drizzling consistency. It should be thick enough to coat a spoon but still pourable. Once the dip is in its serving bowl, drizzle the glaze over the top. You can make pretty patterns or just cover it completely. This adds a beautiful finish and extra chocolatey punch!
Step 9: Slice & Serve
Transfer the brownie batter dip to your favorite serving bowl. If you made a glaze, drizzle it over the top. For a more rustic look, you can sprinkle a few extra chocolate chips or some flaky sea salt on top of the glaze. This dip is best served slightly chilled or at room temperature. Get out your favorite dippers – pretzels, fruit, cookies, you name it – and dive in!
What to Serve It With
This brownie batter dip is incredibly versatile, and honestly, the “serving suggestions” are more about what *you* want to scoop it with! I’ve found that the salty crunch of pretzels is an absolute classic pairing. The contrast between the sweet, rich dip and the salty pretzel is just perfection. Potato chips are another surprisingly delicious option for that salty-sweet combo!
For Breakfast: Okay, hear me out! While it’s a dessert, a little dollop on a fluffy pancake or waffle isn’t a bad way to start the day, especially on a weekend. It’s like a decadent breakfast treat without the guilt of a full brownie. Pair it with a hot cup of coffee – it’s the perfect morning indulgence.
For Brunch: At a brunch spread, this dip can be a real showstopper. Serve it in a pretty bowl with a platter of fresh berries (strawberries, raspberries) and some sliced bananas. It looks so elegant and tastes divine with fresh fruit.
As Dessert: This is its natural habitat! Serve it with graham crackers for a S’mores-like experience, or with mini cookies. A drizzle of caramel sauce or a sprinkle of chopped nuts on top of the glaze takes it to the next level. It’s also fantastic served alongside a scoop of vanilla Ice Cream. It’s the perfect after-dinner treat when you want something sweet but don’t want to deal with cutting cake.
For Cozy Snacks: On a chilly evening, there’s nothing better than curling up on the couch with a bowl of this brownie batter dip and a good movie. It’s pure comfort food. This is also a lifesaver when unexpected guests pop over; it’s so quick to assemble and always a hit.
My kids, in particular, go wild for this with graham crackers and those little pretzel twists. They’ve even started their own tradition of dipping pieces of their PB&J sandwiches into it, which sounds weird, but honestly, it works!
Top Tips for Perfecting Your Brownie Batter Dip
Over the years, I’ve tinkered with this recipe quite a bit, and I’ve picked up a few tricks that I think make all the difference. You want that perfect balance of fudgy, creamy, and intensely chocolatey, and these tips will help you get there every single time.
Zucchini Prep: Wait, zucchini? Yes, you read that right! While this specific recipe doesn’t use zucchini, I wanted to share a tip from another beloved chocolatey treat I make. If you *ever* make a brownie-like baked good that calls for shredded zucchini, always, always squeeze out as much moisture as humanly possible. I use a cheesecloth or a fine-mesh sieve. It sounds tedious, but it prevents a watery, dense end product. For this dip, you don’t have to worry about it, but it’s a good general baking tip!
Mixing Advice: The biggest mistake I see people make with recipes like this is overmixing the flour. Once you add your dry ingredients to the wet, mix *just* until the streaks of flour disappear. Overmixing develops the gluten in the flour, which can lead to a tougher, less smooth dip. It’s better to have a tiny bit of unmixed flour that you can gently fold in than to overmix. Pay attention to the texture – it should be thick and fudgy, not runny or elastic.
Swirl Customization: While this recipe is for a straightforward brownie batter dip, I often like to add swirls. My go-to is a dollop of peanut butter or even some caramel sauce. Just spoon it on top after you’ve mixed the batter and gently swirl with a knife or a skewer. Don’t over-swirl, or you’ll lose the distinct ribbons of flavor and color. Aim for a marbled effect; it looks beautiful and adds pockets of extra deliciousness.
Ingredient Swaps: I’ve experimented with a few substitutions, and I’ve found that while most things work, quality matters. For the cocoa powder, Dutch-process cocoa will give you a richer, darker chocolate flavor and a smoother texture, but natural cocoa powder works perfectly fine if that’s what you have. If you’re out of all-purpose flour, a good gluten-free blend *can* work, but you might notice a slight difference in texture; I’d recommend a blend that contains xanthan gum. For milk, I’ve used almond milk and oat milk with great success, and they contribute to the creaminess without altering the flavor too much.
Baking Tips: Since this is a no-bake recipe, baking tips aren’t directly applicable, but I want to emphasize the importance of softened butter. If your butter is too cold, you’ll end up with a lumpy batter. If it’s too melted, your dip will be greasy. Softened means it gives slightly when you press it, but it’s not greasy or liquid. This is critical for achieving that smooth, emulsified texture.
Glaze Variations: If you want to change up the glaze, try adding a teaspoon of instant espresso powder to the chocolate glaze for a mocha flavor, or a hint of orange zest for a chocolate-orange twist. You can also skip the glaze entirely and dust the top with a little extra cocoa powder and powdered sugar for a simpler finish. If your glaze is too thick, add milk a tiny bit at a time. If it’s too thin, whisk in a little more powdered sugar.
Storing and Reheating Tips
One of the best things about this brownie batter dip is how well it stores, which means you can have delicious chocolatey goodness ready to go whenever the craving strikes. I’ve found that it keeps wonderfully in the refrigerator, and the flavors actually meld together even more overnight, which I sometimes think makes it even better!
Room Temperature: For short periods, like if you’re serving it at a party, it can sit out at room temperature for about 2-3 hours, especially if it’s not too warm in your house. Beyond that, it’s best to keep it chilled to maintain its texture and prevent any spoilage. If it does sit out, just give it a quick stir before serving again.
Refrigerator Storage: This is where it truly shines. Store any leftover dip in an airtight container in the refrigerator. It will stay fresh and delicious for about 3-4 days. I usually just cover the serving bowl tightly with plastic wrap, or transfer it to a Tupperware container or a jar. The texture will firm up a bit in the fridge, which is lovely if you prefer a thicker dip, but it will still be wonderfully scoopable.
Freezer Instructions: Yes, you can freeze this brownie batter dip! It’s a great way to make a larger batch and have it on hand for weeks. Transfer the dip (without the glaze, if you’ve added it) into a freezer-safe airtight container or a heavy-duty freezer bag. Press a piece of plastic wrap directly onto the surface of the dip before sealing the container to prevent ice crystals from forming. It will keep well in the freezer for up to 2 months. To thaw, simply transfer the container to the refrigerator overnight. The texture might be slightly different after freezing and thawing, but it will still be delicious.
Glaze Timing Advice: If you plan on storing leftovers or freezing, it’s best to add the glaze *just* before serving. The glaze can get a bit sticky or hard when chilled or frozen, and it will look much prettier applied fresh. So, if you’re storing, keep the glaze separate or wait to add it until you’re ready to dig in.
Frequently Asked Questions
Final Thoughts
So there you have it – my beloved brownie batter dip! It’s more than just a recipe for me; it’s a little shortcut to pure happiness, a way to satisfy those intense chocolate cravings without the fuss, and a guaranteed way to bring smiles to the faces of my family and friends. The way it tastes so much like the best part of a baked brownie, yet requires no oven time, still amazes me every single time I make it. It’s just that perfect blend of rich, fudgy, and utterly irresistible.
If you love this recipe, you might also enjoy my No-Bake Chocolate Mousse or my Fudgy Chocolate Avocado Brownies – they hit that same decadent chocolate spot! Seriously, I can’t wait for you to try this brownie batter dip. It’s simple, it’s delicious, and I’m confident it will become a favorite in your kitchen too. Let me know in the comments how yours turns out, what dippers you loved, or any fun variations you tried! Happy scooping!
brownie batter dip
Ingredients
Main Ingredients
- 1 box (15-18oz) brownie mix (unprepared)
- 0.75 cup whole milk
- 1.5 cup heavy cream
- 0.25 cup instant chocolate pudding mix (unprepared)
- 0.25 cup powdered sugar
Instructions
Preparation Steps
- In a medium saucepan, whisk together the brownie mix and milk over medium heat and cook until smooth and thick, about 5 to 8 minutes. There shouldn’t be any grittiness to the mixture, it should look like chocolate sauce.
- Remove from heat and allow to cool to room temperature for about 45 minutes. You can also speed this up by transferring the brownie mixture to a fresh bowl and placing it in the refrigerator for 20 to 25 minutes. The brownie mixture should have a soft but thick ganache-like texture once cooled enough to mix in.
- In a large bowl or stand mixer fitted with a whisk attachment, whip together the heavy cream, pudding mix, and powdered sugar until stiff peaks form.
- Fold the brownie mixture into the whipped cream mixture until fully incorporated.
- Serve immediately for a silky smooth and soft dip or refrigerate for a thicker mousse-like consistency. Serve with fruit, cookies, pretzels, and more!