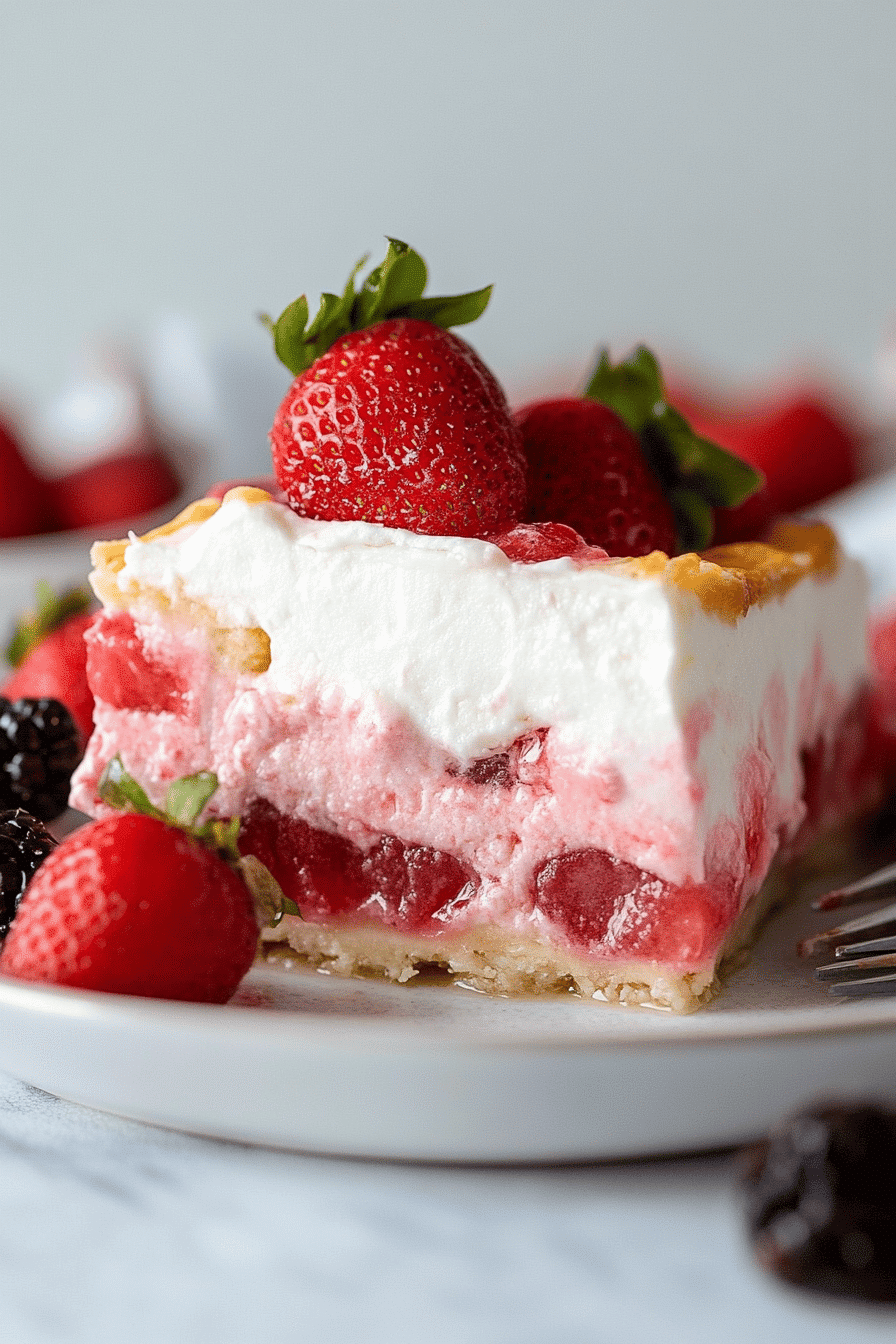
Oh, where do I even begin with this berry jello lasagna? It’s one of those recipes that feels like a warm hug on a plate, you know? I remember the first time I made it, it was for a neighborhood potluck during a heatwave, and honestly, I was looking for something that wouldn’t require me to turn on the oven for hours. This berry jello lasagna turned out to be an absolute showstopper! People were asking for the recipe before they’d even finished their first bite. It’s bright, it’s refreshing, and it has this wonderfully creamy, almost cheesecake-like texture that’s just out of this world. Think of it as a delightful mashup between a creamy no-bake cheesecake and a vibrant fruit dessert, but shaped and layered like a comforting lasagna. It’s truly a dessert that brings a smile to everyone’s face, and let me tell you, my family devours it every single time.
What is Berry Jello Lasagna?
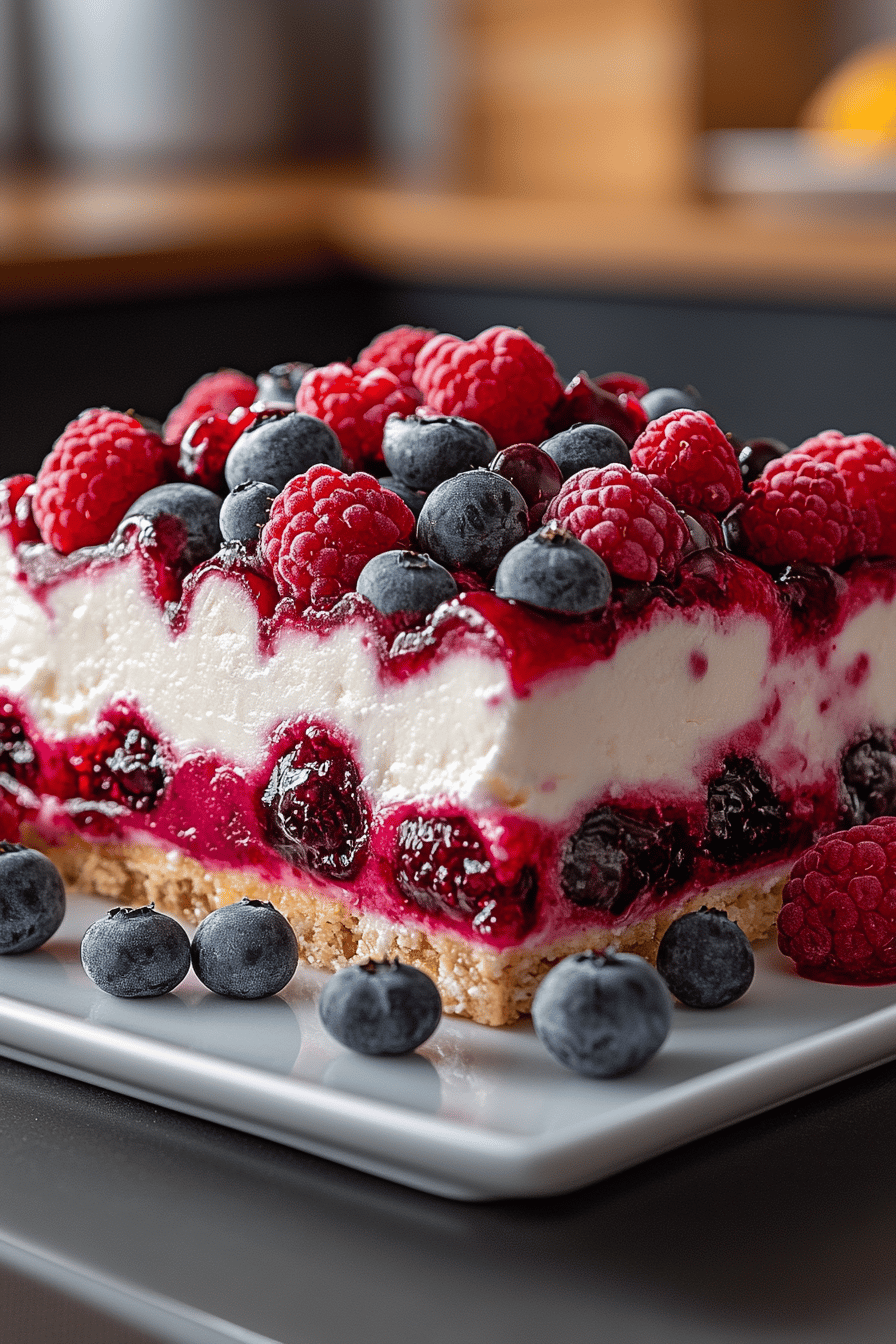
So, what exactly is this magical concoction we call berry jello lasagna? Well, it’s not your typical savory pasta dish, that’s for sure! The name is a little playful, and it comes from its layered structure, much like a traditional lasagna. Instead of noodles, cheese, and sauce, we’re building layers of deliciousness with a creamy base, bright fruit flavors, and a luscious topping. It’s essentially a no-bake dessert that uses gelatin (jello) to achieve its signature wobbly, delightful texture, combined with a rich, creamy component that balances the fruit. Think of it as a delightful dessert symphony where each layer plays its part perfectly. It’s the kind of dessert that looks incredibly impressive, but the beauty is, it’s surprisingly simple to put together. It’s become my go-to for summer gatherings, birthday parties, or even just when I need a special treat without the fuss of baking.
Why you’ll love this recipe?
There are so many reasons why this berry jello lasagna has become a staple in my kitchen, and I just know you’re going to fall in love with it too. First off, the flavor is just sensational. You get that sweet-tart burst from the berries, perfectly complemented by the smooth, creamy filling. It’s like a little party in your mouth with every spoonful! And let’s talk about simplicity – this recipe is a lifesaver on busy nights. There’s no baking involved, which means less mess and less time spent in a hot kitchen. Plus, the ingredients are super budget-friendly. You can often find the main components on sale, making this an elegant dessert that doesn’t break the bank. What I love most about this berry jello lasagna, though, is its versatility. You can swap out the berry flavors, experiment with different creamy bases, or even add in other fruits. It’s a recipe that you can truly make your own. It’s also fantastic because it’s a crowd-pleaser for all ages. My kids, who can be quite picky, absolutely adore this, and I’ve served it to friends who are serious dessert aficionados, and they always rave about it. It’s a guaranteed hit, every single time, and that’s a big deal for me.
How do I make Berry Jello Lasagna?
Quick Overview
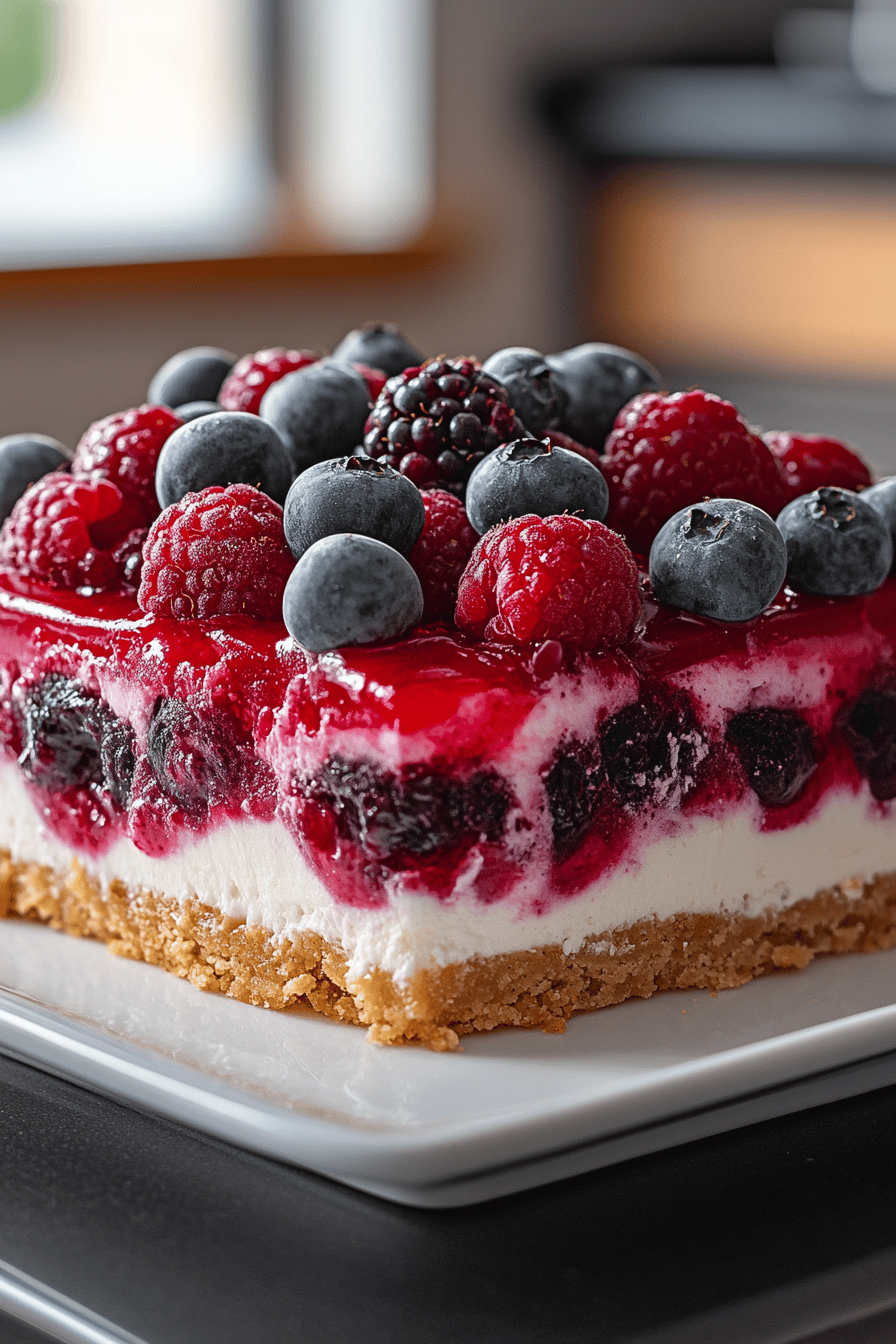
Making this berry jello lasagna is wonderfully straightforward, and I promise, even if you’re new to desserts, you’ll nail it! We’re basically creating a no-bake cheesecake-like base, layering it with vibrant fruit jello, and then topping it all off with a dreamy glaze. It comes together in a few simple steps: preparing your pan, mixing your base ingredients, adding the jello layers, letting it set, and then finishing with the glaze. It’s honestly a dream for weeknight desserts or when you need a showstopper without the stress. The key is patience during the chilling steps, but the active time is minimal!
Ingredients
For the Main Batter:
This is what gives our berry jello lasagna that amazing creamy foundation. I like to use a simple combination of Cream Cheese and sweetened condensed milk, as it provides a rich, velvety texture without being too heavy. Make sure your cream cheese is softened to room temperature – it makes all the difference in getting a super smooth consistency. If you’re short on time, you can microwave it gently for about 30 seconds, but watch it closely so it doesn’t melt! I’ve found that using good quality cream cheese really shines through here.
* 2 (8-ounce) packages cream cheese, softened
* 1 (14-ounce) can sweetened condensed milk
* 1/4 cup lemon juice (freshly squeezed is best for that bright, zingy flavor!)
* 1 teaspoon vanilla extract
* 1 cup crushed graham crackers (about 7-8 full crackers)
For the Filling:
This is where the “jello” magic happens! I love using a combination of red raspberry and strawberry jello for a beautiful color and a classic berry flavor that everyone enjoys. You can absolutely get creative here, though! Think about using blueberry, cherry, or even a mixed berry flavor if you can find it. The trick to getting vibrant layers is to dissolve the jello completely in the hot water. I always give it an extra good stir just to be sure. Don’t skip the cold water – it helps it set up perfectly. For an extra special touch, sometimes I’ll even add a handful of fresh berries to the jello mixture right before pouring.
* 2 (3-ounce) packages red raspberry jello
* 2 (3-ounce) packages strawberry jello
* 4 cups boiling water
* 2 cups cold water
* 1 cup fresh or frozen berries (optional, for added texture and flavor)
For the Glaze:
This final touch brings everything together and adds a lovely sheen. It’s a simple glaze made with powdered sugar and milk, but you can make it even more exciting. Sometimes I add a splash of lemon juice for extra tang, or a tiny drop of berry extract to really amp up the fruit flavor. The key to a good glaze is getting the consistency just right – thick enough to coat, but thin enough to drizzle smoothly. I usually start with a tablespoon of milk and add more a teaspoon at a time until it’s perfect. It’s so satisfying when it drizzles in beautiful patterns!
* 1 cup powdered sugar
* 2-3 tablespoons milk (or a dairy-free alternative)
* 1/2 teaspoon vanilla extract
Step-by-Step Instructions
Step 1: Preheat & Prep Pan
First things first, grab a 9×13 inch baking dish. You don’t need to grease it or line it, as the creamy layer will help prevent sticking, and the jello just slides out beautifully. Some people prefer to use a glass dish so they can see the gorgeous layers, which I highly recommend for that visual wow factor. Make sure it’s clean and dry. This dish will be your canvas for creating something truly spectacular!
Step 2: Mix Dry Ingredients
In a medium bowl, combine the crushed graham crackers. This is going to form the base layer of our berry jello lasagna. Make sure they are crushed finely enough to pack together nicely. You can do this in a food processor for a super smooth crumb, or place them in a zip-top bag and crush them with a rolling pin – it’s quite therapeutic, actually! Just aim for consistent crumbs, not big chunks.
Step 3: Mix Wet Ingredients
In a separate large bowl, beat the softened cream cheese until it’s nice and fluffy. This is where that softened cream cheese really pays off! Then, gradually beat in the sweetened condensed milk until everything is smooth and well combined. Add the lemon juice and vanilla extract and beat again until it’s all incorporated. You want a creamy, lump-free mixture that smells absolutely divine.
Step 4: Combine
Now, pour the cream cheese mixture over the crushed graham crackers in the baking dish. Use the back of a spoon or your hands to press the crumbs down firmly and evenly to form the base layer. This step is crucial for a good crust that holds its shape. You really want to pack it in there tightly. A flat-bottomed glass can help achieve a perfectly level base.
Step 5: Prepare Filling
In two separate heatproof bowls, dissolve the raspberry jello in 2 cups of boiling water, stirring until completely dissolved. Then, stir in 1 cup of cold water for each bowl. Do the same for the strawberry jello in another two bowls. Once dissolved, you’ll have two bowls of raspberry and two bowls of strawberry jello mixture. If you’re adding fresh berries, stir them into the jello mixtures now.
Step 6: Layer & Swirl
This is the fun part where your berry jello lasagna starts to take shape! First, carefully pour about half of the raspberry jello mixture over the graham cracker crust. Refrigerate for about 30-45 minutes, or until slightly set but not firm. Then, gently pour about half of the strawberry jello mixture over the raspberry layer. Repeat this process with the remaining raspberry and strawberry jello. The key here is to let each layer set up a bit before adding the next. This prevents them from mixing too much and gives you those distinct layers. Some people like to create a marbled effect by swirling the layers gently with a toothpick, which looks beautiful!
Step 7: Bake
Actually, there’s no baking required for this recipe! It’s all about chilling. Once all your jello layers are poured, cover the dish loosely with plastic wrap and refrigerate for at least 4-6 hours, or preferably overnight. You want it to be completely firm and set before moving on to the glaze. The longer it chills, the better it holds its shape.
Step 8: Cool & Glaze
Once your jello lasagna is fully set and firm, it’s time for the glaze. In a small bowl, whisk together the powdered sugar, vanilla extract, and 2 tablespoons of milk. Add more milk, a teaspoon at a time, until you reach your desired drizzling consistency. Drizzle the glaze evenly over the top of the set jello. Let it sit for about 10-15 minutes for the glaze to set slightly before slicing.
Step 9: Slice & Serve
Now for the moment of truth! Use a sharp knife to slice the berry jello lasagna into squares. For the cleanest slices, dip your knife in hot water and wipe it dry between each cut. Serve immediately and watch everyone’s eyes light up. It’s best served chilled!
What to Serve It With
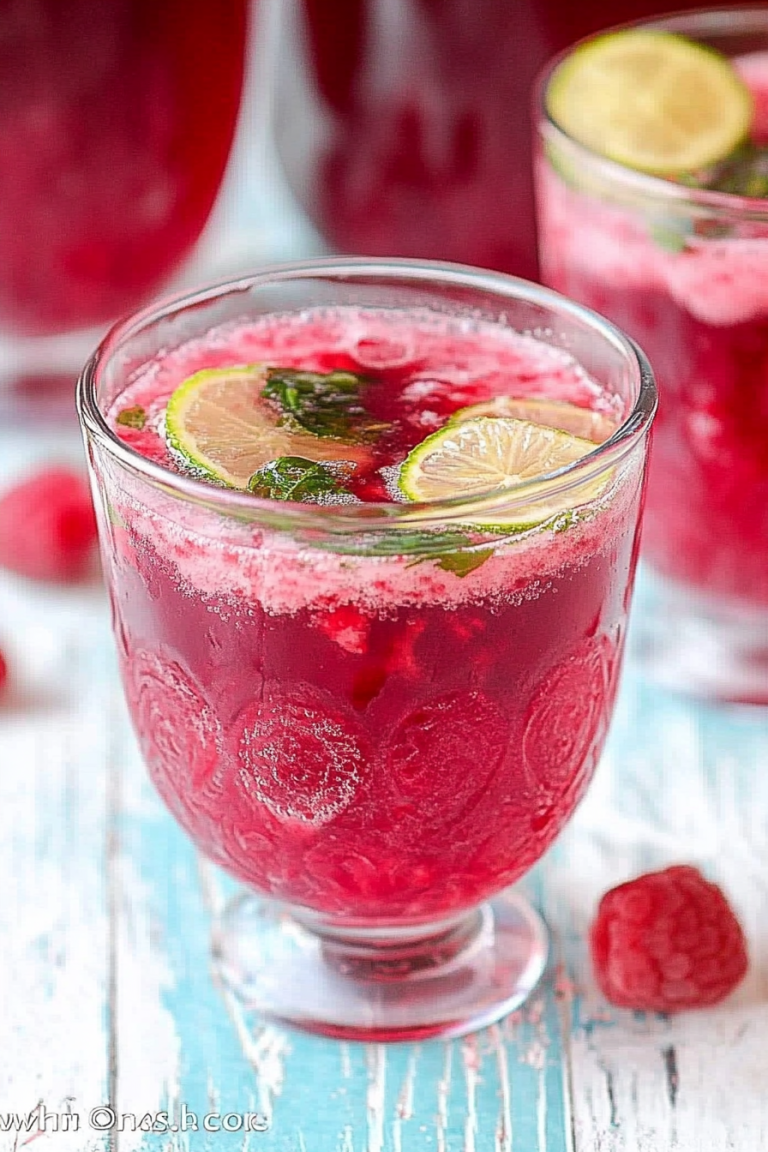
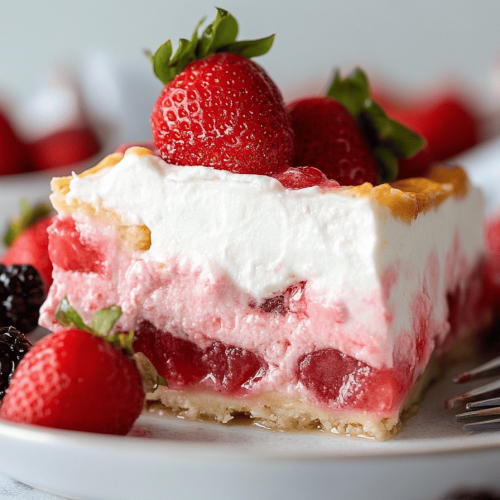
This berry jello lasagna is so versatile, it can be enjoyed at almost any meal or occasion! For a delightful breakfast, I love serving a small slice alongside a cup of freshly brewed coffee. The sweetness of the lasagna is balanced by the bitterness of the coffee, and it makes for a wonderfully decadent start to the day. For brunch gatherings, it’s a real showstopper. I often pair it with a sparkling rosé or a light fruit juice. Presenting it on a tiered stand adds a touch of elegance. When served as a dessert, it’s absolutely divine after a hearty meal. It’s light enough not to feel too heavy, but satisfyingly sweet. I’ll sometimes serve it with a dollop of whipped cream or a few fresh mint leaves for garnish. And for those cozy evenings when you just want a little something sweet, a small piece of this berry jello lasagna is pure comfort. It pairs wonderfully with a glass of milk or even a cup of herbal tea. My family has a tradition of having this every year on the first day of summer vacation, and it just feels like pure joy.
Top Tips for Perfecting Your Berry Jello Lasagna
Over the years, I’ve picked up a few tricks and learned some lessons that I think will really help you achieve berry jello lasagna perfection. When it comes to the cream cheese base, always, always, always make sure your cream cheese is fully softened. I’ve tried rushing it and ended up with tiny lumps, which nobody wants! If you’re in a pinch, you can microwave it for 15-20 seconds at a time, stirring in between, but be careful not to melt it. For the jello layers, the key to distinct layers is allowing each one to set *partially* before adding the next. If you pour a warm layer on top of a not-yet-set layer, they’ll just blend together. Aim for that slightly jiggly but not liquid state for each pour. I usually wait about 30-45 minutes between layers in the fridge. If you want super vibrant colors, make sure you’re dissolving the jello completely in the boiling water – no grainy bits left at the bottom! For ingredient swaps, if you can’t find graham crackers, digestive biscuits or even Shortbread Cookies can work well for the crust, though they’ll change the flavor profile slightly. If you want to go dairy-free, you can use vegan cream cheese (just ensure it’s firm enough) and a dairy-free condensed milk alternative. For the glaze, if it’s too thick, add milk a tiny bit at a time. If it’s too thin, whisk in a bit more powdered sugar. Patience is your best friend with this recipe; letting it chill thoroughly is non-negotiable for the best texture and easiest slicing. I also learned the hard way that using a metal pan can sometimes make unmolding trickier if you decide to flip it, so a glass or ceramic dish is usually best for visibility and ease.
Storing and Reheating Tips
Storing this delicious berry jello lasagna is pretty straightforward. If you happen to have any leftovers (which is rare in my house!), it’s best kept covered tightly in the refrigerator. Because of the jello and creamy filling, it needs to stay cold to maintain its texture and prevent spoilage. I usually pop a piece of plastic wrap directly onto the surface to prevent a skin from forming and then another layer of foil over the dish. It stays wonderfully fresh in the fridge for about 3 to 4 days. I haven’t tried reheating this dessert, and honestly, it’s meant to be enjoyed cold! The chilling process is what makes it so refreshing and delightful. If you’re planning to serve it later in the day, you can make the entire thing ahead of time and just add the glaze right before serving for the freshest look. For longer storage, you *could* try freezing portions, but I can’t guarantee the texture will be the same after thawing. If you do freeze it, wrap individual slices very well in plastic wrap and then foil, and thaw them overnight in the refrigerator. The glaze should definitely be added *after* thawing, otherwise, it might weep or become sticky.
Frequently Asked Questions
Final Thoughts
Honestly, this berry jello lasagna is more than just a dessert to me; it’s a collection of happy memories and a testament to how simple ingredients can create something truly magical. It’s the kind of recipe that makes you feel like a kitchen rockstar, even if you’ve never baked a thing before. The way the creamy base melts in your mouth, followed by the bright, fruity burst of the jello layers, it’s just pure bliss. It’s the perfect sweet ending to any meal, and it’s guaranteed to be a hit with everyone, from the pickiest eaters to the most discerning dessert lovers. If you’re looking for a no-bake treat that’s impressive, delicious, and surprisingly easy, then you absolutely have to give this berry jello lasagna a try. You won’t regret it! I can’t wait to hear how yours turns out, so please leave a comment below and tell me all about it, and don’t forget to share your own creative twists or favorite jello flavors! Happy dessert making!
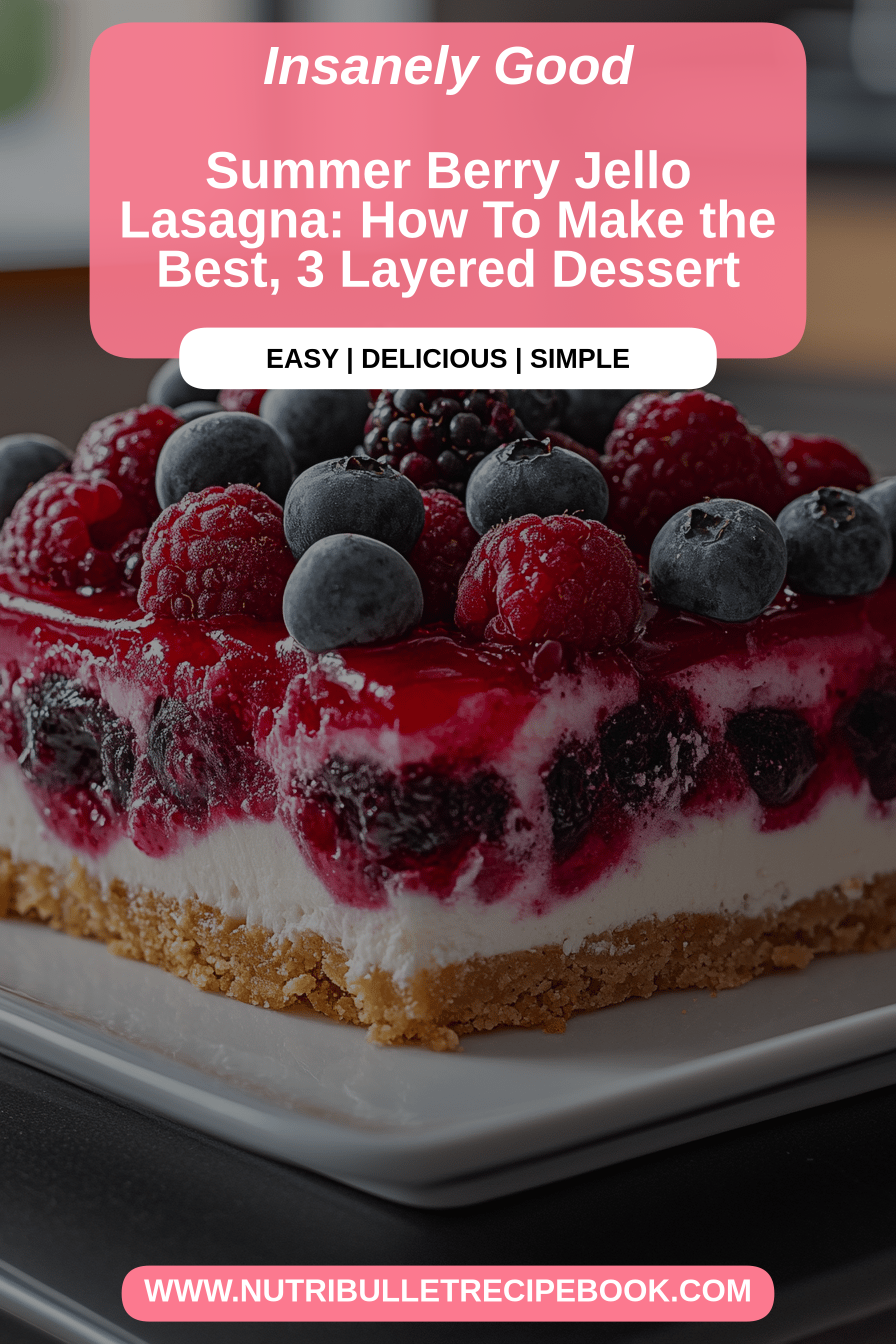
Summer Berry Jello Lasagna
Ingredients
Cheesecake Layer
- 226.8 g cream cheese softened
- 0.2 cup granulated sugar
- 0.06 cup heavy cream
- 0.005 tsp vanilla extract
Jello Layers
- 1 package strawberry gelatin
- cup boiling water for dissolving gelatin
- cup cold water for setting gelatin
- 1 package lime gelatin
- 1 package berry blue gelatin
- 2 cup whipping cream whipped to stiff peaks
Optional Garnish
- fresh berries for topping
Instructions
Preparation Steps
- Prepare the cheesecake layer: In a bowl, beat the softened cream cheese and sugar until smooth. Gradually beat in the heavy cream and vanilla extract until well combined.
- Spread the cheesecake mixture evenly into the bottom of a 9x13 inch baking dish.
- Prepare the strawberry gelatin: In a bowl, dissolve the strawberry gelatin in boiling water according to package directions. Stir in cold water and chill until slightly thickened but not set.
- Gently pour the thickened strawberry gelatin over the cheesecake layer. Refrigerate for at least 30 minutes, or until the strawberry layer is firm to the touch.
- Prepare the lime and berry blue gelatin layers: In separate bowls, dissolve the lime and berry blue gelatins in boiling water according to package directions. Stir in cold water. Let them cool to room temperature.
- Fold the whipped cream into the cooled lime gelatin until just combined. Pour this mixture over the set strawberry layer. Refrigerate until firm.
- Once the lime layer is firm, gently pour the berry blue gelatin over it. Refrigerate for at least 2-3 hours, or until completely set.
- Cut into squares and serve. Garnish with fresh berries if desired.