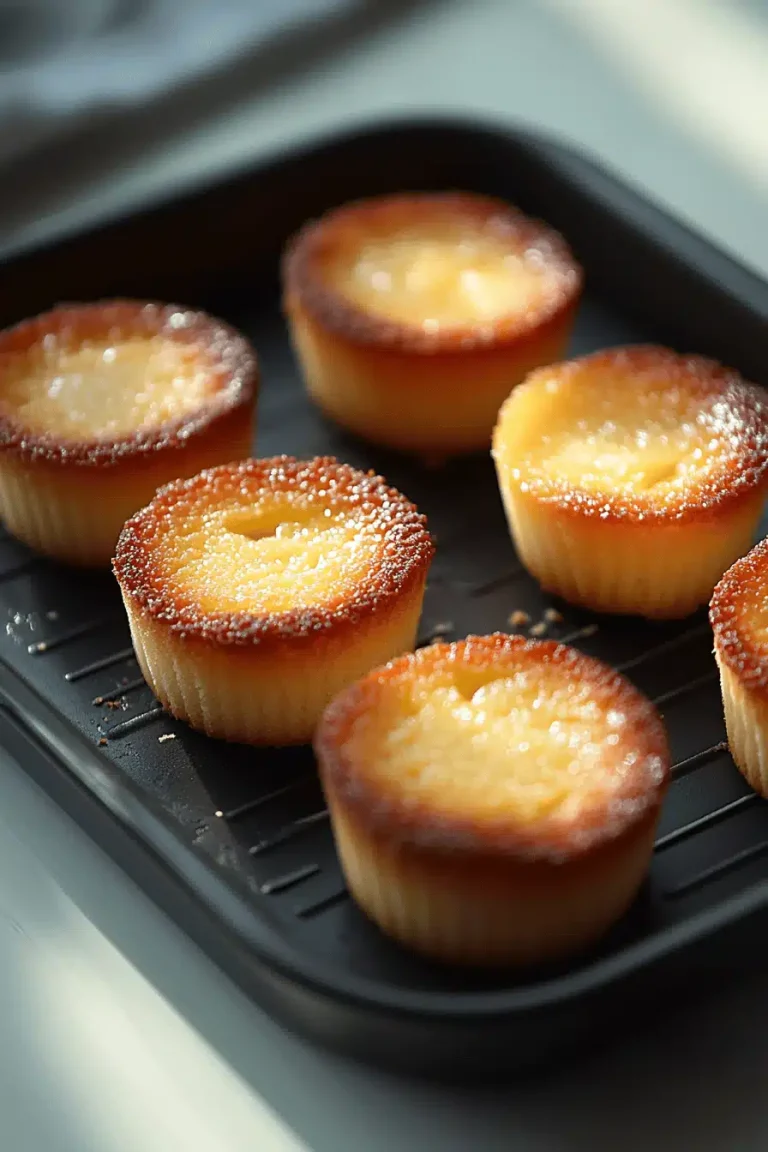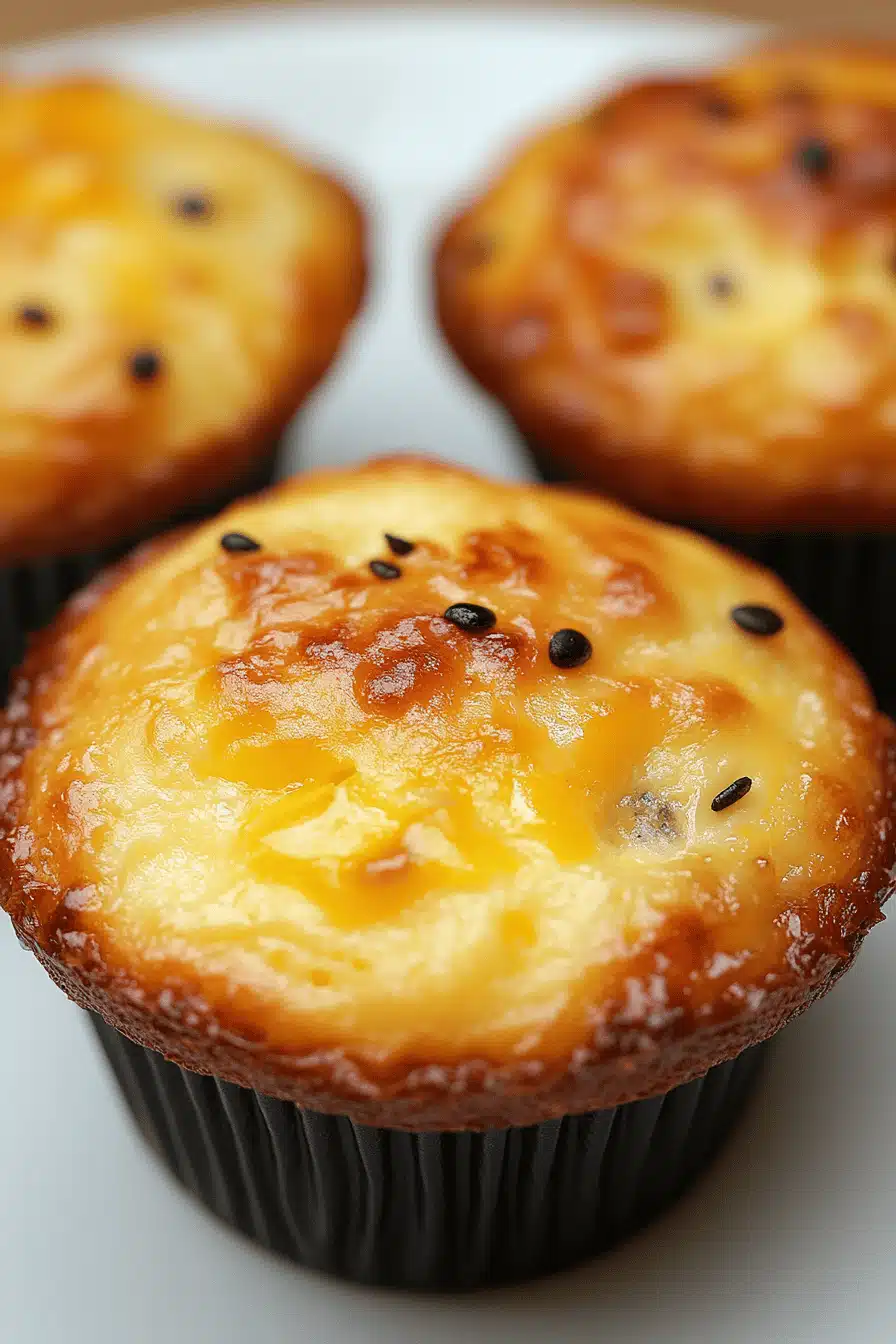
There’s something about the smell of eggnog swirling through the house that instantly brings back childhood memories of chilly December afternoons and warm kitchen laughter. This recipe for eggnog muffins is one of those little magic moments I love to share with friends—imagine the nostalgic warmth of holiday eggnog, but in a perfectly moist, tender muffin that’s just begging to be eaten with a cup of coffee or even a splash of more nog. These muffins aren’t too sweet, just enough to feel indulgent, and every bite brings a cozy blend of nutmeg, cinnamon, and that unmistakable eggnog flavor. If you’ve ever wished you could turn your favorite holiday drink into something portable and snackable, you’re in luck. I’ve made these dozens of times—my kids actually ask for seconds before school sometimes! Whether you’re an eggnog fan or just curious, these muffins are a must-try during the colder months.
What is Eggnog Muffins?
Think of eggnog muffins as a delightful fusion of winter charm and everyday comfort food. It’s essentially a classic muffin, but swapped out for eggnog instead of regular milk or buttermilk, giving it that rich, creamy, spiced vibe straight from the cozy holiday glass. The concept is simple: take all the flavors you love in your festive eggnog—the vanilla, nutmeg, cinnamon, and a little rum or rum extract—and bake them into sweet little muffins that you can grab on the go. The name “eggnog muffins” is as straightforward as it gets, but it’s more than just mugs in solid form; it’s a way to share that seasonal joy in a totally unexpected bite. You don’t have to wait for Christmas morning to enjoy them, either—they’re an easy way to sprinkle a little holiday magic whenever you want.
Why you’ll love this recipe?
What I love most about these eggnog muffins is how they marry familiar comforts with no-fuss baking. The flavor hits all the right notes—a warming blend of nutmeg and cinnamon with that creamy eggnog richness that’s not overdone or sugary-sickening. It’s the kind of recipe that feels fancy but comes together in a snap, which is a lifesaver when you want seasonal treats without the hours of labor. There’s really nothing complicated here—just simple ingredients you might already have, or can easily find during winter. Plus, it’s gentle on the budget, which is a blessing when holiday expenses start piling up.
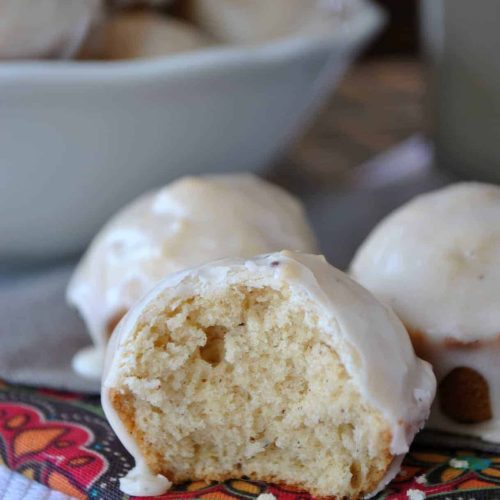
Another reason these muffins hold a special place in my kitchen is their versatility. Fancy them for breakfast with a dusting of powdered sugar and a cup of strong coffee? Done. Serve them as a sweet brunch treat alongside savory dishes, or bring them out for dessert topped with a light glaze or even some spiced cream cheese frosting. It’s like the Swiss Army knife of holiday baking. I’ve even swapped out the eggnog for almond or oat milk once, and it gave the muffins an even creamier texture that surprised me in the best way. Comparatively, these muffins feel lighter and easier to whip up than traditional eggnog cakes or loaves, and don’t get me started on how fast they disappear—almost faster than you can season that eggnog!
How do I make Eggnog Muffins?
Quick Overview
This recipe is honestly such a breeze—once you gather your ingredients, it’s mostly about mixing dry ones in one bowl, wet ones in another, then folding them together carefully. I love the swirling step of the glaze because it adds a really pretty touch, but you can skip that if you’re in a hurry (though I don’t know why you’d want to). The baking part is straightforward, and the aroma that fills your kitchen? Pure win. These muffins come out fluffy yet moist, with a tender crumb that melts in your mouth every time.
Ingredients
For the Main Batter:
- 2 cups all-purpose flour (be sure to sift for lighter muffins)
- 1/2 cup granulated sugar (or a little less if you want it less sweet)
- 1 tsp baking powder
- 1/2 tsp baking soda
- 1/4 tsp salt
- 1 tsp ground nutmeg (freshly grated if you can)
- 1/2 tsp ground cinnamon
- 1 cup eggnog (full fat for best richness, homemade or store-bought)
- 1/3 cup unsalted butter, melted and cooled (helps keep them tender)
- 1 large egg
- 1 tsp vanilla extract (or rum extract if you want a stronger nog vibe)
For the Glaze:
- 1 cup powdered sugar, sifted
- 2 tablespoons eggnog (adjust for desired thickness)
- A pinch of ground nutmeg for sprinkling
Step-by-Step Instructions
Step 1: Preheat & Prep Pan
Set your oven to 350°F (175°C) and line a standard 12-cup muffin tin with paper liners, or grease it well if you want that crispier muffin edge. I find that using liners makes cleanup much easier, especially when the glaze gets sticky. Warm ovens mean the batter rises perfectly, so don’t skip the preheat!
Step 2: Mix Dry Ingredients
In a large bowl, whisk together the flour, sugar, baking powder, baking soda, salt, nutmeg, and cinnamon until evenly combined. I usually give it a little extra spin at the end to avoid lumps—especially that nutmeg, which loves to clump up sometimes.
Step 3: Mix Wet Ingredients
In a separate bowl, beat the egg lightly. Then stir in the eggnog, melted butter, and vanilla or rum extract. The butter shouldn’t be too hot or it’ll start cooking the egg—which is something I’ve messed up more times than I want to admit! This wet mix should look smooth and glossy.
Step 4: Combine
Pour the wet ingredients into the dry and stir gently with a spatula until just combined. The key here is to avoid overmixing—if you see some lumps, that’s totally fine. Overworked batter can get tough, and these muffins are all about that tender crumb.
Step 5: Prepare Glaze
While the muffins bake, whisk together the powdered sugar and eggnog until you have a smooth glaze. Add more liquid if it’s too thick, or sugar if it’s too runny. Once the muffins cool slightly, you’ll want this ready—trust me, it’s the best part!
Step 6: Fill Muffin Cups
Divide the batter evenly among the prepared muffin cups, filling each about 3/4 full. This helps them rise nicely without overflowing. If you want, you can sprinkle a little extra nutmeg on top before baking for that extra festive look.
Step 7: Bake
Bake for about 18-22 minutes, rotating the pan halfway through. You’ll know they’re done when a toothpick poked in the center comes out clean or with just a few moist crumbs. Ovens vary—if yours runs hot, start checking around 17 minutes to avoid dryness.
Step 8: Cool & Glaze
Let the muffins cool in the pan for 5 minutes, then transfer to a wire rack. When they’re cool but still a bit warm, drizzle the eggnog glaze over the tops. It’ll set beautifully as it cools fully, adding a glossy, sweet finish that’s irresistible.
Step 9: Slice & Serve
You can enjoy these muffins straight from the tin or warmed slightly in the microwave for 15 seconds—the glaze will soften and the spices bloom wonderfully. Serve them with your favorite morning brew or as a sweet afternoon pick-me-up. I love pairing them with chai tea or even a vanilla latte.
What to Serve It With
For Breakfast: There’s nothing like these eggnog muffins next to a dark roast coffee, maybe with a dollop of butter or cream cheese. I often toss some fresh fruit on the side, like crisp apples or juicy berries, to balance the sweetness.
For Brunch: Plate these muffins alongside a frittata or a mixed greens salad with toasted pecans. A spicy mulled cider or cinnamon-spiked coffee elevates the experience, making it feel like a special occasion without too much fuss.
As Dessert: My go-to is to warm a muffin just a touch and top it with a scoop of vanilla bean ice cream or a drizzle of caramel sauce. It’s unexpected but so good—the spices in the muffin play beautifully with ice cream’s creaminess.
For Cozy Snacks: These are my afternoon heroes during the holiday season—grab one with a cup of hot cocoa or an herbal tea. They’re the kind of treat that makes a chill day feel extra comforting. My family has a tradition of sneaking a few with cocoa during holiday movie marathons.
Top Tips for Perfecting Your Eggnog Muffins
Eggnog Quality: The richness of your eggnog really shines through, so if you can, use full-fat, fresh eggnog rather than watered-down versions. I’ve experimented with homemade recipes, and the flavor is unbeatable.
Mixing Advice: Always fold gently after combining wet and dry ingredients. A few lumps here and there keep muffins tender and fluffy, so resist the urge to over stir. I’ve learned the hard way that overmixing leads to dense, rubbery bites, which kill the mood.
Spices: Freshly grated nutmeg elevates flavor dramatically—don’t rely on pre-ground unless you’re in a bind. Cinnamon pairs well, but don’t go overboard; you want that subtle balance where the eggnog’s complexity sings.
Glaze Tips: Adjust liquid in your glaze to get the perfect pouring consistency—too thick and it won’t drizzle nicely, too thin and it’ll run right off. Sometimes I add a pinch of cinnamon or nutmeg to the glaze for that extra hint of holiday spirit.
Ingredient Swaps: Out of eggs? Use a flax or chia egg with just a little more wet ingredients to keep texture balanced. For dairy-free, almond or oat milk-based eggnog substitutes work surprisingly well—just expect a slightly different crumb, but still delicious.
Baking Checks: Oven temperatures vary a lot, so watch your muffins closely the first time. I like to check at the 18-minute mark and then every couple of minutes after. If they brown too quickly on top, placing foil loosely over the tin helps.
These little tips have kept my eggnog muffins turning out batch after batch without fail—like old friends who never disappoint, no matter how many times you make them.
Storing and Reheating Tips
Room Temperature: These muffins keep well on the counter for 1-2 days if you store them in an airtight container or under a clean cloth. Just make sure the glaze has fully set first, or it can get sticky.
Refrigerator Storage: If you want to keep them longer, pop muffins in an airtight container in the fridge for up to 5 days. Remember, cold can dry them out, so warming them for 10-15 seconds in the microwave before serving helps restore their fresh-baked feel.
Freezer Instructions: Wrap each muffin individually in plastic wrap or parchment, then place them in a freezer-safe bag. They freeze well for up to 3 months. Thaw overnight in the fridge or on the counter, and warm slightly before digging in. Freeze without glaze, then glaze them fresh after thawing—it keeps things tidy.
Glaze Timing Advice: I recommend glazing right before serving. Glazing ahead can make the muffins sticky and prone to cracking when stored. If you’re making these ahead for a party or gift, store the glaze separate and drizzle just before serving—trust me, it’s worth the extra step.
Frequently Asked Questions
Final Thoughts
Eggnog muffins have become part of my yearly routine—not just because they’re delicious, but because they carry a little sentiment of home and holidays wrapped into an everyday food. They remind me of staying cozy inside while the cold world spins outside, and who doesn’t want a slice of that comforting feeling? Whether you’re breathing in that magical eggnog-spiced air, or sharing warm muffins with family over coffee, these are the kind of treats that bring everyone together. I hope you give them a try, maybe tweak the glaze or spices to make them truly yours. Let me know how yours turn out—I’m always here for muffin chat and swapping little kitchen secrets! Happy baking, friends!
eggnog muffins
Ingredients
Main Ingredients
- 3 cups all-purpose flour
- 1 tablespoon baking powder
- 1 teaspoon kosher salt
- 0.75 teaspoon ground nutmeg
- 0.5 teaspoon ground cinnamon
- 1 cup granulated sugar
- 0.67 cup butter flavored Crisco softened
- 2 large eggs
- 1 cup eggnog for batter
- 0.5 cup eggnog for glaze
- 0.25 teaspoon nutmeg for glaze
- 3 cups powdered sugar for glaze
Instructions
Preparation Steps
- In a small bowl, mix flour, baking powder, salt, nutmeg, and cinnamon together. Set aside.
- In a mixing bowl, cream Crisco with granulated sugar until blended. Add eggs and mix well. Slowly add in the flour mixture alternately with the eggnog.
- Lightly spray mini muffin cup pan with baking spray. Fill muffin cups half full and bake in a 350 degree oven for 13-15 minutes. Cool completely.
- Whisk together eggnog, nutmeg, and powdered sugar to make the glaze. Dip tops of muffins into glaze and allow to set for about 15 minutes. Enjoy!