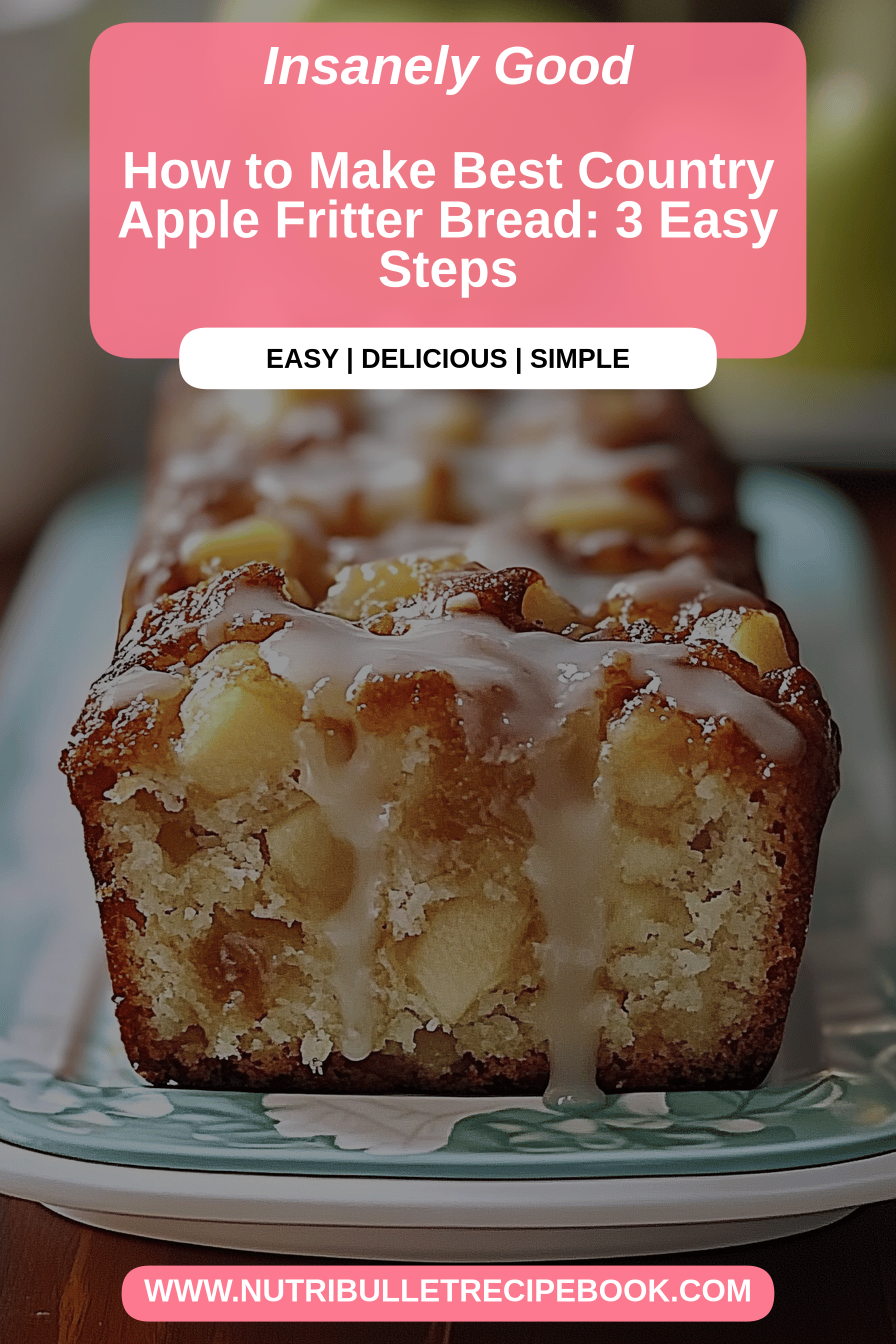
Oh, friends, gather ’round! If there’s one smell that instantly takes me back to cozy autumn afternoons and kitchen warmth, it’s the aroma of apples and cinnamon. And when that scent starts wafting from my oven, promising something truly special, it’s usually this apple fritter bread. It’s not just a bread, you see; it’s like a warm hug in loaf form, a little piece of pure comfort that feels like it came straight from a beloved bakery. I’ve tried so many variations over the years, searching for that perfect balance of moist crumb, tender apple chunks, and that irresistible sweet glaze. This apple fritter Bread Recipe is the one that finally, blessedly, nailed it. It’s everything I dreamed of and more. Forget complicated pastry or fussy techniques – this is deceptively simple, and I promise, the results are absolutely phenomenal. It’s the kind of recipe that becomes a staple, the one you whip up when you need a pick-me-up, a treat for unexpected guests, or just because the craving strikes. Think of it as a more forgiving, loaf-shaped cousin to your favorite apple fritter donut, but somehow even more satisfying.
What is Apple Fritter Bread?
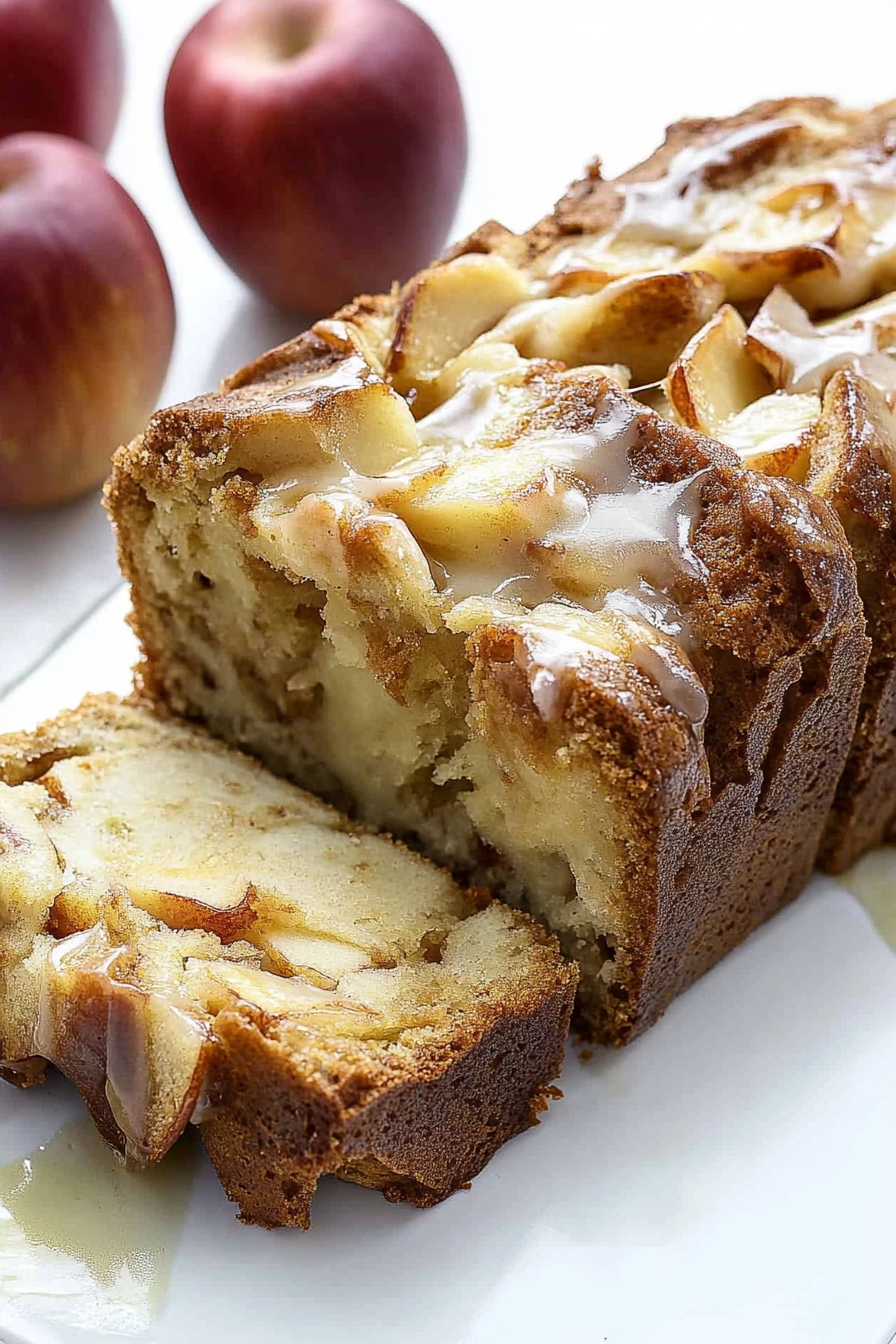
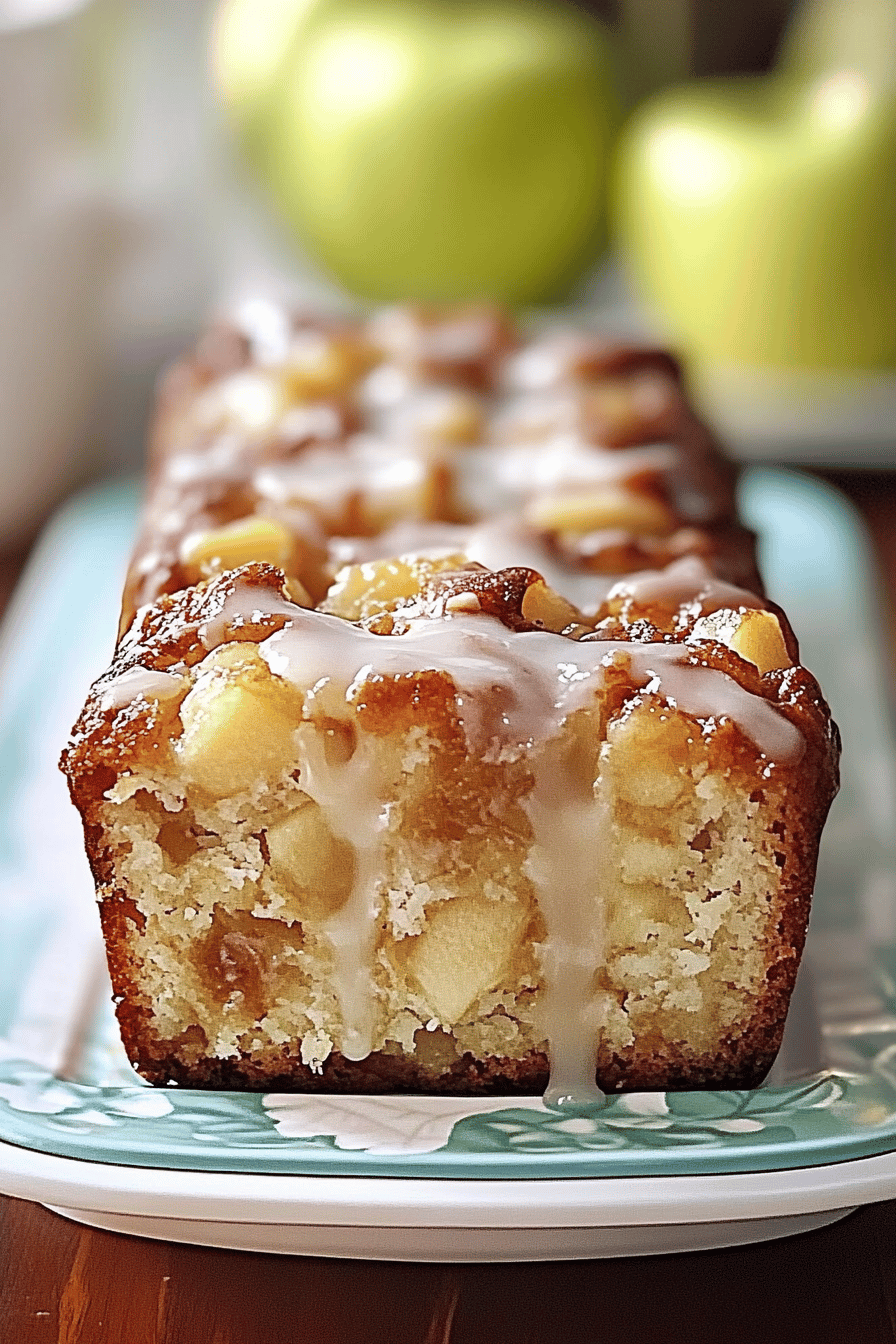
So, what exactly *is* apple fritter bread? In my book, it’s pure magic. Imagine the delightful texture and sweet, spiced apple goodness you get from a classic apple fritter – you know, those slightly irregular, wonderfully chewy fried delights? Now, take all that wonderful flavor and infuse it into a tender, moist quick bread that bakes up in a loaf pan. It’s essentially a wonderfully spiced cake-like bread studded with plenty of tender apple pieces, swirled with a cinnamon-sugar mixture that gets all gooey and caramelized as it bakes, and then finished off with a sweet, drippy glaze. It’s the best of both worlds: the ease of baking a loaf with the irresistible flavor profile of a beloved fritter. It’s not dense like a quick bread can sometimes be, nor is it overly sweet like a dessert cake. It hits that perfect sweet spot, making it ideal for any time of day. It’s the comforting taste of home baking, elevated just a touch.
Why you’ll love this recipe?
I love apple fritter bread, and I know you will too. Let’s talk about the recipe.flavor. It’s an absolute dream! The apples are tender and juicy, bursting with sweet apple flavor that pairs perfectly with the warm notes of cinnamon and nutmeg. The swirl through the middle creates little pockets of pure caramelization that are just heavenly. Then there’s the simplicity. Seriously, this is a lifesaver! You don’t need any fancy equipment or complicated steps. It comes together in just a few easy bowls, and before you know it, you’ve got this glorious loaf baking in the oven. It’s the perfect recipe for beginners or for those nights when you want something delicious without spending hours in the kitchen. And let’s not forget about Cost-efficiency: What is the best way to measure cost-efficiency?. Apples are usually pretty affordable, and the other ingredients are pantry staples. This recipe delivers gourmet taste without the gourmet price tag, which is always a win in my book! What I love most about this apple fritter bread, though, is its versatility. It’s fantastic on its own, of course, but it’s also wonderful served warm with a dollop of whipped cream or a scoop of vanilla Ice Cream for a quick dessert. It’s perfect with a hot cup of coffee for breakfast or brunch, and it’s the kind of thing that disappears in minutes when you have friends over. It’s not quite as decadent as a full cake, but it’s certainly more special than your average loaf. I even find it’s a fantastic way to use up apples that might be getting a little soft – they actually bake up beautifully in this bread!
How to Make Apple Fritter Bread
Quick Overview
Making this apple fritter bread is a straightforward process that yields impressive results. You’ll essentially be mixing up a simple batter, preparing a delicious cinnamon-sugar apple filling, swirling it all together in a loaf pan, and baking it until golden and fragrant. The key is not to overmix the batter and to ensure your apples are chopped to the right size so they distribute evenly. It’s truly that easy. The baking time ensures everything is cooked through perfectly, leaving you with a moist interior and a wonderfully caramelized swirl. You really can’t mess this up, even if you’re a baking novice!
Ingredients
For the Main Batter:
You’ll need about 2 cups of all-purpose flour. Make sure it’s spooned and leveled, not scooped directly from the bag, to avoid a dense bread. I always use unsalted butter, about 1/2 cup (1 stick), softened to room temperature – this is crucial for a smooth batter. For sweetness, we’ll use 1 cup of granulated sugar. And don’t forget the leavening! 1 teaspoon of baking soda and 1/2 teaspoon of baking powder will give us a lovely lift. A pinch of salt, about 1/2 teaspoon, enhances all the other flavors. For moisture and richness, 2 large eggs, also at room temperature, are essential. And for that signature apple flavor in every bite, you’ll need 1/2 cup of milk. I’ve found whole milk or even buttermilk works beautifully here, making it extra tender. If you’re feeling adventurous, I once tried it with almond milk and it was surprisingly creamy!
For the Filling:
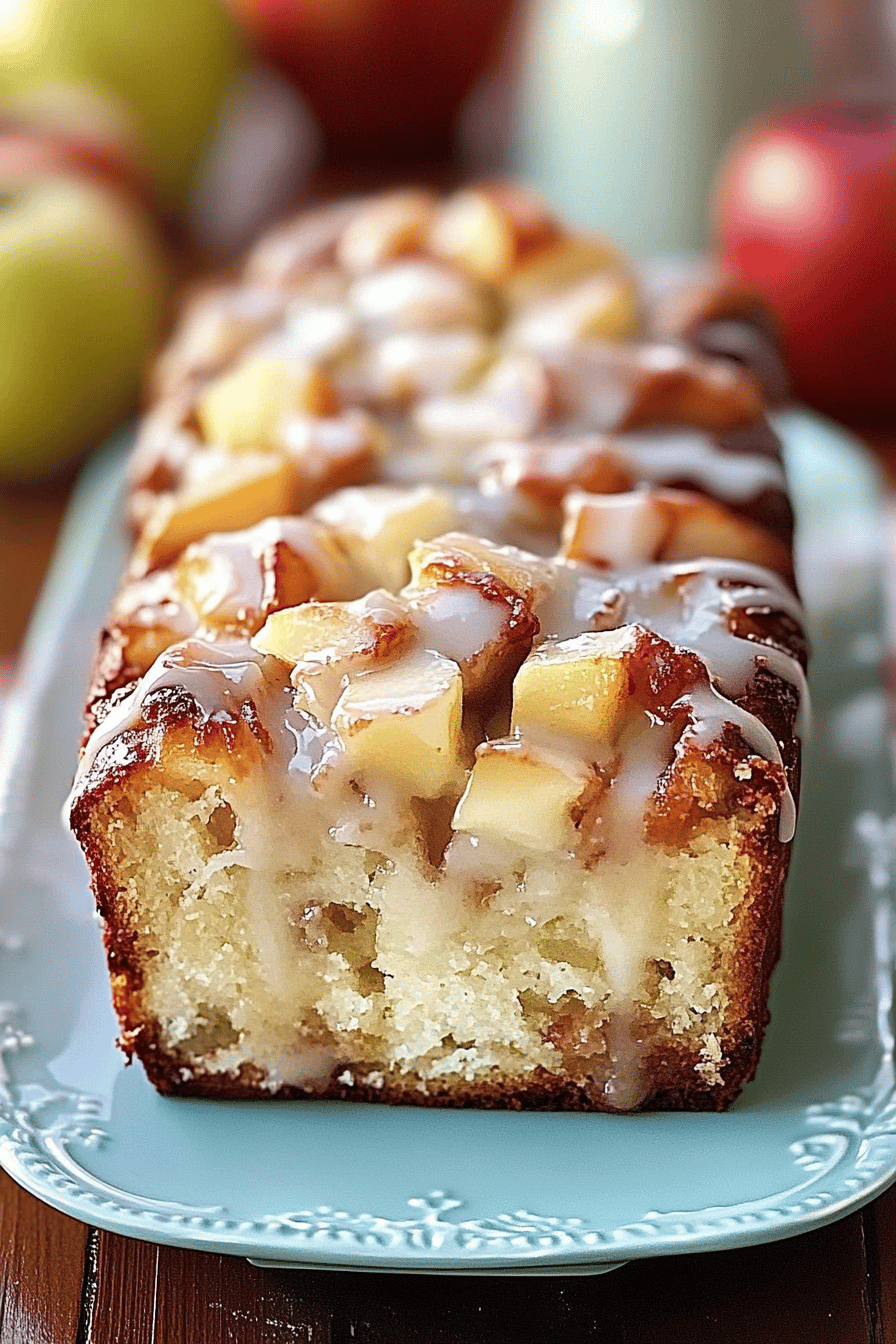
This is where the apple fritter magic really happens! You’ll want about 2 cups of diced apples. I love using a mix of Gala and Honeycrisp for a balance of sweetness and a slight tartness, but use your favorites! Make sure they’re peeled, cored, and diced into small, bite-sized pieces – about 1/2 inch is perfect. For the irresistible swirl, you’ll need 1/4 cup of packed brown sugar, 1 tablespoon of ground cinnamon, and a tiny pinch of nutmeg for warmth. A tablespoon of all-purpose flour helps bind it all together and prevents the filling from becoming too wet.
For the Glaze:
This is the crowning glory! It’s super simple and makes all the difference. You’ll need about 1 cup of powdered sugar, sifted to avoid lumps. Then, about 2 tablespoons of milk or cream. You can adjust this amount to get your desired consistency – a little more for a runnier glaze, a little less for a thicker one. I sometimes add a tiny splash of vanilla extract (1/4 teaspoon) for an extra layer of flavor.
Step-by-Step Instructions
Step 1: Preheat & Prep Pan
First things first, get your oven preheating to 350°F (175°C). This ensures it’s nice and hot when your batter is ready. Next, grab a standard 9×5 inch loaf pan. You want to grease it really well and then flour it. I like to use butter or cooking spray for the greasing and then a good dusting of flour. Alternatively, you can line it with parchment paper, leaving a little overhang on the sides to make it super easy to lift the bread out later. This prep work is key to preventing any sticking, which nobody wants!
Step 2: Mix Dry Ingredients
In a large bowl, whisk together the 2 cups of all-purpose flour, 1 teaspoon of baking soda, 1/2 teaspoon of baking powder, and 1/2 teaspoon of salt. Whisking them together now ensures that the leavening agents and salt are evenly distributed throughout the flour, which is super important for an even bake. You want to see no streaks of white baking powder or salt. Give it a good mix until everything is thoroughly combined and looks uniform. This simple step makes a big difference!
Step 3: Mix Wet Ingredients
In a separate medium bowl, cream together the softened 1/2 cup (1 stick) of unsalted butter and 1 cup of granulated sugar. You can use an electric mixer for this, or if you’re feeling energetic, a whisk and some good old-fashioned elbow grease! Cream them until the mixture is light and fluffy. Then, beat in the 2 large eggs, one at a time, making sure each egg is fully incorporated before adding the next. Pour in the 1/2 cup of milk and give it another quick whisk until just combined.
Step 4: Combine
Now, pour the wet ingredients into the bowl with the dry ingredients. This is the part where you need to be gentle! Use a spatula or wooden spoon to mix everything together until it’s *just* combined. You should still see a few streaks of flour. Overmixing is the enemy of tender quick breads, so stop as soon as you don’t see any dry pockets of flour. The batter will be thick, and that’s perfectly normal!
Step 5: Prepare Filling
While your batter is resting briefly, quickly prepare the filling. In a small bowl, combine the 2 cups of diced apples, 1/4 cup of packed brown sugar, 1 tablespoon of ground cinnamon, a pinch of nutmeg, and 1 tablespoon of all-purpose flour. Toss everything together until the apple pieces are evenly coated. Make sure the apples are relatively dry before tossing them; if they seem too wet, give them a quick pat with a paper towel.
Step 6: Layer & Swirl
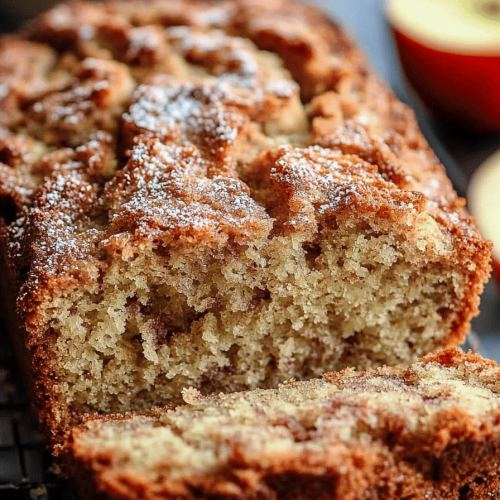
Now for the fun part that gives it that “fritter” magic! Spoon about half of the batter into your prepared loaf pan and spread it out evenly. Sprinkle about half of the apple filling over the batter. Then, spoon the remaining batter on top of the apples and spread it gently. Finally, sprinkle the remaining apple filling over the top layer of batter. At this point, you can optionally take a knife or a skewer and gently swirl the filling into the batter a bit. Don’t overdo it; you want distinct layers and pockets of apple goodness. This is what gives it that beautiful, rustic fritter-like appearance and texture.
Step 7: Bake
Place the loaf pan in the preheated oven. Bake for 50-65 minutes. The baking time can vary quite a bit depending on your oven, so keep an eye on it! You’ll know it’s done when a wooden skewer or toothpick inserted into the center comes out clean, or with just a few moist crumbs attached (but no wet batter). If the top starts to brown too quickly before the inside is cooked, you can loosely tent it with aluminum foil for the last 15-20 minutes of baking.
Step 8: Cool & Glaze
Once baked, remove the loaf pan from the oven and let the apple fritter bread cool in the pan for about 10-15 minutes. This allows it to set up a bit. Then, carefully invert it onto a wire rack to cool completely. While it’s cooling, whisk together the 1 cup of sifted powdered sugar with 2 tablespoons of milk (or cream) until smooth. Add more milk a tiny bit at a time if you want it thinner. Once the bread is completely cool, drizzle the glaze generously over the top. Let the glaze set for a few minutes before slicing.
Step 9: Slice & Serve
Once the glaze has set, your glorious apple fritter bread is ready! For the cleanest slices, use a sharp serrated knife. Serve it at room temperature, or even slightly warmed if you like. It’s delicious on its own, but I also love it with a smear of butter or even a scoop of vanilla ice cream for a truly decadent treat!
What to Serve It With
This apple fritter bread is so wonderfully versatile, it fits right in on almost any occasion. For a simple, comforting breakfast, it’s divine with a hot mug of coffee or a steaming cup of tea. I often toast a slice and serve it with a little butter. For a more celebratory brunch, I’ll serve it alongside scrambled eggs, bacon, and maybe some fresh Fruit Salad. A light dusting of powdered sugar on top or a drizzle of maple syrup can elevate it beautifully. As an impromptu dessert, it’s an absolute winner. A warm slice served with a scoop of good quality vanilla ice cream is pure bliss, or a dollop of lightly sweetened whipped cream. For those quiet, cozy snacks, when you just need something sweet and satisfying without a lot of fuss, a slice of this bread is perfection. My kids always ask for seconds when I make this, and it’s become our go-to treat for movie nights or rainy afternoons. It’s also lovely paired with a warm apple cider or a spiced latte in the fall. Truly, it’s a flavor that brings people together.
Top Tips for Perfecting Your Apple Fritter Bread
Over the years, I’ve learned a few tricks that I think make this apple fritter bread absolutely sing. When it comes to the apples, make sure you dice them small enough – about a 1/2-inch cube is ideal. If they’re too big, they might not cook through properly, or they could make the bread too wet. I also find that patting them dry with a paper towel before tossing them with the cinnamon-sugar mixture helps prevent excess moisture from seeping into the batter. For mixing, remember my mantra: don’t overmix! Seriously, just stir until you *barely* see any dry flour. A few little lumps are perfectly fine and actually contribute to a more tender crumb. Overmixing develops the gluten too much, leading to a tough loaf. When it comes to the swirl, less is more! You don’t need to go crazy trying to create intricate patterns. A few gentle swirls with a knife or skewer through the filling layers is enough to distribute that delicious cinnamon-sugar goodness without disturbing the batter too much. For ingredient swaps, I’ve experimented a bit! If you don’t have fresh apples, you *can* use good quality canned pie filling, but drain it very, very well, and you might need to adjust the sugar in the filling. For the milk, I’ve successfully used almond milk or soy milk in a pinch, and it turned out great! And if you’re out of brown sugar for the filling, regular granulated sugar will work, but you’ll lose a bit of that caramel depth. For baking, know your oven. Mine runs a little hot, so I often start checking around the 50-minute mark. If the top is getting too dark but the center is still gooey, don’t hesitate to tent it loosely with foil. It’s a lifesaver! And for the glaze, don’t rush it. Make sure the bread is completely cool before drizzling. If it’s warm, the glaze will just melt into a watery mess. You can also adjust the thickness; for a more delicate drizzle, use less milk. For a thicker, more frosting-like glaze, use more powdered sugar.
Storing and Reheating Tips
This apple fritter bread is best enjoyed fresh, but it does store quite well, which is a huge bonus! For room temperature storage, once the bread is completely cool and the glaze has set, you can wrap it tightly in plastic wrap or place it in an airtight container. It should stay wonderfully fresh for about 2-3 days. Keep it out of direct sunlight and away from heat. If you know you won’t finish it within those few days, or if your kitchen is particularly warm, refrigerator storage is your best bet. Again, wrap it tightly or store it in an airtight container. In the fridge, it can last up to 5 days, though the texture might become a little firmer. When you want to enjoy it from the fridge, I highly recommend warming a slice gently in a toaster oven or a low oven for a few minutes – it brings back that wonderful moistness and aroma. For freezer instructions, this bread freezes beautifully! Once completely cooled, wrap the entire loaf, or individual slices, very tightly in plastic wrap, then in a layer of aluminum foil or a freezer-safe bag. It will keep well in the freezer for up to 3 months. To thaw, unwrap it and let it come to room temperature on the counter, or warm it gently in the oven. For the glaze timing, I always wait until the bread is completely cool before glazing. If you plan to freeze it, it’s usually best to freeze it *without* the glaze. Once thawed and warmed, you can then whip up a fresh glaze to add. If you must glaze before freezing, make sure it’s fully set, but be aware that the glaze might become a bit sticky or slightly soft upon thawing.
Frequently Asked Questions
Final Thoughts
So there you have it, my friends! This apple fritter bread is more than just a recipe; it’s an experience. It’s that comforting scent filling your home, the joy of sharing something delicious with loved ones, and the simple pleasure of a perfectly baked treat. It’s proof that you don’t need to be a pastry chef to create something truly special. It’s got that wonderful moist crumb, those sweet apple bursts, and that irresistible swirl that just makes you close your eyes and savor every bite. If you love this apple fritter bread, you might also enjoy my Spiced Pear Bread or my Easy Banana Bread recipe. They share that same comforting, home-baked quality. I honestly can’t wait for you to try this recipe and experience the magic for yourself. Please, if you make it, let me know how it turns out in the comments below! I love hearing about your baking adventures and seeing your creations. Happy baking, and enjoy every delicious slice!
Apple Fritter Bread
Ingredients
For the Bread
- 2.5 cups all-purpose flour
- 0.75 cup granulated sugar
- 2 teaspoons baking powder
- 0.5 teaspoon salt
- 0.5 teaspoon ground cinnamon
- 0.25 teaspoon ground nutmeg
- 1 cup milk
- 0.5 cup vegetable oil
- 2 large eggs
- 1 teaspoon vanilla extract
- 2 cups diced apples
For the Glaze
- 1 cup powdered sugar
- 2 tablespoons milk
- 0.5 teaspoon vanilla extract
Instructions
Preparation Steps
- Preheat oven to 350°F (175°C). Grease and flour a 9x5 inch loaf pan.
- In a large bowl, whisk together the flour, granulated sugar, baking powder, salt, cinnamon, and nutmeg.
- In a separate bowl, whisk together the milk, vegetable oil, eggs, and vanilla extract.
- Pour the wet ingredients into the dry ingredients and mix until just combined. Do not overmix.
- Gently fold in the diced apples.
- Pour the batter into the prepared loaf pan and spread evenly.
- Bake for 40-50 minutes, or until a wooden skewer inserted into the center comes out clean.
- Let the bread cool in the pan for 10 minutes before transferring it to a wire rack to cool completely.
- While the bread is cooling, prepare the glaze. In a small bowl, whisk together the powdered sugar, milk, and vanilla extract until smooth.
- Drizzle the glaze over the cooled bread.