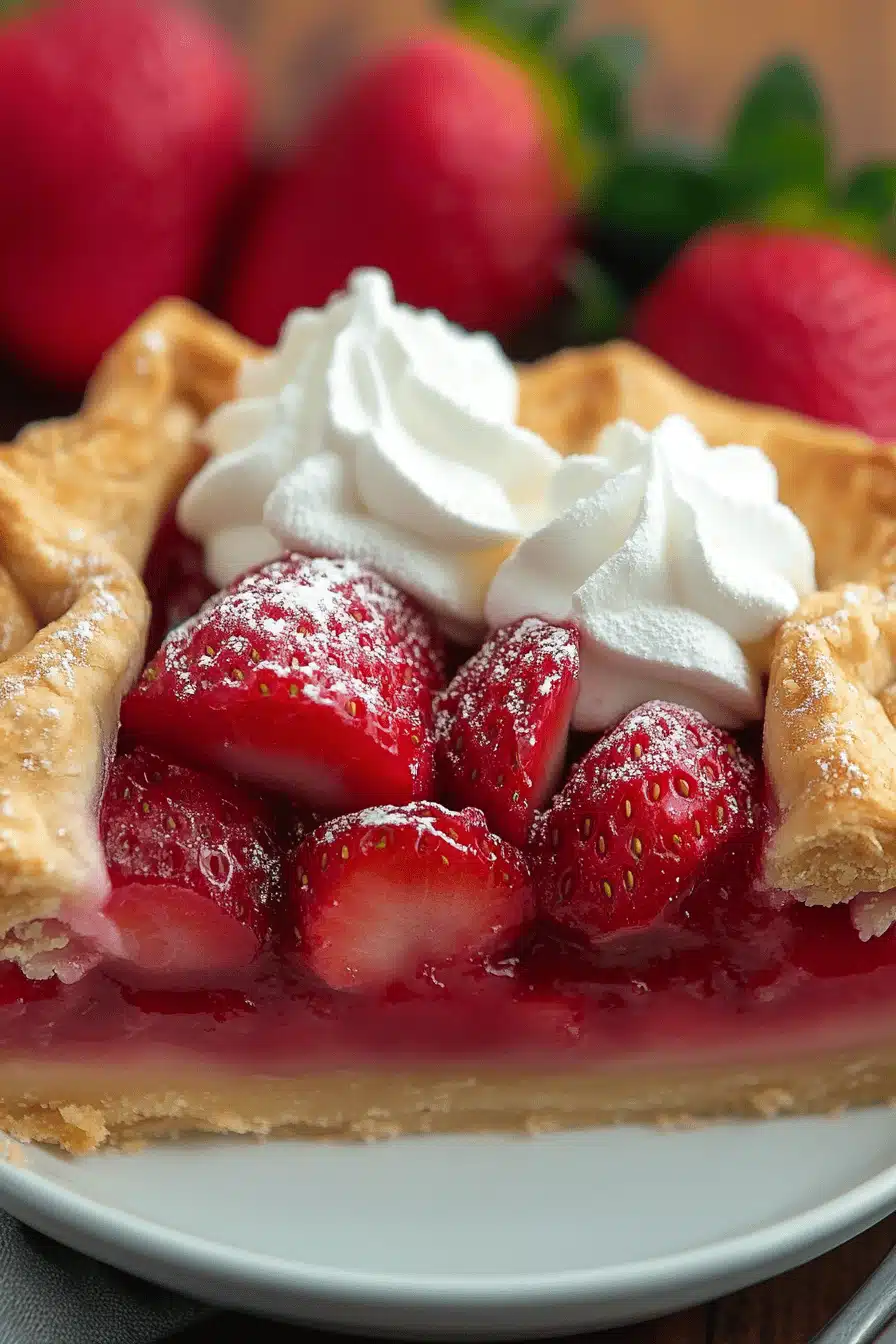
Oh, you guys. This strawberry pie recipe. It’s one of those things that just *feels* like sunshine and happy memories, you know? Every time I whip up this strawberry pie, it takes me right back to my grandma’s kitchen. She had this old, slightly chipped ceramic pie plate that she swore made her pies taste better. Maybe it did! This isn’t just any strawberry pie; it’s the kind that makes your kitchen smell like a sweet summer day, even if it’s snowing outside. It’s got that perfect balance – a tender, flaky crust, a filling that’s bursting with fresh strawberry flavor without being overwhelmingly sweet, and just a hint of something special that makes everyone ask for the recipe. If you’ve ever tried those fussy, overly complicated fruit pies, you know how daunting they can be. This strawberry pie recipe, though? It’s the opposite. It’s surprisingly simple, incredibly rewarding, and I’m so excited to share it with you.
What is strawberry pie?
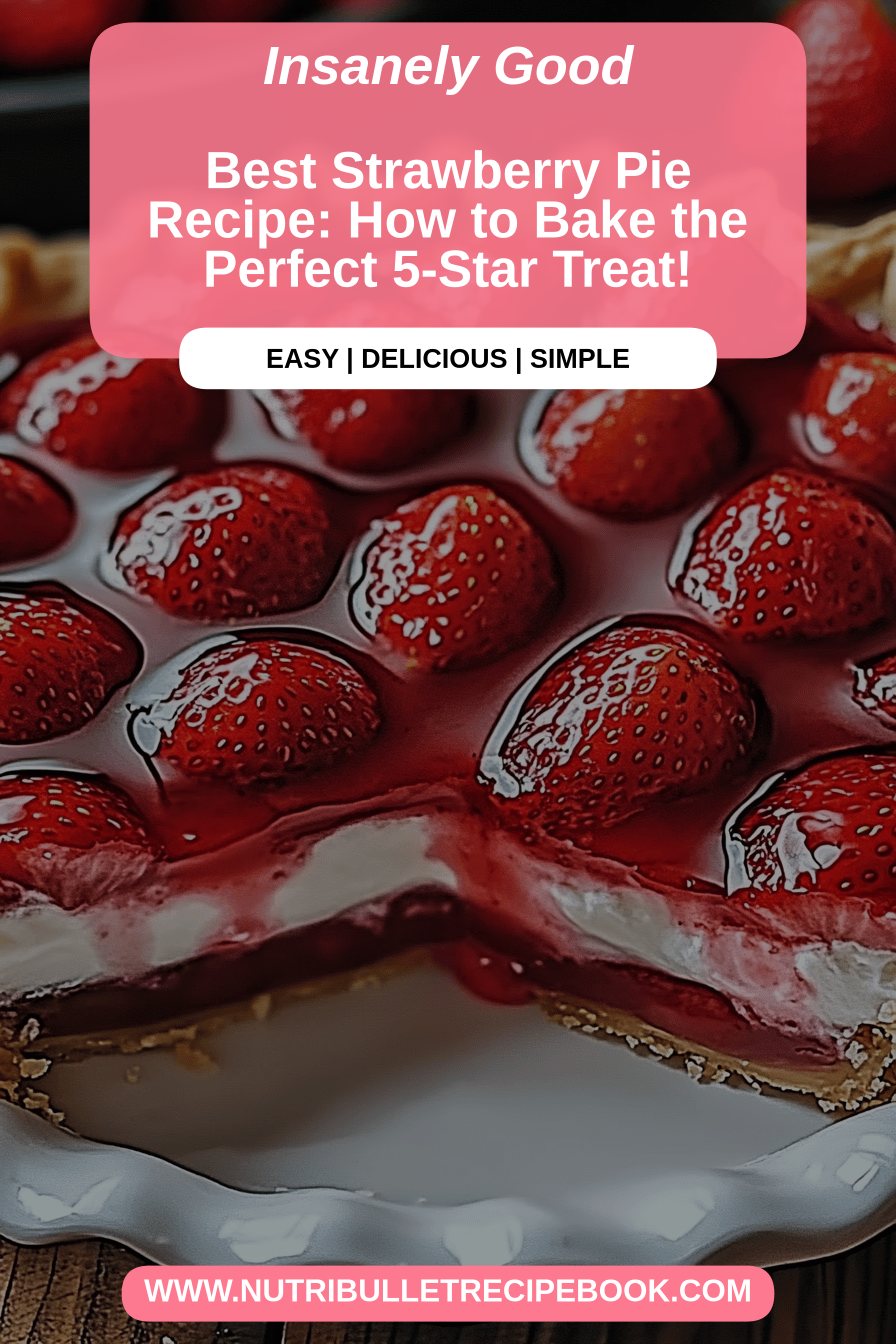
So, what exactly *is* this strawberry pie that I’m so gaga about? Think of it as your go-to, crowd-pleasing, no-fuss dessert that just happens to be absolutely divine. It’s essentially a classic fruit pie elevated with a few little touches that make a big difference. The name itself, “The Best Strawberry Pie,” isn’t just wishful thinking; it’s what my family and friends have affectionately dubbed it over the years because, well, it just is! It’s built on a foundation of good old-fashioned baking principles, but with a focus on really letting the star ingredient – those beautiful, ripe strawberries – shine. It’s the kind of dessert that feels both comforting and a little bit elegant, perfect for a Sunday dinner or a casual get-together. It’s essentially a hug in pie form.
Why you’ll love this recipe?
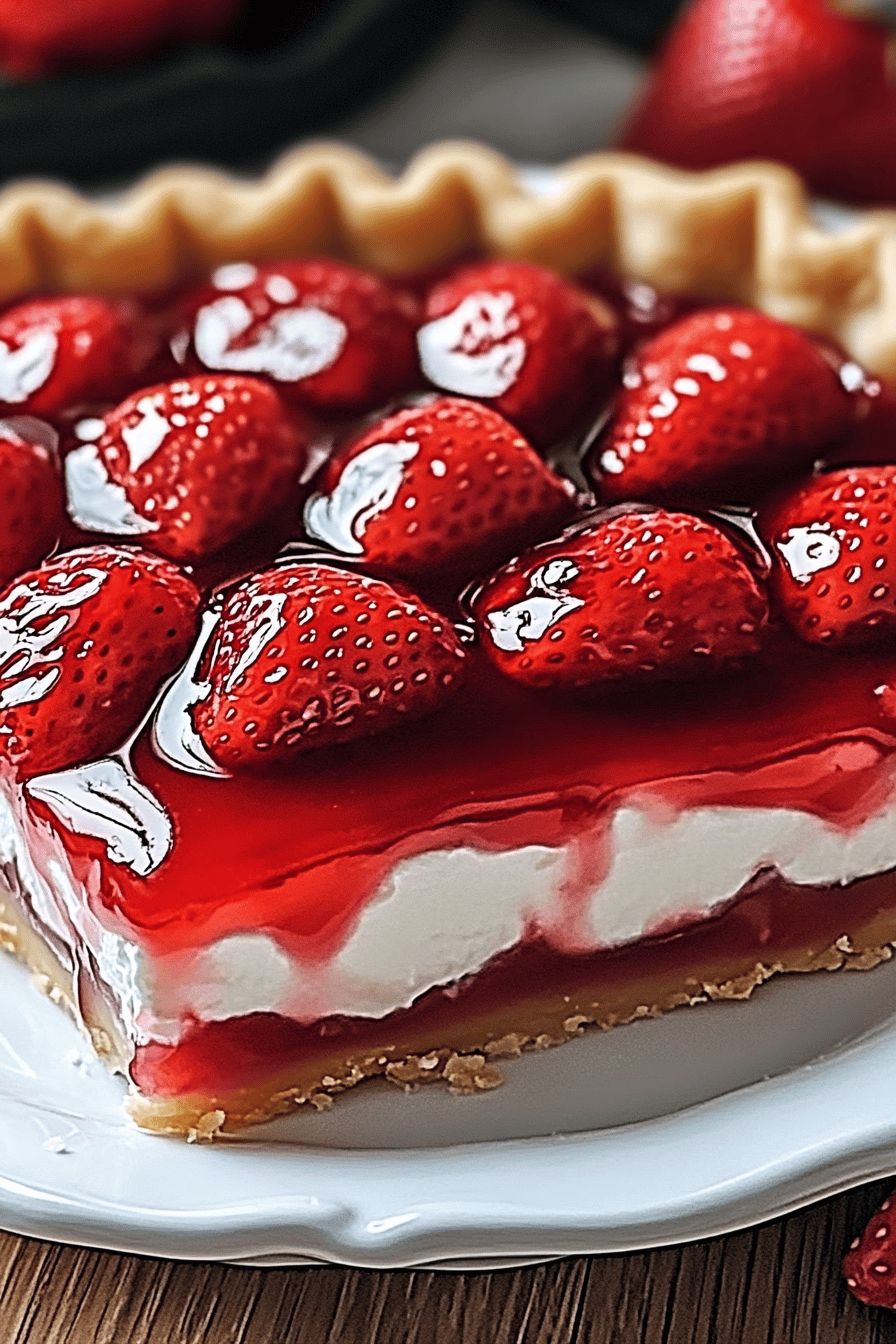
Honestly, where do I even begin with why this strawberry pie recipe is a total winner? Let’s break it down. First, the FLAVOR. Oh. My. Goodness. Those fresh strawberries, lightly sweetened and thickened just right, create this incredible burst of sweet-tart goodness. It’s not cloying or artificial tasting; it’s pure, unadulterated strawberry bliss. Then there’s the SIMPLICITY. I know, I know, “pie” can sound intimidating. But I promise you, this recipe is designed for home cooks. The steps are straightforward, and the results are consistently fantastic. You don’t need any fancy techniques or equipment. It’s also surprisingly COST-EFFICIENT, especially when strawberries are in season and you can grab them by the flat. You’re looking at mostly pantry staples and a pound or two of beautiful berries. And the VERSATILITY! This pie is amazing on its own, but it’s also incredible served warm with a scoop of vanilla bean Ice Cream, or even a dollop of freshly whipped cream. What I love most about this strawberry pie is that it feels special without being fussy. It’s the perfect dessert when you want something homemade and delicious but don’t want to spend hours in the kitchen. It’s miles better than any store-bought pie, and honestly, it rivals some of the fanciest bakery versions I’ve tried.
How do I make strawberry pie?
Quick Overview
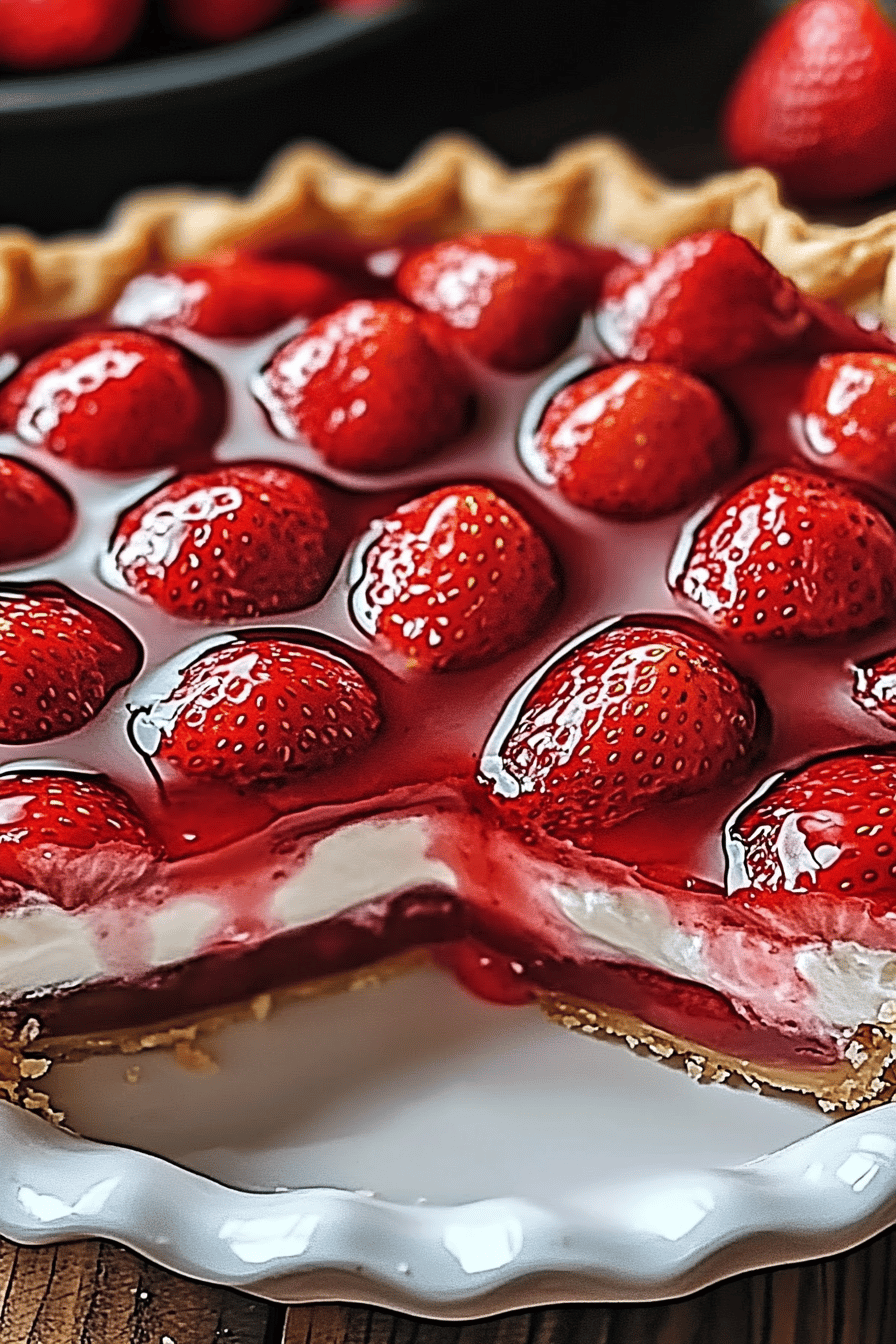
Making this strawberry pie is all about layering simple, delicious steps to create something truly spectacular. You’ll prepare a fantastic crust (or use your favorite store-bought if you’re in a pinch!), then gently mix your fresh strawberries with a few flavor enhancers and a touch of thickener. The magic happens when you bake it until the filling is bubbly and the crust is golden brown. It’s a straightforward process that yields a pie so beautiful and delicious, you’ll want to make it again and again. It’s fuss-free, flavour-packed, and honestly, pretty darn forgiving!
Ingredients
What do you need to create a masterpiece?
For the Crust:
You can absolutely use a store-bought pie crust if time is of the essence, and I won’t tell anyone! But if you have a bit of extra time, my favorite homemade crust recipe involves:
- 2 ½ cups all-purpose flour, plus more for dusting
- 1 teaspoon salt
- 1 cup (2 sticks) unsalted butter, very cold and cut into cubes
- ½ cup ice water, plus more if needed
The key here is keeping that butter super cold. It’s what makes the crust so wonderfully flaky. Don’t overwork the dough – we want little pockets of butter to create those amazing layers.
For the Filling:
This is where the star of the show comes in!
- 6 cups fresh strawberries, hulled and halved or quartered depending on size
- ¾ cup granulated sugar (you can adjust slightly based on the sweetness of your berries)
- ¼ cup cornstarch (this is crucial for getting that lovely, thick, glossy filling without it being gluey)
- 1 tablespoon fresh lemon juice (brightens everything up beautifully!)
- 1 teaspoon vanilla extract
- Pinch of salt
Make sure your strawberries are nice and ripe for the best flavor. If they’re a bit tart, you might want to lean towards the higher end of the sugar range. And that lemon juice? Don’t skip it. It makes all the difference.
For the Egg Wash (Optional, but recommended!):
For that beautiful golden sheen on your crust:
- 1 large egg
- 1 tablespoon water or milk
And a sprinkle of coarse sugar on top before baking if you’re feeling fancy!
Step-by-Step Instructions
Step 1: Preheat & Prep Pan
First things first, let’s get that oven ready. Preheat it to 400°F (200°C). If you’re using a homemade crust, roll out half of your dough and gently press it into a 9-inch pie plate. Crimp the edges however you like – I’m a fan of a simple fork crimp. If you’re using store-bought, just follow the package instructions. You can blind-bake the bottom crust for about 10-15 minutes if you tend to get a soggy bottom, but for this strawberry pie, I usually skip that step and it turns out perfectly. Just make sure your crust is ready to go.
Step 2: Mix Dry Ingredients
In a large bowl, we’re going to combine the sugar, cornstarch, and salt for the filling. Whisk them together really well. This ensures that the cornstarch is evenly distributed and you won’t end up with any starchy clumps in your beautiful strawberry filling. It’s a small step, but it really makes a difference in the final texture.
Step 3: Mix Wet Ingredients
Now, gently add your prepared strawberries to the bowl with the dry ingredients. Add the lemon juice and vanilla extract. Toss everything together very gently. We don’t want to mash the strawberries; we want them to hold their shape as much as possible. The goal is to lightly coat them with the sugar and cornstarch mixture.
Step 4: Combine
This is the main event! Pour the strawberry mixture into your prepared pie crust. Spread it out evenly. If you’re making a double-crust pie, now’s the time to roll out your second disc of dough. You can create a full top crust (cut vents!), a lattice top, or even cut out fun shapes. If you’re going for a full top crust, gently lay it over the filling and crimp the edges to seal. Brush the top crust with your egg wash (egg mixed with water or milk) and sprinkle with coarse sugar for a beautiful finish. This is optional, but it gives the pie such a lovely, professional look.
Step 5: Prepare Filling
Honestly, the filling is already “prepared” in Step 3 by gently tossing the strawberries with the other ingredients! This step is more about ensuring everything is well-coated and ready to go into the crust. I always give it one last gentle stir to make sure no sugar or cornstarch has settled at the bottom of the bowl.
Step 6: Layer & Swirl
This step is really only applicable if you’re making a pie with a swirled effect, which isn’t standard for a simple strawberry pie. For *this* particular recipe, we’re layering the strawberry mixture directly into the pie crust. If you wanted to do a swirl effect, you might have a second component, like a Cream Cheese filling, to swirl into the strawberry. But for this classic strawberry pie, it’s all about the beautiful red berries filling the crust.
Step 7: Bake
This is where the magic truly happens! Place your pie on a baking sheet (to catch any drips – trust me, it’s a lifesaver!). Bake in your preheated oven at 400°F (200°C) for 20 minutes. Then, reduce the oven temperature to 375°F (190°C) and continue baking for another 30-40 minutes, or until the crust is golden brown and the filling is bubbly. You’ll see those delicious juices bubbling up through the vents or around the edges. If the crust starts to get too dark before the filling is cooked through, you can loosely tent the pie with foil.
Step 8: Cool & Glaze
This is probably the hardest part: waiting! Once your pie is out of the oven, let it cool completely on a wire rack for at least 3-4 hours. Seriously, I know it’s tempting, but letting it cool is crucial. This allows the filling to set properly. If you cut into it too soon, you’ll have a delicious mess on your hands. There’s no separate glaze to make for this recipe, as the natural juices from the strawberries, thickened with cornstarch, create a beautiful, glossy finish as it bakes.
Step 9: Slice & Serve
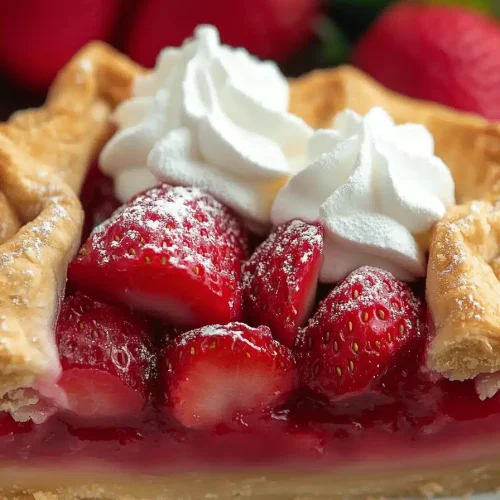
Once your strawberry pie has cooled completely and the filling has set, it’s time to slice and serve! Use a sharp knife and a gentle sawing motion. Serve it as is, or with a generous dollop of vanilla ice cream or whipped cream. It’s just heavenly!
What to Serve It With
This strawberry pie is so versatile, it fits into almost any meal or occasion! For BREAKFAST, I love a small, warm slice with a strong cup of coffee. It feels decadent but somehow totally acceptable on a lazy weekend morning. If you’re serving it at a BRUNCH, present it beautifully on a tiered stand with some fresh mint leaves as garnish. It pairs wonderfully with sparkling cider or a mimosa. As a DESSERT, it’s obviously a showstopper. After a hearty meal, a slice of this strawberry pie is the perfect sweet ending. I love serving it with a tiny scoop of mascarpone cheese or a drizzle of balsamic glaze for a sophisticated twist. And for those COZY SNACKS, it’s just perfect with a glass of cold milk or a creamy Hot Chocolate. My family also loves to take any leftover pie and warm it up for a late-night treat, usually with just a fork and no plate needed. It’s truly that good!
Top Tips for Perfecting Your Strawberry Pie
I’ve made this strawberry pie more times than I can count, and over the years, I’ve picked up a few tricks that I think really make a difference. For your STRAWBERRY PREP, make sure you’re using ripe but not mushy berries. If they’re watery, you might want to gently pat them dry after hulling them. For MIXING ADVICE, my biggest tip is to be gentle. You don’t want to break down the strawberries too much. Just toss them lightly until coated. This ensures you get lovely whole or halved berries in your finished pie. When it comes to the crust, for that perfect flakiness, remember the butter needs to be COLD. Like, ice-cold. I even put my flour and butter in the freezer for about 15 minutes before I start. If your dough feels sticky while you’re rolling it, don’t be afraid to add a little more flour, but do it sparingly. For ingredient SWAPS, if you can’t find fresh strawberries, frozen ones work in a pinch! Just make sure to thaw them completely and drain off excess liquid before using. You might need to add a touch more cornstarch. And for baking, don’t be afraid of that initial high heat. It helps set the crust quickly. If your oven runs hot, keep an eye on it and consider reducing the temperature slightly earlier. My biggest lesson learned? Patience! Letting the pie cool completely is KEY to a perfectly set filling. You’ll be rewarded with clean slices every time. Finally, for that beautiful, glossy finish, don’t skip the egg wash. It makes all the difference!
Storing and Reheating Tips
One of the best things about this strawberry pie is that it keeps relatively well, meaning you might actually have leftovers (though I wouldn’t count on it!). For ROOM TEMPERATURE storage, if it’s not too hot out, you can leave it covered loosely on the counter for up to 2 days. Make sure it’s covered with a pie dome or foil to prevent it from drying out. If it’s warm or you want to be extra cautious, REFRIGERATOR STORAGE is your best bet. Place it in an airtight container or cover the pie plate well with plastic wrap and then foil. It should stay delicious in the fridge for about 3-4 days. The crust might soften a bit over time, but it’s still wonderful. FREEZER INSTRUCTIONS are a bit trickier for fruit pies, as the crust can get a little soggy upon thawing. If you want to freeze it, it’s best to do so *before* baking the pie. Wrap the unbaked pie very tightly in plastic wrap, then in a layer of foil. Freeze for up to 2-3 months. When you’re ready to bake, place the frozen pie directly into a preheated oven (you might need to add a few extra minutes to the baking time). If you have leftover baked pie, you can freeze slices wrapped well, but expect some texture change upon thawing. For the glaze timing advice, remember that this recipe doesn’t have a separate glaze; the filling itself becomes glossy. For storing, just ensure the pie is fully cooled before covering.
Frequently Asked Questions
Final Thoughts
So there you have it – my absolute favorite strawberry pie recipe! It’s simple, it’s bursting with fresh berry flavor, and it’s just one of those recipes that brings pure joy to the table. It’s the kind of pie that makes people feel good, whether they’re making it or eating it. I really hope you give this strawberry pie a try. It’s a keeper, I promise! If you love this, you might also enjoy my Classic Apple Crumble or my Lemon Blueberry Scones for more delightful baked goods. I can’t wait to hear how yours turns out! Please leave a comment below and let me know what you think, or share your own twists and tips. Happy baking, everyone!
Strawberry pie recipe
Ingredients
For the Crust
- 2.5 cups all-purpose flour
- 1 teaspoon salt
- 1 cup unsalted butter, cold and cubed
- 0.5 cup ice water
For the Filling
- 6 cups fresh strawberries, hulled and sliced
- 1 cup granulated sugar
- 0.25 cup cornstarch
- 2 tablespoons lemon juice
- 1 tablespoon butter
Instructions
Preparation Steps
- For the crust: In a large bowl, whisk together flour and salt. Cut in cold butter with a pastry blender or your fingertips until the mixture resembles coarse crumbs with some pea-sized pieces. Gradually add ice water, 1 tablespoon at a time, mixing until the dough just comes together. Divide dough in half, flatten into discs, wrap in plastic, and refrigerate for at least 30 minutes.
- Preheat oven to 375°F (190°C). On a lightly floured surface, roll out one disc of dough into a 12-inch circle. Carefully transfer to a 9-inch pie plate. Trim and crimp edges.
- For the filling: In a large bowl, gently combine sliced strawberries, granulated sugar, cornstarch, and lemon juice. Let sit for 10 minutes.
- Pour the strawberry filling into the prepared pie crust. Dot the top with butter.
- Roll out the second disc of dough. You can either place it as a full top crust (venting it) or cut it into strips for a lattice top.
- Place the top crust or lattice over the filling. Crimp the edges to seal.
- Bake for 40-50 minutes, or until the crust is golden brown and the filling is bubbly. If the crust starts to brown too quickly, tent loosely with foil.
- Let the pie cool completely on a wire rack for at least 2-3 hours before slicing and serving to allow the filling to set.