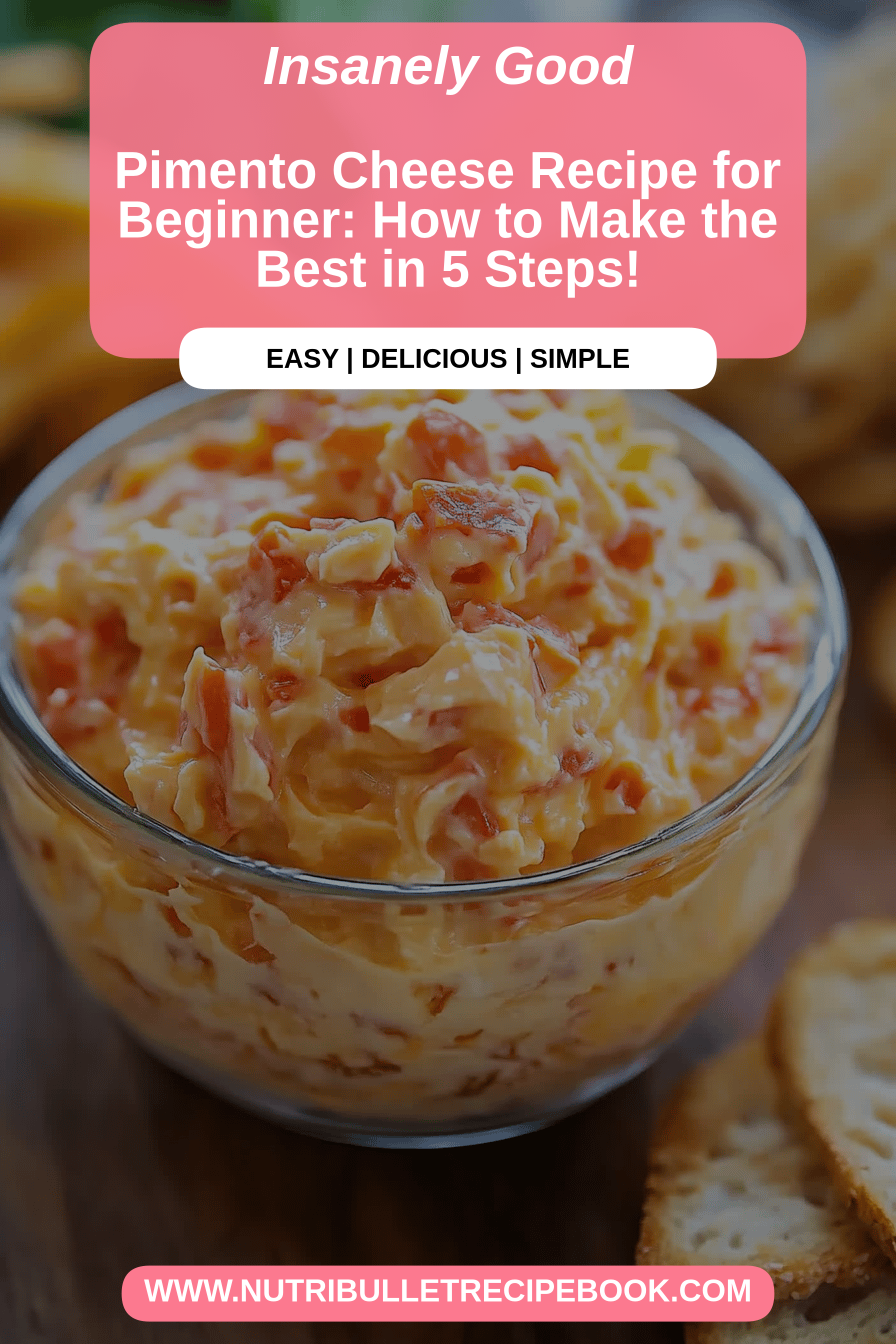
Oh, where do I even begin with this Pimento Cheese Recipe? It’s more than just a dip, really. It’s a hug in a bowl, a nostalgic trip back to lazy summer afternoons at my grandmother’s house, and honestly, a lifesaver on those nights when dinner needs to be both quick and ridiculously delicious. If you’ve ever had a store-bought pimento cheese that tasted a bit… sad, or maybe you’ve tried making it yourself and it just didn’t quite hit that mark, then please, stick with me. This isn’t your average spread; it’s creamy, it’s tangy, it’s got just the right amount of zip, and it’s the kind of thing that disappears in minutes at any gathering. Think of it as the soulmate to your crackers, the best friend to your sandwiches, and the star of any appetizer platter. It’s seriously that good, and I can’t wait to share my secrets with you.
What is Pimento cheese?
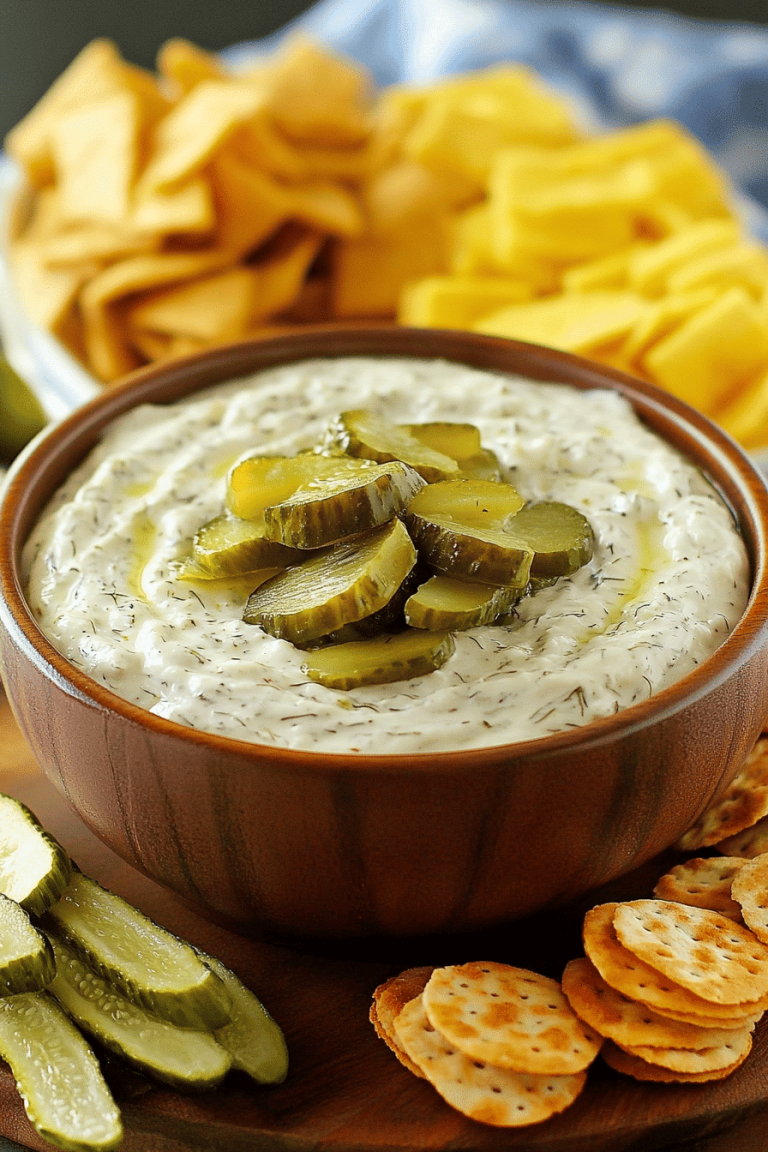
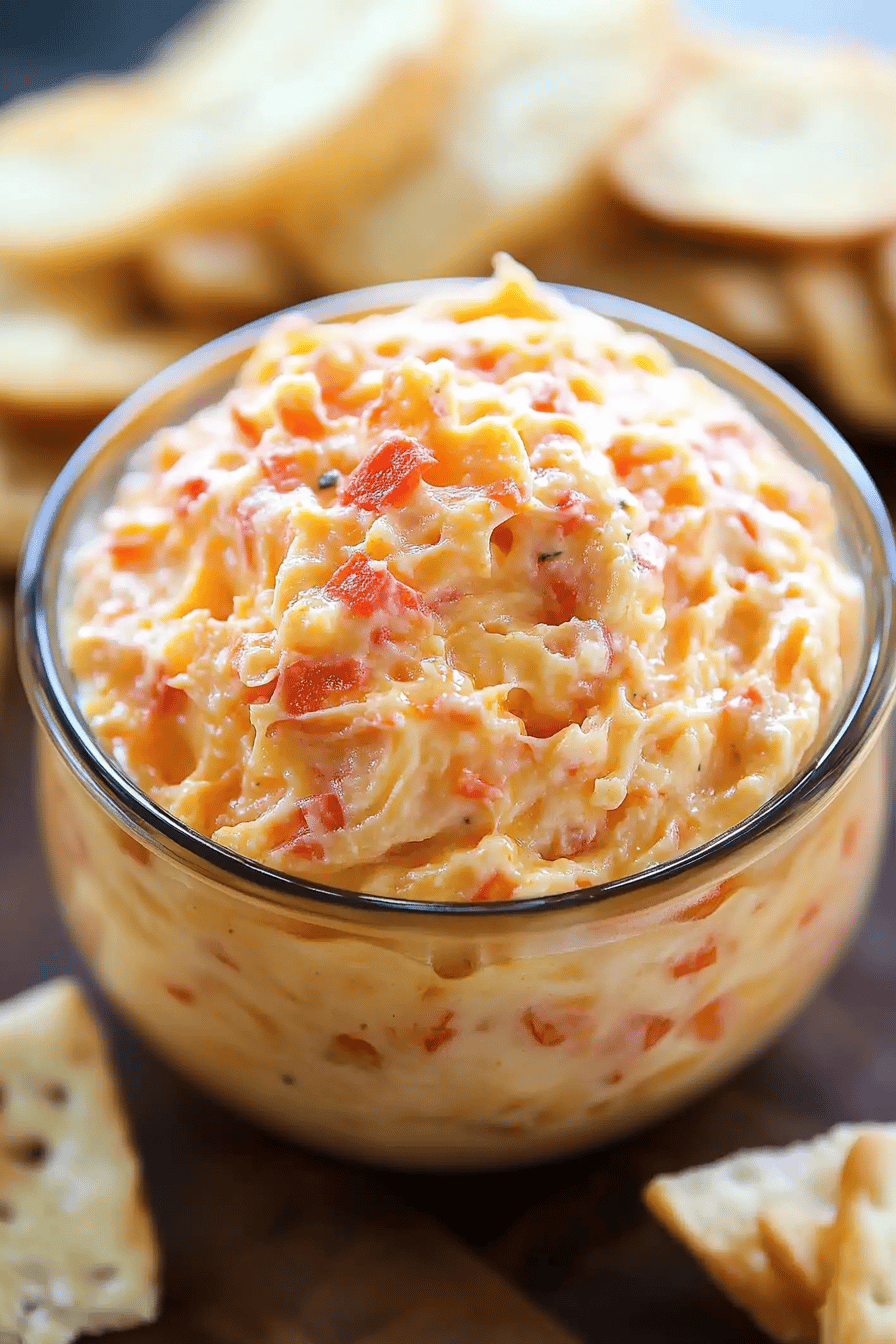
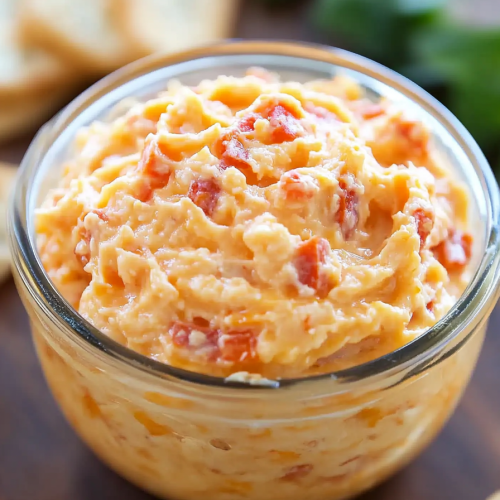
So, what exactly is this magical stuff? At its heart, pimento cheese is a Southern staple, a creamy, cheesy concoction primarily made from shredded cheese, mayonnaise, and finely diced pimento peppers. The “pimento” part refers to those sweet, mild red peppers, often packed in brine or syrup, that give it a characteristic subtle sweetness and a pop of color. It’s often compared to a super-powered, more flavorful version of basic cheese spread, but that really doesn’t do it justice. It’s more than just a spread; it’s an experience. The texture should be smooth and spreadable, yet with a satisfying cheesy bite. The flavor is a complex blend of sharp, creamy, tangy, and just a hint of sweetness from those peppers. It’s one of those classic recipes that has countless variations, and everyone has their “secret ingredient” or technique, which is why I’m so excited to share mine – it’s been a labor of love, perfecting it over the years!
Why you’ll love this recipe?
There are so many reasons why I keep coming back to this pimento cheese recipe, and I’m pretty sure you will too. First off, let’s talk about the FLAVOR. This isn’t just cheese and mayo; it’s a symphony of savory goodness. The sharp cheddar provides a robust base, the Cream Cheese adds an incredible creaminess that’s just heavenly, and the secret touch of Worcestershire sauce and a little bit of pickle juice? Trust me on this one, it elevates everything, giving it a depth and tang that store-bought versions just can’t replicate. And the pimento peppers themselves, when diced just right, give little bursts of sweet, tender goodness. Secondly, SIMPLICITY. I know, I know, some recipes sound intimidating, but this one? It’s surprisingly easy. You don’t need fancy equipment or a culinary degree. It comes together in minutes, making it a lifesaver for unexpected guests or when you just need a quick, satisfying snack. It’s also incredibly COST-EFFECTIVE. The ingredients are staples you likely already have in your fridge or pantry, and you get a huge yield for a very small price, which is always a win in my book. But what truly sets it apart is its VERSATILITY. You can slather it on crackers, stuff it into celery, spread it on sandwiches (grilled cheese with this stuff? Game changer!), use it as a dip for veggies, or even dollop it on top of a burger. It’s a true chameleon in the kitchen. What I love most about this is that it feels like a special treat, even though it’s so easy to make. It’s a recipe that always gets rave reviews and never fails to bring smiles to people’s faces.
How do you make Pimento cheese?
Quick Overview
This pimento Cheese Recipe is all about bringing together simple, quality ingredients to create something truly special. We’ll start by grating our cheeses to the perfect consistency, then whipping them together with creamy elements and a few flavor boosters that make all the difference. The key is in the balance of textures and tastes – you want it rich and creamy, but with enough tang and savory notes to keep you coming back for more. It’s a no-cook recipe for the most part, which is fantastic for busy days, and the whole process takes mere minutes. Seriously, you’ll be amazed at how quickly you can whip up a batch of this irresistible pimento cheese.
Ingredients
For the Main Cheesy Blend:
1 pound sharp cheddar cheese, grated (I like to grate my own from a block – it melts so much better than pre-shredded!)
8 ounces cream cheese, softened (This is crucial for that super smooth texture; leave it out for about an hour before you start)
1/4 cup mayonnaise (Use a good quality one you love the taste of, like Duke’s or Hellmann’s)
1 tablespoon chopped pimento peppers (You can find these in jars in the pickle aisle; drain them well and give them a fine chop)
1 teaspoon pickle juice (From the pickle jar you used for the peppers, or your favorite dill pickles. It adds a wonderful tang!)
1/2 teaspoon Worcestershire sauce (Don’t skip this! It adds a savory depth that’s hard to describe but essential)
1/4 teaspoon garlic powder (Just a touch to enhance the cheesy flavor)
Salt and freshly ground black pepper to taste (Start with a pinch of salt and pepper, then adjust as needed)
Optional Add-ins for Extra Zing:
1-2 tablespoons finely chopped pickled jalapeños (For a bit of heat!)
1 tablespoon finely chopped fresh chives or green onions (For a fresh, oniony bite)
Step-by-Step Instructions
Step 1: Grate Your Cheese
This is probably the most important step for texture. Grab your block of sharp cheddar and a box grater. Use the medium-sized holes. You want it finely grated so it incorporates smoothly without any lumps. If you try to use pre-shredded cheese, you’ll find it contains anti-caking agents that can make your pimento cheese grainy. So, do yourself a favor and grate it fresh!
Step 2: Soften the Cream Cheese
Make sure your cream cheese is truly softened. Leave it on the counter for about an hour before you plan to make your pimento cheese. It should be easily mashable with a fork. This ensures it blends beautifully with the shredded cheddar and mayo, preventing any lumps.
Step 3: Combine Creamy Ingredients
In a medium mixing bowl, add the softened cream cheese, mayonnaise, chopped pimento peppers, pickle juice, Worcestershire sauce, and garlic powder. Use a sturdy spoon or a spatula to mix these together until they are well combined and relatively smooth. Don’t worry if it’s not perfectly smooth yet; the cheddar will help with that.
Step 4: Add the Cheddar
Now, add the grated sharp cheddar cheese to the bowl with the creamy mixture. Stir everything together thoroughly. At first, it might seem like too much cheese, but keep stirring! You want to ensure every bit of the cheddar is coated in the creamy base. This is where the magic starts to happen.
Step 5: Mix Until Combined
Continue mixing until all the ingredients are fully incorporated and you have a thick, delicious spread. This is where you can add any of your optional add-ins, like chopped jalapeños for a kick or fresh chives for a bit of brightness. Stir them in gently.
Step 6: Season and Taste
Now for the crucial tasting and seasoning part. Grab a cracker or a small spoon. Taste your pimento cheese. Does it need more salt? A bit more pepper? Maybe another splash of pickle juice for tang? Adjust the seasonings until it tastes just right to you. This is your chance to make it perfectly yours.
Step 7: Chill (Optional but Recommended)
While you can eat this immediately, I always recommend chilling it in the refrigerator for at least 30 minutes before serving. This allows the flavors to meld together and the pimento cheese to firm up slightly, making it even more delicious. It also makes it easier to scoop and serve.
Step 8: Serve and Enjoy!
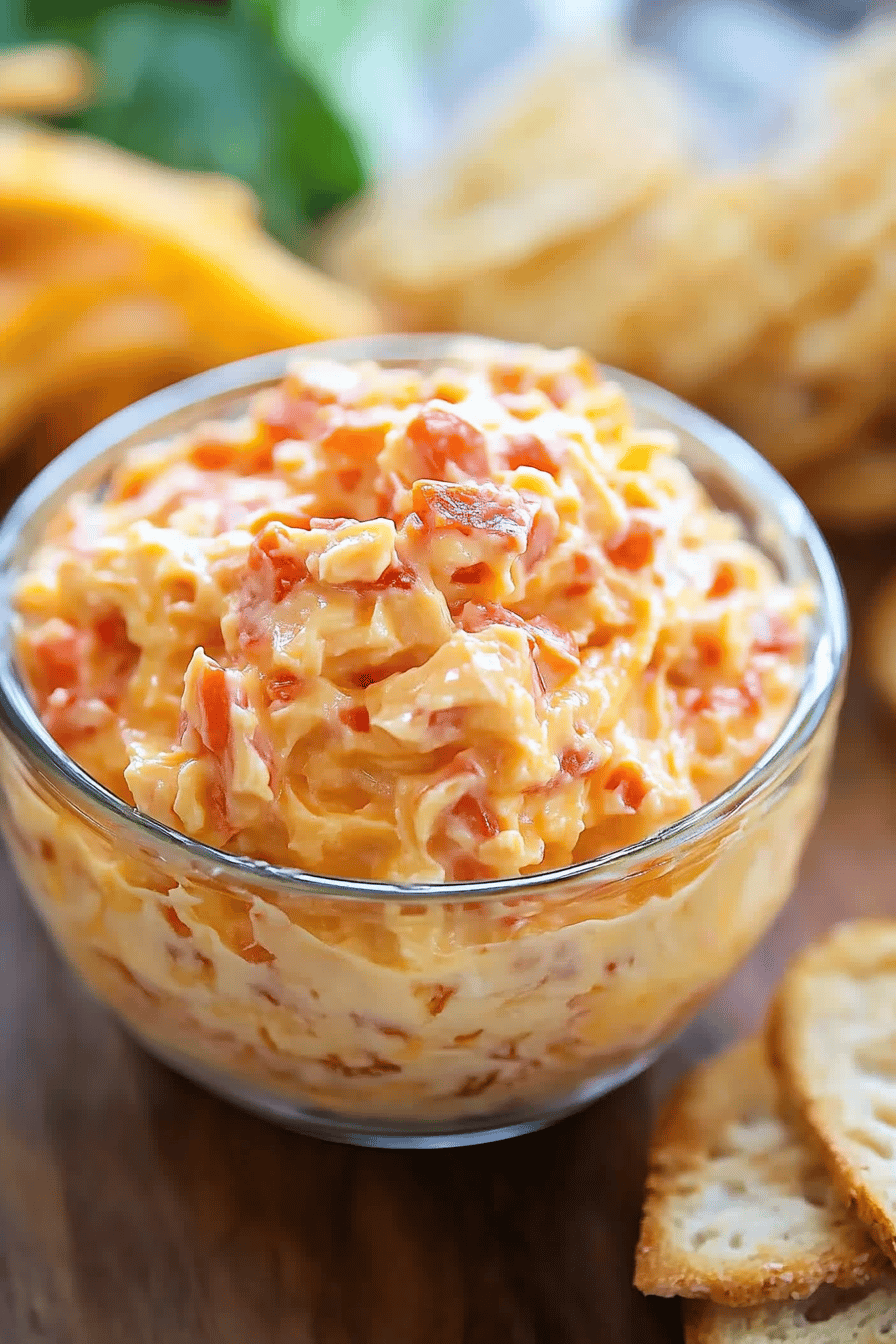
Once chilled, give it a final stir. Serve your incredible homemade pimento cheese with your favorite crackers, bread, or veggies. Get ready for the compliments!
What to Serve It With
This pimento cheese recipe is so incredibly versatile, it’s almost silly! I’ve learned over the years that it’s not just for parties; it’s for *life*. For breakfast, I love a little smear on a toasted English muffin – it’s surprisingly satisfying and gives you a protein boost to start the day. My kids actually ask for this on their breakfast toast sometimes, which always makes me chuckle! For a more elegant brunch spread, I’ll pile it high in a pretty serving bowl and surround it with an assortment of crudités – vibrant bell peppers, crisp cucumber slices, and some blanched asparagus. It looks so inviting! And when I’m craving something truly decadent as dessert (hey, no judgment here!), I’ll make a grilled cheese sandwich with this pimento cheese. The melted cheese between buttery toasted bread is pure comfort. For cozy snacks, it’s my go-to. Serve it with a mix of crunchy crackers, some apple slices for sweetness, and maybe even some mini pretzels. My family traditions often involve game days or movie nights where a big bowl of this pimento cheese, with a side of tortilla chips and celery sticks, is the star of the show. It’s always a crowd-pleaser, and it just makes everything feel a little more special.
Top Tips for Perfecting Your Pimento Cheese
I’ve been making this pimento cheese recipe for ages, and through countless batches, I’ve picked up a few little tricks that I think make a big difference. First, about the CHEESE PREP: As I mentioned, grating your own cheese from a block is non-negotiable for me. Pre-shredded cheese has that powdery coating to prevent clumping, but it can make your finished product grainy. I use a box grater on the medium holes – you want fine shreds so they meld beautifully. If you find your cheese isn’t grating as easily as you’d hoped, try chilling the block for about 15 minutes beforehand. For MIXING ADVICE, the key is to combine the softened cream cheese and mayo first to create a smooth base before adding the grated cheddar. Don’t overmix once the cheddar is in; you want to combine it until it’s just incorporated. Overmixing can sometimes make it a bit gummy. For SWIRL CUSTOMIZATION, while this recipe doesn’t really have a “swirl” in the traditional sense, you can customize the texture. If you like it chunkier, use coarser grates. If you prefer it super smooth, grate your cheddar very finely. For my optional add-ins, like jalapeños or chives, I always chop them very finely so they are evenly distributed and don’t overwhelm each bite. I’ve experimented with INGREDIENT SWAPS over the years, and while sharp cheddar is my favorite, a good quality medium cheddar works too, and sometimes I’ll add a little bit of Monterey Jack for extra meltiness. For the mayonnaise, I’ve tried a few brands, and a good full-fat mayo like Duke’s or Hellmann’s really makes a difference in creaminess and flavor. If you’re feeling adventurous and want a little heat, finely diced pickled jalapeños are fantastic! For BAKING TIPS, well, this recipe isn’t baked, which is part of its charm and ease! But if you were to make a baked version (which is a different beast!), remember to keep an eye on it so it doesn’t dry out. For GLAZE VARIATIONS, there’s no glaze in this particular recipe, but if you were thinking of serving it with something like a baked brie, you might add a drizzle of honey or fig jam on top.
Storing and Reheating Tips
One of the best things about this pimento cheese recipe is how well it stores, which means you can make a big batch and have it on hand for days! When it comes to ROOM TEMPERATURE storage, it’s best to keep it out of the fridge for the shortest amount of time possible, especially during warmer weather, to maintain freshness. I wouldn’t leave it out for more than two hours. For REFRIGERATOR STORAGE, this is where it truly shines. Transfer your pimento cheese to an airtight container. It will stay wonderfully fresh and delicious in the fridge for about 5 to 7 days. I’ve tested this many times, and the texture and flavor hold up beautifully. The key is a good airtight container to prevent it from drying out or absorbing other fridge odors. For FREEZER INSTRUCTIONS, I’ll be honest, freezing isn’t my preferred method for pimento cheese because the texture can sometimes change slightly once thawed – it can become a bit more watery or grainy. However, if you absolutely need to freeze it, wrap it very tightly in plastic wrap, then place it in a freezer-safe bag or container. It should be good in the freezer for about 1 to 2 months. To thaw, transfer it to the refrigerator overnight. You might need to stir it vigorously or even give it a quick pulse in a food processor to help restore its creamy texture. Since this recipe isn’t baked or glazed in the traditional sense, there are no specific GLAZE TIMING ADVICE needed here, but if you were to add something like fresh chives, they are best stirred in just before serving for maximum freshness.
Frequently Asked Questions
Final Thoughts
There you have it – my tried-and-true, absolutely delicious pimento cheese recipe! I truly believe this is the one you’ll reach for again and again, whether you’re hosting a big get-together or just looking for a satisfying snack. It’s a testament to how simple ingredients, prepared with a little care, can create something truly spectacular. It’s more than just a recipe; it’s a piece of home, a flavor that brings people together, and a reminder that the best food is often the simplest. If you enjoy this recipe, you might also love my classic deviled eggs or my easy layered taco dip – they’re all crowd-pleasers! I really hope you give this pimento cheese a try. I can’t wait to hear how much you and your family enjoy it! Please let me know in the comments below how yours turned out, or if you have any special variations you like to add. Happy snacking, everyone!
Pimento Cheese Recipe
Ingredients
Main Ingredients
- 4 ounce cream cheese softened
- 2 cup cheddar cheese shredded
- 0.5 cup pimentos drained and chopped
- 2 tablespoon mayonnaise
- 0.5 teaspoon Worcestershire sauce
- 0.25 teaspoon hot sauce (optional)
- 0.25 teaspoon salt
- 0.125 teaspoon black pepper
Instructions
Preparation Steps
- In a medium bowl, combine the softened cream cheese and shredded cheddar cheese.
- Add the chopped pimentos, mayonnaise, Worcestershire sauce, and hot sauce (if using).
- Stir until well combined.
- Season with salt and black pepper to taste.
- Serve immediately or cover and refrigerate for at least 30 minutes to allow flavors to meld. Enjoy on crackers, in sandwiches, or as a dip!