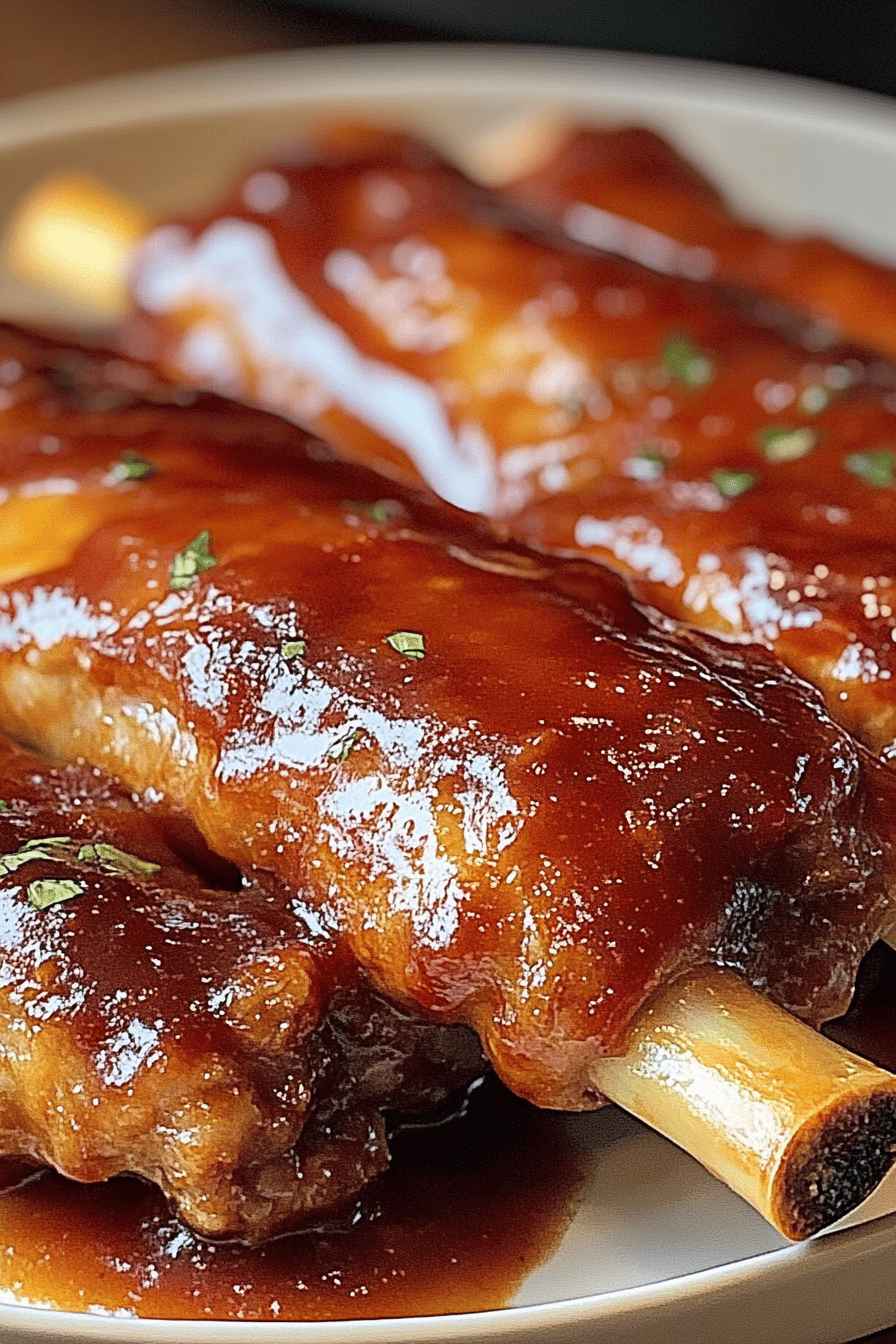
Oh, the smell of these chicken empanadas baking! It instantly takes me back to my grandmother’s kitchen, a place filled with laughter, warmth, and the most incredible aromas. She used to make these for every family gathering, and they were always the first thing to disappear from the table. I remember sneaking into the kitchen, trying to catch a peek at the golden-brown pockets of deliciousness as they cooled. It’s funny, isn’t it, how certain foods just transport you? For me, these chicken empanadas are pure comfort, a little hug in pastry form. They’re not just a recipe; they’re a memory, a tradition I’m so excited to share with you today. If you’ve ever found yourself craving something savory and satisfying, something that feels both special and incredibly easy to whip up, then you’ve landed in the right spot. Think of them as little flavor bombs, a delightful alternative to something like a regular chicken pot pie, but in a portable, perfect-for-snacking package!

What is chicken empanada?
So, what exactly are chicken empanadas? At their heart, they’re savory hand pies, a delightful little package of flaky pastry filled with a flavorful chicken mixture. The name “empanada” actually comes from the Spanish word “empanar,” which means “to bread” or “to wrap in pastry.” And that’s precisely what we do! We take a delicious filling – in this case, tender shredded chicken mingled with aromatic vegetables and spices – and encase it in a golden, baked pastry dough. It’s like a mini chicken pot pie, but so much more convenient to eat. You can hold them in your hand, take them on a picnic, or just enjoy them curled up on the couch. They’re incredibly versatile and have been a beloved comfort food across many cultures for centuries, with each region putting its own unique spin on them. It’s a simple concept, really, but the result is something truly magical.
Why you’ll love this recipe?
Honestly, there are so many reasons why I keep coming back to this chicken empanada recipe, and I’m sure you’ll find your own reasons too! First off, the flavor is just out of this world. We’re talking about perfectly seasoned shredded chicken, softened onions and peppers, and a hint of savory spices that create a filling so delicious you could honestly eat it with a spoon. But when you wrap that filling in a golden, slightly crisp pastry? Pure bliss. And speaking of pastry, you won’t believe how simple it is. We’re not talking about a complicated, hours-long process here. This dough comes together beautifully and is surprisingly forgiving, which is a lifesaver when you’re busy. What I also adore is how budget-friendly it is. Using basic pantry staples and a few common veggies, you can create a meal that feels incredibly gourmet without breaking the bank. Plus, they are so wonderfully versatile! They’re fantastic as a main course, a hearty appetizer, or even a satisfying lunch. They’re the perfect thing to make a big batch of on a Sunday and then have on hand for quick meals throughout the week. What I love most about this recipe, though, is the joy it brings. Every time I serve these, there’s just this collective sigh of happiness around the table. They’re a guaranteed crowd-pleaser, and that’s a pretty amazing thing for a home cook to have in their arsenal!
How do I make chicken epanadas?
Making these chicken empanadas might seem a bit involved at first glance, but I promise you, it’s a straightforward process that’s totally manageable, even on a weeknight! The key is to break it down into simple steps. We’ll get our delicious filling ready, then our easy-to-handle dough, and then it’s just a matter of assembly and baking. The result is so worth it!
Quick Overview
Here’s the quick rundown: we’ll cook and shred some chicken, sauté some aromatics, mix them together for a savory filling, then whip up a simple dough. We’ll roll out the dough, fill it, seal it up, and bake until golden brown. Easy peasy!
Ingredients
I like to gather everything before I start so I can just move smoothly from one step to the next. It really makes the
For the Dough:
3 cups all-purpose flour
1 teaspoon salt
1 cup cold unsalted butter, cut into cubes
½ cup ice water (you might need a little more or less)
A note on the butter: Make sure it’s really cold! This is key for a flaky crust. I sometimes even pop my flour in the freezer for 15 minutes beforehand. Also, I always use unsalted butter so I can control the saltiness myself.
For the Filling:
2 cups cooked shredded chicken (rotisserie chicken is a lifesaver here!)
1 tablespoon olive oil
1 medium onion, finely chopped
2 cloves garlic, minced
½ cup finely diced red bell pepper
½ cup finely diced green bell pepper
1 teaspoon cumin
½ teaspoon smoked paprika
¼ teaspoon cayenne pepper (optional, for a little kick)
½ cup chicken broth
2 tablespoons chopped fresh cilantro
Salt and freshly ground black pepper to taste
For the chicken, I usually boil a couple of Chicken Breasts until they’re tender, then shred them with two forks. Rotisserie chicken is a fantastic shortcut, though! For the veggies, dicing them small ensures they cook through nicely inside the empanada. And the spices! Don’t be afraid to adjust them to your liking. If you love cumin, add a bit more!
For the Egg Wash:
1 large egg, beaten
1 tablespoon milk or water
This is what gives our empanadas that gorgeous golden sheen. So simple, but it makes such a difference visually!
Step-by-Step Instructions
Step 1: Preheat & Prep Pan
First things first, let’s get our oven ready. Preheat it to 400°F (200°C). While the oven is heating up, I like to line a couple of baking sheets with parchment paper. This just makes cleanup a breeze, and nothing sticks!
Step 2: Mix Dry Ingredients
In a large bowl, whisk together the flour and salt. This ensures the salt is evenly distributed throughout the dough. We want every bite to be perfectly seasoned.
Step 3: Mix Wet Ingredients
Add the cold, cubed butter to the flour mixture. Using a pastry blender, your fingertips, or even a food processor (pulse it a few times!), cut the butter into the flour until it resembles coarse crumbs with some pea-sized pieces of butter still visible. These butter pieces are what create those lovely flaky layers. Then, gradually add the ice water, a tablespoon at a time, mixing with a fork until the dough just starts to come together. Be careful not to overmix! You don’t want to develop the gluten too much at this stage.
Step 4: Combine
Turn the dough out onto a lightly floured surface. Gently bring it together to form a cohesive ball. If it seems too dry, add another tablespoon of ice water. If it’s too sticky, a little more flour. Divide the dough in half, flatten each half into a disk, wrap them in plastic wrap, and refrigerate for at least 30 minutes. This resting period is crucial; it allows the gluten to relax, making the dough easier to roll out and preventing it from shrinking when baked.
Step 5: Prepare Filling
While the dough is chilling, let’s make that incredible filling. Heat the olive oil in a large skillet over medium heat. Add the chopped onion and cook until softened and translucent, about 5-7 minutes. Stir in the minced garlic and cook for another minute until fragrant. Add the diced bell peppers and cook until tender-crisp, about 5 more minutes. Now, add the cumin, smoked paprika, and cayenne pepper (if using). Stir well and cook for about 30 seconds until fragrant. Pour in the chicken broth and bring to a simmer, scraping up any browned bits from the bottom of the pan. Stir in the shredded chicken and cook for a few minutes until everything is heated through and the liquid has mostly evaporated. Remove from heat, stir in the fresh cilantro, and season generously with salt and pepper to taste. Let the filling cool completely. This is super important – if the filling is too hot, it can melt the dough!
Step 6: Layer & Swirl
Once the dough has chilled and the filling has cooled, it’s time to assemble! Lightly flour your work surface and roll out one disk of dough into a circle about 1/8-inch thick. Using a round cutter or a bowl, cut out circles about 6 inches in diameter. You might get about 4-6 circles per disk, depending on the size of your cutter. Place about 2-3 tablespoons of the cooled filling onto one half of each dough circle, leaving a small border. In a small bowl, whisk together the egg and milk/water for the egg wash. Brush the edges of the dough with the egg wash. Fold the other half of the dough over the filling to create a half-moon shape. Gently press the edges to seal. You can crimp the edges with a fork for a decorative finish and extra security, or fold them over themselves for a rustic look. I like to do a little of both! Place the assembled empanadas on the prepared baking sheets. If you have any extra dough scraps, you can reroll them carefully, but try not to overwork them. Just be sure they are well chilled before rolling again.
Step 7: Bake
Brush the tops of the empanadas with the egg wash. This gives them that beautiful golden-brown color as they bake. Using a sharp knife, cut a small slit in the top of each empanada to allow steam to escape. Bake in the preheated oven for 20-25 minutes, or until the pastry is golden brown and puffed.
Step 8: Cool & Glaze
Let the empanadas cool on the baking sheets for about 10 minutes before transferring them to a wire rack. This is important so they don’t get soggy bottoms. If you plan to add a glaze (which is optional but delicious!), you can do so once they’ve cooled slightly. A simple dusting of powdered sugar is lovely, or a drizzle of honey can add a touch of sweetness.
Step 9: Slice & Serve
These are best served warm, but they’re also surprisingly delicious at room temperature. Slice one in half to admire the beautiful filling encased in the flaky pastry. Enjoy!
What to Serve It With
These chicken empanadas are so wonderfully versatile, they really fit into any meal or occasion! For a cozy breakfast, I love to pair them with a strong cup of coffee. They’re hearty enough to get your day started right without feeling heavy. They look so charming on a brunch table too, nestled amongst some fresh fruit and maybe a bright green salad. They feel a bit more special than your average breakfast pastry. As a dessert? Absolutely! While they’re savory, a dusting of powdered sugar or a light drizzle of honey can turn them into a delightful sweet treat. They’re perfect for when you want something a little sweet after dinner but don’t want to go through the trouble of baking a whole cake. And for those cozy snack moments? Forget about it! They are the ultimate comfort food, perfect for sharing with friends while watching a movie or just for a satisfying bite on a chilly afternoon. My family also loves having them as a quick, satisfying lunch, perhaps with a side of salsa or a simple green salad. I’ve even packed them into lunchboxes, and they always come home empty!
Top Tips for Perfecting Your Chicken Empanadas
I’ve made these chicken empanadas more times than I can count, and over the years, I’ve picked up a few tricks that I think make a real difference. These aren’t hard-and-fast rules, but just little things that have helped me achieve that perfect result time and time again.
Dough Prep: The absolute most important thing for a flaky crust is cold ingredients. Seriously, keep that butter and even the water as cold as possible. If your kitchen is warm, don’t hesitate to pop the flour in the freezer for 15 minutes before you start. And once the dough is made, let it chill for at least 30 minutes. This is non-negotiable for easy handling and a tender crust. I’ve learned the hard way that impatient dough leads to sticky dough and less flaky results!
Filling Consistency: Make sure your filling is completely cooled before you start assembling. A warm or hot filling will essentially melt the butter in your dough, leading to a greasy and less flaky pastry. Also, drain off any excess liquid from your filling. We want a nice, compact filling, not a soupy one. I usually let the filling sit in a colander for a few minutes after cooking, just to be safe.
Sealing is Key: When you fold the dough over, really press those edges to seal them well. You don’t want any of that delicious filling to escape during baking. Crimping with a fork is not just for looks; it helps create a really strong seal. I always do a double seal – press with my fingers and then crimp with the fork.
Don’t Overcrowd the Pan: When you’re baking them, give them enough space on the baking sheet. They need room for the heat to circulate around them to get that beautiful golden-brown color all over. Overcrowding leads to uneven baking and less crispiness.
Ingredient Swaps: If you don’t have fresh cilantro, a little dried parsley or even a pinch of dried oregano can work in a pinch for the filling. For the peppers, feel free to use what you have on hand – jalapeños can add a nice heat if you’re feeling adventurous! And of course, if you’re short on time, pre-shredded rotisserie chicken is an absolute game-changer for the filling.
Baking Tips: My oven tends to run a little hot, so I often find myself checking them at the lower end of the baking time. Keep an eye on them, especially towards the end. If they’re browning too quickly, you can loosely tent them with foil. And that egg wash? Don’t skip it! It makes all the difference in achieving that restaurant-quality sheen.
Storing and Reheating Tips
The best part about making a batch of these chicken empanadas is that they store beautifully, making them perfect for meal prep or for having delicious leftovers.
Room Temperature: If you’re serving them at a party or potluck, they’re perfectly fine at room temperature for a couple of hours. Just make sure they are covered loosely with foil or a clean kitchen towel so they don’t dry out too much.
Refrigerator Storage: Once they’ve completely cooled, you can store leftover empanadas in an airtight container in the refrigerator for up to 3-4 days. They’ll still be delicious! I like to separate layers with parchment paper if I’m stacking them, just to prevent them from sticking together.
Freezer Instructions: These freeze like a dream! You can freeze them either baked or unbaked. For baked empanadas, let them cool completely, then wrap them individually in plastic wrap, followed by a layer of foil or place them in a freezer-safe bag. They’ll keep in the freezer for up to 2-3 months. For unbaked empanadas, place them on a baking sheet in a single layer until frozen, then transfer them to a freezer bag. You can bake them directly from frozen, just add a few extra minutes to the baking time.
Reheating: The best way to reheat these is in a moderate oven (around 350°F or 175°C) until they are heated through and the pastry is crisp again. This usually takes about 10-15 minutes for thawed empanadas and 20-25 minutes for frozen ones. Reheating in a microwave can make the pastry a bit soft, so I generally avoid that if possible. If you want them super crispy, you can even pop them in a toaster oven!
Glaze Timing Advice: If you’ve glazed your empanadas, it’s generally best to store them as is. The glaze can sometimes get a little sticky in the fridge, but it’s usually not a problem. If you’re freezing them with a glaze, you might want to re-glaze them after reheating for the best appearance.
Frequently Asked Questions
Final Thoughts
So there you have it – my beloved chicken empanadas! I truly hope you give these a try. They’re more than just a recipe; they’re a little piece of comfort, a way to bring that warm, homemade feeling into your own kitchen. I know they’ve brought so much joy to my family, and I’m crossing my fingers they’ll do the same for yours. They’re the perfect balance of tender, savory filling and flaky, golden pastry – a combination that’s just hard to beat. If you end up making these, please, please let me know how they turn out! I’d love to hear your thoughts, any little twists you added, or how your family enjoyed them. Drop a comment below or share your creations on social media. And if you love these, you might also enjoy my [link to another relevant recipe, e.g., “Savory Mushroom Pies”] or my [link to another relevant recipe, e.g., “Easy Homemade chicken pot pie“]. Happy baking, and enjoy every delicious bite!

Chicken Empanadas
Ingredients
Main Ingredients
- 1 pound cooked chicken shredded
- 0.5 cup onion finely chopped
- 0.25 cup red bell pepper finely chopped
- 2 cloves garlic minced
- 0.5 teaspoon cumin
- 0.25 teaspoon paprika
- 0.1 teaspoon cayenne pepper optional
- 0.25 cup chicken broth
- 0.5 cup peas frozen
- 12 empanada discs
- 1 egg beaten, for egg wash
Instructions
Preparation Steps
- In a large skillet, heat a tablespoon of oil over medium heat. Add the chopped onion and bell pepper and cook until softened, about 5-7 minutes.
- Add the minced garlic, cumin, paprika, and cayenne pepper (if using). Cook for 1 minute until fragrant.
- Add the shredded chicken and chicken broth to the skillet. Stir to combine and cook for another 5 minutes, allowing the flavors to meld.
- Stir in the frozen peas and cook until heated through, about 2-3 minutes.
- Remove the filling from the heat and let it cool slightly.
- Preheat your oven to 375°F (190°C). Line a baking sheet with parchment paper.
- Place about 2-3 tablespoons of the chicken filling onto one half of each empanada disc. Moisten the edges with water and fold the other half over, pressing to seal. Crimp the edges with a fork.
- Place the empanadas on the prepared baking sheet. Brush the tops with the beaten egg wash.
- Bake for 20-25 minutes, or until the empanadas are golden brown and puffed.
- Let cool slightly before serving.