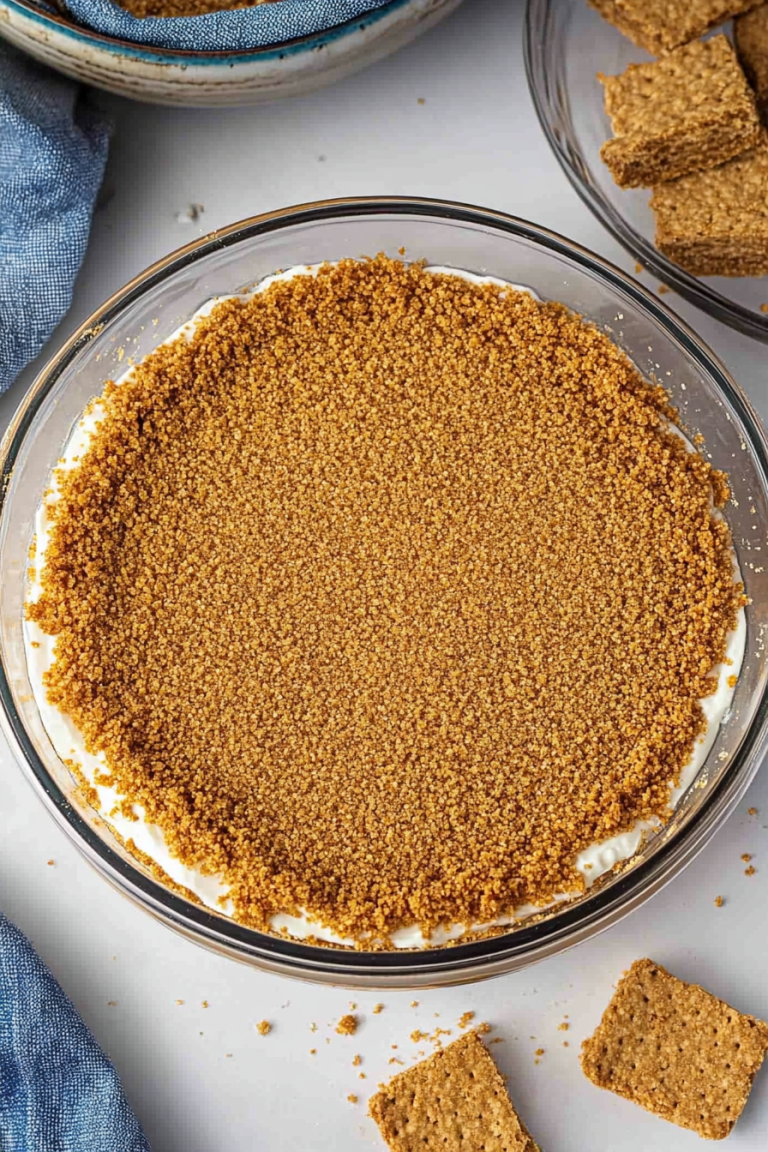
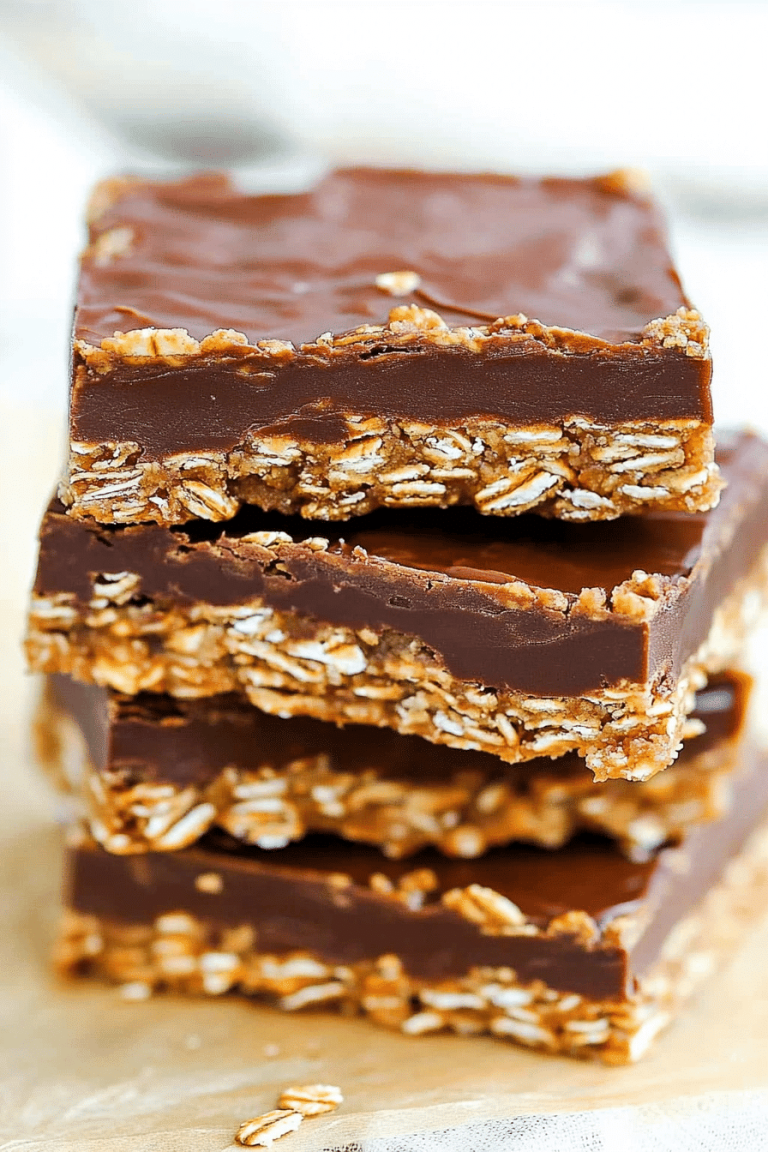
Okay, confession time. When I first heard the name “White Trash Candy,” I’ll admit I was a little… hesitant. It sounds a bit rough around the edges, right? But then my Aunt Carol, bless her heart, made a pan of it for a family reunion, and oh. My. Goodness. One bite and I was hooked. It’s this ridiculously decadent, salty-sweet, crunchy, chewy, melt-in-your-mouth confection that has absolutely no business being as good as it is, especially considering how simple it is. Forget those fancy layered bars or complicated caramels; this is the real deal when you need a serious chocolate fix without turning on the oven. It’s the kind of treat that makes everyone ask, “What IS this?” and then they proceed to eat way more than they probably should. It’s surprisingly sophisticated in its flavor profile, even with such humble beginnings. Think of it as the ultimate comfort food in candy form, a nostalgic nod to simpler times and even simpler ingredients that somehow create pure magic.
What is white trash candy?
So, what exactly is this magical thing we’re calling White Trash Candy? Don’t let the name fool you – it’s pure culinary genius disguised as something incredibly easy. At its heart, it’s a no-bake candy, often featuring a base of melted chocolate mixed with buttery, crunchy elements, and then sometimes layered with other goodies or drizzled with more chocolate or caramel. The “trash” part, I think, comes from its unpretentious nature. It’s not about fancy presentation or exotic ingredients; it’s about taking a few pantry staples and transforming them into something utterly irresistible. Some versions use pretzels, some use chow mein noodles (yes, really!), others use popcorn, or a combination of crunchy cereals. The beauty is in its adaptability. It’s essentially a delicious, highly addictive concoction that’s meant to be enjoyed without any fuss. It’s the kind of treat you whip up when you’re craving something sweet and satisfying, but you’re short on time or energy. It’s the opposite of fussy, and that’s exactly why we love it.
Why you’ll love this recipe?
Let me tell you, there are so many reasons why this White Trash Candy has become a staple in my kitchen. First off, the flavor is just out of this world. It’s that perfect symphony of sweet and salty that keeps you coming back for another piece, and then another. The rich chocolate pairs so beautifully with the salty crunch, and if you add in caramel, well, that’s just taking it to another level entirely. It’s the kind of flavor profile that hits all the right notes. Then there’s the simplicity. Seriously, this is one of the easiest “candies” you’ll ever make. There’s no tempering chocolate, no worrying about sugar temperatures, no standing over a hot stove for ages. You just melt, mix, and chill. It’s a lifesaver on busy nights when the chocolate craving hits hard, or when you need a last-minute treat for unexpected guests. And let’s talk about cost-effectiveness. The ingredients are super budget-friendly – things you probably already have in your pantry. You can make a big batch of this for a fraction of the cost of store-bought candy. Plus, it’s incredibly versatile. While I’ve got a favorite way to make it, you can totally customize it. Add nuts, sprinkles, different types of chips – the possibilities are endless! It’s this combination of amazing taste, ease, affordability, and flexibility that makes it a winner for me, every single time. It’s a guaranteed crowd-pleaser, and that’s something I always appreciate in a recipe.
How do you make white trash candy?
Quick Overview
This is where the magic really happens with minimal effort. We’re talking about melting some chocolate, stirring in a few crunchy things, and letting it set. That’s it! The beauty of this recipe is that it requires absolutely no baking. You’ll simply melt your chocolate with some butter or coconut oil to make it smooth and spreadable, stir in your favorite crunchy ingredients, spread it all out on a prepared baking sheet, and let it chill until firm. It’s a straightforward process that yields incredibly rewarding results. You can whip up a batch of this in under 15 minutes of active time, which is why it’s my go-to for unexpected sweet cravings or when I need a quick, impressive-looking treat.
Ingredients
For the Chocolate Base: For the Chocolate Base: For the Chocolate Base: For the Chocolate Base: For the Chocolate Base: For the Chocolate Base: For
– 2 cups (about 12 ounces) semi-sweet chocolate chips: I usually go for good quality semi-sweet because it strikes a nice balance. Milk chocolate is a bit too sweet for me in this application, and dark chocolate can sometimes be a little bitter, but if you love dark, go for it! Ghirardelli or Guittard are my favorites here.
– 1 tablespoon unsalted butter or coconut oil: This helps the chocolate melt smoothly and gives it a beautiful sheen. I sometimes use coconut oil if I want to keep it dairy-free, and it works like a charm. It doesn’t really impart a coconut flavor, especially with the chocolate.
For the Crunch & Swirl:
– 2 cups mini pretzels, broken into smaller pieces: The saltiness of the pretzels is absolutely key to balancing the sweetness of the chocolate. I find mini ones distribute better. Just give them a quick crush in a baggie with a rolling pin if they’re too big.
– 1 cup chow mein noodles: These add an unexpected, delightful crunch and a slightly savory, toasted flavor. Don’t skip these if you can find them! They’re usually in the international aisle of your grocery store.
– 1/2 cup creamy Peanut Butter: For swirling! This is non-negotiable for me. It adds another layer of flavor and a lovely creamy texture contrast to the crunch. Natural peanut butter works well, but make sure it’s well-stirred.
– 1/4 cup caramel sauce (store-bought or homemade): A little drizzle of caramel takes this over the top. I often use the good stuff from the ice cream topping section, warmed slightly so it’s easy to drizzle.
Step-by-Step Instructions
Step 1: Preheat & Prep Pan
Grab a baking sheet – I usually use a standard 9×13 inch one, but any similar size will do. Line it with parchment paper or wax paper. This is super important because otherwise, your delicious candy will stick, and nobody wants that! Make sure the paper overhangs the sides a bit so you can easily lift it out later. Set it aside; we’re not preheating an oven because this is a no-bake wonder!
Step 2: Mix Dry Ingredients
In a large bowl, gently combine your broken mini pretzels and chow mein noodles. Give them a little toss to make sure they’re nicely mixed. You want an even distribution of both crunchy elements. This step is pretty simple, but it ensures you get that perfect texture in every bite.
Step 3: Melt Chocolate
Now for the star of the show: the chocolate! Place your semi-sweet chocolate chips and the butter (or coconut oil) in a microwave-safe bowl. Microwave in 30-second intervals, stirring well after each interval, until the chocolate is completely melted and smooth. Be patient here; you don’t want to scorch the chocolate. Alternatively, you can melt it gently in a double boiler over simmering water.
Step 4: Combine
Pour the melted chocolate over the pretzel and chow mein noodle mixture in the bowl. Using a spatula, gently fold everything together until the crunchy bits are thoroughly coated in chocolate. You want every pretzel and noodle strand to get a lovely chocolate hug. Don’t overmix to the point of breaking everything into tiny pieces; we want some nice chunks.
Step 5: Prepare Filling
Gently warm your Peanut Butter and caramel sauce in separate small bowls. You just want them to be a little more pourable, not hot. If your peanut butter is very stiff, a few seconds in the microwave (or stirring in a tiny bit of oil) will do the trick. This makes them easier to swirl.
Step 6: Layer & Swirl
Spread the chocolate-coated mixture evenly onto your prepared baking sheet. Use your spatula to get it into an even layer. Now, dollop spoonfuls of the warmed Peanut Butter over the chocolate layer. Then, drizzle the warmed caramel sauce over the peanut butter and chocolate. Grab a knife or a skewer and gently swirl the peanut butter and caramel into the chocolate. Don’t over-swirl; you want distinct ribbons of color and flavor, not one homogenous mess. Think beautiful marbled patterns!
Step 7: Bake
Wait, bake? No, no, no! This is the chilling step! Pop the entire baking sheet into the refrigerator for at least 1-2 hours, or until the candy is completely firm and set. You can speed this up by putting it in the freezer for about 30-45 minutes, but be careful not to freeze it solid.
Step 8: Cool & Glaze
Once it’s firm to the touch, carefully lift the entire sheet of candy out of the pan using the parchment paper. Place it on a cutting board. If you want extra flair, you can melt a little more chocolate (or white chocolate) and drizzle it over the top for another layer of visual appeal, but honestly, it’s divine as is. Let it sit at room temperature for a few minutes before slicing.
Step 9: Slice & Serve
Using a sharp knife, cut the White Trash Candy into squares or rectangles. The size is really up to you – I like bite-sized pieces, but some people go for larger bars. Serve it immediately or store it. It’s best served chilled or at cool room temperature for that perfect snap and melt.
What to Serve It With
This White Trash Candy is a star all on its own, but it can absolutely elevate a few different occasions. For breakfast, it’s more of a “weekend treat” situation, but a small piece alongside a strong cup of black coffee can be pure bliss. It’s that little “surprise” you might have waiting after the kids have eaten their cereal. For brunch, I love to cut it into tiny, almost bite-sized pieces and scatter them around a fruit platter. It adds a touch of indulgence without being overwhelming, and guests always rave about them! Think of it as a little gourmet garnish that nobody expects. As a dessert, it’s fantastic after a lighter meal. I’ll often serve a small square with a scoop of vanilla bean Ice Cream, or alongside a rich chocolate cake for an extra layer of texture and flavor. It’s also perfect for a casual “dessert charcuterie” board with cheeses and fruits. And for those cozy snacks? This is its natural habitat. A piece with a tall glass of cold milk is childhood perfection. It’s also amazing crumbled over yogurt or ice cream for an instant flavor and texture boost. My family loves it during movie nights – it’s easy to share, incredibly satisfying, and nobody has to worry about making a whole cake.
Top Tips for Perfecting Your White Trash Candy
I’ve made this White Trash Candy more times than I can count, and over the years, I’ve picked up a few tricks that make a world of difference. First, when it comes to the pretzels and chow mein noodles, make sure they’re fresh and crispy. Stale ingredients will result in a less-than-ideal texture, and nobody wants soggy candy! If your pretzels seem a bit soft, you can give them a quick toast in a dry pan for a few minutes to crisp them up. For the chocolate, patience is key. Never rush the melting process. Scorched chocolate is bitter and has a terrible texture, and it’s almost impossible to fix. Always melt it slowly and stir constantly. If you’re using peanut butter, make sure it’s well-stirred before you warm it. Natural peanut butter can separate, and you want that smooth, creamy consistency for swirling. If it seems too thick to drizzle, a teaspoon of neutral oil like canola or vegetable oil can help thin it out without affecting the flavor. When it comes to swirling, less is often more. You want those beautiful ribbons of peanut butter and caramel, not a muddy brown mess. A few gentle passes with a knife or skewer are all you need. Don’t be afraid to experiment with your ratios, either. If you love salty, add a few more pretzels. If you’re a caramel fiend, drizzle a little extra. For ingredient swaps, I’ve had success using different types of crunchy cereal like Chex or Corn Flakes, but they don’t offer the same level of salty crunch as pretzels and chow mein noodles, so adjust your expectations. Some people even add chopped nuts like peanuts or pecans to the mix – just make sure they’re roasted for the best flavor. For baking tips, well, there are none since it’s no-bake! But for chilling, I find that placing the baking sheet on a level surface in the fridge ensures an even set. If you’re short on fridge space, the freezer trick works, but keep an eye on it so it doesn’t get too hard to cut. My biggest lesson learned? Don’t try to rush the setting process. It needs that time to become perfectly firm and sliceable. And one more thing: taste your melted chocolate and butter mixture before adding the crunchies. It’s your last chance to adjust the sweetness or richness slightly!
Storing and Reheating Tips
Storing this White Trash Candy is actually pretty straightforward, and thankfully, it keeps well! At room temperature, if your kitchen isn’t too warm, it can last for about 3-4 days. I usually just keep it in an airtight container on the counter. Just make sure it’s fully set before you put the lid on to avoid condensation. For refrigerator storage, this is my preferred method for longer freshness, especially during warmer months. It can last up to 2 weeks in an airtight container in the fridge. The chill really helps maintain its crisp texture. Just let it sit at room temperature for about 10-15 minutes before serving to take the edge off the cold, otherwise, it can be a bit too hard. If you want to freeze this delightful candy, it freezes beautifully! Wrap individual pieces tightly in plastic wrap, then place them in a freezer-safe bag or container. It can stay frozen for up to 3 months. To thaw, transfer the frozen candy to the refrigerator overnight, and then let it come to room temperature as you would with refrigerated pieces. The glaze timing advice is important: I always apply the final glaze (if using an extra drizzle) *after* the main candy has set. If you plan to store it for a long time, especially in the fridge or freezer, I’d hold off on any extra drizzles until just before serving to prevent them from cracking or becoming sticky. The peanut butter and caramel swirls are pretty stable and hold up well to refrigeration and freezing.
Frequently Asked Questions
Final Thoughts
I really hope you give this White Trash Candy a try. It’s one of those recipes that’s deceptively simple but delivers so much flavor and satisfaction. It’s the perfect answer to a sweet craving, a fantastic treat for parties, or just a little something to brighten your day. I love that it uses pantry staples to create something so decadent, and the fact that it’s no-bake makes it a lifesaver for busy weeks. It’s a recipe that brings people together, sparking conversations and happy memories. If you love this kind of salty-sweet, crunchy chocolate goodness, you might also enjoy my No-Bake Peanut Butter Balls or my Pretzel Bark recipes. They’re in a similar vein of easy, delicious treats. I can’t wait to hear how yours turns out! Please leave a comment below and let me know what you think, or share any fun variations you come up with. Happy candy making!
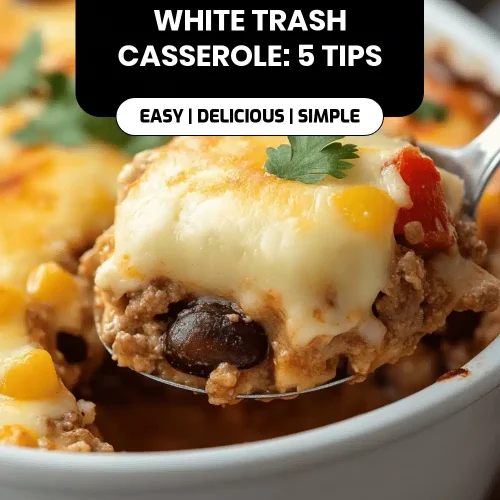
White Trash Candy
Ingredients
Main Ingredients
- 1 cup butter
- 1 cup granulated sugar
- 0.5 cup peanut butter
- 1 teaspoon vanilla extract
- 1 package graham cracker squares (about 14-15 squares)
- 1 cup chocolate chips
- 0.5 cup butterscotch chips
Instructions
Preparation Steps
- Line a 9x13 inch baking pan with parchment paper or foil.
- In a medium saucepan, melt together the butter and granulated sugar over medium heat. Bring to a boil and cook for 1 minute, stirring constantly.
- Remove from heat and stir in the peanut butter and vanilla extract until smooth.
- Arrange graham cracker squares in a single layer in the prepared pan.
- Pour the peanut butter mixture evenly over the graham crackers.
- In a microwave-safe bowl, combine the chocolate chips and butterscotch chips. Microwave in 30-second intervals, stirring between each, until melted and smooth.
- Pour the melted chocolate mixture over the peanut butter layer and spread evenly.
- Refrigerate for at least 1 hour, or until firm. Cut into squares to serve.

