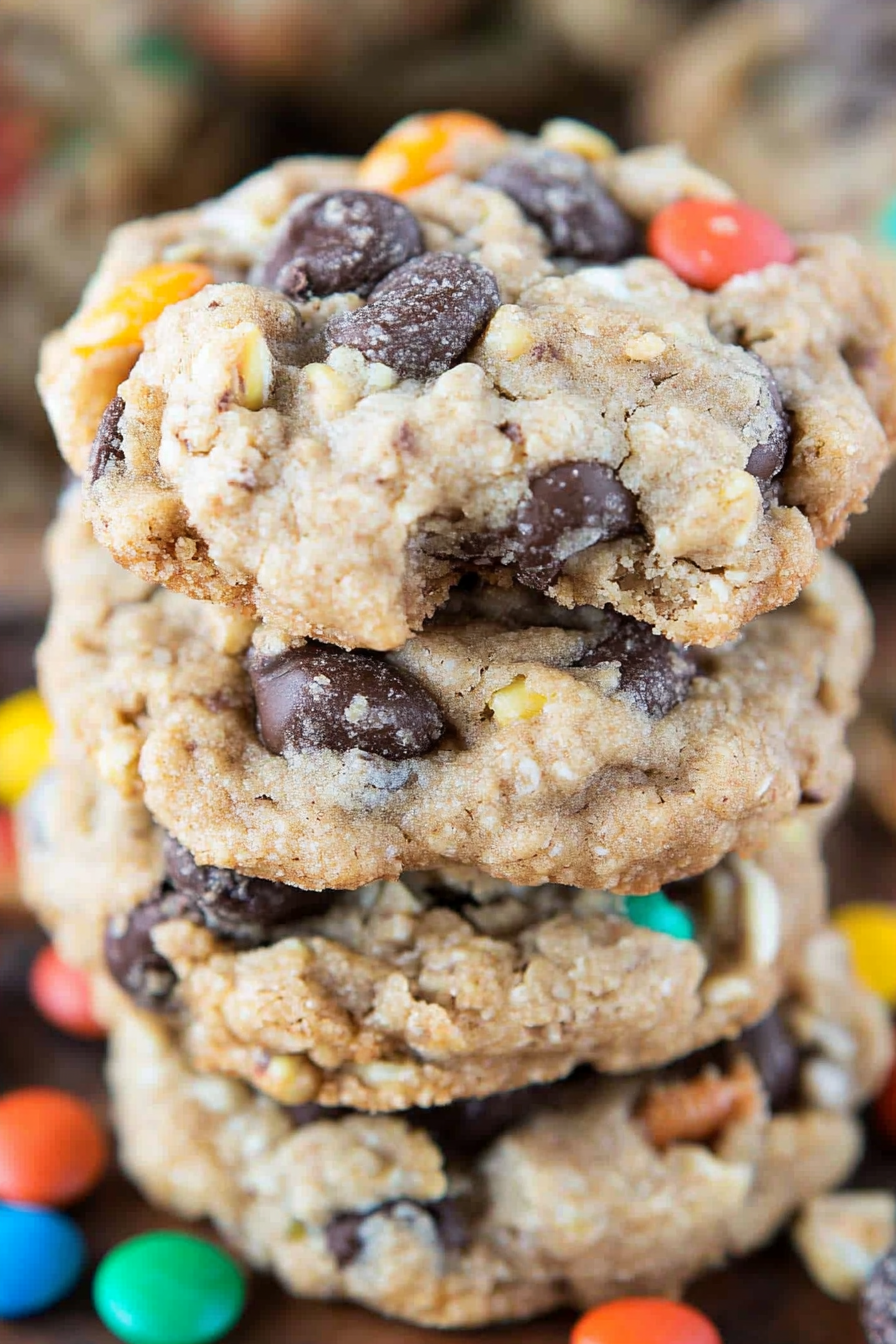
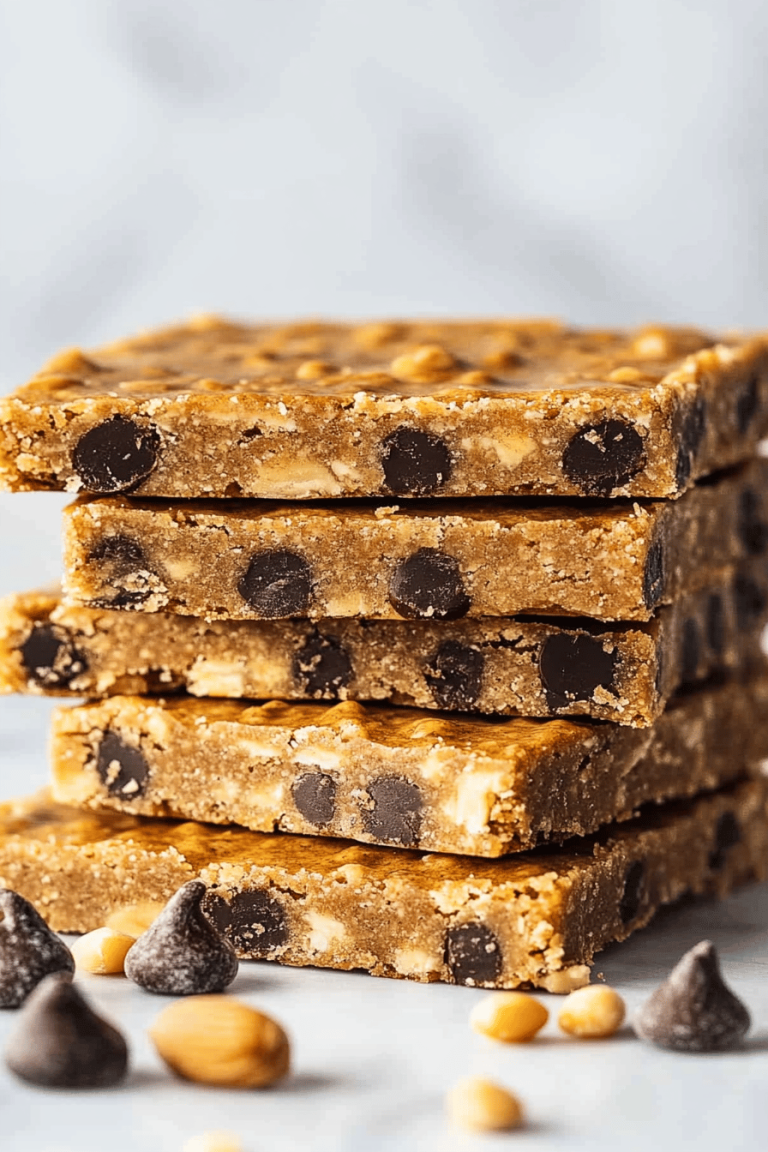
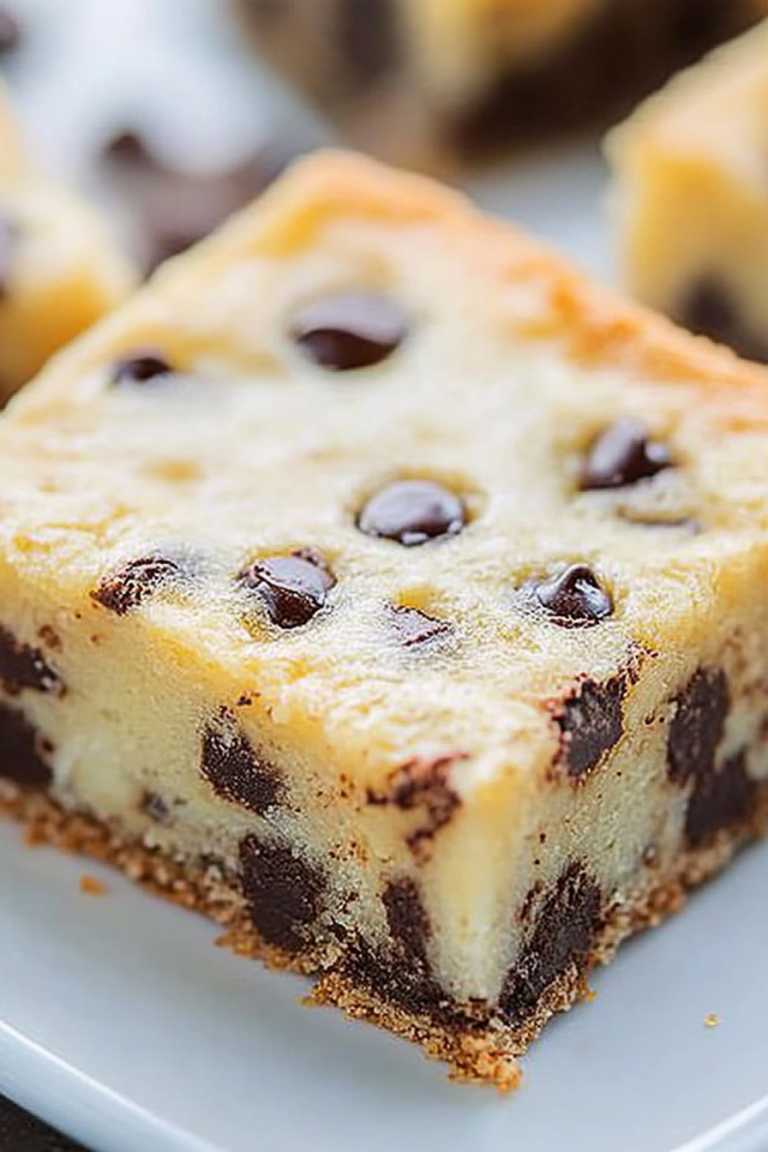
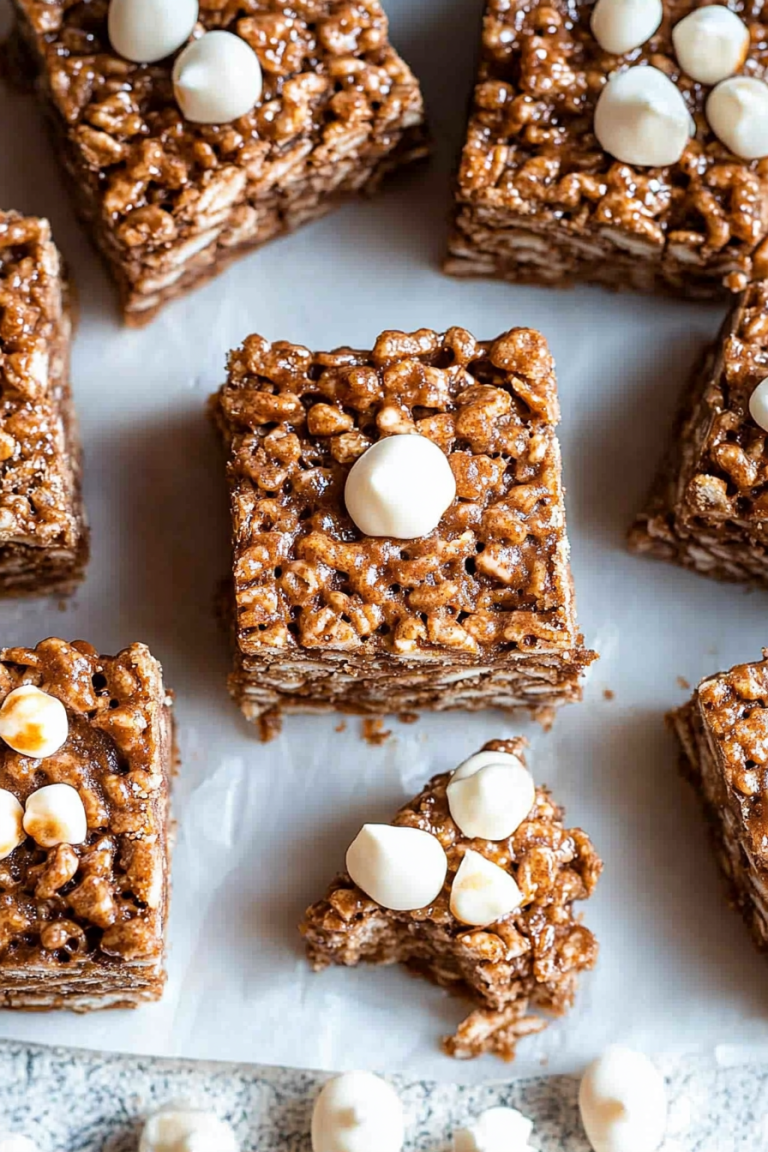
Oh my goodness, you guys. I have to tell you about these trail mix cookies. They’re not just cookies, they’re like a little hug in edible form, and honestly, they’re my absolute go-to when I need something to really hit the spot. I remember the first time I made them; it was after a particularly long hike, and I was just craving something substantial and satisfying, not just a plain ol’ Chocolate Chip. I had a random assortment of nuts, dried fruit, and chocolate chips in my pantry, and the idea just clicked: why not put all that goodness into a cookie? And bam! These trail mix cookies were born. They’re ridiculously easy, surprisingly sturdy (perfect for lunchboxes or snacking on the go), and the flavor combination is just out of this world. Forget your average cookie; these are the ones that disappear first at every gathering, and I always get asked for the recipe. They’re a bit like a granola bar meets a cookie, but with all the chewy, comforting goodness that only a homemade cookie can provide. If you’re looking for a cookie that’s got texture, flavor, and a whole lot of love baked in, you’ve found your match!
What are Trail Mix Cookies?
So, what exactly *are* trail mix cookies? Think of them as your ultimate pantry raid turned delicious dessert. They’re essentially a super-chunked-up, flavor-packed version of a classic chewy cookie. Instead of just chocolate chips (though we love those too!), these cookies are loaded with all the best bits you’d find in a good trail mix: crunchy nuts, chewy dried fruits, and of course, plenty of chocolate. The “trail mix” aspect comes from that delightful variety of textures and tastes in every single bite. You get the sweet chewiness of raisins or cranberries, the satisfying crunch of almonds or peanuts, and the melty pockets of chocolate, all bound together in a wonderfully soft and chewy cookie base. It’s the kind of cookie that feels a little bit wholesome because of the mix-ins, but still totally indulgent. It’s the perfect way to use up those odds and ends in your pantry and turn them into something truly spectacular. They’re sturdy enough to pack for an adventure, but decadent enough to enjoy with a cup of tea after a long day.
Why you
What are some of the best reasons to make trail mix cookies?flavor is just incredible. It’s a symphony of sweet, salty, chewy, and crunchy. Every bite is an adventure! You get the richness of the butter and brown sugar, the tartness from dried cranberries or cherries, the earthy crunch of your favorite nuts (I’m partial to a mix of walnuts and almonds, but pecans are fantastic too!), and those glorious pockets of melted chocolate. It’s complex and satisfying in a way a plain cookie just can’t be. Then there’s the simplicity. Seriously, these come together in a flash. Even if you’re not a seasoned baker, you can whip these up without breaking a sweat. It’s a one-bowl wonder for the dry ingredients, and a quick mix for the wet, then just stir everything together. What I love most about this recipe is how forgiving it is. Don’t have pecans? Use walnuts! No raisins? Cranberries are perfect. This recipe is a total lifesaver on busy nights when the cookie craving hits hard but I don’t have time for anything complicated. Plus, they are so cost-efficientWhat are some good ways to bake without buying any specialty ingredients?versatility! I’ve already mentioned the ingredient swaps, but you can also bake them slightly longer for a crispier cookie or shorter for extra chewiness. They’re perfect for packing in lunchboxes, taking to potlucks, or just enjoying with a glass of milk. They truly stand out because they offer so much more than a typical cookie, without adding any extra fuss.
How to Make Trail Mix Cookies
Quick Overview
The beauty of these trail mix cookies lies in their straightforward assembly. You’ll whisk together your dry ingredients, cream together your butter and sugars, then combine them, adding your glorious mix-ins last. The result is a perfectly textured cookie that’s packed with flavor and delightfully chewy. It’s a no-fuss process that guarantees a fantastic result every time, making it perfect for even beginner bakers. You’ll be amazed at how quickly you can go from pantry staples to a batch of warm, fragrant cookies!
Ingredients
For the Main Batter:
This is the backbone of our cookie, giving it that classic chewy texture.
* 2 ¼ cups all-purpose flour: Make sure it’s spooned and leveled, not scooped directly from the bag. This is key to avoiding dry cookies!
* 1 teaspoon baking soda: This is what gives them that lovely lift and tenderness.
* ½ teaspoon salt: Balances out the sweetness and enhances all the other flavors.
* 1 cup (2 sticks) unsalted butter, softened: Softened is crucial, not melted! It should give slightly when you press it.
* ¾ cup granulated sugar: For structure and a bit of crispness on the edges.
* ¾ cup packed light brown sugar: This is where the chewiness comes from, and it adds a lovely caramel note.
* 2 large eggs: Room temperature eggs incorporate better, so take them out of the fridge about 30 minutes before you start.
* 1 teaspoon vanilla extract: Don’t skip this! It’s the secret weapon for depth of flavor.
For the Filling:
This is where the “trail mix” magic happens! Feel free to customize this based on what you love.
* 1 cup chopped nuts: Walnuts, pecans, almonds, or even peanuts work wonderfully. I like a mix! Toasting them lightly beforehand really brings out their flavor.
* ¾ cup dried fruit: Raisins, dried cranberries, dried cherries, or chopped apricots are all great choices. I always use a mix of cranberries and raisins.
* 1 cup chocolate chips: Semi-sweet is my go-to, but milk chocolate or dark chocolate are also delicious. Mini chips can also distribute nicely!
For the Glaze:
This is totally optional but adds a lovely extra touch of sweetness and visual appeal.
* 1 cup powdered sugar: Sifted if you want a super smooth glaze.
* 2-3 tablespoons milk (or cream): Add this slowly until you reach your desired drizzling consistency. You can also use water or even a flavored liquid like orange juice for a twist!
* ½ teaspoon vanilla extract (optional): For a hint of extra flavor.
Step-by-Step Instructions
Step 1: Preheat & Prep Pan
First things first, let’s get our oven ready. Preheat it to 375 degrees Fahrenheit (190 degrees Celsius). While the oven is heating up, grab a couple of large baking sheets and line them with parchment paper. This is a trick I learned years ago; it prevents sticking and makes for super easy cleanup, which we all appreciate, right? If you don’t have parchment paper, you can lightly grease the baking sheets, but parchment is definitely the way to go.
Step 2: Mix Dry Ingredients
In a medium bowl, whisk together the flour, baking soda, and salt. Whisking helps to distribute the leavening agents evenly, ensuring your cookies bake up perfectly. I like to give it a good whisk for about 30 seconds to make sure everything is well combined. This ensures no pockets of baking soda or salt in your cookies, just consistent deliciousness.
Step 3: Mix Wet Ingredients
In a large bowl (or the bowl of your stand mixer if you have one), cream together the softened butter with the granulated sugar and packed light brown sugar. Beat them together until the mixture is light, fluffy, and pale yellow. This usually takes about 2-3 minutes on medium speed. Then, beat in the eggs one at a time, making sure to scrape down the sides of the bowl after each addition. Finally, stir in the vanilla extract. The mixture should look smooth and emulsified.
Step 4: Combine
Now, it’s time to bring our wet and dry ingredients together. Gradually add the dry ingredients to the wet ingredients, mixing on low speed (or stirring with a wooden spoon) just until combined. Be careful not to overmix! Overmixing develops the gluten in the flour, which can lead to tough cookies. Stop mixing as soon as you don’t see any more streaks of dry flour. A few little lumps are perfectly fine!
Step 5: Prepare Filling
Gently fold in your chopped nuts, dried fruit, and chocolate chips into the cookie dough. Use a sturdy spoon or spatula for this. I like to do this by hand so I can really feel the dough and make sure everything is evenly distributed without overworking it. Make sure every nook and cranny of that dough gets some of those delicious trail mix goodies!
Step 6: Layer & Swirl
This step isn’t strictly necessary but it makes for a prettier cookie! For each cookie, drop a rounded tablespoon of dough onto your prepared baking sheet. Then, take another small spoonful of dough and place it on top. You can gently press them together, or even swirl them slightly with a toothpick for a marbled effect. This gives the cookie a lovely layered look and ensures you get a good distribution of the mix-ins throughout. Leave about 2 inches between cookies, as they will spread.
Step 7: Bake
Bake for 9-12 minutes, or until the edges are lightly golden brown and the centers are still slightly soft. The exact time will depend on your oven and how big you make your cookies. I like my cookies a little chewy, so I tend to err on the side of slightly underbaking. They’ll continue to set up as they cool. For a crispier cookie, bake a minute or two longer. I always keep an eye on the first batch to get a feel for my oven.
Step 8: Cool & Glaze
Let the cookies cool on the baking sheets for about 5 minutes before transferring them to a wire rack to cool completely. This is super important! If you try to move them too soon, they might fall apart. Once they’re completely cool, you can make the glaze. Whisk together the powdered sugar, vanilla (if using), and milk, adding the milk a tablespoon at a time until you get a pourable but not too runny consistency. Drizzle it over the cooled cookies using a spoon or a piping bag with a small tip. Let the glaze set before stacking.
Step 9: Slice & Serve
Once the glaze is set, your magnificent trail mix cookies are ready to be enjoyed! They’re best served at room temperature. I like to stack them on a pretty platter or store them in an airtight container. They’re perfect for sharing, but I wouldn’t blame you if you wanted to keep them all to yourself!
What to Serve It With
These trail mix cookies are so versatile, they really fit in anywhere! For breakfast, they’re surprisingly satisfying alongside a hot cup of coffee or a creamy latte. They feel a little more substantial than a plain muffin, and the nuts and fruit give you a bit of a natural energy boost. I like to serve them as is, or sometimes with a tiny dollop of Greek yogurt on the side if I’m feeling fancy. For brunch, they’re a wonderful addition to any spread. I usually arrange them on a tiered stand with other pastries and fruits. They pair beautifully with a mimosa or a sparkling cider. The textures and flavors add a delightful contrast to lighter brunch fare. As dessert, they’re pure comfort. They’re fantastic served slightly warm with a scoop of vanilla bean Ice Cream, or on their own after a hearty meal with a rich espresso. For cozy snacks, this is their prime time! They’re perfect for an afternoon pick-me-up with a glass of cold milk, or for a late-night treat when you need something sweet but don’t want to bake a whole cake. My kids absolutely love them as an after-school snack, and honestly, so do I! They’re just the right amount of sweet and satisfying. I’ve also found they’re fantastic crumbled over yogurt or ice cream for an extra layer of crunch and flavor.
Top Tips for Perfecting Your Trail Mix Cookies
I’ve made these trail mix cookies more times than I can count, and along the way, I’ve picked up a few tricks that I think really make a difference. First, when it comes to the nuts, toasting them lightly before you chop them up is a game-changer. Just spread them on a baking sheet and pop them in the oven for about 5-7 minutes at 350°F (175°C), until they’re fragrant. Let them cool completely before chopping and adding them to the dough. It really amps up their flavor! For the dried fruit, if yours are looking a bit dry or hard, you can plump them up by soaking them in warm water for about 10 minutes, then draining them very well before adding them to the dough. This ensures they stay nice and chewy in the finished cookie. When it comes to mixing, the golden rule is: don’t overmix the dough once the flour is added! Mix just until combined. If you see streaks of flour, that’s fine. Overmixing develops the gluten too much, leading to tough, dense cookies instead of the soft, chewy ones we’re after. For the mix-ins, make sure they are relatively uniform in size. If you have huge chunks of nuts or dried fruit, they can weigh down the dough and cause the cookies to spread unevenly. I like to chop my nuts to about the size of a peanut M&M. For baking, I always recommend keeping an eye on that first batch. Ovens can vary, and you want to get a feel for how long they need to bake in *your* oven. They should look set around the edges but still slightly soft in the center when you take them out; they’ll firm up as they cool. If you find your cookies tend to spread too much, chilling the dough for 30 minutes to an hour before baking can help. And for the glaze, consistency is key. Start with less liquid and add more until it’s just right for drizzling. Too thin and it’ll run off; too thick and it’ll be hard to spread. If it gets too thick, just add a tiny splash more milk. I’ve also experimented with adding a pinch of cinnamon to the dough for a warming spice note, which is lovely, especially in the fall!
Storing and Reheating Tips
These trail mix cookies are wonderfully forgiving when it comes to storage, and that’s a huge plus for busy households! For room temperature storage, once they’re completely cool and the glaze (if you used it) is set, store them in an airtight container. They’ll stay fresh and delicious for about 3-4 days. I usually put a piece of parchment paper between layers if I’m stacking them high to prevent sticking. If your cookies start to dry out slightly, you can pop a slice of bread in the container for a few hours; it helps to reintroduce moisture. For refrigerator storage, these cookies actually hold up really well. Place them in an airtight container and they should be good for up to a week. They’ll be a bit firmer when cold, which some people actually prefer! If you want to reheat them slightly to bring back that soft, chewy texture, you can pop them in a low oven (around 300°F / 150°C) for just a few minutes until warmed through. For freezer instructions, these cookies are absolute champions. Once completely cooled, you can freeze them for up to 3 months. Wrap them individually in plastic wrap, then place them in a freezer-safe bag or container. To thaw, simply remove them from the freezer and let them come to room temperature for a few hours, or do the quick reheat in the oven as mentioned above. If you’re freezing them with glaze, it’s often best to add the glaze *after* thawing and reheating, as it can sometimes get sticky in the freezer. Alternatively, you can store the glaze separately and drizzle it on as needed.
Frequently Asked Questions
Final Thoughts
There you have it, my friends! My absolute favorite trail mix cookies. I really hope you give these a try. They’re more than just a recipe to me; they’re a little bit of joy, a taste of adventure, and a whole lot of comfort all baked into one. They’re the perfect example of how simple ingredients, combined with a little bit of love and a lot of fantastic mix-ins, can create something truly special. They’re proof that sometimes, the best recipes are born out of happy accidents and pantry raids! If you love the idea of a chewy, chunky cookie packed with flavor, I think you’ll find these irresistible. They’re incredibly satisfying and just so much fun to eat. For those of you who enjoy recipes like this, you might also want to check out my Loaded Oatmeal Cookies or my Ultimate Chewy Chocolate Chip Cookies – they share that same hearty, satisfying vibe! I can’t wait to hear how your trail mix cookies turn out! Please leave a comment below and tell me what mix-ins you used or any fun variations you came up with. Happy baking!
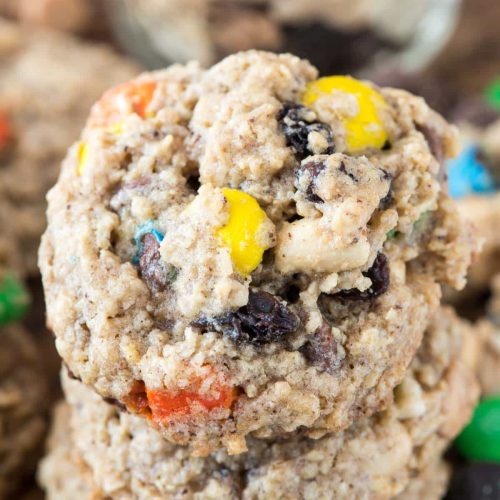
Trail Mix Oatmeal Cookies
Ingredients
Main Ingredients
- 1 package Krusteaz Brown Sugar Oatmeal Cookie Mix
- 0.5 cup unsalted butter room temperature
- 1 large egg
- 2 cups trail mix
Instructions
Preparation Steps
- Preheat oven to 350°F. Line two cookie sheets with parchment paper or silicone baking mats.
- Stir or mix together the cookie mix, butter, and egg until the dough is combined. Stir in the trail mix.
- Scoop 2 tablespoon size balls of dough onto the cookie sheets, leaving 2" between each cookie ball. Bake for 10-12 minutes, until the bottoms just start to turn golden brown. Cool completely before removing from cookie sheets.
- Store in an airtight container for up to 3 days or freeze for up to one month.

