You know those nights? The ones where you stare into the fridge, utterly defeated by the sheer thought of cooking, and the allure of takeout is almost overwhelming? Yeah, I know them well. But for me, and I hope for you too after you try this, there’s one recipe that’s my ultimate superhero: my sticky chicken. It’s not fancy, it doesn’t require a PhD in culinary arts, but oh my goodness, the flavor! It’s that perfect balance of sweet, savory, and just a hint of something special that makes your taste buds sing. It’s the kind of meal that makes your kids actually cheer when they see it, and believe me, that’s saying something. Honestly, if you think about those sheet pan dinners where everything gets a little too dry or those stir-fries that can be a bit bland, this sticky chicken is like their much cooler, more delicious cousin. It’s the comfort food I crave, the weeknight savior I rely on, and the dish that makes everyone at my table feel a little bit happier. It’s the star of our family’s dinner rotation, and I’m so excited to finally share it with you!
What is sticky chicken?
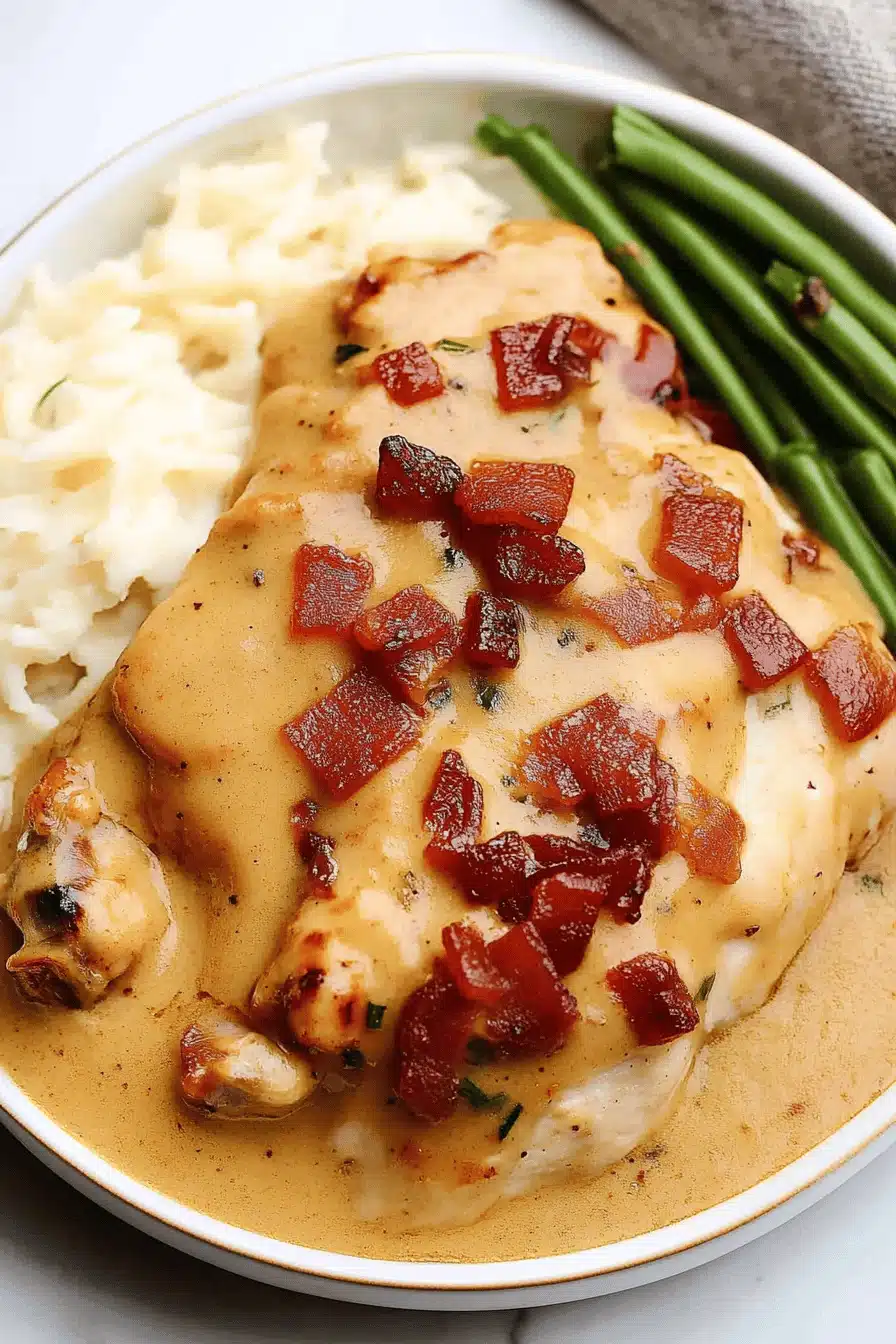
So, what exactly *is* this magical sticky chicken I keep raving about? Think of it as your favorite glazed chicken, but taken to a whole new level of irresistible. The “sticky” part comes from a glorious, thick, glossy glaze that coats tender pieces of chicken, clinging to every bite. It’s not just a coating; it’s an experience! The name is pretty straightforward, really. It describes the texture – that wonderful, slightly chewy, utterly delicious stickiness that makes you want to lick your fingers. It’s essentially chicken that’s been cooked and then tossed or brushed with a flavor-packed sauce that caramelizes beautifully, creating that signature sticky finish. It’s the kind of dish that feels like a treat, even though it’s made with everyday ingredients and doesn’t take an eternity to prepare. It’s versatile, forgiving, and always, always hits the spot.
Why you’ll love this recipe?
What is the secret behind this sticky chicken recipe?flavor is absolutely unreal. It’s this perfect symphony of sweet from honey or brown sugar, savory from soy sauce or tamari, a little zing from vinegar or citrus, and often a kick of ginger and garlic that just makes everything pop. It’s incredibly satisfying without being heavy. Then there’s the simplicity. I’ve made this when I’ve had zero energy, when the kids were demanding snacks, and it still turns out brilliantly. The ingredient list is straightforward, and the steps are super manageable. It’s the kind of meal that proves you don’t need hours of prep to eat something amazing. And let’s talk Cost-efficiency: What is the best way to measure cost-efficiency?! Most of the ingredients are pantry staples you likely already have. Chicken thighs are usually quite affordable, and the glaze components are budget-friendly. This is a lifesaver for feeding a family without breaking the bank. Finally, the versatility is a huge win. You can serve this sticky chicken in so many ways! Over fluffy rice, tucked into lettuce wraps, alongside roasted vegetables, or even just straight from the pan. It’s also fantastic for meal prep because the flavors really meld and deepen as it sits. What I love most about this is that it’s adaptable. If you prefer a spicier kick, add some chili flakes. Want it a little tangier? A squeeze of lime at the end works wonders. It’s like a hug in a bowl, and it’s guaranteed to be a crowd-pleaser. It’s the kind of recipe that makes you feel like a kitchen rockstar, even on your busiest nights.
How to Make Sticky Chicken
Quick Overview
The magic of this sticky chicken lies in its straightforward approach. We’ll be searing or baking bite-sized pieces of chicken until they’re golden and cooked through, then tossing them in a luscious, homemade glaze that we’ll thicken right on the stove. The key is letting the sauce do its thing, coating every piece of chicken with that irresistible sticky goodness. It’s a process that’s remarkably quick and the results are always impressive. You get tender, flavorful chicken with a beautifully caramelized coating, all without a fuss. It’s truly a weeknight wonder.
Ingredients
For the Chicken:
1.5 – 2 lbs boneless, skinless chicken thighs (or breasts, if you prefer, but thighs are juicier!) – I like using thighs because they stay incredibly moist. If using breasts, just be mindful not to overcook them. Cut them into bite-sized, 1-inch pieces. Make sure they’re roughly the same size so they cook evenly.
For the Glaze:
1/2 cup honey (or pure maple syrup for a different sweetness profile, or even brown sugar, though honey gives the best sheen!) – This is the backbone of our sweet and sticky texture. Don’t skimp on the quality here; a good honey makes a difference.
1/4 cup soy sauce (or tamari for gluten-free) – This brings that essential savory, umami depth. If you’re watching your sodium, you can use a reduced-sodium version.
2 tablespoons rice vinegar (or apple cider vinegar) – A little acidity cuts through the sweetness and balances the flavors beautifully. It adds a subtle tang that brightens everything up.
1 tablespoon grated fresh ginger – Fresh ginger is a must! It adds a warming, pungent kick that’s just divine. You can buy it pre-grated, but I find fresh makes a world of difference. Don’t use the powder if you can help it.
2-3 cloves garlic, minced – As with ginger, fresh garlic is key here. It adds that aromatic punch that complements the other flavors. Mince it finely or use a garlic press.
1 teaspoon sesame oil (optional, but highly recommended!) – A little goes a long way to add a nutty, toasty depth. Drizzle it in at the end for maximum impact.
Pinch of red pepper flakes (optional, for a little heat) – If you like a gentle warmth, add these. You can always add more at the end if you want to spice it up.
For Cooking the Chicken:
1-2 tablespoons neutral cooking oil (like vegetable, canola, or avocado oil) – Just enough to get a nice sear on the chicken. You don’t need much.
For Garnish (Optional):
Toasted sesame seeds – For a nice crunch and visual appeal.
Sliced green onions (scallions) – Their fresh, mild oniony bite is a perfect counterpoint.
Step-by-Step Instructions
Step 1: Preheat & Prep Pan
First things first, get your chicken ready. If you haven’t already, cut your chicken thighs into roughly 1-inch pieces. Pat them thoroughly dry with paper towels. This is a crucial step for getting a good sear and preventing them from steaming rather than browning. A good pat-down makes all the difference!
Step 2: Mix Dry Ingredients
In this recipe, we don’t really have “dry” ingredients to mix separately for the chicken itself since we’re searing it plain, but this is where I’d typically remind you to gather all your spices if you were making something like fried chicken! For this sticky chicken, we’re focusing on the glaze first.
Step 3: Mix Wet Ingredients
Grab a medium saucepan or a small pot. Add your honey (or maple syrup/brown sugar), soy sauce (or tamari), rice vinegar (or ACV), grated fresh ginger, minced garlic, and the optional red pepper flakes. Give it a good stir to combine everything. This is our flavor base!
Step 4: Combine
This step is for the actual cooking of the chicken and then combining it with the glaze. Place a large skillet or wok over medium-high heat. Add your cooking oil. Once the oil is shimmering hot, add the chicken pieces in a single layer. Don’t overcrowd the pan! You’ll likely need to cook the chicken in batches. Let the chicken sear undisturbed for about 3-4 minutes per side, until it’s nicely browned and cooked through. Remove the cooked chicken to a clean plate or bowl. Repeat with the remaining chicken, adding a little more oil if needed.
Step 5: Prepare Filling
Now that the chicken is cooked and set aside, let’s get that glaze bubbling! Place the saucepan with the glaze mixture back on the stove over medium heat. Bring it to a gentle simmer, stirring occasionally. Let it simmer for about 5-8 minutes, or until it starts to thicken slightly. You want it to be syrupy but still pourable. It will thicken more as it cools and coats the chicken.
Step 6: Layer & Swirl
Once the glaze has thickened to your liking, return the cooked chicken pieces to the saucepan with the glaze. Toss everything gently to coat each piece of chicken thoroughly. Let it cook in the glaze for another minute or two, stirring constantly, until the glaze is clinging to the chicken and has a beautiful, glossy sheen. If you’re adding sesame oil, stir it in now. This is where the magic happens – you’ll see the sauce get wonderfully sticky and thick.
Step 7: Bake
In this particular recipe, we’ve already cooked the chicken and are finishing it on the stovetop in the glaze. There’s no baking involved, which is part of what makes it so fast! If you were making a baked version, this is where you’d put it in the oven.
Step 8: Cool & Glaze
The glaze is already applied and perfectly sticky! What we want to do now is let the chicken sit for just a minute in the warm glaze before serving. This allows the flavors to meld and that beautiful sticky coating to set just right. Don’t let it sit too long, though, or it might get too stiff.
Step 9: Slice & Serve
Transfer the sticky chicken to your serving dish. Garnish with toasted sesame seeds and sliced green onions, if desired. Serve immediately while it’s hot and gloriously sticky! It’s perfect spooned over rice or quinoa.
What to Serve It With
This sticky chicken is so versatile, it’s almost unbelievable! It truly shines in so many different contexts. For a quick and comforting breakfast (yes, breakfast!), I love serving it alongside some scrambled eggs. The sweet and savory notes are surprisingly delicious with a fluffy egg. A sprinkle of those green onions on top just makes it pop. When we’re going for brunch vibes, I like to plate it a little more elegantly. Think small ramekins of the sticky chicken next to a vibrant Asian-inspired slaw with shredded cabbage, carrots, and a light ginger-sesame dressing. A side of those cute little mini pancakes or even some avocado toast makes it feel extra special. For dessert? Well, it’s not a dessert, but it can certainly feel like a decadent treat, especially if you’re having a casual get-together. I’ll often have a bowl of it as a late-night snack because it’s so satisfyingly flavorful and easy to grab. And for those cozy snack moments, especially when the weather turns chilly, I can’t think of anything better than a bowl of this sticky chicken with some steamed edamame or even just some crispy wonton chips for dipping. My family has a tradition of having it with plain white rice because it’s the perfect vehicle for all that sticky glaze. But honestly, it’s also fantastic with roasted broccoli or asparagus, or even tucked into soft bao buns for a mini sandwich. The possibilities are truly endless, and it always feels special!
Top Tips for Perfecting Your Sticky Chicken
Over the years, I’ve learned a few tricks that really elevate this sticky chicken from good to absolutely phenomenal. Here are my top tips:
Chicken Prep: The absolute number one tip is to pat your chicken pieces *bone dry* before searing. I’ve made the mistake of rushing this, and all you get is steamed chicken instead of beautifully browned, flavorful pieces. Use paper towels and really get in there. For thighs, cutting them into uniform 1-inch pieces ensures they cook evenly and get that perfect sticky coating without any dry bits or overcooked edges. If you’re using chicken breasts, be extra vigilant about not overcooking; they can go from tender to tough in a heartbeat.
Mixing Advice: When you’re making the glaze, don’t be tempted to boil it vigorously for too long. You want it to simmer gently and thicken to a syrupy consistency. If it gets too thick, you can always whisk in a tablespoon of water or more soy sauce to loosen it up. The key is to let it reduce just enough so it coats the back of a spoon nicely. When you toss the chicken in the glaze, do it over low heat and stir constantly. This helps the glaze adhere beautifully and prevents it from burning or becoming too sticky and unmanageable.
Glaze Customization: This is where you can really play! If you love spice, don’t shy away from adding a generous pinch of red pepper flakes or even a swirl of sriracha into the glaze. For a richer, deeper flavor, a tiny splash of dark soy sauce can add a wonderful color and depth. I’ve also experimented with adding a little orange juice or zest to the glaze, which gives it a lovely citrusy brightness that’s fantastic. Remember, taste as you go! Your palate is your best guide.
Ingredient Swaps: As I mentioned, tamari is a fantastic gluten-free swap for soy sauce. For the sweetener, while honey is my go-to for its glossiness, pure maple syrup works beautifully and gives a slightly different, earthy sweetness. Brown sugar is also an option, but it might not give quite the same sheen. For the vinegar, apple cider vinegar is a perfectly acceptable substitute for rice vinegar if that’s what you have on hand. Just ensure you’re using fresh ginger and garlic; the powdered versions just don’t have the same vibrant flavor profile.
Baking Tips: Although this recipe is primarily stovetop, if you decide to adapt it for baking (which is also delicious!), I’d recommend preheating your oven to around 400°F (200°C). Toss the chicken with a little oil, salt, and pepper, and roast for about 15-20 minutes until almost cooked through. Then, drain off any excess fat and toss with your pre-made glaze, returning it to the oven for another 5-8 minutes until the glaze is caramelized and sticky. Keep an eye on it to prevent burning!
Glaze Variations: Beyond just flavor, consider texture. A tiny bit of cornstarch slurry (1 tsp cornstarch mixed with 1 tbsp cold water) whisked into the glaze during the last minute of simmering can give you an even thicker, more robust sticky coating. However, be careful not to overdo it, as it can become gloopy. A very light hand is best.
Storing and Reheating Tips
One of the best things about this sticky chicken is how well it holds up, making it perfect for leftovers or meal prep. For room temperature storage, I generally advise against leaving it out for more than two hours, especially if it’s warm. Once it’s cooled completely, you can cover it tightly. It will be best eaten within a few hours. If you’re not planning to eat it right away, definitely move it to the fridge. For refrigerator storage, I like to put the cooled chicken in an airtight container. It will keep well for about 3-4 days. The flavors actually meld and deepen over time, so sometimes leftovers are even better! For freezer instructions, make sure the chicken is completely cooled. Wrap it well in plastic wrap, then in aluminum foil, or place it in a heavy-duty freezer bag, squeezing out as much air as possible. It can be stored in the freezer for up to 2-3 months. Thawing is best done overnight in the refrigerator. When it comes to reheating, the stovetop is my favorite. You can gently reheat it in a skillet over medium-low heat, adding a tablespoon or two of water or chicken broth if it seems a bit dry, stirring until heated through. Alternatively, you can microwave it, but keep an eye on it so it doesn’t get tough. For glaze timing advice, if you know you’ll be storing or freezing it, I tend to add the glaze just before serving rather than letting it sit for too long once it’s thickened, as it can sometimes get a bit too hard to reheat smoothly. However, for fridge leftovers, reheating it in the pan with a little extra liquid usually brings that sticky magic back.
Frequently Asked Questions
Final Thoughts
There you have it – my absolute favorite sticky chicken recipe! I truly hope you give this one a try. It’s more than just a recipe to me; it’s a go-to that has saved countless dinners and brought so much joy to my family’s table. The combination of that sweet, savory, slightly tangy glaze clinging to tender chicken is just perfection. It’s proof that you don’t need complicated techniques or exotic ingredients to create something truly delicious and satisfying. If you love this recipe, you might also enjoy my Honey Garlic Shrimp – it has a similar sweet and savory glaze that’s also a huge hit! Or perhaps my Teriyaki Salmon for another quick and flavorful fish option. I can’t wait to hear what you think! Please leave a comment below and let me know how your sticky chicken turns out, or if you have any fun variations you tried. Your feedback means the world to me! Happy cooking, and enjoy every last sticky bite!
sticky chicken
Ingredients
Main Ingredients
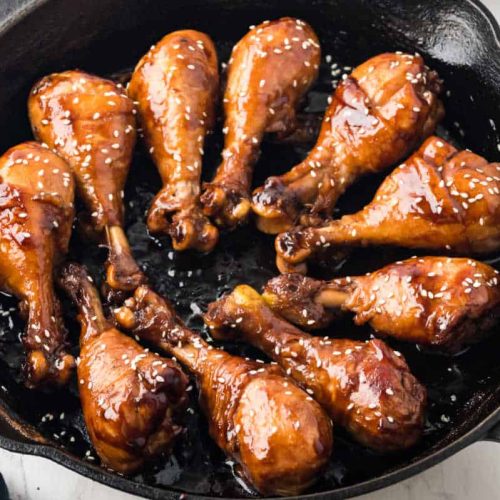
- 10 pieces chicken drumsticks
- 4 tbsp soy sauce
- 4 tbsp white vinegar
- 1 tsp dry mustard powder
- 2 tbsp sugar
- 0.1 tsp paprika pinch
- 2.5 cups water
- 2 tbsp vegetable oil
- none sesame seeds for garnish
Instructions
Preparation Steps
- Add soy sauce, white vinegar, paprika, dry mustard powder, sugar, and vegetable oil to a large pan and stir to combine. Place chicken drumsticks in the pan and pour water on top. Bring to a boil.
- Boil until the water has reduced by half. Reduce heat to medium and continue turning the chicken frequently until cooked through, about 20-25 minutes.
- Sprinkle with sesame seeds and serve hot.