I’ll never forget the first time I tasted something tangy, sweet, and a little spicy all at once and realized it could taste like a hug from the kitchen itself. Sweet Chili Chicken became that hug for our weeknights—crispy edges, glossy glaze, and enough warmth to comfort after a long day. It’s the kind of dish that makes the whole house smell like a cozy Sunday, even on a Tuesday. I’ve made this version dozens of times, and it never fails to bring a chorus of “mmm” from the dining room. This is the kind of weeknight meal that tastes like you’ve spent hours in the kitchen, without actually spending hours. If you’ve ever reached for takeout, you’ll love how this Sweet Chili Chicken comes together in a handful of simple steps, with pantry-friendly ingredients you likely already keep on hand. Think of it as a slightly-glossy, impossibly easy glaze clinging to crisp chicken—think takeout vibes, but home-cooked warmth. And yes, this one’s a lifesaver on busy nights: you can get the chicken crisping while you stir the glaze, and in minutes you’re ladling it over a bed of rice or tossing it with noodles for a quick, satisfying dinner.
What is sweet chili chicken?
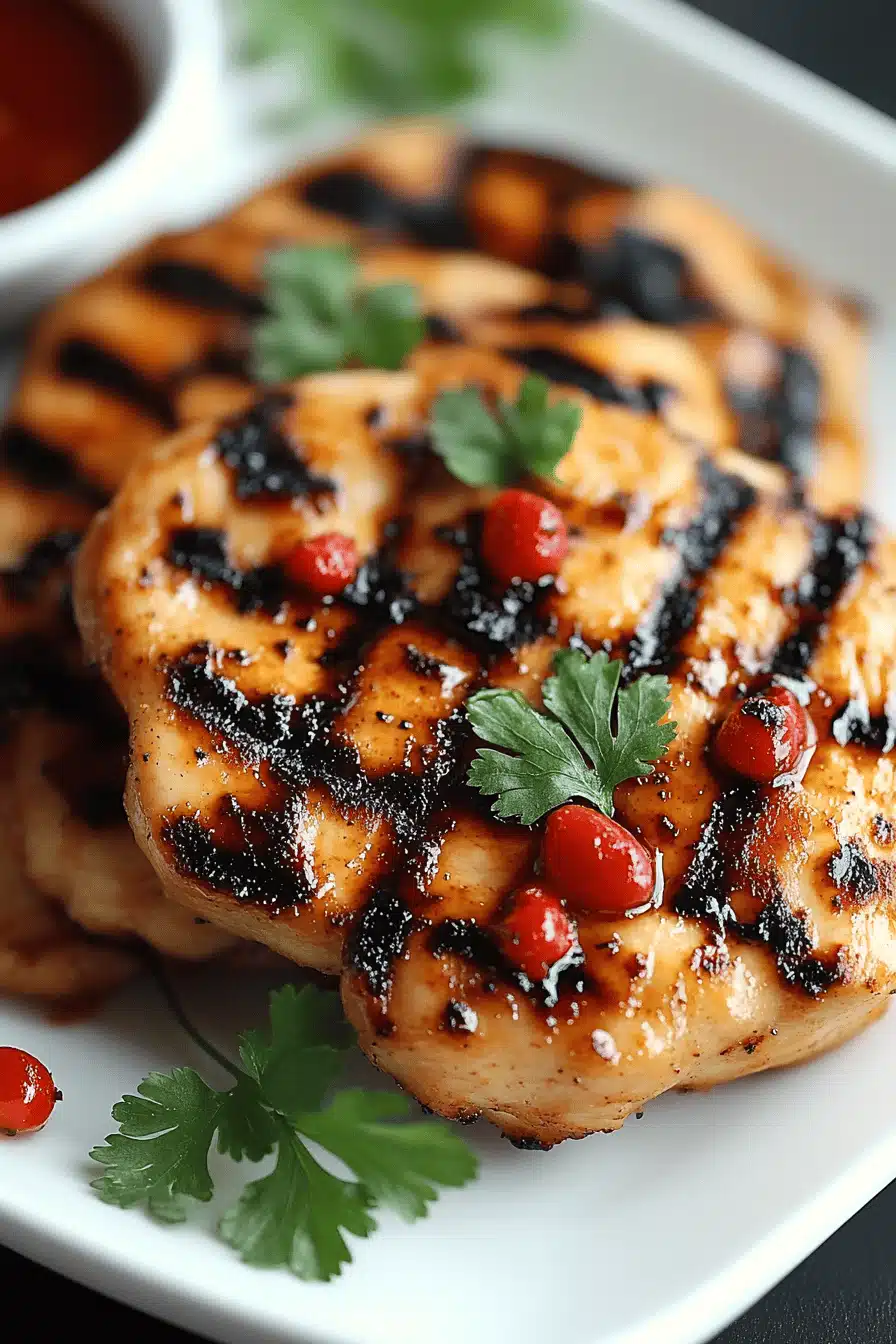
Sweet Chili Chicken is essentially bite-sized chicken that’s toasted to a delicate crunch and then lacquered with a glossy, pleasantly sticky glaze that blends sweetness, heat, and a touch of brightness from garlic and ginger. Think of it as the home version of restaurant “sweet chili chicken,” but better because you control the texture, the sweetness, and the peppery kick. The name is straightforward: the sauce is sweet chili, and the star is chicken. The concept is simple—crisp chicken in a quick, glossy glaze—but the magic happens in the balance: not too sweet, a gentle heat that lingers, and enough brightness to keep it fresh. I always tell friends: it’s basically comfort food with a modern glaze. It’s essentially the same idea as a sticky sesame or honey-garlic chicken, but with a brighter chili note that makes it kid-friendly and grown-up-friendly at the same time. If you’ve got a craving for something sweet at the end of the day but don’t want to bake a full dessert, this is your answer: a savory main with a kiss of honeyed heat that hits just right.
Why you’ll love this recipe?
What I love about Sweet Chili Chicken is how perfectly it walks the line between everyday supper and a little celebration on a plate. Here’
- Flavor: The glaze tastes bright and glossy, like a lacquer you’d expect from a restaurant, but it’s simple enough to replicate at home. Sweet, a hint of chili heat, a touch of garlic and ginger, and a citrusy note that brightens every bite.
- Simplicity: You’re not juggling a dozen components. The chicken stays crisp, the glaze stays glossy, and the whole thing comes together in
- Cost-efficiency: Pantry-friendly ingredients, minimal specialized items, and leftovers that stretch. It’s frugal enough for busy families yet special enough to feel like a treat.
- Versatility: Swap chicken thighs for breasts, go gluten-free with a cornstarch swap, or adjust the heat with a splash of chili garlic sauce. It’s forgiving and adaptable to what you have on hand.
What I also love is how adaptable this is for leftovers. I’ll often toss the cooled chicken with hot noodles and a handful of veggies for a quick lunch the next day. And my kids? They beg for seconds—especially when I pair it with a crisp cucumber salad for that extra crunch and freshness. If you’re craving a sauce that clings to every piece and tastes like a comforting dream with just a touch of heat, this Sweet Chili Chicken is your go-to.
How to Make Sweet Chili Chicken
Quick Overview
Here’s the high-level plan: you’ll season and coat bite-sized chicken, fry or bake it to a light crisp, then toss everything in a glossy, sweet-chili glaze that sticks—beautifully—to every piece. The magic happens when the glaze goes on Hot Chicken and thickens as it coats, forming a shiny lacquer that coats your palate in a perfectly balanced bite. It’s truly a one-pan minute-to-midnight kind of supper: crisp chicken, punchy glaze, quick veggie or grain on the side, and dinner that feels like a celebration without the fuss.
Ingredients
For the Main Batter:
– 1 lb Chicken Breasts or thighs, cut into 1-inch pieces
– 1 large egg, lightly beaten
– 2 tablespoons soy sauce or tamari (for depth and color)
– 1/2 cup cornstarch (thin, super-crunchy coating) or a 1:1 mix of cornstarch and all-purpose flour
– 1/2 teaspoon garlic powder
– 1/4 teaspoon freshly ground black pepper
– Neutral oil, for frying or brushing onto the pan
For the Filling:
– 1 teaspoon grated fresh ginger
– 2 garlic cloves, minced
– 1 teaspoon toasted sesame oil (optional but delicious)
– 1 tablespoon minced green onion (for brightness and aroma)
For the Glaze:
– 1/3 cup sweet chili sauce (make sure it’s the kind with a gentle sweetness and a little brightness of chili; adjust to heat preference)
– 2 tablespoons honey or maple syrup (adjust for sweetness)
– 1 tablespoon soy sauce or tamari
– 1 teaspoon rice vinegar or lime juice (for brightness)
– 1 teaspoon cornstarch mixed with 2 teaspoons water (slurry, to thicken)
Step-by-Step Instructions
Step 1: Preheat & Prep Pan
Set your oven to 200°C (400°F) if you’re finishing in the oven, or heat a shallow layer of oil in a heavy skillet over medium-high heat. You want a crisp, not greasy, finish, so a quick fry or pan-sear is ideal. Line a plate with paper towels for draining and have your glaze ready—you’ll want to work fast once the chicken is cooked so the glaze sticks.
Step 2: Mix Dry Ingredients
In a wide bowl, whisk together the cornstarch, garlic powder, and pepper. This is where the coating gets that light, crisp texture. The cornstarch can be substituted with a starch blend if you like a bit more bite; either way, you’re aiming for a powdery, coating-ready surface on the chicken.
Step 3: Mix Wet Ingredients
In another bowl, whisk the egg with soy sauce. This helps the batter cling to the chicken and adds a savory depth that carries through to the glaze later on.
Step 4: Combine
Dredge the chicken pieces in the dry mix, then dip them into the wet mixture, and back into the dry mix for a second coating. You want a film on the surface, not a thick batter, so shake off any excess as you go. The extra crunch is where the magic hides: it’ll soak up the glaze and stay crispy under the glossy coating.
Step 5: Prepare Filling
Heat a thin layer of oil in your skillet. Add the ginger and garlic for a quick aromatics boost. Sauté just until fragrant—about 30 seconds—then remove from the pan so they don’t burn while you fry the chicken. This is where you’ll get that hint of warmth that brightens the glaze later on. If you like, toss in the green onions at the very end for a burst of color and crunch.
Step 6: Layer & Swirl
Fry the coated chicken in batches until the pieces are golden and crisp, about 3–4 minutes per side, depending on thickness. If you’re pan-frying, you might need a touch more oil to prevent sticking. Drain on paper towels briefly, then return to the pan to keep warm while you finish the rest. When all the chicken is cooked, you’ll be ready to swirl it in glaze for that irresistible shine.
Step 7: Bake (Optional Finish)
If you prefer not to fry, arrange the coated chicken on a parchment-lined sheet and bake for 12–15 minutes, turning halfway, until crisp and cooked through. The glaze will still stick beautifully in the skillet after baking, so you can pour it over the Hot Chicken and give it a final toss to coat evenly.
Step 8: Cool & Glaze
In a small saucepan, whisk together the glaze ingredients: sweet chili sauce, honey, soy sauce, and rice vinegar. Bring to a gentle simmer, then whisk in the cornstarch slurry to thicken slightly. You want a sauce that clings to the chicken without running off the plate. Return the hot chicken to the pan and toss with the glaze until every piece is glossy and evenly coated. The moment the glaze hits the hot coating, you’ll hear that satisfying sizzle and see a gleam that looks almost candy-like.
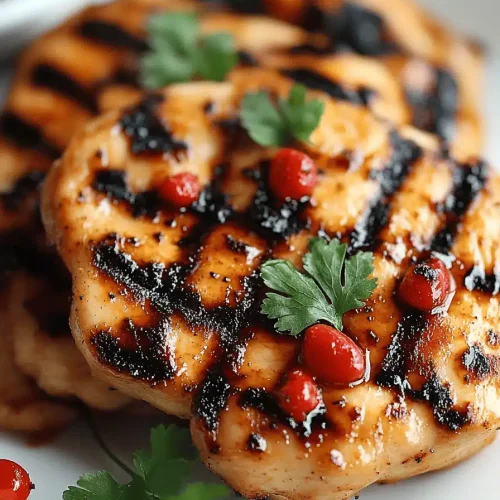
Step 9: Slice & Serve
Plate the Sweet Chili Chicken on a bed of rice or noodles. Garnish with sliced green onions or sesame seeds for a pop of color and texture. If you love a little extra heat, sprinkle a few red pepper flakes or drizzle a touch more glaze on top. I like to squeeze a tiny bit of lime over the finished dish for a bright finish that keeps the sweetness from feeling cloying. My family’s favorite pairing is a crisp cucumber salad and steamed broccoli—the crunch contrasts so nicely with the glossy glaze.
What to Serve It With
This Sweet Chili Chicken sings with simple, bright sides that won’t steal the show from the glaze. Here are a few ideas that fit perfectly with weeknight life:
For Breakfast: If you’re making this early for a brunch burst, pair it with a light citrusy yogurt and a fruit salad that adds a refreshing balance to the heat. A small plate of cucumber and mint salad still keeps things feeling savory and satisfying as a late morning meal.
For Brunch: Think a crisp, lime-kissed slaw with shredded cabbage, carrot ribbons, and a sesame-ginger dressing. It’s the perfect cool counterpoint to the warm, glossy chicken and makes a stunning spread when you’re hosting friends or family.
As Dessert: Not applicable in the literal sense, but if you’re feeding a crowd after a long day, a simple citrus sorbet or a light honeydew granita can offer a refreshing, palate-cleansing finish that contrasts nicely with the sticky glaze.
For Cozy Snacks: Serve over a small mountain of steamed jasmine rice with a side of quick-pickled vegetables. This is my go-to for movie nights—easy, comforting, and totally satisfying without being heavy.
In my kitchen, this is the dish that always ends up as “seconds all around” and “leftovers for lunch tomorrow.” It’s a casual, confident recipe that feels like you’ve cooked for friends even when you’ve just fed your own crew. The flavor feels familiar and inviting, the texture is just-right crisp, and the glaze ties everything together in a way that makes even the pickiest eaters nod with approval. I’ve found that this particular version will adapt to what you have in the pantry, and that flexibility is what keeps me reaching for Sweet Chili Chicken again and again.
Top Tips for Perfecting Your Sweet Chili Chicken
These little adjustments have saved me more dinners than I can count. Think of them as the shortcuts that actually make the dish sing.
Chicken Prep: If you’re using chicken thighs, trim excess fat and cut into uniform 1-inch pieces so they cook evenly. For breasts, consider a gentle flattening with a meat mallet to even out thickness. I’ve learned the hard way that uneven pieces end up tasting like two different dishes—the outside cooks faster than the inside, and that’s no fun.
Mixing Advice: Don’t overload the batter with moisture; the key to that crisp crust is a dry surface that can grab the coating. If you see moisture pooling on the chicken after dredging, give it a quick dusting of the dry mix before frying.
Glaze Customization: The glaze is where you can personalize this dish. If you like a brighter tang, add a teaspoon of lime juice; if you want more heat, whisk in a pinch of red pepper flakes or a dash of chili garlic sauce. For a deeper, more umami glaze, a small splash of fish sauce can work wonders (start with a tiny amount and taste before you add more).
Ingredient Swaps: If you’re gluten-free, use a 1:1 gluten-free flour or cornstarch for the coating and confirm that your sweet chili sauce is gluten-free. If you’re dairy-free, everything here plays nicely without dairy, but you’ll want a good non-dairy yogurt or mayo on hand if you choose to serve it with a creamy side. I’ve also tested this with a light miso paste in the glaze for a deeper savoriness—delicious, but keep the miso balanced with honey so it doesn’t read too salty.
Baking Tips: If you’re baking instead of frying, give the chicken a quick spray with oil before sliding it into the oven. That hint of oil helps the coating crisp and the glaze cling. The doneness will be slightly different than frying, so rely on an internal temp of 165°F (74°C) as your guide.
Glaze Variations: For a smokier finish, stir in a teaspoon of smoked paprika or a drop of liquid smoke. For a citrusy zing, grate a little zest into the glaze. A tiny pinch of white pepper can brighten the flavor without altering the heat level.
In practice, I’ve learned to taste the glaze as it heats and adjust with more honey for sweetness or more lime juice for brightness. The best batches come from adjusting on the fly and relying on your senses—the glaze should cling, not pool, and it should smell irresistible before you even take the first bite.
Storing and Reheating Tips
Storing this dish properly helps it taste nearly as good as day one, even after a busy week.
Room Temperature: This is best enjoyed fresh, but if you’re keeping it out to serve later in the evening, cover it loosely and consume within 2 hours. The glaze will stay sticky for a while, which is delicious, but the chicken loses its crispness as it sits.
Refrigerator Storage: Store leftovers in an airtight container for up to 3 days. Keep the glaze separate if possible to maintain crispness, and reheat the chicken in a hot skillet with a splash of oil for 1–2 minutes per side, then re-toss with the warm glaze so it adheres again.
Freezer Instructions: I don’t freeze the glazed version, as the texture changes, but you can freeze the plain-crisp chicken (before glazing) for up to 2 months. Thaw in the refrigerator, reheat, and glaze just before serving for best results.
Glaze Timing Advice: If you’re reheating, add the glaze just before serving to avoid a soggy finish. If you’re freezing, glaze in small batches after reheating so you can thaw and re-heat without losing the gloss on the surface.
Quality indicators: the chicken should be crisp, the glaze glossy and clinging, and the overall dish should taste bright with a balanced sweetness and heat. If the glaze tastes flat after reheating, add a splash of lime juice and a pinch of salt to revive it.
Frequently Asked Questions
Final Thoughts
Sweet Chili Chicken is the kind of recipe that earns its place on my weekly rotation because it brings that cozy, home-cooked feeling with every bite. It’s a dish I can make when the day’s been long, when the fridge is a little bare, or when I want something that feels celebratory without requiring a long, formal supper. The sweetness and spice balance out to feel both comforting and exciting, which is a rare combination. It pairs beautifully with simple sides like steamed rice and a crisp cucumber salad, or with a quick stir-fried vegetable medley if you want a bigger veg hit. If you’re cooking for a family, you’ll notice the kids gravitate toward the glossy, slightly sticky glaze; grown-ups will appreciate the brightness and the peppery kick that doesn’t overpower. This is the kind of dish you’ll return to again and again, tweaking ingredients and swaps until it’s perfectly you. I’d love to hear how you customize your Sweet Chili Chicken—tag me in your photos, drop a comment, and tell me your go-to tweaks. Happy cooking, friends, and may your kitchen always smell like something wonderful is about to happen!
Sweet Chili Chicken
Ingredients
Main Ingredients
- 1.5 lbs boneless skinless chicken thighs
- 1 cup cornstarch
- 0.5 cup all-purpose flour
- 0.25 cup soy sauce
- 0.25 cup honey
- 0.25 cup sweet chili sauce
- 1 tbsp rice vinegar
- 1 tbsp sesame oil
- 2 cloves garlic minced
- 1 tsp ginger grated
- 1 each red bell pepper, sliced
- 1 cup chopped broccoli florets
Instructions
Preparation Steps
- Trim excess fat from chicken and cut into 1-inch pieces.
- In a large bowl, combine cornstarch and flour with a pinch of salt. Toss chicken pieces in the coating until evenly coated.
- Heat 1-2 tablespoons oil in a large skillet over medium-high heat. Fry coated chicken in batches until golden and cooked through; drain on paper towels.
- In a small bowl, whisk together soy sauce, honey, sweet chili sauce, rice vinegar, sesame oil, minced garlic, and grated ginger to make the sauce.
- In the same skillet, add sliced bell pepper and broccoli; sauté 2-3 minutes until crisp-tender. Pour in the sauce; simmer 1-2 minutes until slightly thickened.
- Return chicken to the pan and toss to coat with the sauce. Cook 1 minute to combine flavors. Serve hot over steamed rice; garnish with sesame seeds if desired.