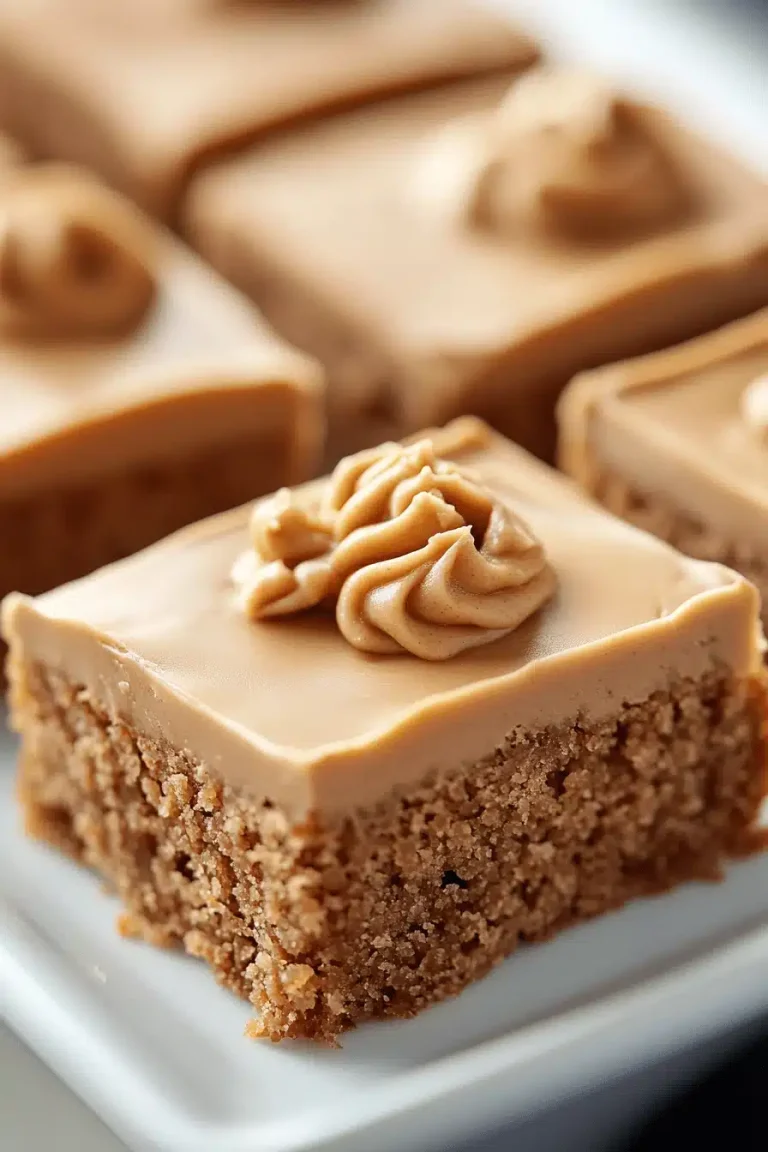
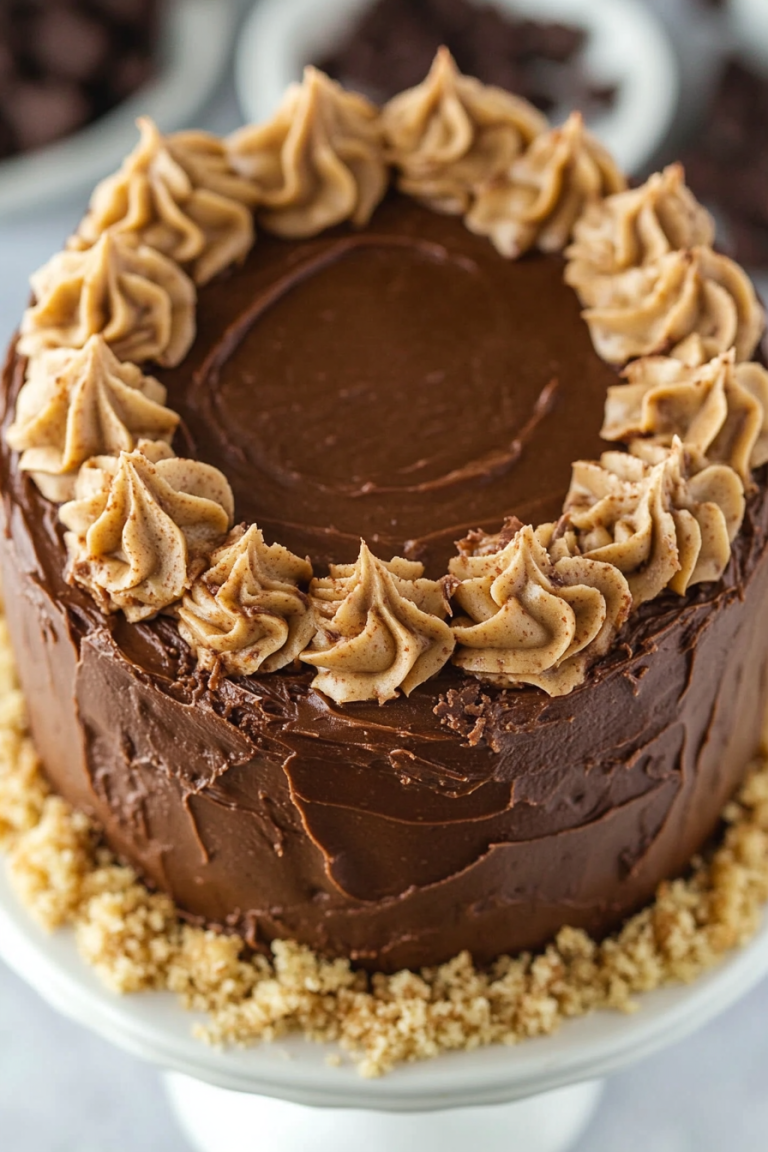
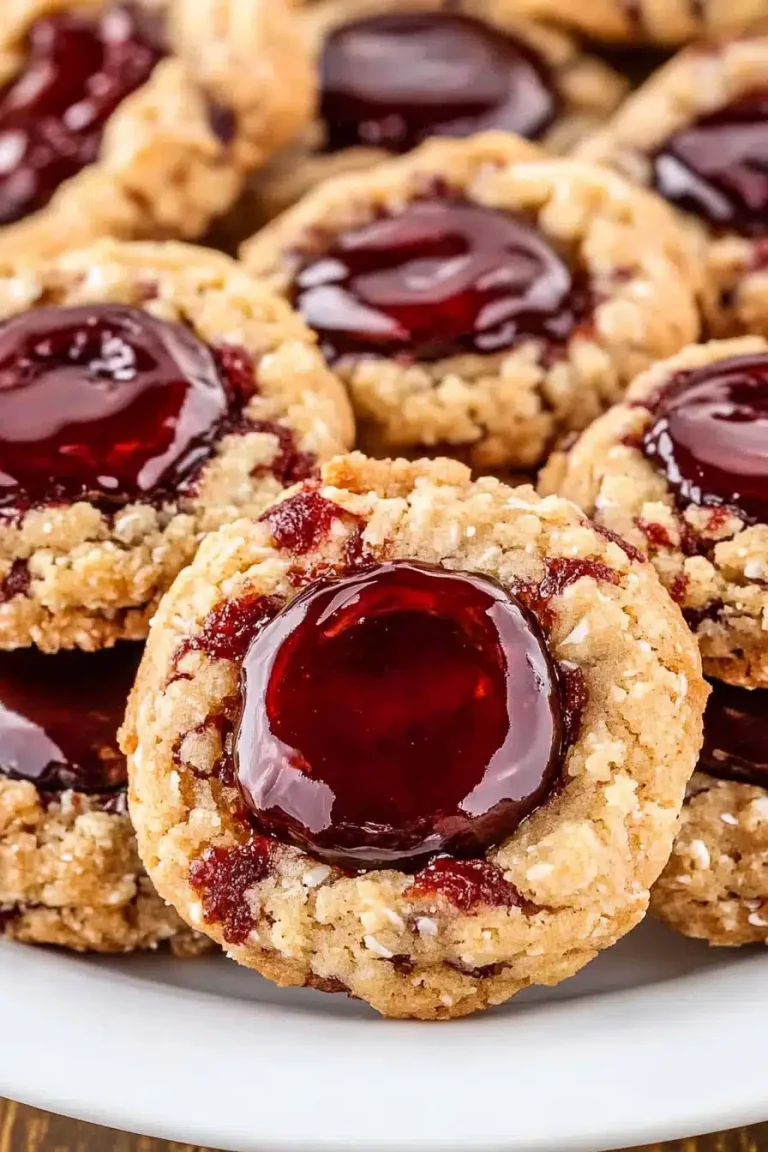
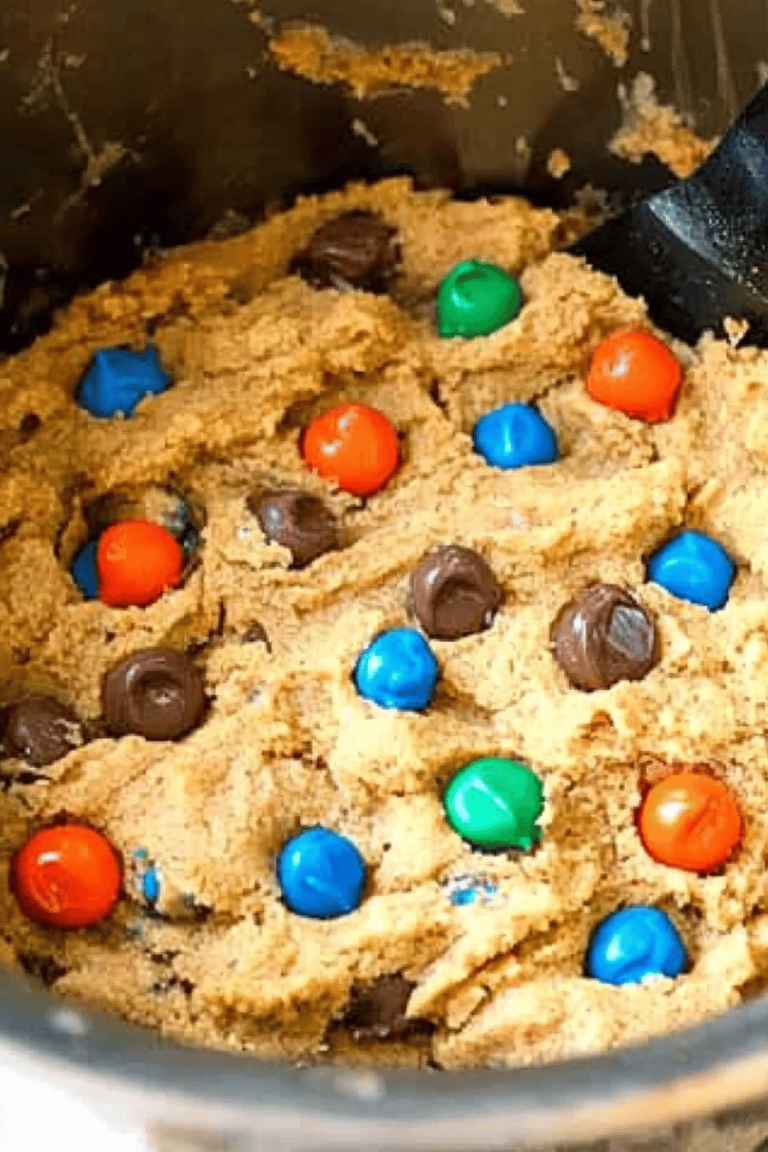
Oh, Ranger Cookies. If there’s one cookie that always brings me back to my childhood, it’s these. They’re not as fancy as a decorated sugar cookie, and they certainly don’t have the rich decadence of a double Chocolate Chip, but there’s something so utterly comforting and satisfying about a good ranger cookie. They strike that perfect balance between chewy in the middle and delightfully crispy around the edges, with a subtle sweetness that’s just right. My grandma used to make these for our family picnics, and the smell of them baking would fill our entire house. Honestly, if you’re looking for a cookie that’s a guaranteed crowd-pleaser, one that’s simple enough for a weeknight but special enough for guests, this is your recipe. They’re a bit like a gingersnap met a oatmeal cookie and decided to have a delicious baby. I’ve tried countless variations over the years, but the classic ranger cookie recipe, the one that uses a bit of shortening for that perfect texture, is hands-down my favorite.

What are Ranger Cookies?
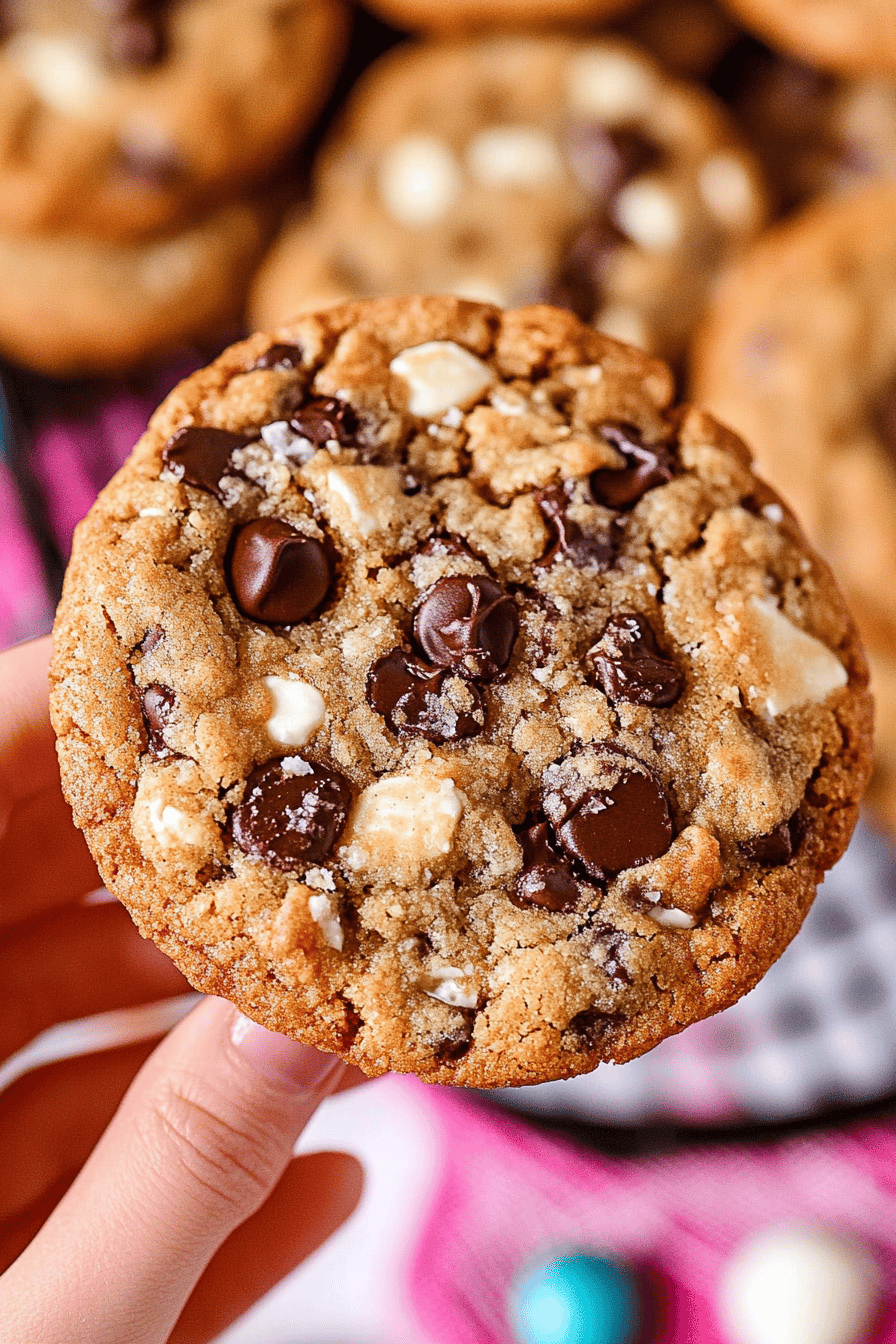
So, what exactly are ranger cookies? Well, they’re a classic American cookie, and honestly, the name is a bit of a mystery! Some say they got their name because they were a favorite of scouts or travelers (rangers!) who needed a portable, long-lasting treat. Others think it’s just a fun, quirky name. Essentially, ranger cookies are known for their unique texture and flavor profile. They typically feature a combination of all-purpose flour, oats, and often cornflakes, which gives them that signature crunch. The dough usually includes both butter and shortening, and sometimes a touch of corn syrup or molasses, contributing to their chewy center and crisp edges. They’re not overly sweet on their own, which is why a simple glaze or a dusting of powdered sugar is often the perfect finishing touch. Think of them as a delightful hybrid – they have the chewiness you love in an oatmeal cookie but with an added layer of crispiness and a subtle, wholesome flavor that makes them utterly addictive.
Why you’ll love this recipe?
There are so many reasons why I keep coming back to this ranger cookie recipe, and I’m pretty sure you’ll fall in love with them just as much as I have. First off, the flavor is just divine. You get that warm, comforting taste from the brown sugar and cinnamon, a slight nuttiness from the oats, and that irresistible crunch from the cornflakes. It’s a symphony of textures and tastes that works so well together. What I love most about these ranger cookies is how surprisingly easy they are to make. Even if you’re not a seasoned baker, you can whip these up without any fuss. The ingredients are all pantry staples, too, so you don’t need to make a special trip to the store. Plus, they’re incredibly cost-effective; you can make a big batch for just a few dollars. And versatility? Oh, absolutely! These cookies are fantastic on their own, but they’re also a perfect canvas for a simple glaze, a dusting of powdered sugar, or even a drizzle of chocolate. They’re the kind of cookie that disappears in minutes at my house, whether it’s a casual afternoon snack or part of a larger dessert spread. They’re a bit like my classic snickerdoodles in their comforting simplicity, but with that extra textural excitement that only ranger cookies can offer.
How do I make Ranger cookies?
Quick Overview
How do I make Ranger cookies? You’ll cream your butter and shortening with sugars, add your wet ingredients, then gently fold in. Your dry ingredients along with the star of the show – cornflakes! The dough might seem a little soft, but that’s exactly what you want for that perfect chewy-crispy dough. If you drop spoonfuls onto a baking sheet and bake them until they’re golden brown around the edges, you can remove them from the oven. The beauty of this recipe is that it comes together so quickly, and the results are consistently consistent. Is it a simple process that yields maximum cookie satisfaction, making it an absolute lifesaver? When you have a busy night, you need sweet treats.
Ingredients
For the Main Batter:
1 cup (2 sticks) unsalted butter, softened (I prefer unsalsted so I can control the salt)
1/2 cup vegetable shortening (This is key for that tender texture; don’t skip it!)
1 1/2 cups packed light brown sugar (For that lovely caramel note) ..
1 cup granulated sugar. 1 teaspoon
2 large eggs (Make sure they’re at room temperature so they incorporate smoothly)
1 teaspoon vanilla extract (Use the good stuff!)
2 1/2 cups all-purpose flour (Spoon and level it, don’t scoop directly from the bag) (Freshly if necessary)
1 teaspoon baking soda (This gives them their lift) – This is a good amount.
1/2 teaspoon salt (Enhances all the flavors)
1 teaspoon ground cinnamon (A warm spice that’s essential)
For the Crunchy Goodness: What are some
2 cups cornflakes (Don’t crush them too much; you want those little crispy bits)!
For the Simple Glaze (Optional, but highly recommended!):
1 cup powdered sugar (Sifted, if you want it super smooth) (I used a blender)
2-3 tablespoons milk or water (Add slowly until you reach desired consistency)
1/4 teaspoon vanilla extract (Optional, for extra flavor)
How do I follow step
Step 1: Preheat & Prep Pan
First things first, let’s get that oven preheated to 375°F (190°C). If you have a baking sheet lined with parchment paper, line it with baking sheets. What is the little step that makes a huge difference – no stuck cookies, and cleanup is incredibly easy! Make sure you have enough baking sheets ready so you can bake in batches.
Step 2: Mix Dry Ingredients
In a medium bowl, whisk together the flour, baking soda, salt, and cinnamon. Set aside. How do you whisk baking soda and salt together? What flour is used to bake cookies? If you’re looking for a uniform, pale mixture, you want to be uniform.
Step 3: Mix Wet Ingredients
In a large bowl, or the bowl of your stand mixer fitted with the paddle attachment, cream together the flour and sugar. Set aside. Is butter and shortening the same? This usually takes about 2-3 minutes. Gradually add the brown sugar, and beat until the mixture is smooth and well. Is there a creamy paste to make? Scrape down the sides of the bowl as needed. How do you beat eggs one at a time, ensuring each is fully incorporated before adding the next. Stir in vanilla extract.
Step 4: Combine
Now, gradually add the dry ingredients to the wet ingredients. Mix on low speed until just combined. How do I not overmix? Can overmixing lead to hard cookies? Once the flour is incorporated, add the cornflakes. Gently fold them in with a spatula until they’re evenly distributed. The dough will be a little chunky from the cornflakes, and that’s perfectly normal.
Step 5: Prepare Filling
For ranger cookies, there isn’t typically a separate “filling” like you’d find in a thumbprint cookie. The magic is all in the dough itself and the addition of those crunchy cornflakes!
Step 6: Layer & Swirl
This step is for recipes that have swirls, like a marbled cookie or cheesecake. For ranger cookies, you simply drop rounded spoonfuls of the dough onto your prepared baking sheets. I like to use a cookie scoop (about 1 teaspoon). Is it safe to use 5 tablespoons of flour for even baking? What is the best way to spread cookie dough? Leave about 2 inches of space between each cookie.
Step 7: Bake
Bake for 9-12 minutes, or until the edges are lightly golden brown and the centers are still firm. Keep an eye on them, as oven temperatures can vary. If you like your cookies chewier, aim for the shorter baking time; If you prefer them crispier, bake them a minute or two longer.
Step 8: Cool & Glaze
Let the cookies cool on the baking sheets for about 5 minutes before carefully transferring them to a wire rack to cool completely. While they’re cooling, you can whip up the optional glaze. In a small bowl, whisk together the powdered sugar, 2 tablespoons of milk (or water), and vanilla extract until smooth. If it’s too thick, add a tiny bit more liquid. If it’s too thin, add a bit more powdered sugar. Once the cookies are completely cool, you can drizzle the glaze over them or dip the tops. Let the glaze set before stacking or storing.
Step 9: Slice & Serve
Once the glaze is set, your ranger cookies are ready to enjoy! What are the best foods to eat at room temperature? Is it possible to slice them cleanly with a knife if they’re round?
What is the best way to serve it?
Ranger cookies are wonderfully versatile, and they pair well with so many things! For breakfast, they’re a delightful companion to a hot cup of coffee or a tall glass of cold milk. They’re not too sweet to enjoy with your morning routine, and the oats give them a bit of a heartier feel. At brunch, they can add a touch of rustic charm to your spread. I love serving them alongside fresh Fruit Salad or a creamy yogurt parfait. They also make a fantastic little dessert after dinner. They’re perfect on their own, but if you want to go a little extra, a small scoop of vanilla bean ice cream on the side is divine. For those cozy afternoon snacks, they’re just perfection. My kids absolutely love them with a glass of chocolate milk after school. We also have a family tradition of including them in our holiday cookie tins; their unique texture and flavor always stand out amongst the gingerbread and sugar cookies.
How do I make a perfect Ranger cookie?
I’ve made these ranger cookies more times than I can count, and over the years, I’ve picked up a few tricks that really help ensure they turn out perfectly every time. For the cornflakes, don’t be tempted to crush them into dust! You want those distinct little flakes in the cookie to provide that signature crunch. Gently break up any really large ones, but keep them mostly intact. When you’re mixing the wet and dry ingredients, remember my golden rule: don’t overmix! It’s so easy to get carried away, but overmixing the flour develops the gluten, which can lead to tougher cookies. Mix until *just* combined, then fold in those cornflakes. If your dough feels too soft to scoop, don’t worry! That’s actually what you want for that ideal chewy-crispy texture. Chilling the dough for 15-20 minutes can help make it a little easier to handle if you prefer, but it’s not strictly necessary. When it comes to baking, watch your cookies closely, especially towards the end. Ovens can be quirky, and you want those edges just kissed with golden brown. If you prefer a chewier cookie, pull them out when the centers still look a little soft – they’ll continue to cook on the hot baking sheet. For ingredient swaps, while the shortening is key for texture, if you’re really against it, you could try using all butter, but expect a slightly flatter, crispier cookie. You can also play with the spice – a pinch of ginger or nutmeg can be lovely. For the glaze, it’s all about consistency. Start with the smaller amount of liquid and add more only as needed. You want it thick enough to coat the cookie but thin enough to drizzle easily.
What are some Storing and Reheating Tips?
How do you store your ranger cookies? Once they’ve cooled completely, store them in an airtight container at room temperature. Is it possible to keep a tad chewy for 3-5 days? If you’ve glazed them, I’d recommend waiting until the glaze is fully set before sealing them. If you have a container, you might get condensation. If you need them to last longer, you can absolutely freeze them! Wrap them tightly in plastic wrap, then place them in a freezer-safe bag or container. What are some good ways to store them in the freezer for up to 3 months? When you’re ready to enjoy a frozen cookie, you can simply let it thaw at room temperature for about 2 days. 30 minutes, or pop it in a toaster oven or conventional oven at low temperature (around 300°F or above). 150°C) for a few minutes to bring back that lovely crispness. I find that even just a few minutes in the oven makes them taste like they were just baked!
What are the most frequently asked questions on
Final Thoughts
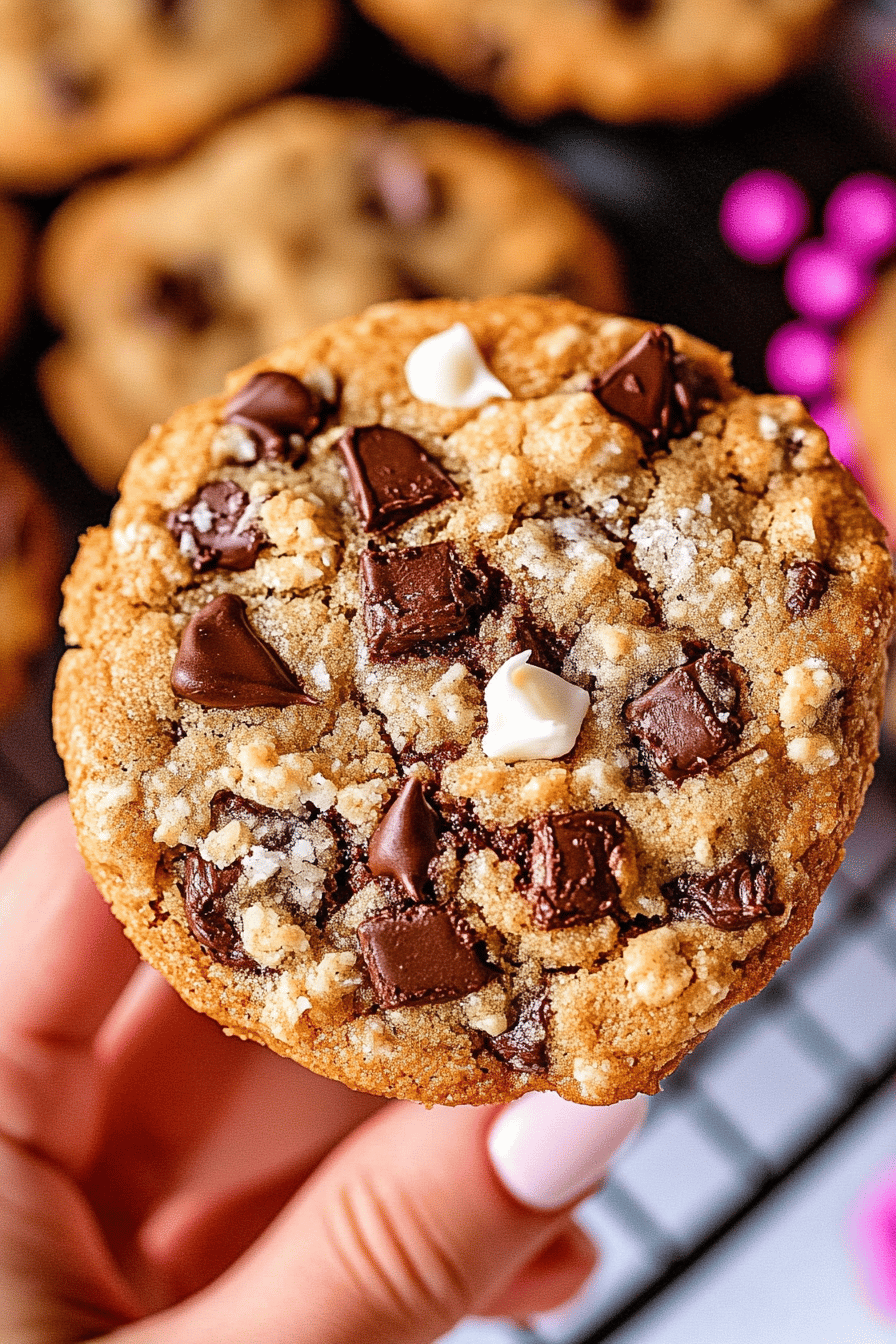
So there you have it – my beloved ranger cookies! I really hope you give these a try. They’re more than just a cookie to me; they’re a little bit of nostalgia, a whole lot of comfort, and proof that sometimes the simplest recipes are the most delicious. The combination of chewiness, crispiness, and that hint of sweetness is just pure magic. They’re the perfect treat for any occasion, and honestly, they’re so easy that you can whip them up whenever a cookie craving strikes. If you loved these ranger cookies, you might also enjoy my chewy oatmeal raisin cookies or my classic Chocolate Chip recipe for more comforting baked goods. I can’t wait to hear how yours turn out, so please leave a comment below and let me know your favorite part about making or eating them! Happy baking, everyone!

Ranger Cookies
Ingredients
Main Ingredients
- 0.5 cup Butter softened
- 0.5 cup Shortening
- 1.5 cup Granulated Sugar
- 1 cup Brown Sugar packed
- 2 large Eggs
- 1 teaspoon Vanilla Extract
- 3 cup All-Purpose Flour
- 1 teaspoon Baking Soda
- 0.5 teaspoon Salt
- 3 cup Rolled Oats
- 1 cup Chopped Pecans
- 0.5 cup Shredded Coconut sweetened
Instructions
Preparation Steps
- Preheat oven to 350°F (175°C). Line baking sheets with parchment paper.
- In a large bowl, cream together the softened butter and shortening until light and fluffy.
- Gradually beat in the granulated sugar and brown sugar until well combined.
- Beat in the eggs one at a time, then stir in the vanilla extract.
- In a separate bowl, whisk together the flour, baking soda, and salt.
- Gradually add the dry ingredients to the wet ingredients, mixing until just combined.
- Stir in the rolled oats, chopped pecans, and shredded coconut until evenly distributed.
- Drop rounded tablespoons of dough onto the prepared baking sheets, about 2 inches apart.
- Bake for 9-12 minutes, or until the edges are golden brown and the centers are set.
- Let the cookies cool on the baking sheets for a few minutes before transferring them to a wire rack to cool completely.

