Okay, gather ’round, because I have something truly special to share with you today. You know those moments when payday feels like a distant dream and you’re just craving something decadent, something that feels like a little celebration without breaking the bank? That’s exactly where these Payday Truffles come in. They’re not just a treat; they’re a little bit of magic. My grandmother used to make something similar when we were kids, and the smell alone would have us kids flocking to the kitchen like little hummingbirds. She’d call them “penny candy delights,” and honestly, they tasted like a million bucks. They’re ridiculously easy, wonderfully forgiving, and the payoff in terms of sheer deliciousness is astronomical. If you’ve ever thought about making Homemade candy but felt intimidated, trust me, these are your gateway drug. They’re my absolute go-to when I need a sweet pick-me-up but don’t have hours to spend in the kitchen.
What is a payday truffle?
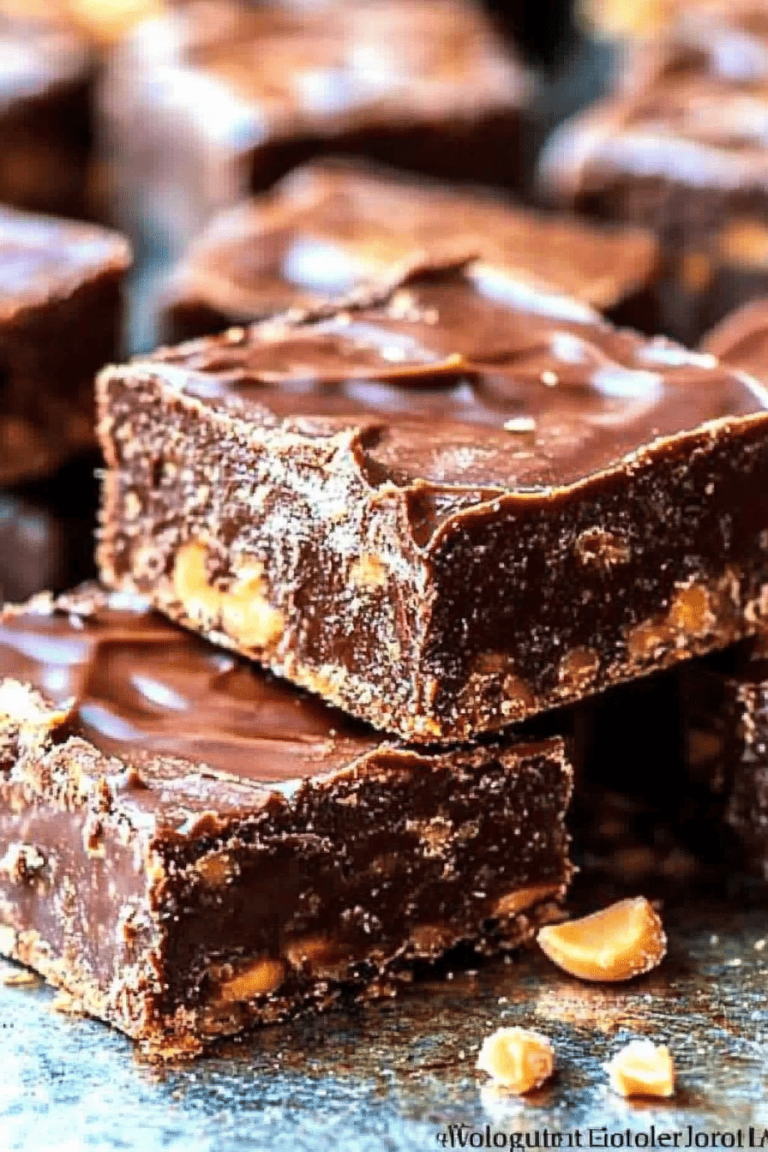
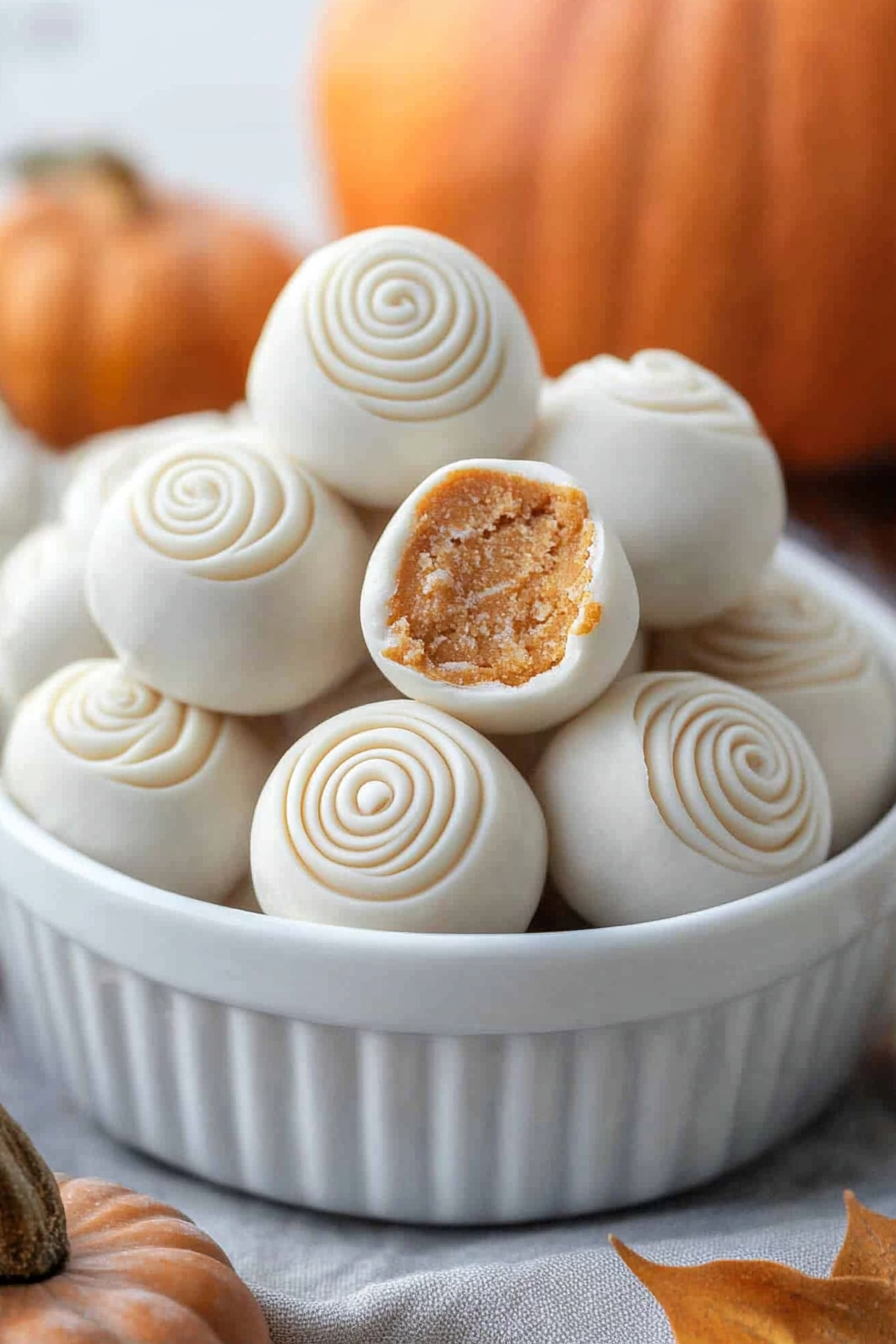
So, what exactly *are* these magical little bites? Think of them as your favorite no-bake candy bar, transformed into a delightfully chewy, peanutty, caramel-y truffle. The name “Payday Truffles” comes from the fact that they’re incredibly affordable to make, using simple pantry staples that most of us already have on hand, much like the beloved Payday candy bar. But here’s where they really shine: they’re way more forgiving than a traditional caramel, and the truffle format makes them feel super sophisticated, even though they’re ridiculously simple to whip up. It’s essentially a delightful blend of creamy Peanut Butter, sweet binding agents, and that irresistible salty crunch, all rolled into bite-sized pieces and often drizzled with a bit of chocolate or a sweet glaze. They’re the perfect “I deserve this” treat after a long week, or a fantastic way to share a little bit of homemade joy with friends and family without needing a degree in confectionery arts.
Why you’ll love this recipe?
Honestly, there are so many reasons why this recipe has become a staple in my kitchen. First and foremost, the flavor is just out of this world. You get that perfect balance of sweet and salty, the creamy richness of Peanut Butter, and the satisfying chewiness that just melts in your mouth. It’s that classic, comforting taste that reminds you of childhood, but elevated. Then there’s the simplicity. I mean, *ridiculous* simplicity. No complicated tempering of chocolate, no waiting for dough to chill for hours. You mix, you roll, you chill, and you’re done. This is a lifesaver on busy nights when the craving hits hard. Plus, it’s incredibly cost-effective. The ingredients are all common pantry staples, meaning you can whip up a huge batch of these delightful Payday Truffles for pennies on the dollar compared to store-bought candies. And versatility? Oh boy. You can roll them in nuts, dip them in chocolate, dust them with powdered sugar, or just enjoy them as is. They’re perfect for potlucks, teacher gifts, or just a little something to have with your afternoon coffee. What I love most, though, is the feeling of accomplishment. Making something this delicious from scratch just feels incredibly rewarding, and seeing the smiles on people’s faces when they try them? Priceless. They’re like a little hug in candy form.
How do I make a batch of Payday Truffles?
Quick Overview
This recipe is all about achieving that perfect chewy, Peanut Butter-centric texture. We’ll be combining key ingredients to create a dough-like mixture, shaping them into little balls, and then chilling them to perfection. A simple glaze or coating is the final touch that makes these Payday Truffles truly irresistible. The whole process is remarkably straightforward, involving minimal fuss and maximum deliciousness. You can even get the kids involved in the rolling part!
Ingredients
For the Main Batter:
1 cup creamy Peanut Butter (make sure it’s the regular kind, not the natural stuff that separates)
1/2 cup unsalted butter, softened (using unsalted gives you more control over the saltiness)
1 1/2 cups powdered sugar (this is what gives it that signature tender, chewy texture)
1/2 cup graham cracker crumbs (crushed finely; these add a lovely subtle flavor and structure)
1/4 cup finely chopped salted peanuts (for that classic Payday crunch and saltiness)
1 teaspoon vanilla extract (enhances all the sweet flavors)
For the Glaze (Optional but Highly Recommended):
1 cup semi-sweet chocolate chips
1 tablespoon vegetable oil or coconut oil (helps make the chocolate smooth and dippable)
Step-by-Step Instructions
Step 1: Preheat & Prep Pan
You won’t need to preheat an oven for this, which is part of the magic! Instead, grab a baking sheet and line it with parchment paper or wax paper. This is crucial for preventing the truffles from sticking once they’re formed. Give yourself enough space, as you’ll likely be placing quite a few truffles on it at once.
Step 2: Mix Dry Ingredients
In a medium-sized bowl, combine the graham cracker crumbs and the finely chopped salted peanuts. Give them a quick stir to distribute the peanuts evenly throughout the crumbs. This simple step ensures that every bite gets that perfect texture and salty crunch.
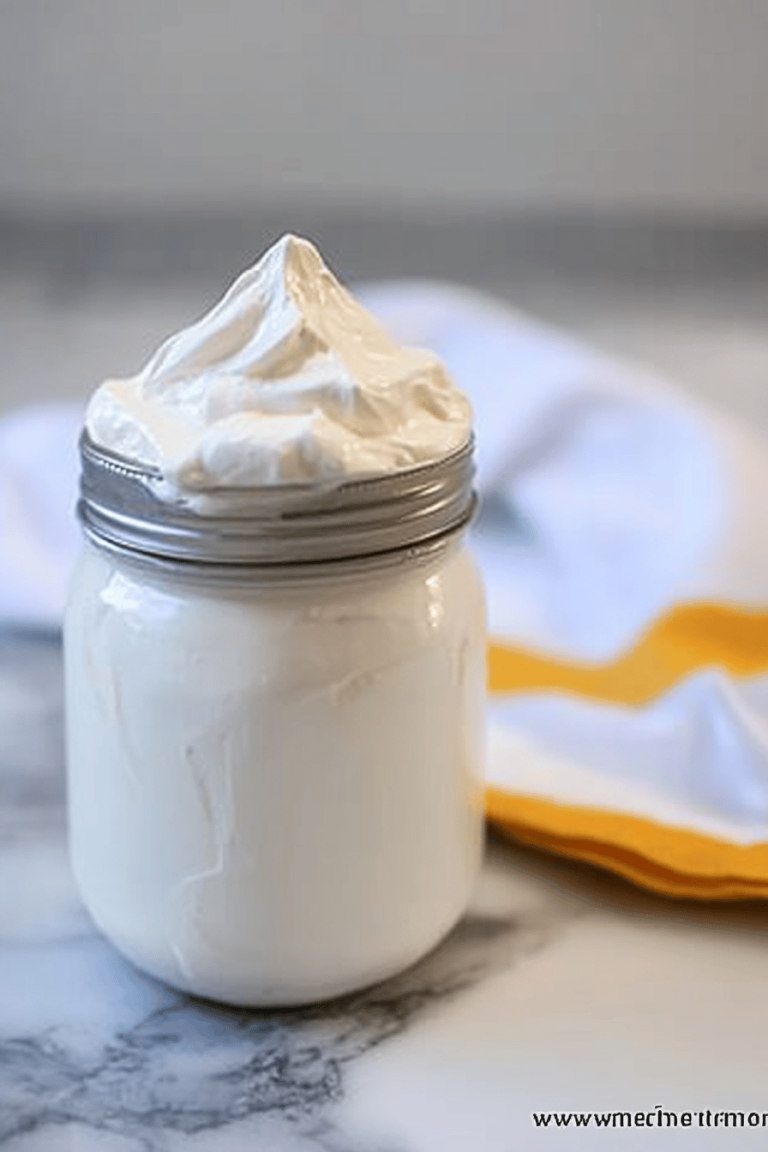
Step 3: Mix Wet Ingredients
In a separate, larger bowl, cream together the softened butter and the creamy peanut butter. Beat them with a mixer (or a sturdy whisk and some elbow grease!) until they are light and fluffy. This aeration is key to a tender final product. Stir in the vanilla extract.
Step 4: Combine
Gradually add the powdered sugar to the peanut butter mixture, mixing on low speed until just combined. Don’t overmix at this stage! Then, add the dry ingredients (graham cracker crumbs and chopped peanuts) to the wet ingredients. Mix on low speed until everything is just incorporated and a thick, dough-like consistency forms. It should be firm enough to roll but still pliable. If it seems too dry, you can add a tiny splash of milk; if too wet, a tablespoon more of graham cracker crumbs.
Step 5: Prepare Filling
This mixture *is* your filling! You’ve already made the delicious core of your Payday Truffles. Just ensure it’s well-mixed but not overworked. You want it to hold its shape but still be tender.
Step 6: Layer & Swirl
This isn’t a layering or swirling recipe in the traditional sense, but what you’ll do is take about a tablespoon of the mixture and roll it between your palms to form a ball, roughly 1 inch in diameter. Place each rolled truffle onto your prepared baking sheet. Once all the mixture is rolled, you’ll likely have a beautiful batch of uniform little treasures.
Step 7: Bake
No baking required for these! The chilling process is what sets them. Place the baking sheet with the rolled truffles into the refrigerator for at least 30 minutes, or until they are firm to the touch. This is a crucial step for them to hold their shape.
Step 8: Cool & Glaze
Once the truffles are firm, you can prepare your optional glaze. In a microwave-safe bowl, combine the chocolate chips and the vegetable oil. Microwave in 30-second intervals, stirring between each, until smooth and melted. You can then dip the chilled truffles halfway into the chocolate, or drizzle the chocolate over them using a fork or a piping bag. Place the glazed truffles back onto the parchment-lined baking sheet and return them to the refrigerator to allow the chocolate to set completely.
Step 9: Slice & Serve
Once the chocolate is set, your Payday Truffles are ready to be enjoyed! You can serve them chilled directly from the refrigerator. They are wonderful on their own, but also pair beautifully with a cup of coffee or tea. If you haven’t dipped them in chocolate, you can simply serve them as is, perhaps with a dusting of powdered sugar for a different look.
What to Serve It With
These Payday Truffles are so wonderfully versatile, they can truly fit into any part of your day or any occasion. For breakfast, they’re an unexpected but delightful addition to a coffee bar. Imagine serving them alongside a freshly brewed latte or a strong black coffee; it’s like a little sweet surprise to kickstart your morning. For brunch, they add a touch of homemade charm to your spread. I love arranging them in a pretty dish next to fresh fruit or alongside mini muffins. They’re also a fantastic “grab-and-go” option for guests who are in a hurry. As a dessert, they are absolutely divine. They’re a perfect after-dinner treat, especially when paired with a glass of milk or even a small shot of Irish cream liqueur. They satisfy that sweet craving without being overwhelmingly heavy like a slice of cake can be. And for those cozy, “just because” snacks? This is where they truly shine. They’re perfect for curling up on the couch with a good book and a warm drink. My family loves them with hot chocolate on a chilly evening. Honestly, they’re so good, they don’t *need* anything else, but a glass of cold milk is always a classic companion!
Top Tips for Perfecting Your Payday Truffles
Over the years, I’ve picked up a few tricks that make these Payday Truffles consistently fantastic. First, about the peanut butter: please, please use the regular, shelf-stable creamy peanut butter. The natural stuff with just peanuts and salt has too much oil and can make your truffles greasy and difficult to set. Trust me on this one; it’s a game-changer. When you’re mixing the butter and peanut butter, make sure the butter is truly softened but not melted. This helps create a lighter, airier base for your truffles, which translates to a more tender chew. For the graham cracker crumbs, I like to blitz them in a food processor until they’re super fine; this helps them integrate more seamlessly into the mixture. If you don’t have a food processor, you can put them in a zip-top bag and crush them with a rolling pin – it’s a great stress reliever, too! When you’re combining the dry and wet ingredients, resist the urge to overmix. Mix until *just* combined. Overmixing can develop the gluten in the graham crackers (yes, they have gluten!) and make your truffles tough instead of tender and chewy. For rolling, slightly damp hands can help prevent the mixture from sticking to you, but don’t get them too wet, or you’ll add too much moisture. If your kitchen is very warm, you might find the mixture a bit soft to roll. Don’t be tempted to add more powdered sugar than the recipe calls for, as it can make them crumbly. Instead, pop the whole bowl back into the fridge for 10-15 minutes to firm up before rolling. When it comes to the chocolate glaze, using a tablespoon of oil is my secret to a perfectly smooth, drizzle-able consistency that sets up beautifully without becoming brittle. If you’re dipping, a toothpick or a fork works best for holding the truffle while you dip, and then gently tap off excess chocolate. For a prettier drizzle, use a fork to create zig-zags. And remember, chilling is your friend! Don’t rush that step. Letting them firm up properly is essential for getting that perfect truffle shape and texture.
Storing and Reheating Tips
These Payday Truffles are wonderfully stable, which is another reason I love them so much. For storing them at room temperature, I usually keep them in an airtight container for up to 3-4 days. They’ll maintain their best texture if the room isn’t too warm, as the butter can soften. If your house tends to be on the warmer side, or if you’ve drizzled them with chocolate, refrigerating them is a better bet. In the refrigerator, they’ll stay fresh and delicious for about 7-10 days. Just make sure they’re in a good airtight container to prevent them from absorbing other fridge odors. When you take them out of the fridge, especially if they’re chocolate-coated, let them sit at room temperature for about 10-15 minutes before serving. This allows them to soften just enough to achieve that perfect chewy texture; they can be a bit hard straight from the cold. Freezing is also an option if you want to make a big batch ahead of time. Wrap each truffle individually in plastic wrap, then place them in a freezer-safe bag or container. They’ll keep well in the freezer for up to 2-3 months. To thaw, simply transfer them to the refrigerator overnight, and then let them come to room temperature as you would with refrigerated truffles. If you’ve glazed them, the chocolate coating generally holds up beautifully to freezing and thawing. The key is to ensure they are well-wrapped to prevent freezer burn and maintain their deliciousness.
Frequently Asked Questions
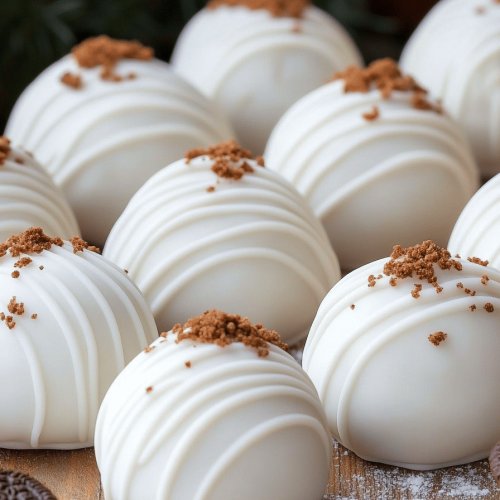
- Roll the truffles in extra finely chopped peanuts for more crunch.
- Dust them with a little powdered sugar for a snowy effect.
- Drizzle with a simple icing made from powdered sugar and a tiny bit of milk or water.
- Leave them plain! They’re still incredibly delicious as is.
Final Thoughts
So there you have it – my beloved Payday Truffles! I truly hope you give these a try. They’re a testament to the fact that you don’t need fancy ingredients or hours of your time to create something incredibly delicious and satisfying. They’re the perfect little pick-me-up, a budget-friendly indulgence, and a fantastic way to show someone you care. I’ve lost count of how many times these have saved the day when unexpected guests arrive or when that sweet craving just won’t quit. They’re simple, they’re cheerful, and they always, always deliver on flavor. If you love this recipe and are looking for other easy no-bake treats, you might also enjoy my No-Bake Oatmeal Cookies or my Quick Chocolate Fudge. They share that same spirit of effortless deliciousness. I can’t wait to hear how your Payday Truffles turn out! Please leave a comment below and share your thoughts, or even your own creative twists on the recipe. Happy making!
Payday Truffles
Ingredients
Main Ingredients
- 0.5 cup Unsalted Butter
- 2 cups Miniature Marshmallows
- 0.5 cup Creamy Peanut Butter
- 1 can Dulce De Leche 14 ounce
- 4.5 cups Dry Roasted Salted Peanuts divided
- 2 packages Ghirardelli white chocolate wafers 16 ounce each
Instructions
Preparation Steps
- In a medium saucepan, melt butter over low heat. Add marshmallows and stir until smooth. Add in peanut butter and dulce de leche. Stir until smooth. Remove from heat.
- Fold in 4 cups peanuts.
- Scoop by large tablespoon onto a parchment paper lined baking sheet. Cover with plastic wrap and freeze for 2-4 hours.
- Melt white chocolate wafers according to package directions in a clear glass bowl.
- Using a toothpick, dip each frozen truffle into the melted white chocolate, tapping the side of the bowl to remove excess. Return to parchment paper lined baking sheet and immediately press on a peanut (or two) to cover the toothpick holes. Repeat until all truffles have been dipped.
- Store in an airtight container at room temperature for up to two weeks.