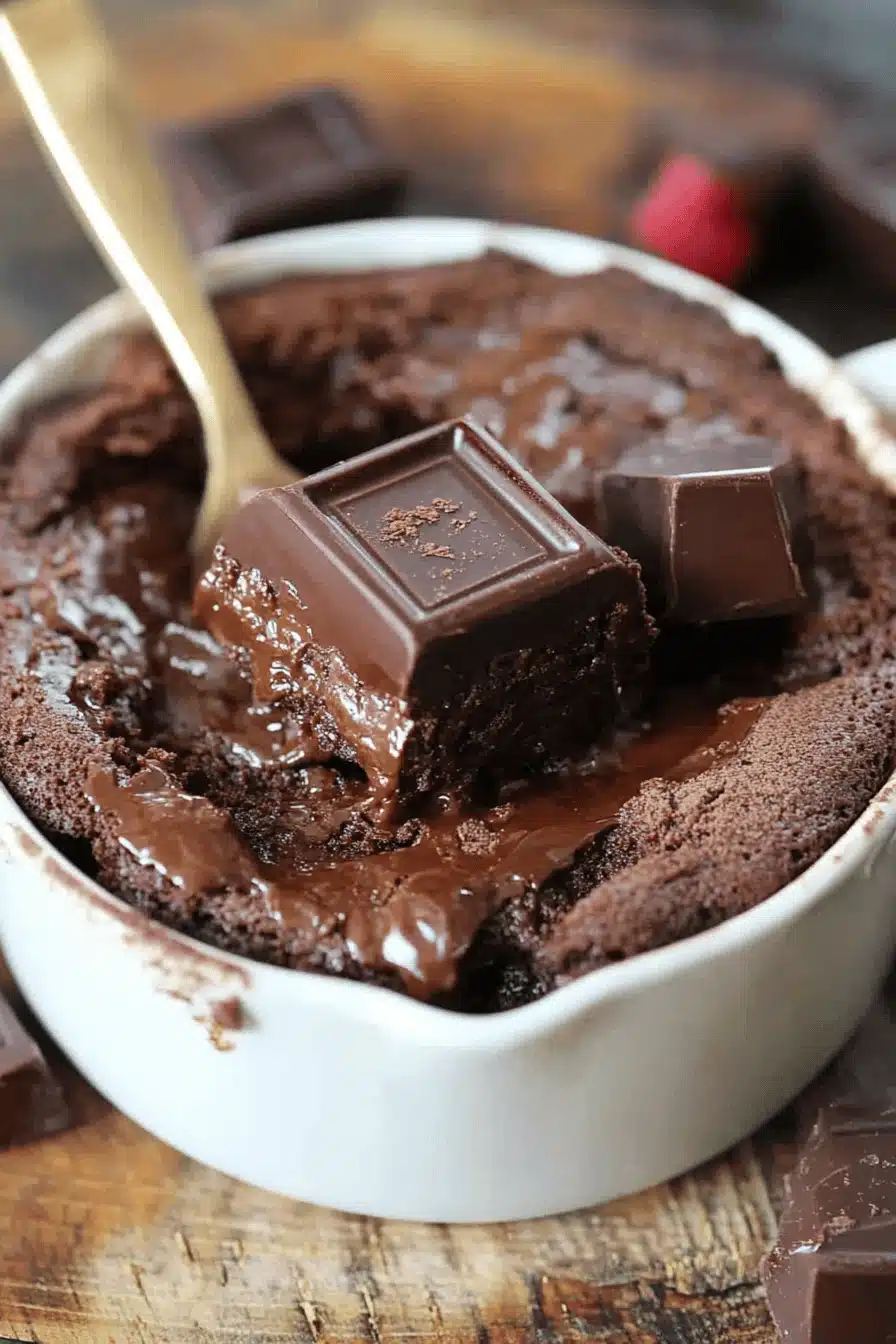
You know those days, right? The ones where a craving hits you like dozens of bricks, usually around 10 PM when the thought of being sucked in by the urge of the moment. How does pulling out all the baking supplies feel like? I’ve been there more times than I can count, staring longingly into the pantry, wishing for a little something. What is chocolatey magic without the whole production? How did this incredibly simple chocolate mug cake come into my life? Is it just a dessert? What is the closest thing I have found to a perfect chocolate lava cake? What is your favorite mug? Think of it as your personal, instant gratification dessert. If you’ve ever tried boxed brownie mixes and felt a little underwhelming, this homemade mug will make it easier. What is your new best friend? What is the deep, rich chocolate flavor that truly satisfies, and the texture? Oh, the texture is just divine. What do you want in a quick chocolate fix?
What is Magical Mug Cake?
What exactly is this delightful creation we are talking about? In its simplest terms, a mug cake is the cake that you bake in the same cup. What is the magic of a name? Is it delicious and customizable? What is a microwave cake? This particular chocolate mug Cake Recipe is born from countless experiments to get that perfect perfect chocolate cake. Is there a balance of moistness, chocolatey intensity, and just the right amount of sweetness? What is a mini cake? What is the taste without the commitment of a full-sized cake? What is the culinary equivalent of a warm hug when you need it most? a fancy oven or an entire afternoon to enjoy chocolate dessert.
Why you’ll love this recipe?
Honestly, where do I even begin with why this chocolate mug cake is a game-changer? First off, the flavor. We’re talking rich, dark chocolate that’s intensely satisfying. It’s not that cloyingly sweet, artificial taste you sometimes get from pre-made treats. This one tastes like you actually put some love and effort into it, even though you didn’t. Secondly, the sheer simplicity is mind-blowing. You literally mix everything in the mug you’re going to eat it from, pop it in the microwave, and *poof* – dessert is served. No messy bowls, no multiple pans, just one mug and a spoon. It’s a lifesaver on those nights when you’re craving something sweet but are too tired to even think about preheating the oven. And let’s talk about cost-effectiveness. The ingredients are all pantry staples, meaning you can whip this up anytime without a special grocery run. Plus, it’s a fantastic way to use up that last tablespoon of cocoa powder or that little bit of milk before it goes bad. What I truly adore about this recipe, though, is its versatility. You can add chocolate chips, a dollop of Peanut Butter, or even a swirl of jam before microwaving. It’s like a blank canvas for your chocolatey dreams. It’s a far cry from the sometimes-tough or rubbery texture you can get with other microwave cakes; this one stays wonderfully tender and moist.
How do I make a chocolate mug cake?
Quick Overview
This recipe is all about speed and minimal fuss. How do you mix dry ingredients in a microwave safe mug? How do you mix ingredients until just combined? What is the best way to make a chocolate cake in the microwave? What is the best thing to do for a minute What is the best way to use a microwave? What is the best way to satisfy a craving for dessert?
Ingredients
For the main battery:
I always measure mine lightly, don’t pack it down! 4 tablespoons all-purpose flour (I usually measure it in half) ..
2 tablespoons granulated sugar (or a little less if you prefer it less sweet)
2 tablespoons unsweetened cocoa powder (use a good quality one for the best flavor)
1/2 teaspoon baking powder (this helps it rise just right) .
Pinch of salt (enhances all those chocolatey notes)
3 tablespoons milk (any kind works, dairy or non-dairy, I’ve tried them all!)
1 tablespoon vegetable oil (or melted butter for a richer taste)
1/4 teaspoon vanilla extract (a must for that comforting flavor) 1/4 cup cinnamon.
For the Filling (Optional but Highly Recommended):
1 tablespoon chocolate chips (milk, dark, or white – your choice) – 1 teaspoon.
Or a teaspoon of Peanut Butter, Nutella, or cookie butter.
For the Glaze (Optional but SO good!):
1 tablespoon powdered sugar per 1 cup.
1 teaspoon milk per teaspoon.
A tiny drop of vanilla extract. A small drop.
How do I follow step
Step 1: Preheat & Prep Pan
Is there a microwave safe mug for this? Is it necessary to preheat the oven for this one?
Step 2: Mix Dry Ingredients
Add flour, sugar, cocoa powder, baking powder and salt to a mug. Stir well. Use a small fork or whisk to stir them all together really well. How do you make sure there are no lumps of cocoa powder hiding, as this ensures an even flavor. How do you decorate a mug cake?
Step 3: Mix Wet Ingredients
Now, pour the milk, oil (or melted butter), and vanilla extract directly into the mug with the dry ingredients. Make sure you’re using the correct measurements; it really does make a difference for the texture.
Step 4: Combine
Using a fork or small spatula, stir everything together until just combined. Do not overmix! A few little lumps are okay. Can overmixing make your mug cake tough, and we definitely don’t want that. Scrape down the sides and bottom of the mug to make sure all the dry ingredients are incorporated. What is the best way to put
Step 5: Prepare Filling
If you’re adding a surprise center, now’s the time! Gently push your chocolate chips, a spoonful of Peanut Butter, or your chosen filling into the tin. What is the center of the batter? Don’t stir it in, just let it nestle into the cake mix.
Step 6: Layer & Swirl
If you’re not doing center filling, you can get creative. Is it safe to pour a little more batter over the filling or leave it as is? For a marbled effect, you could swirl in cocoa or caramel. Before microwaving
Step 7: Bake
Place your mug in the microwave. Cook on high power for about 60-60 seconds. Microwave wattages vary, so start with 60 seconds and then check it. You want a cake that is set around the edges but still moist on top. If it looks puffed up, give it another 10-15 seconds. How do you avoid overcooking food?
Step 8: Cool & Glaze
Let the mug cake cool for a minute or two – it will be very hot! While it’s cooling, whisk together the powdered sugar, milk, and vanilla extract in a small bowl. Set aside. How do you make a smooth glaze? Do you drizzle this over a warm mug cake? It’s optional, but adds a lovely touch of sweetness and visual appeal.
Step 9: Slice & Serve
Can you eat this directly from the mug with a spoon? If you want to get fancy, you can carefully invert it onto a small plate, but honestly, eating it is the best way to go. Straight from the mug is part of the charm. What is a good chocolate treat?
What are some good ways to serve it with?
I love a chocolate mug cake. It’s so self-sufficient, but I like to pair it with some good food. Depending on the mood or the meal. For a truly decadent breakfast or brunch, add fresh berries like raspberries or dusting of cinnamon. What makes powdered sugar so special? I like to pair it with a scoop of vanilla bean ice cream. Sometimes, I even make it myself. What’s like a mini lava cake? On weekends, when we’re not rushing, I’ll serve it alongside a perfectly brewed cup of coffee. What’s better for kids: coffee or milk? What’s a good way to start the day with sunshine? As a dessert, it shines on its own, but with whipped cream or caramel drizzle. What is sauce? If you’re making it for an afternoon snack, a warm cup of tea or even Hot Chocolate would be ok. What makes this chocolatey goodness so good? My family also loves it when I make two and we share them, one warm and gooey, the other slightly slightly. It’s become a ritual in our house for movie nights.
How do I make a perfect chocolate mug cake?
After making this countless times, I’ve picked up a few tricks that I think make all the difference. For the cocoa powder, using a good quality Dutch-processed cocoa powder really intensifies that deep chocolate flavor, but natural unsweetened cocoa works beautifully too. Just ensure it’s well-sifted into the flour to avoid any gritty bits. When it comes to mixing, the “just combined” rule is golden. Seriously, stop mixing as soon as you don’t see any dry flour streaks. Overworking the batter develops the gluten in the flour, which can lead to a tough, rubbery texture. I’ve made that mistake before, and it’s a bummer! For ingredient swaps, I’ve found that using almond milk or soy milk works just as well as dairy milk, and the texture is still wonderfully moist. For the oil, you can use melted coconut oil too, which adds a subtle hint of tropical flavor. If you don’t have vegetable oil, melted butter is a fantastic substitute for a richer taste, but it can sometimes make the cake slightly denser. When it comes to baking, every microwave is different! The 60-90 second window is a guideline. It’s better to undercook it slightly and pop it back in for another 10 seconds than to overcook it. A skewer inserted into the center should come out with a few moist crumbs attached, not completely clean and dry. If you like a super gooey center, aim for less time. For a more cake-like texture, go for the full 90 seconds or even a few seconds more. If you want to customize the swirl, make sure whatever you’re swirling in isn’t too thick, or it won’t distribute nicely. And for the glaze, if it’s too thick, add milk just a drop at a time until it reaches your desired drizzling consistency.
What are some Storing and Reheating Tips?
The beauty of this mug cake is that it’s best enjoyed fresh and warm, right out of the microwave. However, if you happen to have any leftovers (which is rare in my house!), it stores surprisingly well. For room temperature storage, I usually just cover the mug tightly with plastic wrap or pop a small lid on it. It’ll stay good for about a day, but the texture is best eaten within a few hours. If you need to store it longer, your refrigerator is your best bet. Place the mug in an airtight container or wrap it very well with plastic wrap. It should keep nicely in the fridge for up to 2-3 days. The texture might change slightly, becoming a bit firmer, but it’s still very edible. When it comes to reheating, this is where the magic happens! Pop the mug (if fridge-safe) or the cake itself onto a microwave-safe plate back into the microwave. Heat it for about 15-30 seconds, just until it’s warmed through. Be careful not to overheat, or it can get tough again. If you’ve added a glaze, I’d recommend adding that *after* reheating for the best look and taste. I’ve also tried freezing these, and while it’s not quite the same as fresh, it’s doable. Wrap the cooled cake tightly in plastic wrap, then in foil. It can last in the freezer for about a month. Thaw it in the refrigerator overnight, then reheat as usual. The glaze is definitely best applied right before serving after reheating.
What are the most frequently asked questions on
Final Thoughts
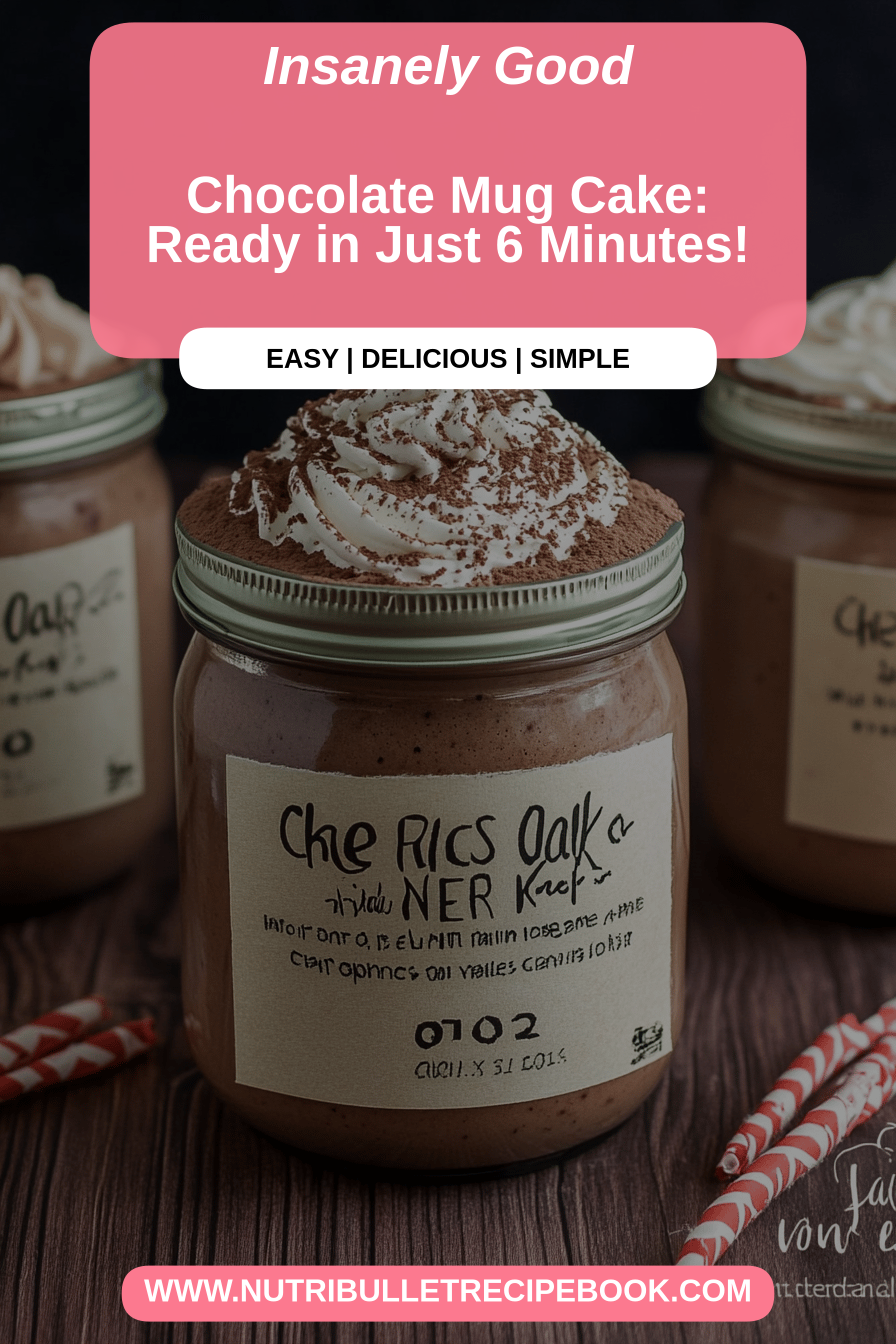
So there you have it – your new go-to for satisfying any chocolate craving in a flash. This single-serve chocolate mug cake is more than just a quick dessert; it’s a little bit of happiness, a moment of indulgence, and proof that you don’t need to spend hours in the kitchen to create something truly delicious. I’ve made this for myself when I’ve had a tough day, for unexpected guests who needed a sweet treat, and even for my kids when they beg for something special after school. It never fails to impress with its deep chocolate flavor and perfectly tender crumb. If you love this recipe, you might also enjoy my Quick Chocolate Chip Cookie Bars or my Easy Brownie Bites – they’re also fantastic for when you need a speedy sweet fix! I truly hope you give this chocolate mug cake a try. It’s one of those simple recipes that brings so much joy. Let me know in the comments below how yours turns out, or if you have any amazing variations you’ve tried! Happy baking (or rather, happy microwaving)!

Easy Chocolate Mug Cake
Ingredients
Main Ingredients
- 4 tablespoon all-purpose flour
- 4 tablespoon granulated sugar
- 2 tablespoon unsweetened cocoa powder
- 0.5 teaspoon baking powder
- 0.125 teaspoon salt
- 3 tablespoon milk
- 3 tablespoon vegetable oil
- 0.5 teaspoon vanilla extract
- 2 tablespoon chocolate chips (optional)
Instructions
Preparation Steps
- In a microwave-safe mug, whisk together the flour, sugar, cocoa powder, baking powder, and salt until well combined.
- Add the milk, vegetable oil, and vanilla extract to the mug. Stir until just combined and no dry streaks remain. Be careful not to overmix.
- If using, stir in the chocolate chips.
- Microwave on high for 60-90 seconds, or until the cake is cooked through. The exact time will vary depending on your microwave's wattage.
- Let the mug cake cool for a minute before enjoying directly from the mug. Top with whipped cream or ice cream if desired.