You know those mornings? The ones where you wake up feeling like you’ve hit the snooze button one too many times, and the thought of a full sit-down breakfast feels like climbing Mount Everest? Yeah, me too. That’s precisely when these little mini breakfast omelets swoop in like a superhero. They’re not just a quick fix; they’re a burst of pure joy in every bite, packed with whatever delicious bits and bobs I have in the fridge. Forget those sad, dry, pre-packaged breakfast bars; these are the real deal. Think of them as perfectly portioned pockets of fluffy egg goodness, customizable to your heart’s content. They remind me of the tiny quiches my grandma used to make for special occasions, but honestly, these are so much simpler and perfect for a Tuesday morning. If you’ve ever loved a good frittata but wished it came in a more portable, individual package, you’re going to be obsessed with these mini breakfast omelets.
What Are Mini Breakfast Omelets?
So, what exactly are these magical little things? Essentially, they’re just bite-sized omelets baked in a mini muffin tin. That’s it! The name itself is pretty straightforward, but the beauty is in the simplicity and the endless possibilities. Instead of folding a large omelet, we’re pouring a whisked egg mixture into individual cups, adding your favorite fillings, and baking them until they’re puffed up and golden. It’s less about technique and more about assembly, which is why I love them. They’re essentially deconstructed omelets, but in a format that’s ridiculously cute and incredibly convenient. You can think of them as personal Egg Muffins or individual frittatas, depending on how fancy you want to get with the description. The “mini” part is key here – it makes them perfect for little hands (or for portion control, if you’re like me and sometimes have a hard time stopping at one!) and super easy to grab and go.
Why you’ll love this recipe?
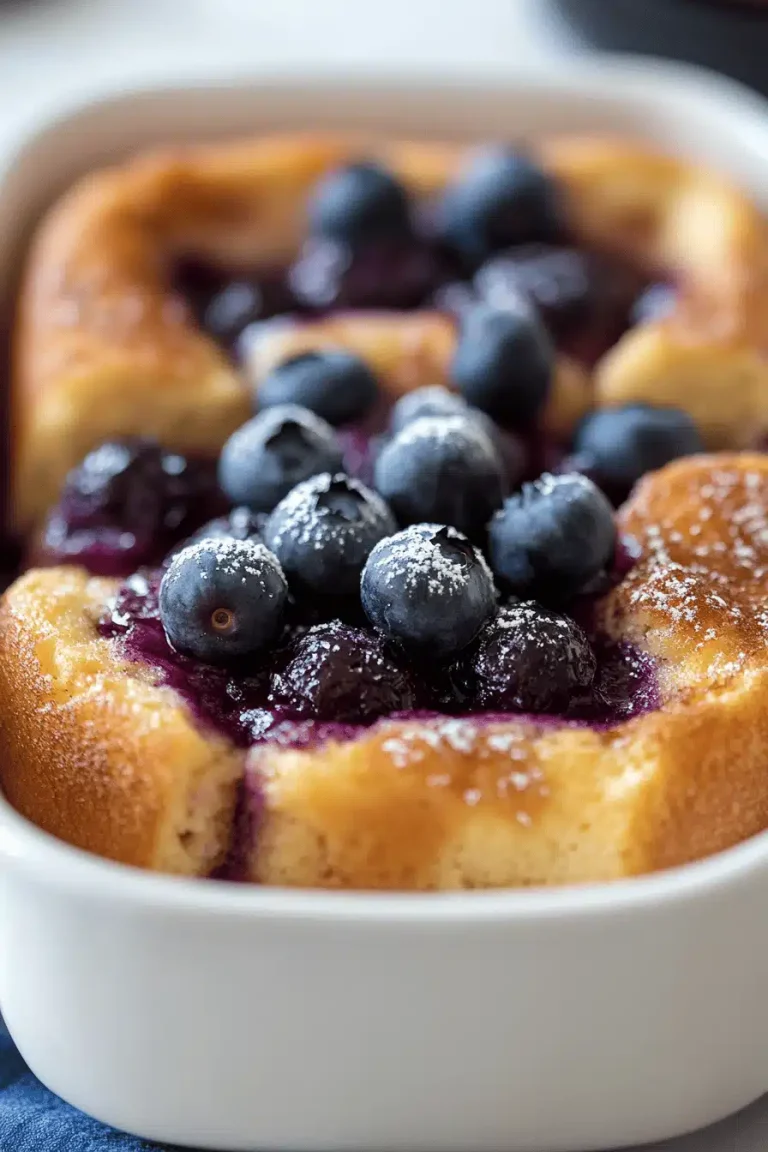
Oh, where do I even begin with why this recipe is an absolute winner? First off, the FLAVOR. Each mini omelet is a little explosion of savory goodness. The eggs are perfectly cooked – tender and fluffy, never rubbery. Then you have the fillings you’ve chosen, mingling with the eggs to create a taste sensation that’s just… *chef’s kiss*. It’s comfort food in a bite-sized package! Second, the SIMPLICITY is a lifesaver. On those chaotic mornings, the last thing you need is a complicated recipe. This is as easy as whisking eggs, chopping some veggies, and pouring them into a tin. Seriously, my kids can even help with this one, which is always a win in my book. It’s also incredibly COST-EFFECTIVE. You’re using basic pantry staples like eggs and milk, and then adding whatever leftover veggies or bits of cheese you have in the fridge. It’s a fantastic way to use up ingredients before they go bad, saving you money and reducing food waste. And then there’s the VERSATILITY – this is where these mini breakfast omelets truly shine. They’re not just for breakfast! I’ve served these at potlucks, packed them for lunches, and even offered them as a light, healthy snack in the afternoon. They’re fantastic for meal prep too; make a big batch on Sunday and have breakfast sorted for the week. What I love most about this recipe is how forgiving it is. You can swap out ingredients, play with different flavor combinations, and it always turns out wonderfully. It’s like a blank canvas for your culinary creativity. If you enjoy my Fluffy blueberry pancakes.What are some
How to Make Mini Breakfast Omelets
Quick Overview
Making these mini breakfast omelets is incredibly straightforward. You’ll basically whisk your eggs with a splash of milk or cream, stir in your chopped fillings, and then pour the mixture into a greased mini muffin tin. Bake them until they’re puffed and set, and voilà! You’ve got a batch of delicious, protein-packed omelets ready to go. It’s truly one of the easiest ways to get a wholesome meal on the table, especially when you’re pressed for time.
Ingredients
For the Main Batter:
12 large eggs – I always go for free-range if I can; the yolks tend to be a richer color, and I feel good about where they come from.
1/4 cup milk or half-and-half – Milk is fine, but a little cream or half-and-half makes them extra tender and decadent. You can even try almond milk if you’re dairy-free, it works surprisingly well!
1/2 teaspoon salt – Don’t skip this, it really brings out the flavor.
1/4 teaspoon black pepper – Freshly ground is always best for that little kick.
1 tablespoon unsalted butter or cooking spray – For greasing the muffin tin. Butter adds a lovely subtle flavor.
For the Filling:
1 cup of your favorite fillings, finely chopped – This is where you can get creative! I love a mix of finely diced bell peppers (any color!), sautéed mushrooms, finely chopped spinach, or even a sprinkle of cooked bacon or ham. Make sure they’re finely chopped so they distribute evenly and don’t sink to the bottom.
1/2 cup shredded cheese (cheddar, Monterey Jack, Swiss, or a blend) – Cheese makes everything better, right? I often use whatever I have in the fridge, from sharp cheddar to a mild mozzarella.
Step-by-Step Instructions
Step 1: Preheat & Prep Pan
First things first, get your oven preheated to 375°F (190°C). Then, take your mini muffin tin and give each cup a really good grease. I like to use a pastry brush to spread a thin layer of melted butter or use a good quality cooking spray. This step is crucial to prevent any sticking, and nobody wants to be scraping omelets out of the tin!
Step 2: Mix Dry Ingredients
In a large bowl, crack all 12 eggs. Add the salt and pepper. Now, this is important: whisk them really well until the yolks and whites are completely combined and the mixture is a uniform pale yellow. You want it nice and frothy – this helps create that light, fluffy texture we’re going for.
Step 3: Mix Wet Ingredients
Pour in your milk or half-and-half. Give it another good whisk to incorporate it fully into the eggs. I’ve experimented with different liquids, and while water works in a pinch, milk or cream really adds richness and helps the omelets stay moist. If you’re using almond milk or another non-dairy option, just whisk it in the same way.
Step 4: Combine
This is where the magic starts to happen! Gently fold in your finely chopped fillings and shredded cheese into the egg mixture. Don’t overmix here; you just want everything evenly distributed. The goal is to get a bit of everything in each mini omelet. If you’re using raw vegetables like onions or peppers, it’s a good idea to sauté them briefly first to soften them up and remove excess moisture, otherwise, your omelets might be a bit watery.
Step 5: Prepare Filling
Actually, this step is pretty much covered in Step 4! We’re just folding in the goodies. If you’re adding something like pre-cooked bacon bits or diced ham, just give them a rough chop and stir them in. For veggies, especially things like spinach or mushrooms, I always give them a quick sauté in a separate pan with a tiny bit of butter or oil to cook them down and get rid of excess water. Nobody wants a soggy omelet!
Step 6: Layer & Swirl
Now, carefully spoon the egg mixture into each prepared mini muffin cup, filling them about two-thirds to three-quarters of the way full. They will puff up as they bake, so you don’t want them overflowing. You can even give them a gentle swirl with a toothpick if you want to make sure the fillings are nicely distributed, though it’s not strictly necessary. I usually just give the tin a gentle tap on the counter to settle everything.
Step 7: Bake
Pop the tin into your preheated oven. Bake for about 15-20 minutes. The exact time will depend on your oven and how full you filled the cups. You’ll know they’re ready when they’re puffed up, golden brown around the edges, and a toothpick inserted into the center comes out clean. They’ll deflate a bit as they cool, which is totally normal!
Step 8: Cool & Glaze
Once they’re done, carefully remove the muffin tin from the oven. Let them cool in the tin for about 5-10 minutes. This helps them firm up a bit and makes them easier to remove. If you wanted to add a glaze (though these don’t typically need one!), this would be the time to do it, letting them cool completely first.
Step 9: Slice & Serve
Gently loosen the edges of each mini omelet with a small spatula or a butter knife, then carefully lift them out of the tin. Serve them warm! They are absolutely delicious right out of the oven. You can arrange them on a platter, pile them high in a bowl, or just grab one (or three!) for yourself. They’re perfect as is, or you can serve them with a side of salsa, hot sauce, or even a dollop of sour cream.
What to Serve It With
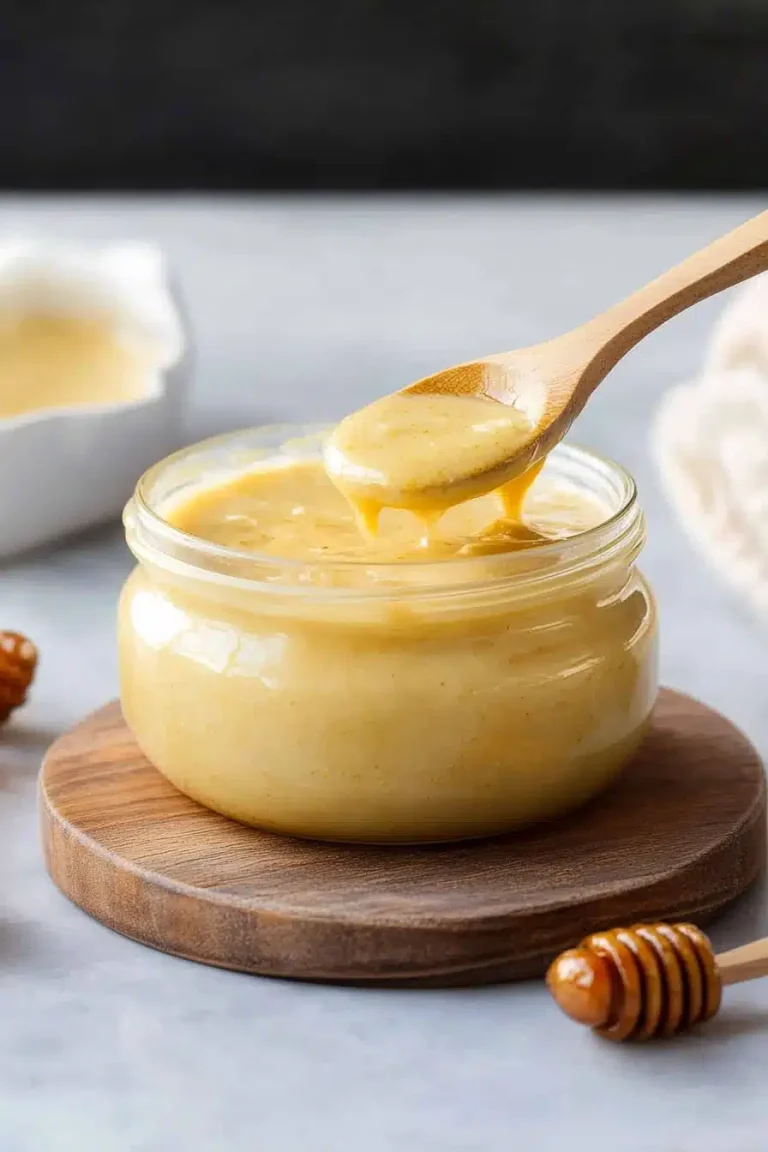
These mini breakfast omelets are so versatile, they can honestly be paired with almost anything! For a classic breakfast, I love serving them alongside some crispy bacon or breakfast sausage. A side of fresh fruit, like berries or melon slices, adds a nice brightness and balances the richness of the eggs. If you’re going for a more substantial brunch spread, these are fantastic alongside some fluffy pancakes (my Lemon Ricotta Pancakes are a favorite!) or a basket of warm, crusty bread. For a lighter, healthier option, a simple green salad with a light vinaigrette makes a lovely accompaniment. As a dessert, while they’re savory, I’ve actually had guests enjoy them with a tiny drizzle of honey or a sprinkle of chives for a unique sweet and savory contrast – it sounds weird, but it works! My kids absolutely love them with a little ketchup, which is always an easy win for picky eaters. For cozy snacks, they’re perfect on their own, maybe with a cup of tea or coffee, making them ideal for those in-between meal cravings.
Top Tips for Perfecting Your Mini Breakfast Omelets
I’ve been making these little wonders for years, and through trial and error (and yes, a few less-than-perfect batches!), I’ve picked up a few tricks that really make a difference. For the Zucchini Prep, if you decide to add zucchini, make sure you grate it and then squeeze out as much liquid as possible. I usually wrap the grated zucchini in a clean kitchen towel or paper towels and wring it out firmly. This prevents your omelets from getting watery. When it comes to Mixing Advice, the biggest thing is not to overmix the batter once you’ve added the eggs and liquid. Overmixing can make the eggs tough. Just a few gentle stirs to combine is all you need. Also, ensure your fillings are finely chopped; large chunks can sink to the bottom and make it harder to get an even cook. For Swirl Customization, if you want a prettier look, you can reserve a small amount of plain egg mixture and then, after filling the cups, drizzle a little of the plain egg over the top of the fillings before baking. You can even use a toothpick to create a little swirl effect. For Ingredient Swaps, feel free to experiment! If you don’t have milk, water works, but it won’t be as rich. Non-dairy milks like almond or oat milk are great alternatives. For the cheese, any meltable cheese works beautifully. If you’re allergic to eggs or dairy-free, I’ve heard that a chickpea flour batter can work, though I haven’t tested that myself yet! Baking Tips are crucial: don’t overfill the muffin cups; they need room to puff up. Also, ovens can vary wildly, so keep an eye on them. If your edges are browning too quickly, you can always tent the tin with foil. And for the crucial “doneness test,” a toothpick inserted into the center should come out clean. Glaze Variations aren’t really a thing for these, as they’re typically served as is, but if you were making a sweet version, a simple powdered sugar glaze would be lovely. The key is to let them cool completely before attempting any kind of glaze.
Storing and Reheating Tips
One of the best things about these mini breakfast omelets is how well they store. For Room Temperature storage, I’d say they’re best enjoyed within a couple of hours after baking. If you need to store them for longer, get them into the fridge or freezer. Refrigerator Storage is your best bet for weekday breakfasts. Once they’ve cooled completely, store them in an airtight container in the fridge for up to 3-4 days. They retain their texture and flavor really well. For Freezer Instructions, these are freezer-friendly too! Once cooled, you can freeze them in a single layer on a baking sheet until solid, then transfer them to a freezer-safe bag or container. They’ll keep well in the freezer for up to 2-3 months. To reheat from the fridge, I usually pop them in the microwave for about 30-60 seconds, or until heated through. For frozen ones, it’s best to thaw them in the refrigerator overnight, then reheat as you would the refrigerated ones. You can also reheat them gently in a toaster oven or a regular oven at a low temperature (around 300°F or 150°C) for a few minutes until warm. Glaze Timing Advice: If you decide to add a glaze (which I usually don’t for these), it’s best to apply it right before serving to fresh or reheated omelets. Glazing them before storing might make them soggy.
Frequently Asked Questions
Final Thoughts
Honestly, these mini breakfast omelets are one of those recipes that just make life a little bit easier and a whole lot tastier. They’re proof that you don’t need a lot of fuss or fancy ingredients to create something truly delicious and satisfying. They’re perfect for busy mornings, make-ahead lunches, or even a quick, protein-packed snack. The flexibility to use whatever fillings you have on hand makes them a budget-friendly and waste-reducing champion in my kitchen. If you’re someone who loves the idea of a hearty breakfast but struggles with the time commitment, I really hope you’ll give these a try. They’re so simple, so customizable, and just genuinely delightful. If you enjoyed this recipe and are looking for more easy breakfast ideas, you might also love my Simple Overnight Oats for a no-cook option. I can’t wait to hear what you think and what amazing filling combinations you come up with! Don’t forget to share your creations and tag me – I love seeing your kitchen adventures! Happy baking (or, in this case, baking-lite)!

mini breakfast omelets
Ingredients
Main Ingredients
- 6 large eggs Eggs
- 0.5 cup Milk or heavy cream
- 0.5 cup Shredded Cheese cheddar, Monterey Jack, or your favorite
- 0.25 cup Diced Bell Pepper any color
- 0.25 cup Diced Onion
- 0.125 cup Chopped Ham or Bacon optional
- 0.1 teaspoon Salt
- 0.1 teaspoon Black Pepper
Instructions
Preparation Steps
- Preheat your oven to 350°F (175°C). Lightly grease a mini muffin tin.
- In a medium bowl, whisk together the eggs, milk, salt, and pepper until well combined and slightly frothy.
- Stir in the shredded cheese, diced bell pepper, diced onion, and chopped ham or bacon (if using).
- Pour the egg mixture evenly into the prepared mini muffin cups, filling each about two-thirds full.
- Bake for 15-20 minutes, or until the omelets are set and lightly golden brown around the edges.
- Let the omelets cool in the muffin tin for a few minutes before carefully removing them. Serve warm.