Oh, I’m so excited to share this recipe with you today! Seriously, these marshmallow brownies are pure magic. They’re that perfect blend of fudgy, gooey, and utterly irresistible that just makes you close your eyes and savor every bite. I remember the first time I made them; it was a rainy Saturday, and I was craving something ridiculously chocolatey but didn’t want to get too complicated. My mom had a recipe for classic brownies, but I had this idea… what if I added marshmallows? I was a little nervous, honestly. Would they melt into a weird sugary mess? Would they burn? But oh, were my fears unfounded! The result was pure bliss. The marshmallows create these pockets of molten sweetness that just melt into the rich chocolate base, making each bite an adventure. It’s like a decadent chocolate hug with a surprise gooey center. If you love a good brownie, but you’re looking for that extra something that takes it from delicious to absolutely legendary, these marshmallow brownies are for you. They’re even better than a regular brownie, in my humble opinion, and that’s saying a lot!
What are Marshmallow Brownies?
So, what exactly are marshmallow brownies? Think of your absolute favorite, go-to fudgy brownie recipe. Now, imagine taking that deliciousness and swirling in a generous amount of gooey, melted marshmallows right into the batter. That’s it! It’s essentially a classic brownie base with a magical, melty marshmallow surprise baked right in. The name itself evokes that wonderful contrast: the deep, rich, satisfying chewiness of a brownie meeting the light, airy, and delightfully sticky sweetness of marshmallows. I like to think of them as the ultimate comfort food, a hug in edible form. They aren’t overly complicated; the magic comes from that simple addition. It’s the kind of dessert that makes people ask, “What is that amazing thing?” and then they disappear before you can even blink. It’s that good.
Why you’ll love this recipe?
There are so many reasons why I think you’ll fall head-over-heels for these marshmallow brownies. First and foremost, the flavor is just out of this world. You get that deep, dark chocolatey richness from the brownie itself, but then, when you bite into a pocket of melted marshmallow, it’s like a burst of pure, unadulterated sweetness that complements the chocolate perfectly. It’s not just sweet; it’s this wonderful, stretchy, gooey caramel-like sensation that transforms the whole experience. And the texture! Oh, the texture is just divine. You have the slightly crisp edges, the dense, fudgy center, and then those pockets of pillowy, melted marshmallow. It’s a textural dream! What I love most is that despite how decadent they taste, they’re surprisingly simple to make. You don’t need any fancy equipment or complicated techniques. It’s really just a matter of making your favorite brownie batter and folding in some marshmallows. This recipe is also wonderfully cost-effective, using pantry staples you probably already have on hand. And talk about versatile! These are perfect for pretty much any occasion: a kid’s birthday party, a potluck, a cozy movie night, or even just a treat for yourself because, well, you deserve it! They’re a lifesaver on busy nights when you need a quick, impressive dessert. They’re miles better than those store-bought brownies, and honestly, they rival any bakery treat. Trust me, once you try these, your regular brownie recipe might just gather dust!
How do I make Marshmallow Brownies?
Quick Overview
Making these marshmallow brownies is surprisingly straightforward. You’ll start by preparing your brownie batter as usual, making sure to get that rich, fudgy consistency. Then comes the fun part: gently folding in chunks of marshmallows. The key here is not to overmix, so you get those distinct gooey pockets. You’ll bake them until they’re just set, then let them cool slightly before enjoying. It’s a method that emphasizes simplicity and yields incredibly rewarding results. You get all the amazing texture and flavor of a homemade brownie with that added marshmallow magic, making them a true showstopper with minimal effort.
Ingredients
For the Main Batter:
* 1 cup (2 sticks or 226g) unsalted butter, melted
* 2 cups (400g) granulated sugar
* 4 large eggs
* 1 teaspoon vanilla extract
* 1 cup (120g) all-purpose flour
* 3/4 cup (65g) unsweetened cocoa powder (Dutch-processed is great for a deeper flavor)
* 1/2 teaspoon baking powder
* 1/2 teaspoon salt
* 1 cup (170g) semi-sweet chocolate chips (optional, but I always add them for extra chocolatey goodness)
For the Filling:
* 2 cups (about 8-10 oz or 225-280g) mini marshmallows (or you can chop up larger ones, just make sure they’re fresh!)
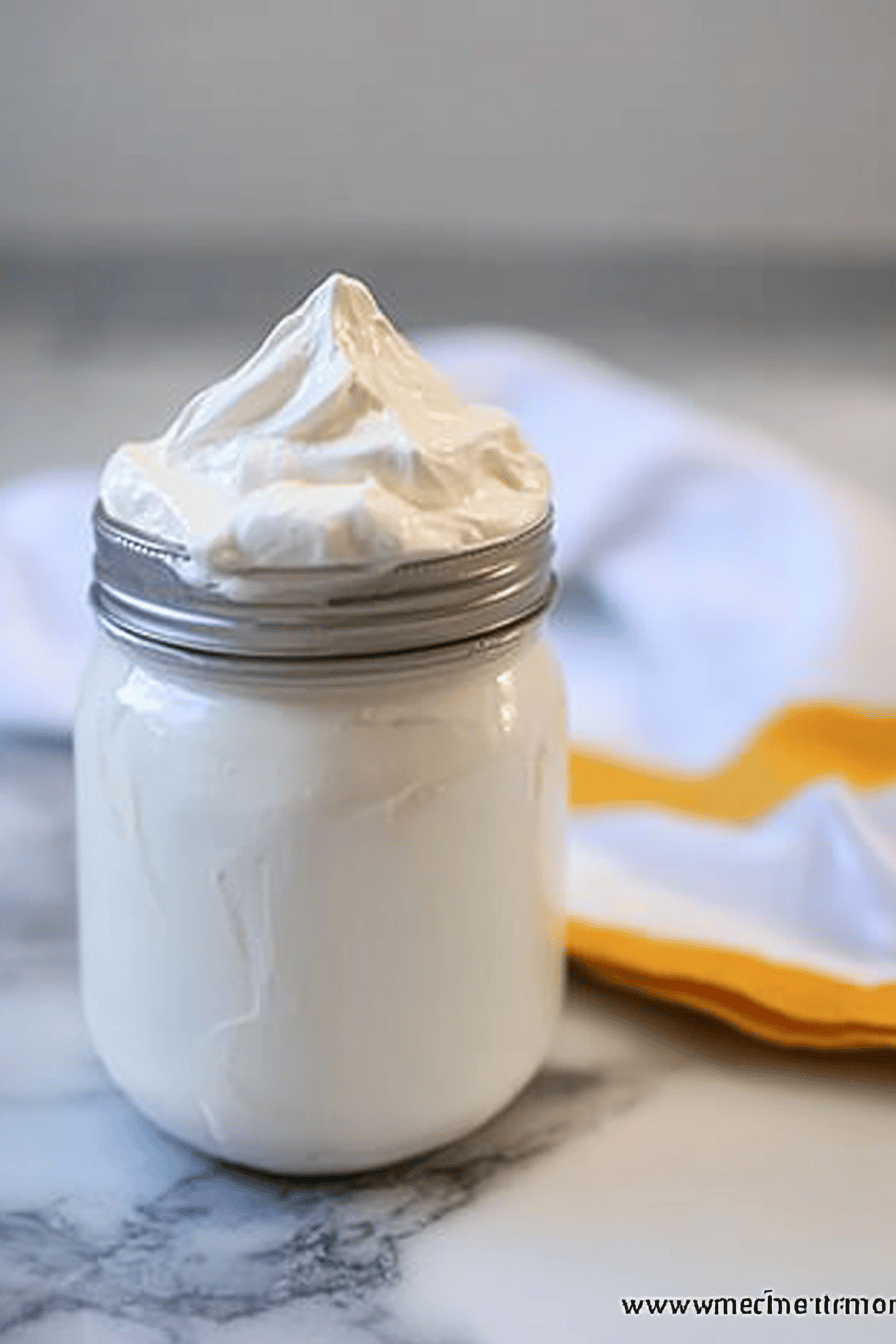
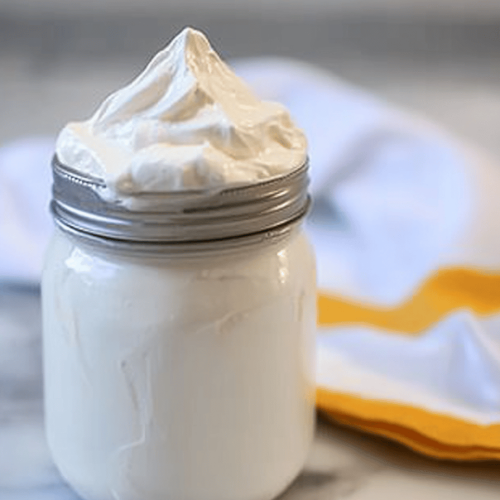
For the Glaze (Optional, but highly recommended!):
* 1 cup (120g) powdered sugar
* 2-3 tablespoons milk (or heavy cream for extra richness)
* 1/2 teaspoon vanilla extract
* Pinch of salt
Step-by-Step Instructions
Step 1: Preheat & Prep Pan
First things first, get your oven preheated to 350°F (175°C). This is super important for even baking, so don’t skip it! Then, grab a 9×13 inch baking pan. You can grease it with butter or cooking spray, but I always like to line it with parchment paper. This makes lifting the brownies out so much easier later on, and cleanup is a breeze. Just leave a little overhang on the sides to act as handles. This step is key to preventing those delicious brownies from sticking.
Step 2: Mix Dry Ingredients
In a medium bowl, whisk together your flour, cocoa powder, baking powder, and salt. Whisking them together first ensures that the baking powder and salt are evenly distributed throughout the flour, which helps your brownies rise properly and have that balanced flavor. You don’t want a bite that’s too salty or doesn’t have enough lift! Make sure there are no clumps of cocoa powder lurking in there; a good whisking is all it takes.
Step 3: Mix Wet Ingredients
In a large bowl, pour in your melted butter. Add the granulated sugar and whisk them together until they’re well combined. Then, crack in your eggs, one at a time, whisking after each addition. Stir in the vanilla extract. You’re looking for a smooth, glossy mixture here. The eggs help bind everything together and add richness, while the sugar dissolves, creating that lovely fudgy texture. Don’t over-beat it at this stage, just get it nicely incorporated.
Step 4: Combine
Now, it’s time to bring the wet and dry ingredients together. Gradually add the dry ingredients (from Step 2) to the wet ingredients (from Step 3). Mix until *just* combined. Seriously, this is where you need to be careful. Overmixing can develop the gluten in the flour too much, resulting in tough brownies. You want to see just a few streaks of flour remaining, and then you’ll stop. If you’re adding chocolate chips, gently fold them in now. The batter will be thick and fudgy – exactly what we want!
Step 5: Prepare Filling
This is the fun part! If you’re using mini marshmallows, you’re all set. If you’re using larger marshmallows, chop them into roughly 1-inch pieces. Fresh marshmallows are best; stale ones can sometimes turn a bit too gooey and less distinct. You want them to melt into luscious pockets, not just disappear into the batter entirely. Having them ready to go makes the next step super quick.
Step 6: Layer & Swirl
Pour about half to two-thirds of your brownie batter into the prepared pan and spread it out evenly. Now, sprinkle about half of your marshmallows over this layer. Dollop the remaining brownie batter over the marshmallows, trying to cover as much as possible. Then, sprinkle the rest of the marshmallows on top. If you want a more marbled effect, you can gently swirl a knife or toothpick through the batter and marshmallows, but don’t go crazy! You want distinct pockets of gooeyness.
Step 7: Bake
Pop that pan into your preheated oven. Bake for about 25-35 minutes. The exact time will depend on your oven, so keep an eye on them! You’ll know they’re done when the edges look set and slightly pulled away from the sides of the pan, and a toothpick inserted into the center (avoiding a marshmallow pocket!) comes out with moist crumbs attached, not wet batter. The marshmallows will look puffed up and slightly golden in places. Be careful not to overbake, or you’ll lose that lovely fudgy texture.
Step 8: Cool & Glaze
This is the hardest part: letting them cool! Let the brownies cool in the pan on a wire rack for at least 20-30 minutes. This allows them to set up properly. If you’re adding the glaze, whisk together the powdered sugar, milk (start with 2 tablespoons and add more if needed for consistency), vanilla extract, and a pinch of salt in a small bowl until smooth. It should be thick but pourable. Drizzle this glaze over the slightly cooled brownies. The residual heat will help it set beautifully. Allow the glaze to set for another 15-20 minutes before slicing.
Step 9: Slice & Serve
Once the brownies are cool and the glaze (if using) has set, use the parchment paper overhang to lift the whole slab out of the pan. Place it on a cutting board. Use a sharp knife to cut them into squares. For the cleanest cuts, you can wipe your knife with a damp cloth between slices, especially when you hit those gooey marshmallow pockets. Serve them warm for ultimate gooeyness, or at room temperature. They are truly spectacular!
What to Serve It With
These marshmallow brownies are so wonderfully versatile, they fit into almost any meal or snack occasion. For breakfast? I know, I know, brownies for breakfast sounds wild, but hear me out! A small square with a hot cup of coffee is pure indulgence. The coffee cuts through the sweetness perfectly. For brunch, I love to serve them cut into smaller, more elegant squares alongside fresh berries or a dollop of whipped cream. They add a fun, decadent touch to any brunch spread. As a dessert, they’re already stars on their own, but I often serve them with a scoop of good quality vanilla bean Ice Cream or even a raspberry coulis to add a tart contrast to the sweet chocolate and marshmallow. For those cozy, late-night snacks, they’re simply perfect as is, maybe with a tall glass of cold milk. My kids love them with a glass of chocolate milk, of course! We also have a family tradition of having these on movie nights, cut into big, generous squares. It’s become our go-to comfort food treat.
Top Tips for Perfecting Your Marshmallow Brownies
Over the years, I’ve picked up a few tricks that I think really elevate these marshmallow brownies from good to truly spectacular. For the marshmallows, using fresh ones is a game-changer. Stale marshmallows can sometimes melt down a bit too much and become less distinct. If you have a bag that’s been open for a while, maybe give them a quick test – they should be soft and pliable. When it comes to mixing the batter, I really can’t stress enough how important it is not to overmix once you add the flour. Just mix until you no longer see dry flour. Overmixing develops gluten, which will make your brownies tough and cakey instead of dense and fudgy. For the swirl effect, I don’t go too crazy. A gentle swirl with a knife is enough to create beautiful ribbons of marshmallow without completely dispersing them. You want those distinct pockets of gooeyness! If you’re feeling adventurous with ingredient swaps, I’ve had success using a mix of all-purpose flour and almond flour for a slightly nuttier flavor and denser texture, but stick to the standard flour for the first time to get the classic texture. For baking, I always recommend using the oven rack in the center position. This ensures the most even heat distribution. If your brownies tend to brown too quickly on top before the center is cooked, you can loosely tent the pan with foil during the last 10-15 minutes of baking. And if you’re not a fan of the glaze, a simple dusting of powdered sugar or even a sprinkle of flaky sea salt on top before slicing works wonders to cut through the sweetness.
Storing and Reheating Tips
These marshmallow brownies are best enjoyed within a few days, but they do store pretty well! At room temperature, I find they stay wonderfully moist and gooey for up to 3 days. Make sure to store them in an airtight container or wrap them tightly in plastic wrap. If you’ve glazed them, let the glaze fully set before covering to prevent it from sticking to the lid. If you need them to last a bit longer, the refrigerator is your friend. They’ll keep for about 5-7 days in an airtight container in the fridge. I personally like them slightly warmed up, so I’ll pop a slice in the microwave for about 10-15 seconds – just enough to get that marshmallow gooey again. Freezing is also an option if you know you won’t get through them quickly. I usually cut them into individual squares, wrap each one tightly in plastic wrap, and then place them in a freezer-safe bag or container. They’ll keep well in the freezer for up to 2-3 months. To thaw, just let them sit at room temperature for an hour or so, or gently reheat them in the microwave. If you freeze them with the glaze on, the glaze might soften a bit upon thawing, but they’ll still taste amazing! I always glaze them *after* baking and cooling, which helps maintain their texture whether I’m storing them at room temp, in the fridge, or freezing them.
Frequently Asked Questions
Final Thoughts
I truly hope you give these marshmallow brownies a try. They’re more than just a dessert; they’re a little bit of happiness baked into every square. The combination of rich chocolate and gooey, melted marshmallows is just unbeatable, and the fact that they’re so easy to make makes them a winner in my book. They’ve become a staple in my kitchen, especially when I need a guaranteed crowd-pleaser or just a little something sweet to brighten my day. If you love decadent, fudgy brownies with a delightful surprise, these are absolutely for you. If you enjoy this recipe, you might also love my Fudgy chocolate chip cookies or my Ultimate Brown Butter Blondies. They share that same spirit of comforting, homemade goodness. I can’t wait to hear what you think, and I’d absolutely love to see how your marshmallow brownies turn out! Please share your creations and any fun variations in the comments below. Happy baking!
Marshmallow Brownies
Ingredients
Brownie Batter
- 0.5 cup unsalted butter, melted
- 1 cup granulated sugar
- 2 large eggs
- 1 teaspoon vanilla extract
- 0.5 cup all-purpose flour
- 0.25 cup unsweetened cocoa powder
- 0.25 teaspoon baking powder
- 0.25 teaspoon salt
- 0.5 cup chocolate chips (optional)
Marshmallow Topping
- 1.5 cups mini marshmallows
Instructions
Preparation Steps
- Preheat your oven to 350°F (175°C). Grease and flour an 8x8 inch baking pan.
- In a medium bowl, whisk together the melted butter and granulated sugar until well combined.
- Beat in the eggs one at a time, then stir in the vanilla extract.
- In a separate small bowl, whisk together the flour, cocoa powder, baking powder, and salt.
- Gradually add the dry ingredients to the wet ingredients, mixing until just combined. Do not overmix.
- Fold in the chocolate chips, if using.
- Spread the batter evenly into the prepared baking pan.
- Bake for 20-22 minutes, or until a toothpick inserted into the center comes out with moist crumbs (not wet batter).
- Remove the pan from the oven and immediately sprinkle the mini marshmallows evenly over the top.
- Return the pan to the oven for an additional 2-3 minutes, or until the marshmallows are puffed and lightly golden.
- Let the brownies cool completely in the pan before cutting and serving.