You know those days, right? The ones where you’re craving something sweet, something that feels like a real treat, but the thought of turning on the oven fills you with dread? Or maybe it’s a last-minute gathering and you need a showstopper that doesn’t require hours of effort. This icebox cake is my absolute go-to for those moments, and honestly, it’s become a staple in our house. My kids ask for this icebox cake all the time, especially when we have friends over. It reminds me so much of my own childhood; my mom used to make a version of this, and the anticipation of it chilling in the fridge felt like pure magic. It’s like a hug in dessert form, and the fact that it’s so ridiculously simple makes it even better. Forget complicated layered cakes that take all day; this is your shortcut to pure bliss.
What is icebox cake?
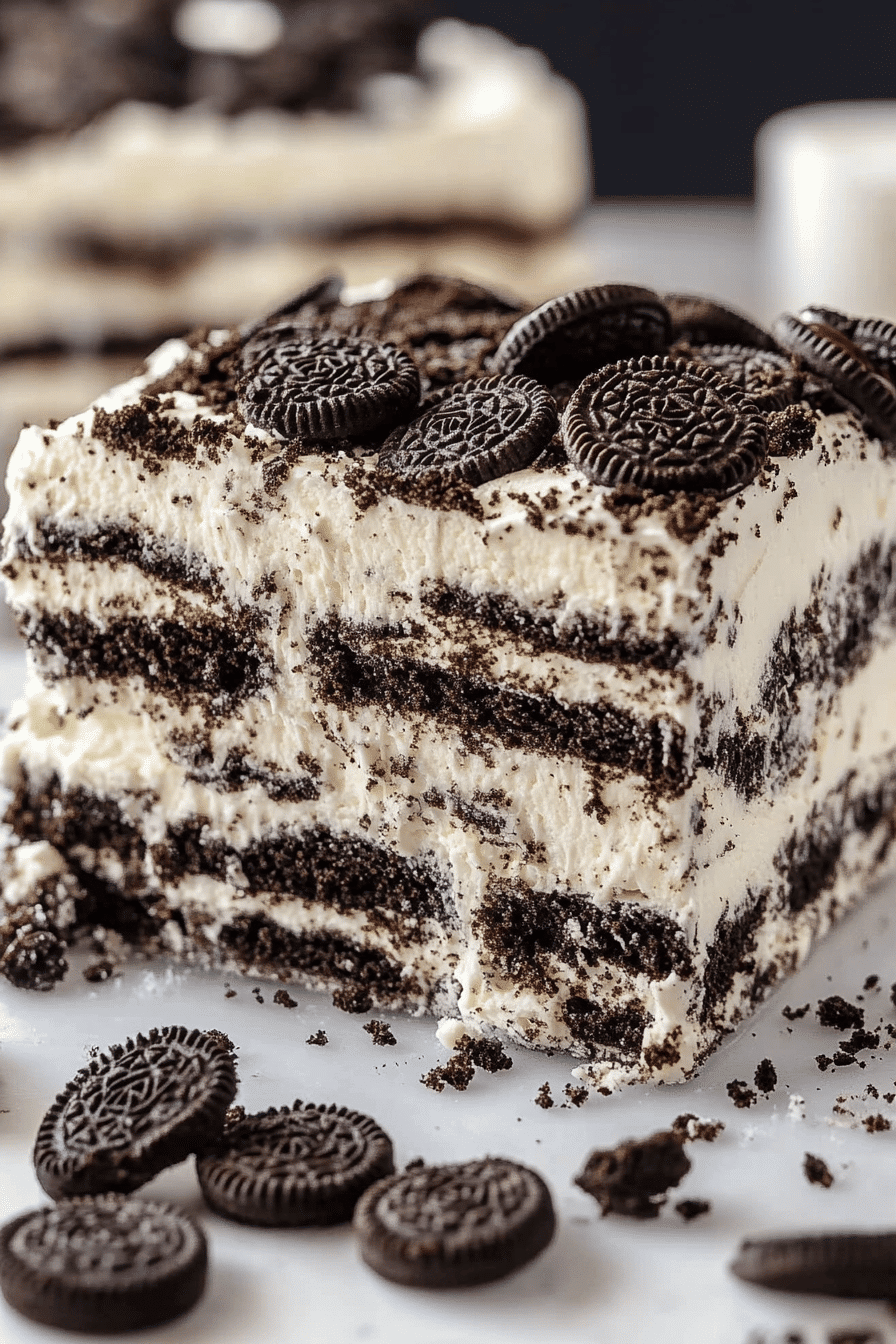
What is an icebox cake? Think of it as the effortless cousin of a layered cake or tiramisu. Is it a dessert that gets its structure and texture from chilling? Usually, it involves layers of cookies or wafers (graham crackers are a classic, but we’ll get to that later). What are some fun variations? ) that soften and meld together with a luscious whipped cream or pudding-like filling. As it sits in the refrigerator, or “icebox” as they used to call them, cookies absorb moisture. How do I make a cake without oven? What is a game changer for anyone who loves the soft, melt-in-your-mouth texture but wants to change their life? Is it possible to skip the baking process? It’s pure dessert alchemy, and I’m here for it!
Why you’ll love this recipe?
There are so many reasons why this icebox cake has earned a permanent spot in my recipe rotation, and I just know you’re going to adore it too. First off, the flavor profile is just out of this world. It’s creamy, lightly sweet, and has this wonderful, comforting vibe. It’s not overwhelmingly rich, so you can enjoy a generous slice without feeling weighed down. What I love most about this icebox cake is how incredibly simple it is to make. You don’t need any fancy equipment or complicated techniques. Seriously, if you can whip cream and open a box of cookies, you can make this! It’s a lifesaver on busy nights when you need a dessert that impresses but doesn’t demand your entire evening. Plus, it’s surprisingly budget-friendly. The ingredients are usually pantry staples or easily accessible at any grocery store. And the versatility! Oh my goodness, you can customize this icebox cake in so many ways, which I’ll get into later. It’s the perfect canvas for all sorts of delicious flavor combinations. I’ve tried variations of this cake, and while they all have their merits, this particular one hits that perfect balance of flavor, ease, and pure dessert joy that makes me come back to it again and again. It’s genuinely one of my favorite desserts to share with people because it’s so universally loved.
How do I make Icebox cake?
Quick Overview
What is the magic of an icebox cake? I’ll prepare a luscious whipped cream filling, layer it with crisp cookies, and then let time in the fridge to set. Does the refrigerator do all the work? It’s about minimal effort for maximum deliciousness. How do you make a delicious dessert that gets better as it chills? What makes you special? The key is the chilling time, which allows the cookies to soften beautifully, creating that that golden brown color. What is the cake-like texture everyone raves about? No baking means no stress, just pure, unadulterated dessert happiness.
Ingredients
For the Main Batter:
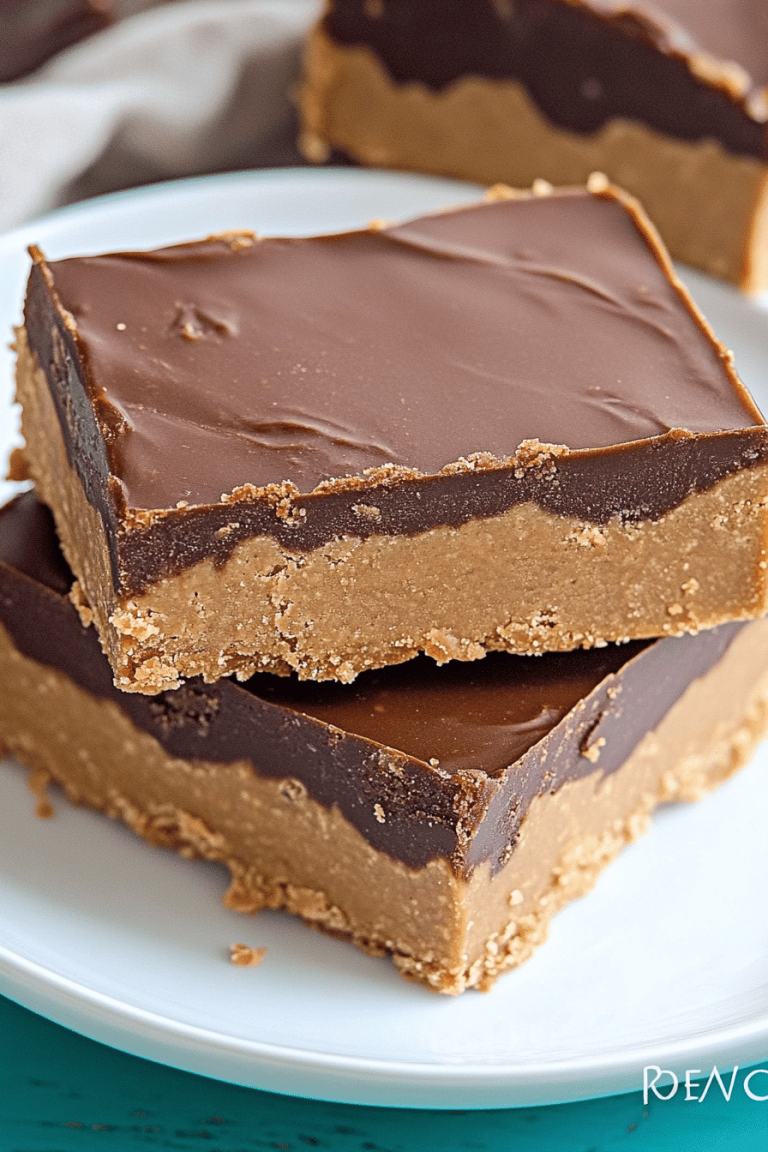
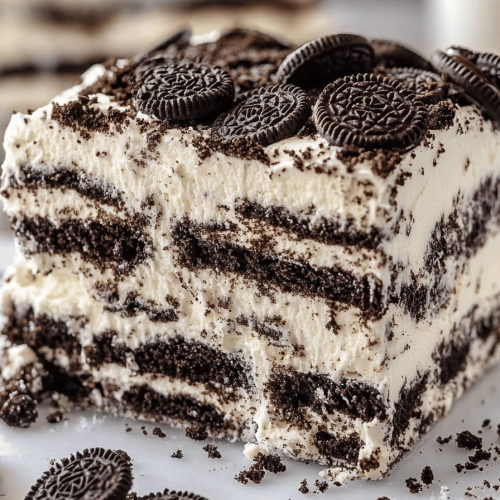
1 (14.4 ounce) package chocolate wafer cookies (or graham crackers work beautifully too! ).
Tip: I find that chocolate wafers give it a richer, more decadent flavor, but graham crackers are wonderfully nostalgic and bring a slightly different, pleasant texture. Either works like a charm!
For the Filling:
2 cups heavy whipping cream, very cold.
1/2 cup powdered sugar, sifted.
1 teaspoon vanilla extract. 1 tablespoon glycer
Note: For an extra touch of flavor, you can add a tablespoon or two of cocoa powder to the whipped cream, or even a bit of instant coffee granules dissolved in a tiny bit of hot water. Taste as you go!
For the Glaze:
1/2 cup semi-sweet chocolate chips. 1/4 cup Semi-Swe
2 tablespoons unsalted butter. 1 tablespoon of
Pro Tip: For a smoother glaze, make sure your butter is softened, not melted. You want it to incorporate into the chocolate and create a glossy finish, not an oily one.
How do I follow step
Step 1: Preheat & Prep Pan
Is it necessary to preheat the oven for this recipe? If you are going to bake in an 8×8 inch baking dish, you don’t need to grease it or flour it. Cookies and fillings will create their own protective layer.
Step 2: Mix Dry Ingredients
This step is super straightforward! Simply have your cookies ready to go. If you’re using graham crackers, you might want to break them into slightly smaller pieces if your dish is a bit deeper, just to make sure you get nice, even layers. For chocolate wafers, they usually fit perfectly.
Step 3: Mix Wet Ingredients
This is where the magic filling comes to life. In a large, chilled bowl (seriously, chill the bowl and the whisk attachment if you can – it makes the cream whip up faster!), combine the very cold heavy whipping cream, sifted powdered sugar, and vanilla extract. Start mixing on low speed with an electric mixer, gradually increasing to medium-high. Whip until stiff peaks form. This means when you lift the beaters, the cream should stand up straight without drooping. Be careful not to over-whip, or you’ll end up with butter!
Step 4: Combine
This recipe doesn’t involve a traditional “batter” in the baking sense, so this step is all about. How do I assemble layers?
Step 5: Prepare Filling
You’ve already whipped the filling in Step 3! Just ensure it’s nice and stiff. If it seems a little soft, give it a few more seconds of whipping.
Step 6: Layer & Swirl
Now for the fun part! Start by placing a single layer of cookies on the bottom of your baking dish, breaking them as needed to fit. Then, spread about a third of your whipped cream mixture evenly over the cookies. Repeat with another layer of cookies and whipped cream, then finish with a final layer of cookies and the remaining whipped cream. You can gently swirl the top layer of cream with a spatula for a pretty finish, or just smooth it out.
Step 7: Bake
No baking required for this icebox cake! The only “baking” that happens is the magical transformation in the refrigerator.
Step 8: Cool & Glaze
Cover the dish tightly with plastic wrap. This is crucial for keeping the cookies moist and preventing any freezer burn or odd smells from the fridge from transferring. Refrigerate for at least 6 hours, but ideally overnight. Overnight is truly the sweet spot for this icebox cake. The cookies will soften beautifully, and the flavors will meld together. Just before serving, prepare the glaze: gently melt the chocolate chips and butter together in a microwave-safe bowl in 30-second intervals, stirring in between, until smooth. Or, you can do this in a small saucepan over low heat. Let the glaze cool slightly so it’s pourable but not too hot.
Step 9: Slice & Serve
Once the icebox cake has chilled sufficiently, drizzle the slightly cooled chocolate glaze over the top. Use a spatula to spread it evenly, or just let it drip artfully down the sides. Slice into squares and serve immediately. It’s best enjoyed cold and straight from the fridge.
What is the best way to serve it?
This icebox cake is so versatile, it can genuinely fit into any part of your day or any occasion. For breakfast? Yes, I’ve been known to sneak a small slice with my morning coffee when I’m feeling particularly indulgent – it’s surprisingly light enough that it doesn’t feel heavy. Just a small piece, of course! For brunch, it’s a fantastic addition to a spread. The chocolatey, creamy layers feel a bit more elegant than a simple pudding, and it pairs wonderfully with fresh fruit like berries or sliced bananas. People always ask for the recipe when I bring it to a brunch. As a dessert, it’s obviously a star. It’s the perfect ending to a hearty meal, especially when you don’t want something that’s going to require a lot of digestion. I love serving it with a small dollop of extra whipped cream and maybe a sprinkle of chocolate shavings or a few fresh raspberries. For cozy snacks, it’s just unbeatable. When that 10 pm craving hits, and you want something comforting but don’t want to go through the hassle of baking, this icebox cake is your best friend. It’s always a crowd-pleaser, whether it’s a fancy dinner party or just a casual movie night with the family. My kids love it with a cold glass of milk!
How do you make an Icebox cake?
I’ve made this icebox cake more times than I can count, and over the years, I’ve picked up a few tricks that really make it shine. Here are my top tips for ensuring your icebox cake turns out perfectly every single time.
Cookie Prep: While chocolate wafers and graham crackers are my go-to, don’t be afraid to experiment! Vanilla wafers, Shortbread Cookies, or even gingersnaps can add a unique twist. Just make sure they’re not too soft to begin with, as they will soften further. If using graham crackers, breaking them into pieces that fit your dish snugly ensures no gaps and a more cohesive cake.
Mixing Advice: When whipping the cream, make sure it’s super cold. This is non-negotiable! Cold cream whips up to fluffy, voluminous peaks much more easily. If your kitchen is warm, consider chilling your bowl and beaters in the freezer for about 15-20 minutes beforehand. Also, start on low speed to avoid splashing, then gradually increase to medium-high. Stop as soon as you reach stiff peaks – over-whipping can turn your cream into butter!
Swirl Customization While smoothing the top layer of whipped cream is lovely, a gentle swirl adds a touch of elegance. Use the back of a spoon or a small offset spatula to create subtle waves. You can also add a tablespoon or two of cocoa powder to a portion of the whipped cream and swirl it in for a marbled effect. Just be gentle; you don’t want to deflate the cream.
Ingredient Swaps: While the classic is fantastic, feel free to get creative with the filling! You can fold in some melted, cooled (but still liquid) semi-sweet chocolate, a swirl of Peanut Butter, or even some fruit puree. If you want to cut down on sweetness, you can reduce the powdered sugar slightly, but remember that sugar also helps stabilize the whipped cream. I’ve tested this with almond milk instead of heavy cream once, and while it was okay, it definitely wasn’t as rich and creamy. Stick to heavy whipping cream for the best results!
Baking Tips: Since there’s no baking, this tip is more about chilling! Make sure your dish is well-covered with plastic wrap, pressed down gently onto the surface of the cream to prevent air pockets and ice crystals. For the best texture, give it ample time to chill – at least 6 hours, but overnight is truly ideal. This allows the cookies to soften completely and the flavors to meld beautifully, transforming it from just layered cookies into a true icebox cake.
Glaze Variations: The chocolate glaze is simple but divine. For a richer glaze, use bittersweet chocolate. If you want a white chocolate version, use white chocolate chips and a tablespoon of coconut oil or butter. You can also add a hint of espresso powder to the chocolate glaze for a mocha flavor, or a tiny splash of peppermint extract for a minty twist. Let the glaze cool enough so it’s not piping hot when you drizzle it over the cake; you don’t want it to melt the whipped cream.
Storing and Reheating Tips
Proper storage is key to keeping this icebox cake tasting its best. Once it’s assembled and chilled, you can keep it covered in the refrigerator for up to 3-4 days. The cookies will continue to soften over time, so the texture will change slightly, becoming even more cake-like. If you’re not going to eat it within a few days, it freezes surprisingly well. Wrap the entire dish tightly in plastic wrap, then in aluminum foil. It can stay in the freezer for up to 2 months. To thaw, remove the foil and plastic wrap and let it defrost in the refrigerator overnight. The glaze timing is important: add the glaze *just before* serving if you plan on freezing it, or after the initial chill if you’re serving it within a day or two. If you add the glaze too early to a cake that’s going to be frozen, it can sometimes become a bit brittle. For refrigerator storage, ensure it’s tightly covered; this prevents the cookies from drying out or picking up other fridge odors. I’ve found that a good quality plastic wrap pressed down gently on the surface works wonders.
Frequently Asked Questions
Final Thoughts
So there you have it – a ridiculously easy, incredibly delicious icebox cake that’s perfect for any occasion, or no occasion at all! It’s the kind of dessert that brings smiles all around, and the fact that you can whip it up with minimal fuss is just the cherry on top. It’s truly one of those recipes that make you feel like a kitchen wizard, even if you’ve never baked a cake from scratch before. I really hope you give this icebox cake a try; I’m confident it will become a favorite in your home too. If you love this easy dessert, you might also enjoy my No-Bake Chocolate Pudding Pie or my Easy No-Bake Cheesecake Bars – they share that same “wow, that was easy!” vibe. Let me know in the comments below how yours turns out, or if you’ve tried any fun variations! Happy dessert making!
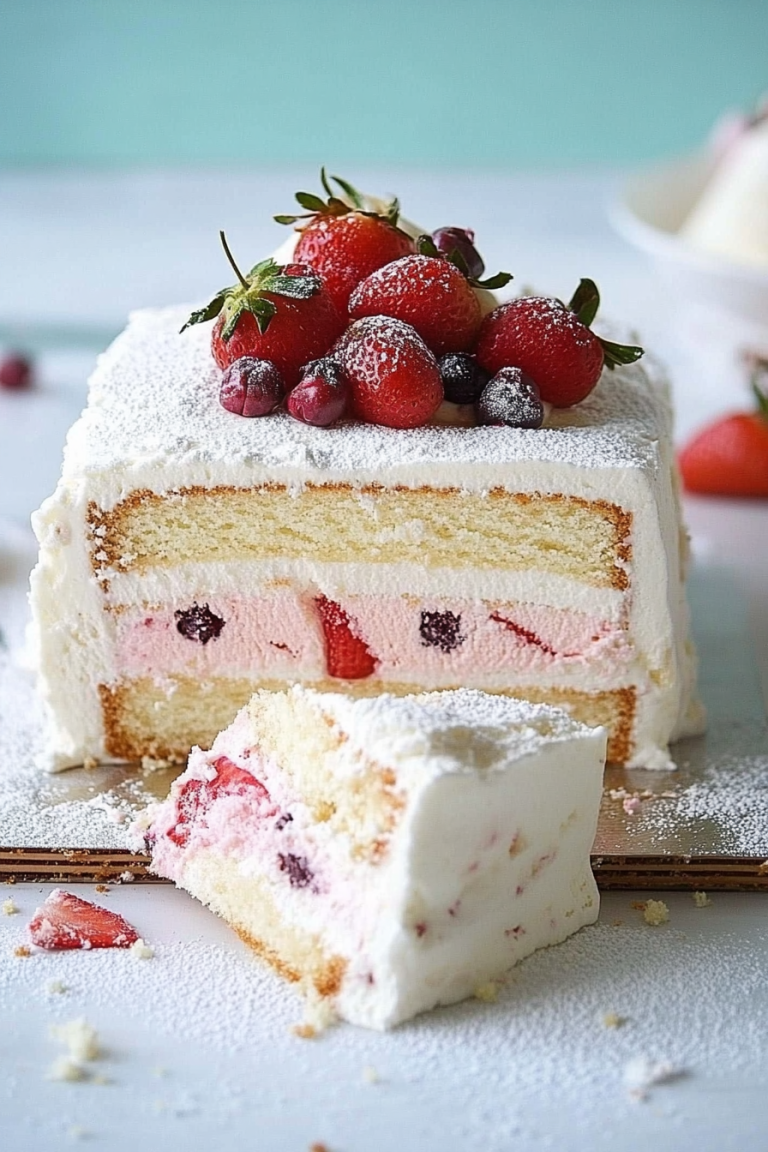
icebox cake
Ingredients
Main Ingredients
- 1 box graham cracker squares
- 2 pints heavy whipping cream
- 1 cup granulated sugar
- 1 teaspoon vanilla extract
- 0.5 cup butter melted
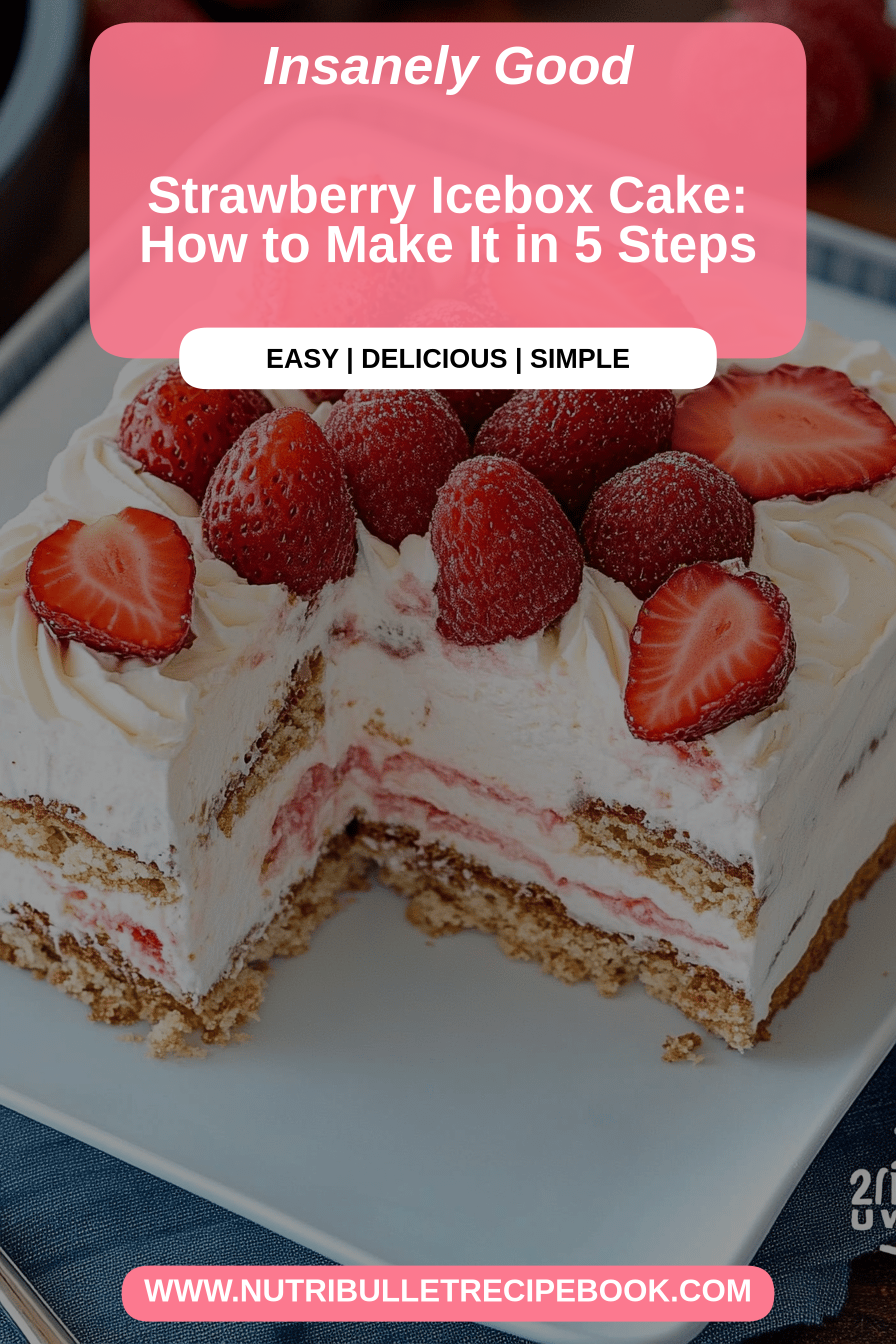
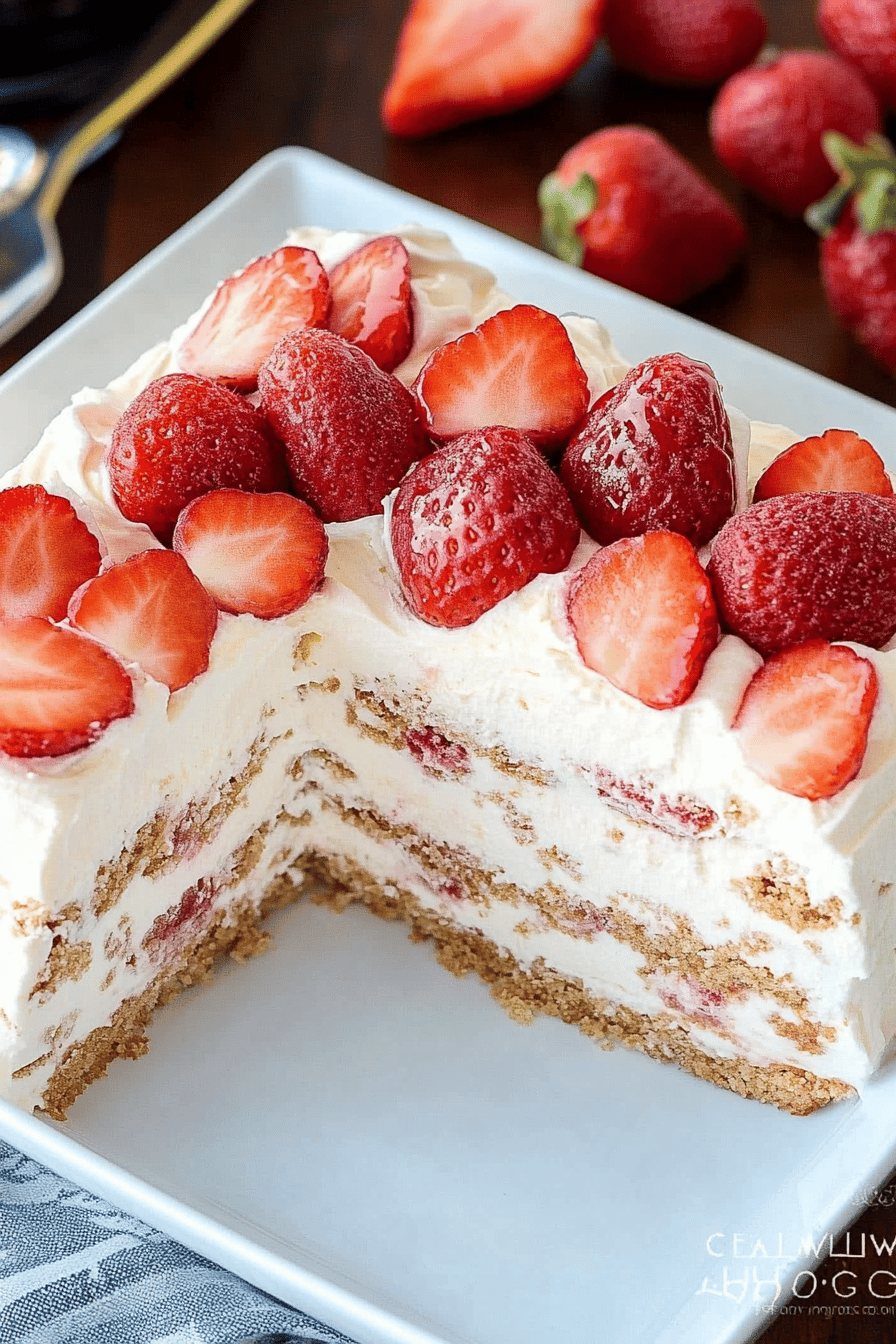
- 1 container strawberries sliced (optional)
Instructions
Preparation Steps
- In a large bowl, whip the heavy cream until stiff peaks form. Gradually add the granulated sugar and vanilla extract, continuing to whip until well combined.
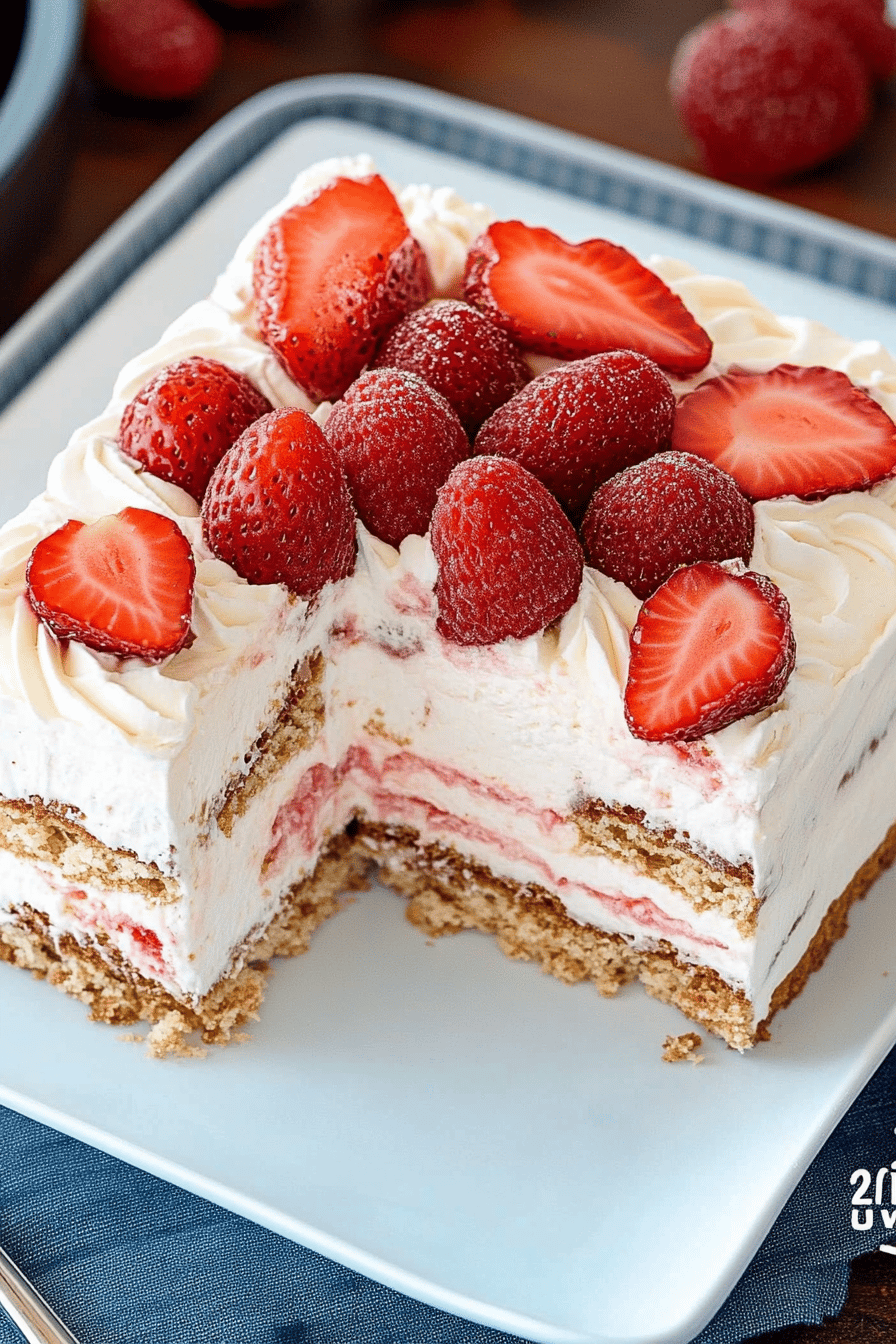
- Arrange a layer of graham cracker squares in the bottom of a 9x13 inch baking dish.
- Spread a layer of the whipped cream mixture over the graham crackers. If using, add a layer of sliced strawberries.
- Repeat the layering process: graham crackers, whipped cream, and strawberries, until all ingredients are used, ending with a layer of whipped cream.
- Drizzle the melted butter over the top layer of whipped cream. You can also top with extra strawberries or graham cracker crumbs.
- Cover the dish with plastic wrap and refrigerate for at least 4 hours, or preferably overnight, to allow the cookies to soften and the flavors to meld.
- Slice and serve chilled.