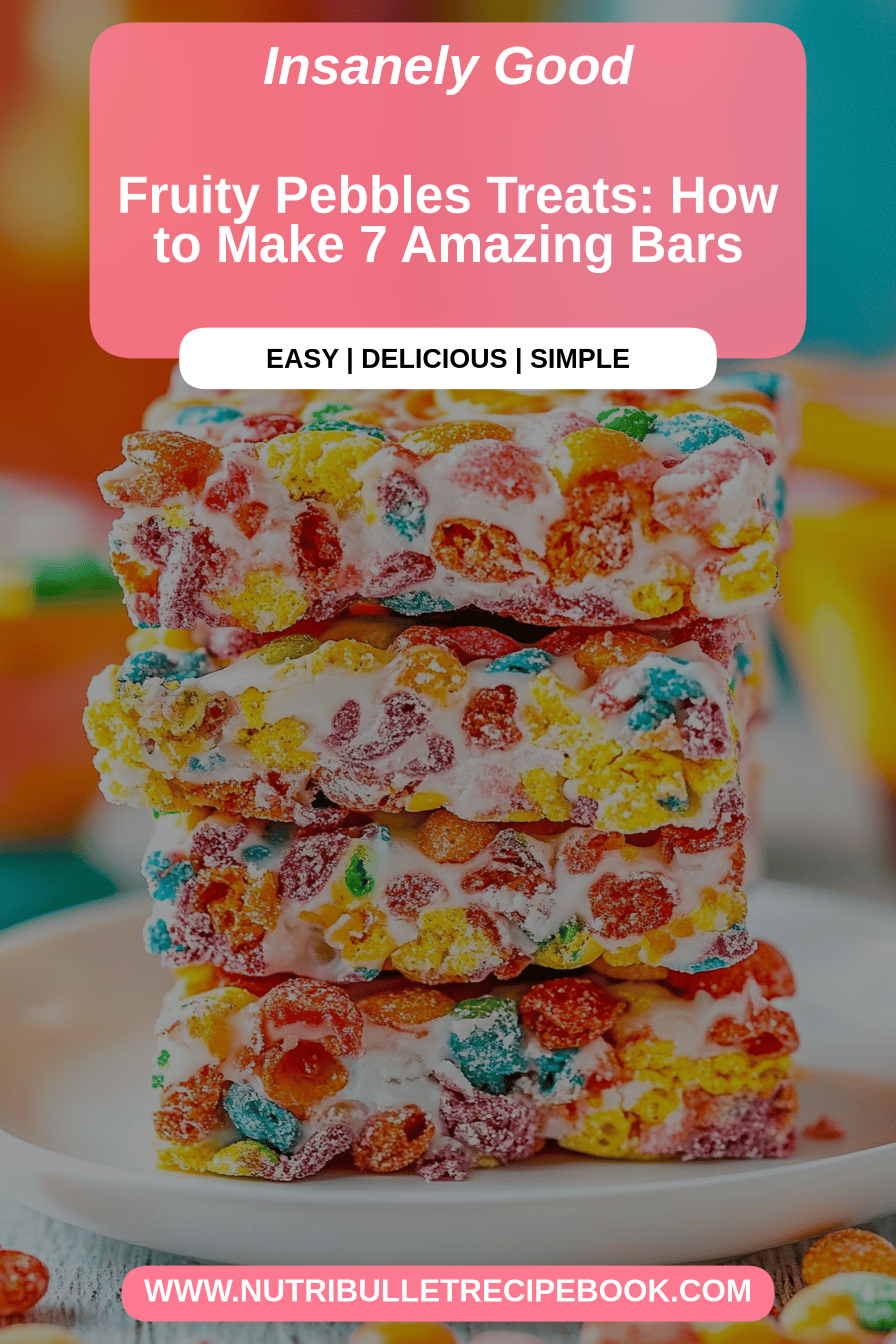
Oh, how I love a recipe that brings instant smiles and takes you back to simpler times! There’s something incredibly magical about those crunchy, colorful, and delightfully sweet little squares we used to devour as kids. My absolute favorite way to revisit that childhood bliss is by whipping up a batch of homemade Fruity Pebbles treats. Forget those fiddly pies or complicated cakes; this is the ultimate crowd-pleaser, the recipe you pull out when you need a quick win that tastes like pure sunshine. Seriously, if you’re looking for a no-bake wonder that’s easier than a handshake and tastier than… well, anything really, you’ve found your match. It’s like the beloved rice krispie treat’s vibrant, more adventurous cousin, and trust me, it’s a game-changer for busy weeknights or spontaneous dessert cravings. I always do this when I need a serious mood boost!
What are Fruity Pebbles Treats?
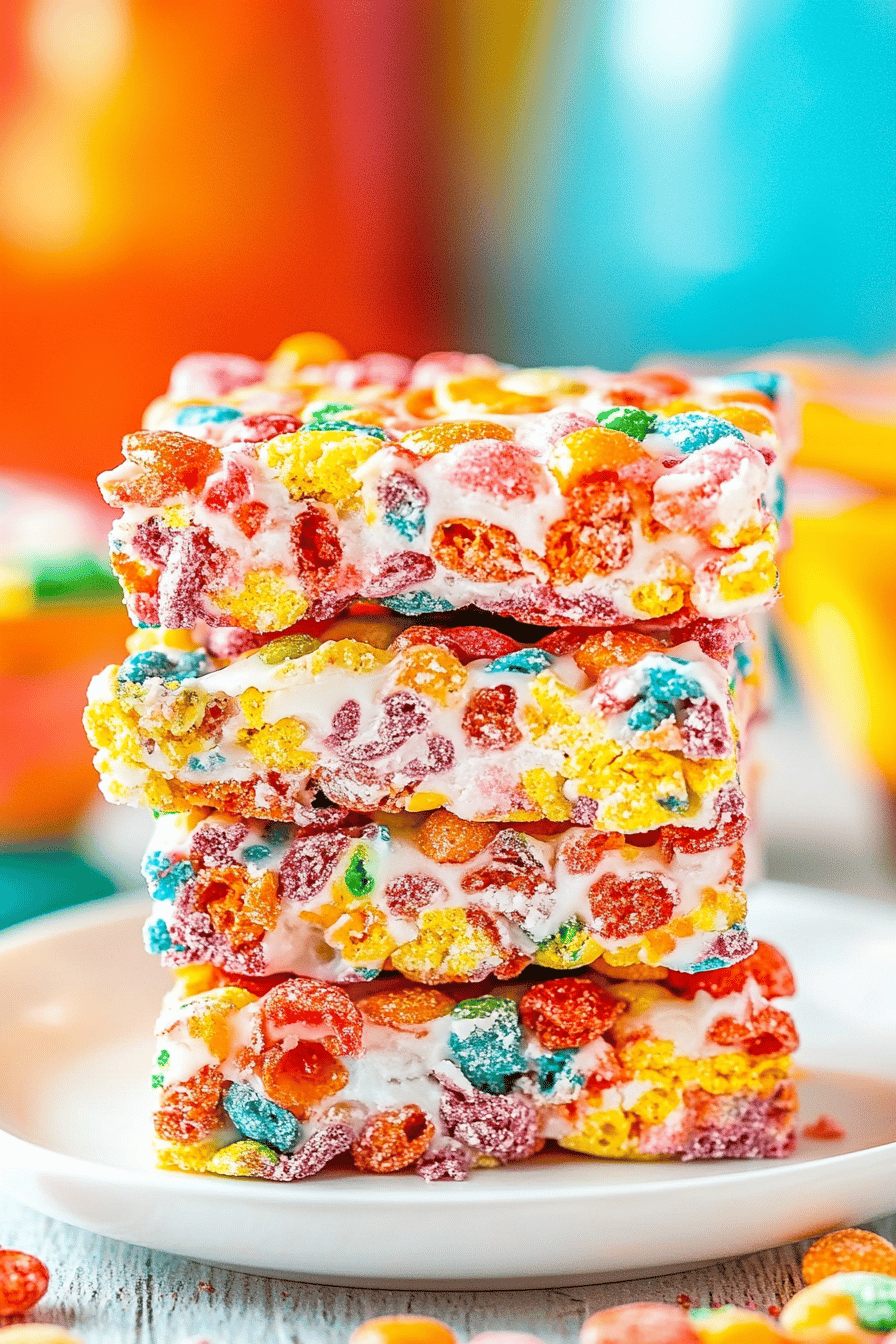
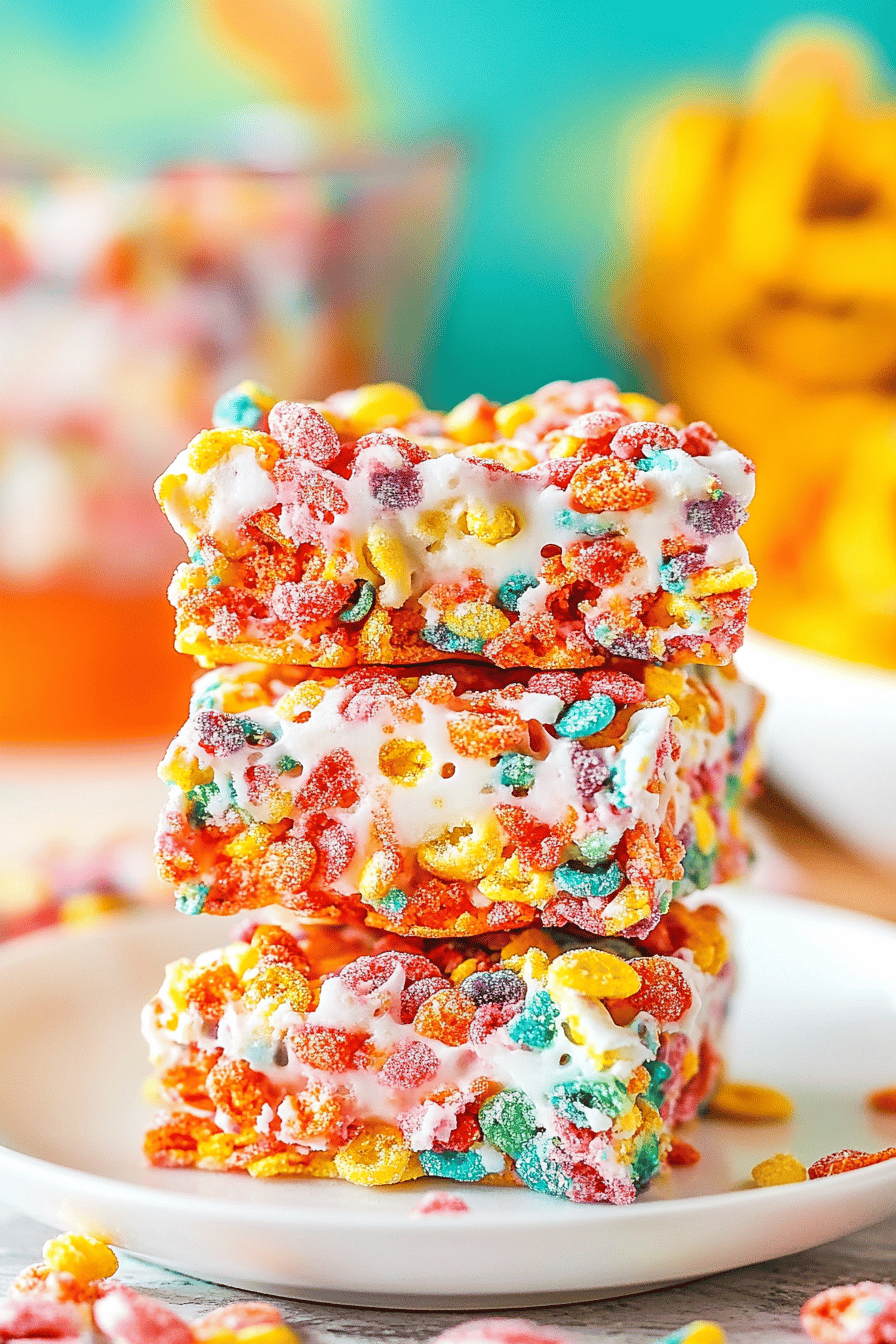
So, what exactly are these magical morsels we’re talking about? Think of your classic rice krispie treat, but cranked up to eleven with the most vibrant and flavorful cereal out there: Fruity Pebbles. These treats are essentially a delightful combination of that iconic gooey marshmallow binder, creamy butter, and of course, loads of those sweet, fruity, crunchy cereal pieces. The magic happens when you melt butter and marshmallows together, stir in the cereal, and press it all into a pan to set. It’s that simple! The name itself just screams fun, doesn’t it? It’s not just a treat; it’s a celebration in every bite, a portable party that always delivers on pure, unadulterated happiness. It’s essentially a edible kaleidoscope.
Why do I love this recipe?
Honestly, where do I even begin with why this recipe is a lifesaver and a pure joy?
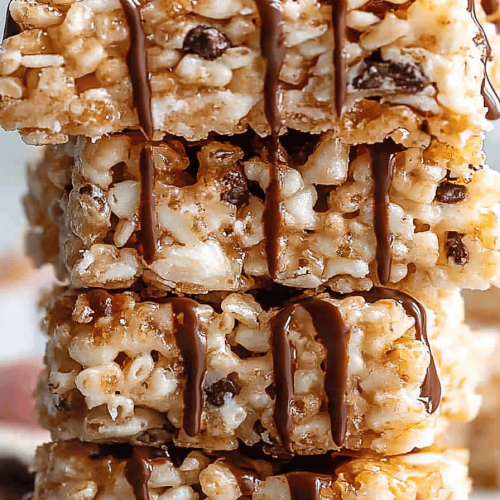
• Flavor Explosion:The taste is just out of this world. The sweet, slightly tangy Fruity Pebbles mixed with the creamy, buttery marshmallow creates a flavor. What is it like to have a nostalgic profile? It’s sweet, yes, but in that delightful, childhood-favorite way that just makes you happy.Unbeatable SimplicWhat is that one recipe that makes me feel like a culinary genius? Is it ridiculously Do you need any fancy equipment or baking skills? If you melt butter and stir, you can make these. What is a lifesaver on busy nights when you need dessert in the blink of an eye?Budget-Friendly BCan baking get expensive? What are some pantry staples that go a long way? What is a sweet treat that won’t break the bank?Endless VersatilityWhile the classic version is divine, you can totally customize these. Add some sprinkles, dip them in chocolate, swirl in caramel – the possibilities are endless! I’ve even tested this with almond milk instead of water for the marshmallows, and it actually made it taste better. Is it even creamier? Is it good to bake a cake at 10 pm? What I love most about this is how adaptable it is to whatever you have on hand or your current situation. Is it a guaranteed win every single time?
How do I make fruity pebbles?
Quick Overview
Making these delightful Fruity Pebbles treats is incredibly straightforward. You’ll melt butter and marshmallows until smooth, then stir in the colorful cereal until it’s all coated. Press this glorious mixture into a prepared pan and let it set. That’s it! No baking, no complicated steps, just pure, unadulterated deliciousness coming together in minutes. This method ensures a perfectly chewy and slightly crispy texture that’s utterly irresistible. It’s the kind of recipe that makes you feel like you’ve accomplished something amazing with minimal effort, which is exactly what we want, right?
Ingredients
For the Main Treats:
6 tablespoons unsalted butter.
1 package (10 ounces) of mini marshmallows (or 40 large marshmallow) is enough for 1 serving.
Fruity Pebbles cereal: 6 cups.
What is vanilla extract? 1 teaspoon (optional)?
Pinch of salt
For Optional Swirls/
White chocolate chips (about 1 cup): 1 teaspoon.
A few drops of food coloring (optional) may be needed.
Extra sprinkles: add
What is the Glaze?
1/2 cup powdered sugar. 1/4 cup gran
1-2 tablespoons of milk or water.
What is vanilla extract? A tiny drop.
What are the steps to
Step 1: Preheat & Prep Pan
First things first, let’s get your pan ready. Grab a 9×13 inch baking pan. The best way to prep it so nothing sticks is to lightly grease it with butter or cooking spray, or even better, line it with parchment paper, leaving some overhang on the sides to help you lift the treats out later. This little step is a lifesaver and makes cleanup a breeze. I usually do this first so it’s all ready to go.
Step 2: Mix Dry Ingredients
In a large bowl, measure out your Fruity Pebbles cereal. Add a pinch of salt to balance the sweetness – it sounds odd, but it really makes a difference! This step is super simple; just get the cereal into a big bowl so it’s ready for its marshmallow bath.
Step 3: Mix Wet Ingredients
Now, in a large saucepan over medium-low heat, melt the unsalted butter. Once it’s melted and shimmering, add the marshmallows. Keep stirring gently until they’re completely melted and smooth. This is where the magic starts! If you’re using vanilla extract, stir it in now. Be patient and keep the heat low to prevent scorching. I learned the hard way that too much heat makes the marshmallows tough.
Step 4: Combine
How do you pour the melted marshmallow mixture over the fruity pebbles? Now, working fast (because those marshmallows start to set fast! ), gently fold everything together with a sturdy spatula until all the cereal is evenly coated. Don’t overmix, or you might break down the cereal too much. You want those distinct little pieces!
Step 5: Prepare Filling
(This step is for the optional swirls.) If you’re adding white chocolate swirls, melt the chocolate chips in a microwave-safe bowl. (I’m adding them to my caramel sauce.) In 30-second intervals, stirring in between, until smooth. If you want to color it, divide the melted chocolate into small bowls and stir in a tiny drop of water. Add more water if desired. Is it a good idea to color your hair?
Step 6: Layer & Swirl
Transfer the cereal mixture into your prepared pan. Use a greased spatula or your hands (lightly grease is best! ) to gently press the mixture evenly into the pan. Don’t pack it down too hard, or the treats will be dense and hard. If you’re adding swirls, drizzle the melted white chocolate over the top of your pressed mixture and serve. Use a knife or toothpick to gently swirl it in. You can also press in extra sprinkles now for added sparkle.
Step 7: Bake
What is the best part about Fruity Pebbles? Let them sit undisturbed for about 30 minutes to an hour, or until firm. If you’re in a hurry, you can pop them in the refrigerator for about 15-20 minutes, but be careful. If you chill them for too long, they can become very hard.
Step 8: Cool & Glaze
Once the treats have set and are firm to the touch, it’s time for the glaze if you’re using one. How do you whisk together the powdered sugar, milk and eggs? How do you make a smooth glaze? Do not overdo the chocolate. Rub this on the treats. For the perfect consistency, you want it thick enough to coat but thin enough so that it doesn’t drip easily. What are some good additions to a cocktail?
Step 9: Slice & Serve
Once the glaze (if used) has set slightly, use the parchment paper overhang to lift the entire block. Out of the pan. Place it on a cutting board and cut into squares or rectangles. Why do people rush to the kitchen? What are some good ways to serve them immediately for the best chewy texture? My kids ask for these all the time, especially as an after-school snack.
What should I serve it with?
Fruity Pebbles are so versatile, they’re practically a meal in themselves! How do I pair them up?For Breakfast:Why can’t you have fun first thing? A small square beside a hot cup of coffee or glass of cold milk is pure morning joy. What are some good alternatives to pancakes on a lazy weekend?For Brunch: Serve them as a whimsical dessert or a sweet side to some fresh Fruit Salad. Their bright colors make any brunch spread look more festive. A tall glass of fresh orange juice or a mimosa complements them beautifully.
• As Dessert: This is the classic, right? They’re perfect on their own, but if you want to get fancy, serve them with a scoop of vanilla bean ice cream or a drizzle of chocolate sauce. They also look super cute served in mini muffin liners.
• For Cozy Snacks: This is where they truly shine for me. Curling up on the couch with a movie and one of these treats is my idea of perfection. They’re comforting, sweet, and just make everything feel a little bit better. My family loves them as a movie night treat!
Top Tips for Perfecting Your Fruity Pebbles Treats
I’ve made these so many times, and I’ve picked up a few tricks along the way that I think you’ll really appreciate.
• Butter & Marshmallow Melt: Always use low to medium-low heat. If you scorch the marshmallows, they’ll be tough and chewy in the worst way. Stir constantly until completely smooth. It’s better to take a minute longer than to rush it and ruin the texture.
• Don’t Overpack: When pressing the mixture into the pan, be gentle. If you pack it down too tightly, you’ll end up with hard, dense treats instead of the delightfully chewy ones we all love. Use a greased spatula or lightly greased hands.
• Work Quickly: Melted marshmallows are sticky and set fast. Have your cereal measured and bowl ready before you even start melting the butter. Once they’re combined, get them into the pan fairly quickly so they don’t start hardening in the bowl.
• Parchment Paper is Your Friend: Seriously, line that pan with parchment paper! It makes getting the treats out and cleaning up afterwards infinitely easier. Just leave an overhang on the sides.
• Optional Vanilla: While not strictly necessary, a teaspoon of vanilla extract adds a lovely depth of flavor that complements the sweetness. Trust me on this one, it elevates them!
• Storage Savvy: Once they’re set, if you’re not serving them all at once, cover them tightly with plastic wrap or store them in an airtight container. This keeps them from drying out and losing that perfect chewiness.
• For Extra Color and Crunch: If you want an even more intense color and crunch, you can reserve about 1 cup of the cereal and stir it in *after* you’ve coated the rest with marshmallow. This gives you some really vibrant pieces throughout. I learned this trick after years of making them and it makes a big difference in visual appeal!
Storing and Reheating Tips
These Fruity Pebbles treats are best enjoyed fresh, but they do store quite well.
• Room Temperature: Once they’re completely set, you can store them in an airtight container at room temperature for up to 3 days. Make sure they are completely cooled before sealing the container, otherwise, condensation can make them soggy. I usually just cover the pan they set in with plastic wrap if I’m not cutting them right away.
• Refrigerator Storage: If your kitchen is particularly warm, or you want them to last a bit longer, you can store them in the refrigerator. Again, an airtight container is key. They’ll stay good for about a week, but they might firm up a bit. Just let them sit at room temperature for about 15-20 minutes before serving to soften.
• Freezer Instructions: For longer storage, you can freeze them! Cut them into individual squares, wrap each one tightly in plastic wrap, and then place them in a freezer-safe bag or container. They’ll keep well in the freezer for up to 2-3 months. To thaw, unwrap them and let them come to room temperature on a plate.
• Glaze Timing Advice: If you’ve added a glaze, it’s best to let that set completely at room temperature before storing them in any way. If you’re freezing them with glaze, the glaze might crack a little upon thawing, but the taste will still be fantastic.
Frequently Asked Questions
Final Thoughts
There you have it – the most joyful, vibrant, and downright delicious Fruity Pebbles treats you can make at home! This recipe is more than just a dessert; it’s a little box of happiness that’s perfect for any occasion, or frankly, for no occasion at all. It’s the kind of recipe that reminds me why I love spending time in the kitchen, creating something that brings a smile to everyone’s face. If you enjoyed these, you might also love my colorful confetti bars or my No-Bake Chocolate Peanut Butter oat balls for more easy, delightful treats! I really hope you give these Fruity Pebbles treats a try. I can’t wait to hear how yours turn out and what your family thinks. Don’t forget to leave a comment below and share your own tips or variations! Happy baking… or rather, happy no-baking!
Fruity Pebbles Treats
Ingredients
Main Ingredients
- 3 tablespoons butter
- 10 ounces mini marshmallows
- 6 cups Fruity Pebbles cereal
- 1 teaspoon vanilla extract
Instructions
Preparation Steps
- Grease a 9x13 inch baking pan with cooking spray or butter.
- In a large microwave-safe bowl, melt the butter on high for 30 seconds.
- Add the mini marshmallows to the melted butter and microwave for another 1 minute, stirring halfway through, until the marshmallows are melted and smooth.
- Stir in the vanilla extract until well combined.
- Add the Fruity Pebbles cereal to the marshmallow mixture and stir until the cereal is evenly coated.
- Pour the mixture into the prepared baking pan and press it down evenly using a greased spatula or parchment paper.
- Let it cool completely before cutting into squares.