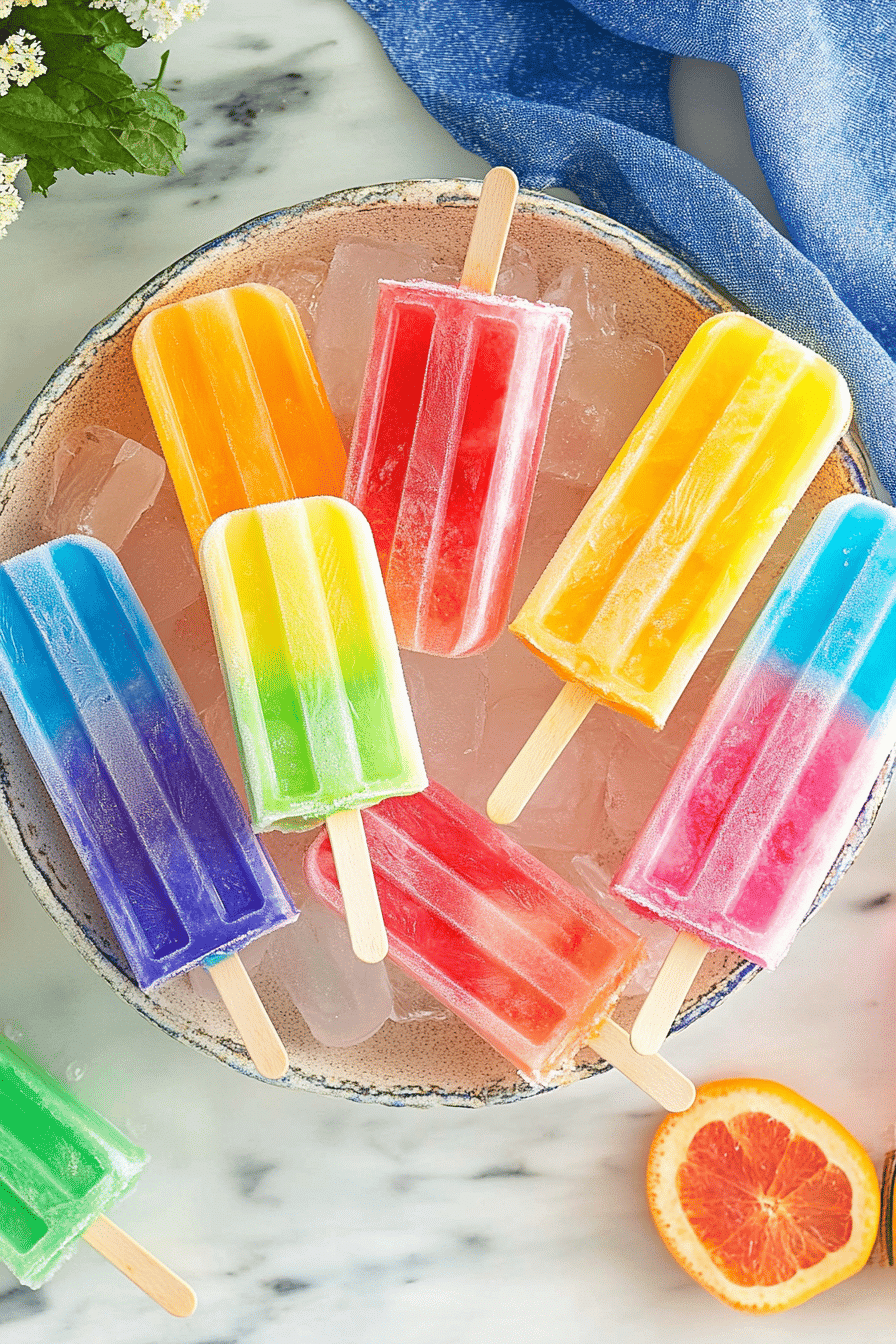
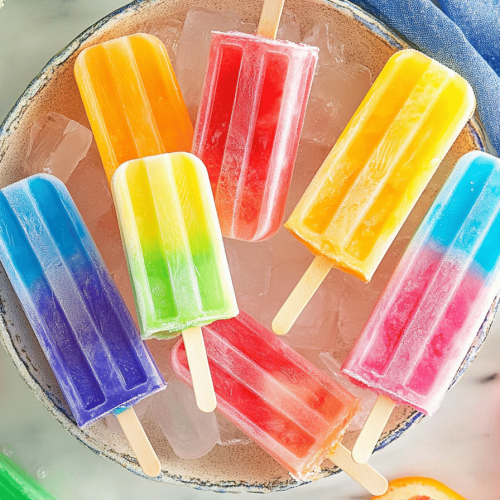
Sunlight spills across the kitchen countertop, and the whole house starts to smell like ripe fruit and citrus—the kind of Sunday scent that makes you planning the week around dessert. I’m reaching for a tray of fruit popsicles in the freezer, a treat I’ve been making since my kids were toddlers who couldn’t sit still long enough to finish a lunch. These fruit popsicles are incredibly easy, wonderfully forgiving, and they taste like summer pooled in a wobbly, colorful package. They’re not just a quick cool-down; they’re a little celebration you can pull together in minutes and freeze for later. When the heat hits, this is my go-to, and I’m willing to bet it’ll become yours too. fruit popsicles have a way of turning ordinary fruit into something magical, and yes, they disappear from the moment you pull them out of the freezer, just like magic.
What is fruit popsicles?
Think of fruit popsicles as frozen fruit-forward treats that celebrate the season’s best fruit with a chilly, glossy finish. They’re essentially blended fruit (plus a little juice or yogurt if you want creaminess) poured into molds and frozen until solid. The name comes from the way you enjoy them—on a hot day, the stick becomes a tiny flag you hold up to the sun. It’s like smoothie meets Ice Cream, but lighter and refreshingly clean. I love that you can tailor them to be dairy-free, vegan, or indulgently creamy with a splash of yogurt or coconut milk. It’s a simple concept that rewards you with vibrant color, bright fruit flavor, and a texture that’s pleasantly icy rather than dense. My kids call them “frozen sunshine,” and honestly, that nickname tells you everything you need to know about their mood-boosting power.
Why you’ll love this recipe?
What I love most about this recipe is how flexible it is. You can use whatever fruit is in season, from strawberries and mangoes to peaches and watermelon, and the final popsicles always taste bright and fresh. Flavor is pure fruit—no fuss, no heavy ingredients, just the good stuff. Simplicity is the magic here: blend, pour, freeze, and enjoy. Budget-friendly ingredients are a huge win too; a bag of berries or a couple of ripe mangoes stretch a long way, and you’ll likely have citrus and a little sweetener on hand already. Versatility is the crown jewel: you can layer different purées for a rainbow effect, swirl in yogurt for a creamy contrast, or keep it one fruit at a time for a cleaner, punchy taste. What I love most about this recipe is that my kids actually ask for seconds, and they’re learning to savor something healthier without feeling deprived. It’s a little ritual that makes summer feel like a festival in your own kitchen. If you’re craving something cool and fruity, these fruit popsicles are your answer.
How do I make fruit popsicles?
Quick Overview
These fruit popsicles are basically a two-stage wonder: you whip up a bright fruit base, pour or spoon it into molds, then swirl in a creamy layer if you like. The beauty is you don’t need fancy equipment or long prep times. You can do everything in a blender or simply mash fruit with a fork if you’re in a rush. The result is a refreshing, kid-friendly treat that feels special enough for guests but simple enough for a weeknight. The best part is control—you can tailor sweetness, texture, and color with just a few tweaks. It’s a forgiving method that makes you look like a pro without the stress.
Ingredients
For the Main Batter:
- 3 cups mixed fruit (strawberries, mango, peaches, or kiwi; fresh or frozen), roughly chopped
- 1–2 tablespoons honey or maple syrup (optional, to taste)
- 1/2 cup fruit juice, sparkling water, or coconut water for blending
- 1 tablespoon fresh lemon or lime juice to brighten
- Optional: 1/2 cup plain yogurt or coconut yogurt for creaminess (omit for vegan)
For the Filling:
- 1/2 cup yogurt or coconut yogurt (vanilla works well) or keep it dairy-free with almond yogurt
- 1 tablespoon honey or maple syrup (adjust to sweetness)
- Pinch of vanilla extract
For the Glaze:
- 1/4 cup extra fruit puree (same or different fruit)
- 1 teaspoon lemon juice
- Optional: a small splash of juice to adjust consistency
Step-by-Step Instructions
Step 1: Preheat & Prep Pan
No oven involved here, so no real preheating. Gather your popsicle molds and a baking sheet or tray. If you’re worried about sticking, give molds a quick spray with a light oil or wipe with a little neutral oil and set on the tray. This is the moment you realize how simple life can be: you’re basically arranging fruit in a pretty line and letting the freezer do the hard part.
Step 2: Mix Dry Ingredients
In this recipe there aren’t many dry ingredients, so this step is mostly about prepping your fruit. If you’re using frozen fruit, there’s no need to thaw completely—just give it a few minutes to soften so it blends smoothly. If you want a little texture, reserve a handful of chopped fruit to fold in later, or leave it all smooth for a sleek pour. The goal is a vibrant base with even color and a clean smear when you pull the popsicles from their molds.
Step 3: Mix Wet Ingredients
Blend or mash the fruit with the juice or coconut water, plus lemon or lime juice. If you’re adding yogurt for creaminess, whisk it separately with vanilla and your sweetener until it’s velvety. The mixture should be smooth but not runny; think thick smoothie consistency. If it’s too stiff, splash in a little more juice. If it’s too loose, add a few spoonfuls of fruit purée.
Step 4: Combine
Pour the fruit base into a large bowl. If you’re adding the creamy layer, lighten it by folding in a few spoonfuls of the base to reach a good marbling consistency. You don’t want the layers to completely merge—swirl is the goal, not a single flat color. This is where you can taste and adjust sweetness. Trust me: a tiny pinch of salt can brighten the fruit and make flavors pop.
Step 5: Prepare Filling
Whisk the yogurt with honey and vanilla until it’s smooth and velvety. If you want a tangier twist, use plain yogurt and a bit of citrus zest. If you’re dairy-free, coconut yogurt brings a lovely tropical note, though it’s naturally a touch sweeter. You can skip filling entirely if you prefer a single-layer popsicle, but I love the creamy contrast for a dessert that feels special.
Step 6: Layer & Swirl
Start by pouring a layer of the fruit base into each mold. Add a spoonful of the creamy filling, then top with more fruit base. Use a skewer or knife handle to gently swirl, creating ribbons of color. The goal is to see pink or orange streaks against a pale swirl, not a muddy mix. If you’re making rainbow varieties, alternate flavors for each mold. If you want a clean stripe, pour the base, freeze until set, then add the second color and seal with another layer of base to finish.
Step 7: Freeze
Insert sticks and place the molds on a tray in the freezer. Freeze for at least 4 hours, or overnight if you’re patient. The first couple of hours let the layers set up; after that, you’ll start to see the popsicle forms taking shape, and your kitchen will smell like a tiny fruit market. If you’re in a rush, a quick 30–40 minute blast in the freezer will help with soft-set pops, but full heartiness takes time, so plan ahead.
Step 8: Cool & Glaze
Once solid, you can unmold and optionally glaze. If you go for a glaze, whisk extra puree with lemon juice and a little sweetener until it’s spoonable but still shiny. Drizzle over the tops before serving, or keep it simple and serve as is so the fruit flavor shines. If you’re freezing for later, consider wrapping each popsicle individually in parchment or plastic wrap to prevent freezer burn and to keep colors bright.
Step 9: Slice & Serve
To serve, run a warm water bath briefly over the outside of the molds to loosen, then tug gently on the sticks. If you’ve got little ones, set out extra napkins and a small bowl of fruit slices on the side for a refreshing mini dessert bar. These fruit popsicles look almost too pretty to eat, but one bite and you’ll be back for seconds. Enjoy them straight from the freezer or slightly thawed for a softer bite.
What to Serve It With
These pops are a bright, bright finish to almost any day. Here are serving ideas by occasion:
For Breakfast: A quick, playful start: serve alongside yogurt, granola, or a light café au lait. The fruity brightness wakes you up without weighing you down. My kids love a strawberry-lime popsicle with their morning toast; it somehow makes Monday feel sunny.
For Brunch: Slice into rounds to create a colorful fruit cart on the table, and pair with sparkling water or a citrusy spritz. The glow of the layers makes a stunning centerpiece while still being totally approachable for guests.
As Dessert: Serve with a dollop of whipped cream or a splash of lime zest. The contrast between creamy topping and icy fruit popsicles is pure happiness. I often garnish with edible flowers when I’m feeling fancy.
For Cozy Snacks: A quick, cool treat after a long day. Keep a few in the freezer for after-school pick-me-ups; the kids know there’s something special waiting. This is the kind of snack that disappears in minutes and leaves everyone grinning.
Top Tips for Perfecting Your Fruit Popsicles
Fruit Prep: Use ripe, vibrant fruit and give it a quick blitz with a splash of juice to ensure a smooth base. If you’re using berries, a quick pass through a sieve can remove seeds for a smoother texture. Pat the fruit dry if it’s overly watery; you don’t want a watery layer that separates after a few minutes in the freezer.
Mixing Advice: Don’t overblend. A few small lumps add texture and personality. If you overblend into juice, you’ll end up with a too-soft pop that doesn’t hold its shape well. For a creamier finish, add a bit of yogurt and blend briefly until the swirl looks glossy.
Swirl Customization: For a striking marble, alternate fruit purées and cream layers and swirl with a toothpick to create nice ribbons. If you want clean color blocks, pour the first layer, freeze until set, then add the second color. Visual appeal matters here—the kids will judge the rainbow with their eyes first.
Ingredient Swaps: Banana puree can smooth texture without dairy, avocado adds creaminess, and coconut milk adds a tropical vibe. If you’re sugar-conscious, rely on naturally sweet fruit and skip added sweeteners. You can swap in almond or cashew yogurts for a different tang or texture without sacrificing creaminess.
Baking Tips: Not baking, of course, but freezing environment matters. Use the coldest freezer you have and keep the molds flat so they don’t spill. If your freezer cycles, stack a sheet of parchment between trays to avoid flavor transfer between colors.
Glaze Variations: A light glaze works wonders for presentation, but you can drizzle melted white chocolate for a playful touch, or dust with a tiny amount of confectioners’ sugar for a frosty look. If you’re short on time, a simple squeeze of citrus over the finished pops does more for brightness than you’d think.
Lessons learned from years of making these: always have your mold sticks handy, and don’t rush the freezing stage. The patience pays off with a popsicle that’s perfectly set and easy to unmold. I’ve found that using a mixture of fruit purées with a yogurt swirl gives a reliable, creamy texture that kids adore. And yes, I’ve tested this with almond milk and it actually made it even creamier in some batches—though dairy lovers might miss that tang. Trust your palate; you’ll know when you’ve hit the balance. This is a forgiving recipe, so have fun with it.
Storing and Reheating Tips
Storage is where the magic stays intact. If you’ve got plans to share, it’s nice to keep a few pops in the freezer and enjoy them hours later with the same zing as the night you made them.
Room Temperature: Not for long. A couple of hours on a hot day is fine, but once the sun cranks up, they’ll start to melt. If you’re serving outdoors, bring them out just before dessert time to keep their texture in check.
Refrigerator Storage: Not ideal for long-term popsicles; they’ll get chewy. If you must, wrap individually and tuck in the freezer section to keep them from sticking together.
Freezer Instructions: Wrap each popsicle in parchment or plastic wrap, or use individual freezer bags. They’ll stay vibrant for up to 2–3 months. Thaw at room temperature for 10–15 minutes or in the fridge for slower, more even thawing. This slow thaw keeps texture pleasant and avoids sudden ice crystals.
Glaze Timing Advice: If you freeze with glaze, you’ll want to glaze right before serving. If you’re freezing in advance, skip the glaze and apply just before serving to keep the shine.
[Include tested methods and quality indicators. 200-250 words.]
Frequently Asked Questions
Final Thoughts
If you’ve made it this far, you know these fruit popsicles aren’t just a summer snack—they’re a little ritual. They remind me of warm afternoons at grandma’s house, when a tray of rainbow colors would appear and suddenly everyone would be in the kitchen, chatting between bites. The scent of mixed fruit, citrus, and a hint of vanilla fills the room as they freeze, and the first bite breaks the stillness of the afternoon. The beauty of this recipe is its adaptability: you can go fully vegan, add a creamy swirl, or keep it clean and simple with just fruit and a splash of juice. It’s nothing fancy, but the smile it brings feels like a family secret passed down through generations. Happy freezing! I’d love to hear which fruit combo your family loves most. Leave a comment, rate the recipe, and share your own playful variations. Can’t wait to see your rainbow in the freezer!
fruit popsicles
Ingredients
Main Ingredients
- 2 cups strawberries, hulled and sliced
- 1.5 cups mango chunks
- 1 cups orange juice
- 0.5 cups plain yogurt optional
- 1 tablespoons honey adjust sweetness to taste
Instructions
Preparation Steps
- Blend strawberries, mango, orange juice, yogurt, and honey in a blender until smooth. Taste and adjust sweetness if needed.
- Pour the mixture into popsicle molds and insert sticks. Freeze for at least 4 hours or until firm.