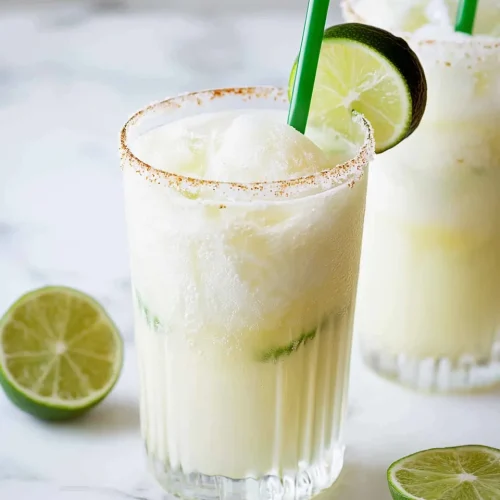
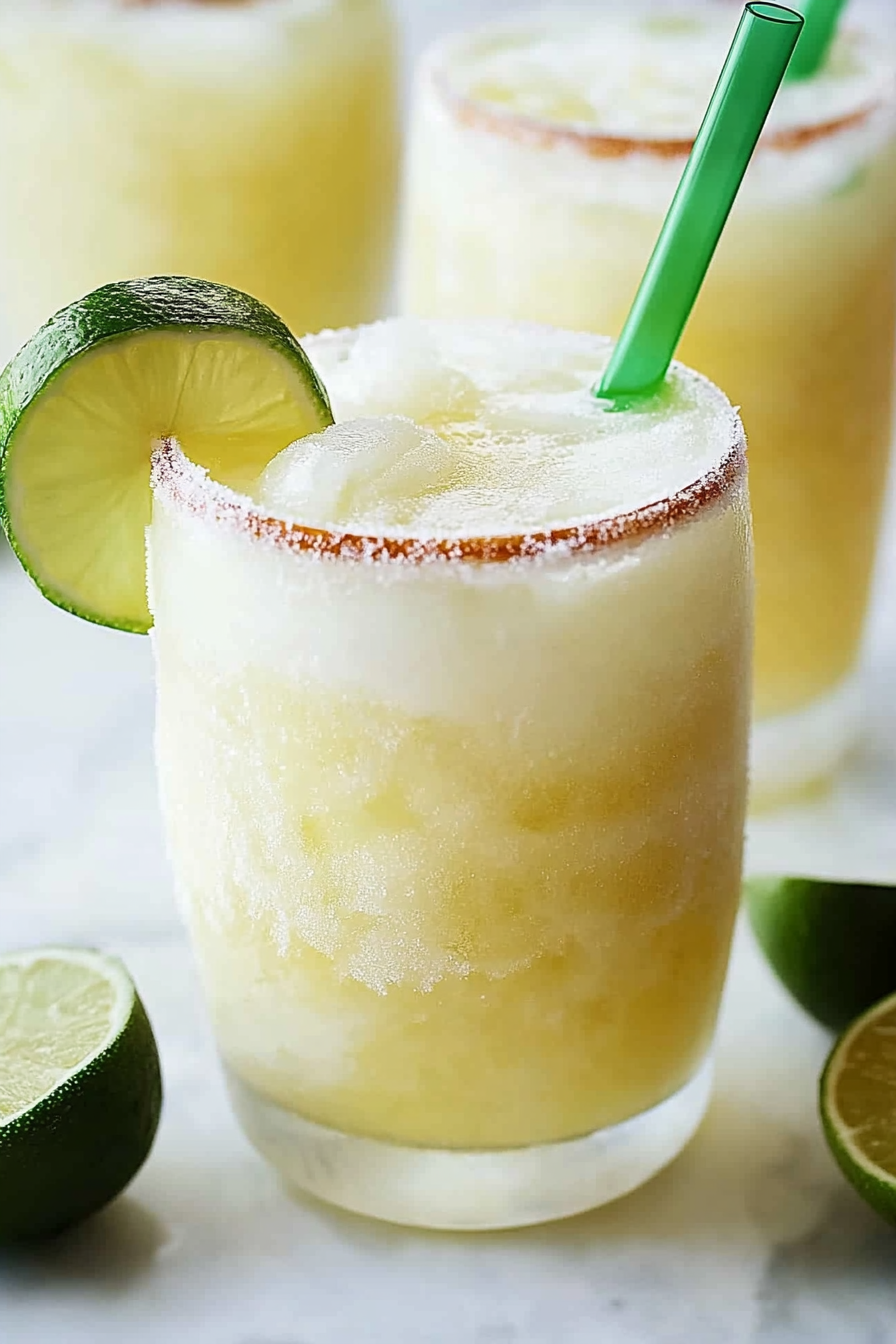
I’ll never forget the first time I tasted Frozen Limonada de Coco on a blistering summer afternoon. The kitchen smelled like sunshine—lime zest and coconut mingling in the air—and the blender hummed a friendly little tune as ice turned to soft snow. It felt like a celebration in a glass: tart and bright, with a creamy kiss from coconut that didn’t weigh you down. This recipe became my go-to when the heat pumps up and I’m craving something cheerful without turning on the stove. My kids actually ask for seconds, and I’m not exaggerating—the swirl of Coconut Cream through a lemony punch is seriously magical. The best part? It’s incredibly forgiving: a splash more lime, a pinch more sugar, a quick blitz, and you’re in sunshine country. If you’ve ever wanted something citrusy and creamy at the same time, but not too sweet, you’ve found your new favorite. This Frozen Limonada de Coco is the memory of summer in a glass, ready in minutes and endlessly scooped into a pitcher for friends who arrive with smiles and empty glasses.

What is a frozen limonade?
Think of Frozen Limonada de Coco as the tropical love child of lemonade and a coconut smoothie. It’s essentially lemony citrus brightened with coconut cream, turned into a frosty, slushy beverage that’s perfectly refreshing on hot days. The name nods to its roots—limey tang, coconut richness, and a texture that begs to be sipped slowly, even on a crowded porch. It’s not a smoothie, and it’s not a straight lemonade; it’s something in between, with that beachy glow you can taste. I love that it uses pantry staples—coconut milk, lime juice, a little sugar—and delivers it all with a finish that feels indulgent without being heavy. It’s the kind of drink that fits into weeknights just as nicely as it does into weekend gatherings, a little vacation in a glass for busy lives.
Why you’ll love this recipe?
What I love most about this Frozen Limonada de Coco is how effortlessly it brings people together. Here are the big wins:
- Flavor: The sip starts tart and bright, then a whisper of sweetness settles in, followed by a creamy coconut finish. It’s
- Simplicity: A handful of ingredients, a blender, and a freezer—no special equipment or long waiting times. This one’s a lifesaver on busy nights.
- Cost-efficiency: Everything comes from pantry staples or a quick trip to the fridge. You’re sipping luxury without the price tag.
- Versatility: Enjoy it as a punch for parties, a kid-friendly treat, or a sophisticated after-dinner palate cleanser. You can even swirl in fruit purées for a pretty marbling.
If you’ve already tried my Coconut Lime Smoothie or Coconut Water Lemonade, you’ll recognize the same bright, wholesome vibe—but Frozen Limonada de Coco takes it to a cooler, more festive place. It’s a little nostalgic, a lot refreshing, and absolutely crowd-pleasing.
How to Make Frozen Limonada de Coco
Quick Overview
This is the kind of recipe I reach for when friends swing by with no warning or when I just need a bright reset after a long day. The base comes together in minutes: blend coconut milk, lime juice, water, and a touch of sugar with ice until it looks like a soft slush. Then you layer in a little whipped coconut cream or mango swirl, freeze or serve immediately as a thick smoothie, and finish with a zing of lime glaze. The result is a creamy, frost-kissed lemonade that still tastes distinctly lemony and coconut-forward. It’s simple, it’s dazzling, and it’s perfect for sharing on a sunny afternoon.
Ingredients
For the Main Base:
1 1/2 cups full-fat coconut milk, chilled
1 cup cold water
1/2 cup fresh lime juice (about 4–5 limes)
1/3 cup granulated sugar or to taste
Pinch of salt
1 cup ice cubes
For the Filling:
1/4 cup coconut cream (the thick part, refrigerated) or 2 tablespoons sweetened condensed coconut cream
2–3 tablespoons mango puree or raspberry purée (optional for a fruity swirl)
For the Glaze:
2 tablespoons lime juice
1 teaspoon honey or maple syrup (adjust to taste)
Optional: lime zest for garnish
Step-by-Step Instructions
Step 1: Preheat & Prep Pan
Chill your glasses in the freezer for about 10–15 minutes, then set out a few clear, pretty ones for serving. Gather all your ingredients and have them measured and ready. A cold kitchen is your best friend here, since you’re aiming for a smooth, scoopable slush, not a melted soup.
Step 2: Mix Dry Ingredients
In a small bowl, whisk the sugar with a pinch of salt. It helps to dissolve evenly once it hits the cold liquids, so you don’t end up with grainy sweetness in the final sip.
Step 3: Mix Wet Ingredients
In a separate pitcher, combine the lime juice, coconut milk, and cold water. Stir until well blended. If you want a more intense coconut flavor, you can use a little extra coconut milk, but I like keeping it balanced so the lime stays bright.
Step 4: Combine
Pour the wet mixture into the blender with the ice. Add the dry ingredient mixture and blend on high until the mixture looks like a thick, pale slush. You’re aiming for a texture that’s scoopable but not chunky.
Step 5: Prepare Filling
If you’re adding a filling, whisk the thick coconut cream until it’s smooth and glossy. You can fold in a little sweetener if you like, but I usually keep it simple to let the lemony tang shine through. For a fruity swirl, drop in mango or raspberry purée in thin ribbons here, then swirl with a spoon later.
Step 6: Layer & Swirl
Pour a portion of the base into each glass, then add a dollop of the filling. If you’re using purée, drizzle a bit into the glass in a meandering pattern and use a straw to swirl a few times for a pretty marbled effect. Repeat until your glasses are about 3/4 full.
Step 7: Bake
Okay, we’re not actually baking. Here’s the freezer-friendly twist: either serve immediately for a thick, smoothie-like texture, or transfer the glasses to the freezer for 1–2 hours to set into a proper slush. If you go the freezer route, give the mixture a quick stir every 30 minutes to keep the texture evenly icy and prevent a solid block from forming at the bottom.
Step 8: Cool & Glaze
While the drink chills, whisk together lime juice and honey to make a simple glaze. If you want a brighter finish, you can add a splash of lime zest. When you’re ready to serve, drizzle a thin ribbon of glaze over the top or along the rim of each glass for a glossy, inviting look.
Step 9: Slice & Serve
Serve immediately with a straw and a lime wheel or a playful paper umbrella if you’re feeling festive. If you froze the drinks, let them sit at room temperature for about 5–7 minutes to soften slightly before serving, then give one final gentle stir. The first sip should hit with a tart bite, followed by a creamy finish that lingers just a moment on the palate.
What to Serve It With
Frozen Limonada de Coco is a party-friendly star, and it pairs beautifully with a few different occasions:
For Breakfast: A bright acid-sweet start pairs nicely with almond croissants or a warm scone. Set the pitcher at the end of the table so everyone can help themselves, and watch how it turns a sleepy morning into something a little more festive.
For Brunch: Serve in tumblers with a mint sprig and a small plate of tropical fruit—pineapple, mango, and kiwi. This just feels vacation-y in the best possible way and keeps the conversation light and sunny.
As Dessert: Pair with light pastries or a delicate lemon shortbread. The lemon-coconut notes echo in the background, making the citrusy sweetness feel polished rather than cloying.
For Cozy Snacks: It’s perfect alongside a bowl of salted nuts or a batch of coconut-lime Pretzel Bites. When you want something cool and refreshing after a long day, this drink doesn’t crowd the palate; it refreshes and lifts you up.
Top Tips for Perfecting Your Frozen Limonada de Coco
[Expert advice organized by technique:]
Zucchini Prep: I know the heading is odd for a citrus-coconut drink, but here we’re talking about moisture control. If you’ve got a coconut cream that’s a touch watery, chill it overnight and skim off the watery layer. A quick squeeze of a clean cloth can remove extra moisture from the top layer before you whip it. This keeps the texture creamy when you swirl it in.
Mixing Advice: Don’t over-blend. A short, high-speed blitz keeps the ice from turning into a murky slush. If you blend too long, the mixture heats slightly and thins out. Pulse until you see the slushy consistency you want, then stop.
Swirl Customization: The fun part is the marbling. Use different fruit purées—mango, passion fruit, or raspberry—for quick, striking swirls. Keep some base plain to highlight the coconut and lime when you take the first sip.
Ingredient Swaps: For a dairy-free option, use unsweetened almond milk or a thicker coconut yogurt blended with water to mimic creaminess. You may need to adjust sugar to taste because different milks vary in sweetness.
Baking Tips: Not applicable here, but think of it as blending technique: control texture by adjusting ice quantity and blending duration. If your blender is powerful, you’ll get a smoother result with less ice; if it’s not, add a few tablespoons of water and blend in bursts until smooth.
Glaze Variations: Mix in a splash of orange juice for a citrus-orange glow, or swap lime for lemon for a mellower tartness. Dust with a touch of finely grated lime zest for perfume and color. You can also drizzle chocolate lightly along the rim for a playful contrast.
These little adjustments are where I’ve learned the most: a touch more lime to wake up the taste buds, a tad less sugar for a grown-up vibe, or a fruit swirl that makes the presentation feel as intentional as the taste. This is one of those recipes that rewards confidence and a willingness to experiment—you’ll end up with a version that feels unmistakably yours.
Storing and Reheating Tips
Frozen Limonada de Coco is best enjoyed fresh, but you can stash and reheat or re-freeze in a couple of practical ways:
Room Temperature: Not ideal for long. If you’ve pulled a glass out and it’s starting to melt, give it a quick stir to reincorporate the coconut cream and keep the texture cohesive.
Refrigerator Storage: If you’ve leftovers, refrigerate in an airtight jar for up to 2 days. The texture will be softer and might separate a bit; simply give it a quick shake or a pulse in the blender to restore the slushiness.
Freezer Instructions: Freeze the leftover base in an ice cube tray or freezer-safe container for up to 2 months. Thaw at room temperature for about 10 minutes and give it a quick stir before serving. If you’re turning it into pops, freeze in molds and enjoy as a frozen treat later.
Glaze Timing Advice: Add the glaze just before serving for maximum gloss and impact. If you freeze the drink, drizzle the glaze after thawing slightly so it clings and doesn’t just melt away.
Frequently Asked Questions
Final Thoughts
There’s something about Frozen Limonada de Coco that makes it feel like a small celebration in a glass. It’s bright, it’s creamy, and it comes together without fuss. I love how a little lime cuts through the richness of coconut, and how the ice keeps everything light and refreshing. It’s the kind of recipe that travels easily—from the kitchen to the porch to the beach bag—without losing its charm. If you’ve got a moment, drop a note in the comments with your own twists: what fruit purée did you love swirled in, or how did you tweak the glaze for your crowd? I’m always excited to hear how your Frozen Limonada de Coco turned out. Happy sipping, friends, and may your summer be sweet and bright!

Frozen Limonada de Coco
Ingredients
Main Ingredients
- 2 cup ice cubes, crushed crushed for smoother texture
- 1 cup coconut milk
- 0.75 cup fresh lime juice strained to remove seeds
- 0.25 cup granulated sugar adjust to taste
- 0.25 teaspoon salt
Instructions
Preparation Steps
- In a blender, combine the crushed ice, coconut milk, lime juice, sugar, and salt.
- Blend on high speed until smooth and creamy, about 60 to 90 seconds. If the mixture is too thick, add a splash more lime juice or water.
- Taste and adjust sweetness or acidity as needed. Pour into chilled glasses.
- Garnish with a lime wheel or toasted coconut flakes if desired and serve immediately.


