Oh, I’m so excited to share this with you! This focaccia recipe is an absolute lifesaver in my kitchen. Seriously, it’s the one thing I can whip up when unexpected guests pop over, or when I just need something comforting and utterly delicious without a ton of fuss. You know how sometimes you just crave that perfect bread, something with a bit of chew, a crispy crust, and an amazing aroma filling your home? This is it! It reminds me of the focaccia my Nonna used to make, but with my own little twists that make it even better, if I do say so myself. It’s way easier than you might think, and honestly, so much better than any store-bought version. If you’ve ever tried making artisan bread and found it a bit daunting, this focaccia recipe will change your mind. It’s incredibly forgiving and the results are always, always impressive.
What is this amazing Focaccia?
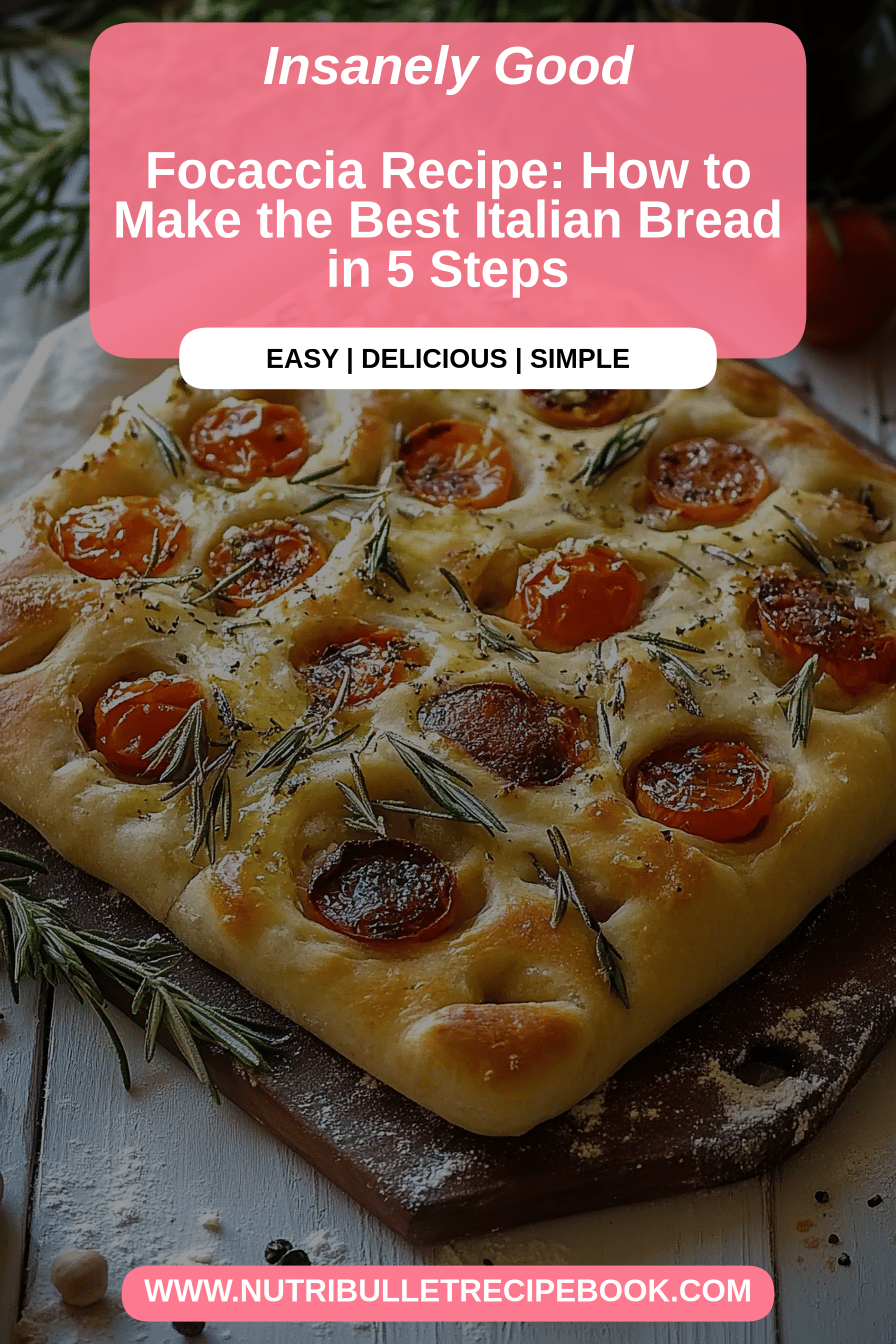
So, what exactly is this magical bread we’re talking about? Think of focaccia as the friendly, approachable cousin of pizza. It’s an Italian flatbread, typically baked in a Sheet Pan and characterized by its dimpled surface, generous drizzle of olive oil, and often topped with herbs, olives, or other savory goodies. The name itself, “focaccia,” comes from the Latin “focus,” meaning hearth, which makes total sense because it’s such a rustic, hearth-baked kind of bread. It’s not about being perfectly round or intricately shaped; it’s about that beautiful, airy crumb and the irresistible aroma that comes from good olive oil hitting a hot oven. It’s meant to be rustic, inviting, and, let’s be honest, utterly delicious. It’s the kind of bread that makes you want to tear off a piece the moment it comes out of the oven, even if it’s still a little too hot!
Why you’ll love this recipe?
There are so many reasons why this focaccia recipe has earned a permanent spot in my recipe box – and why I know you’re going to adore it too. First off, the flavor! It’s incredibly rich and satisfying without being heavy. The olive oil really sings, especially when you use a good quality one. And the texture? Oh my goodness. You get that delightful crispy, golden-brown crust on the bottom and edges, while the inside is wonderfully soft and chewy. It’s a textural masterpiece! But what I honestly love most is how ridiculously simple it is to make. Seriously, you don’t need any fancy equipment or complicated techniques. It’s pretty much a mix-and-let-it-rest kind of situation, which is a lifesaver on busy weeknights. Plus, it’s incredibly cost-effective. The ingredients are basic pantry staples – flour, yeast, salt, water, and olive oil – which means you can make a stunning loaf for a fraction of the price you’d pay at a bakery. And the versatility! You can have it plain, topped with rosemary and sea salt, or get creative with cherry tomatoes, olives, or even some sun-dried tomatoes. It’s perfect for dipping, serving alongside soups and salads, or just munching on its own. It’s truly a crowd-pleaser and always disappears in minutes at my house. This is definitely a recipe that’s better than any store-bought option out there.
How do I make my famous Focaccia?
Quick Overview
This focaccia is all about simple steps that lead to maximum flavor. You’ll mix a few basic ingredients, let the dough do its magic with a couple of rises, dimple it generously, and then bake it until golden. The key is patience during the rising times, which allows the gluten to develop and create that incredible airy texture. The generous amount of olive oil is crucial for that signature crispy bottom and moist interior. It’s truly a joy to make, and the smell that fills your kitchen is just heavenly!
Ingredients
For the Dough:
What is the best bread flour to use?
1 teaspoon Instant Yeast (make sure it’s fresh!)
1 teaspoon Fine Sea Salt (plus more for topping)
1 ½ cups (355ml) Lukewarm Water (about 105-115°F – not too hot!)
3 tablespoons Extra Virgin Olive Oil (plus more for the pan and drizzling)
For Topping (Optional, but highly recommended!):
2-3 tablespoons Extra Virgin Olive Oil
1 teaspoon Fresh Rosemary, chopped (or dried if that’s all you have)
½ teaspoon Flaky Sea Salt (like Maldon, it makes a big difference!)
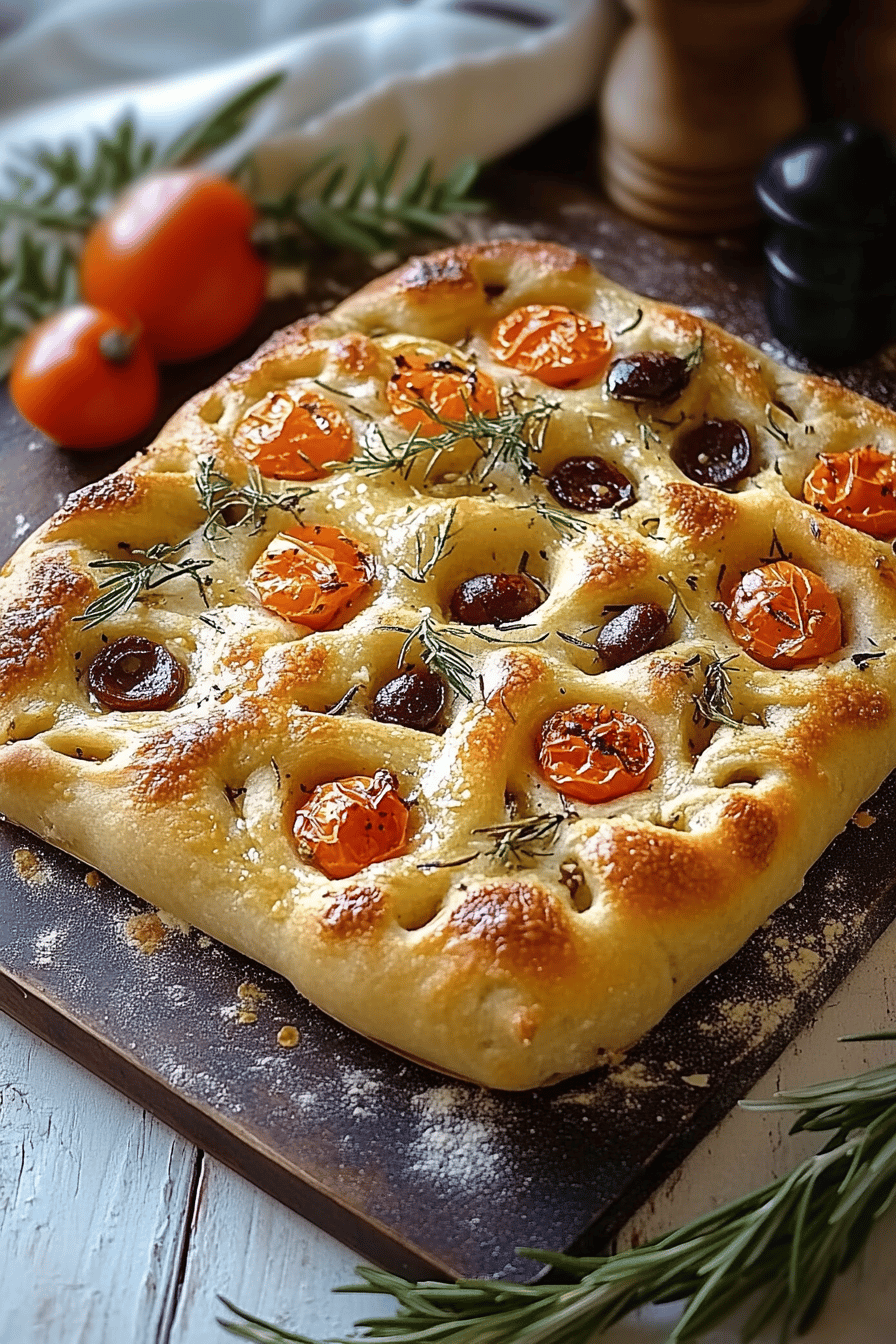
Other ideas: Kalamata olives, cherry tomatoes halved, a sprinkle of Parmesan cheese
Step-by-Step Instructions
Step 1: Preheat & Prep Pan
Grab a 9×13 inch baking pan. Now, this is important for that perfect crispy bottom: generously coat the bottom and sides of your pan with about 2 tablespoons of olive oil. Don’t be shy with the oil here; it’s what gives the focaccia its signature golden crust and prevents sticking. Set that aside while you make the dough.
Step 2: Mix Dry Ingredients
In a large mixing bowl, whisk together the all-purpose flour, instant yeast, and fine sea salt. Give it a good stir to make sure the yeast and salt are evenly distributed. This ensures your bread rises evenly and has a nice flavor.
Step 3: Mix Wet Ingredients
Pour the lukewarm water and 1 tablespoon of olive oil into the bowl with the dry ingredients. The water should feel warm but not hot to the touch – think of a comfortably warm bath. Too hot and it’ll kill the yeast, too cold and it won’t activate properly.
Step 4: Combine
Using a wooden spoon or a spatula, mix everything together until just combined. It will be a very wet, shaggy dough – don’t worry, that’s exactly what you want! Resist the urge to add more flour. We’re going for a sticky dough that’s manageable but still has plenty of hydration for a light crumb. Mix until there are no dry spots of flour visible. That’s it! Now, cover the bowl with a clean kitchen towel or plastic wrap.
Step 5: Prepare Filling (Optional)
If you’re adding anything extra like olives or tomatoes, now’s a good time to get them ready. Halve cherry tomatoes, pit and halve olives, or chop your herbs. This just makes assembly quicker later on.
Step 6: Layer & Swirl
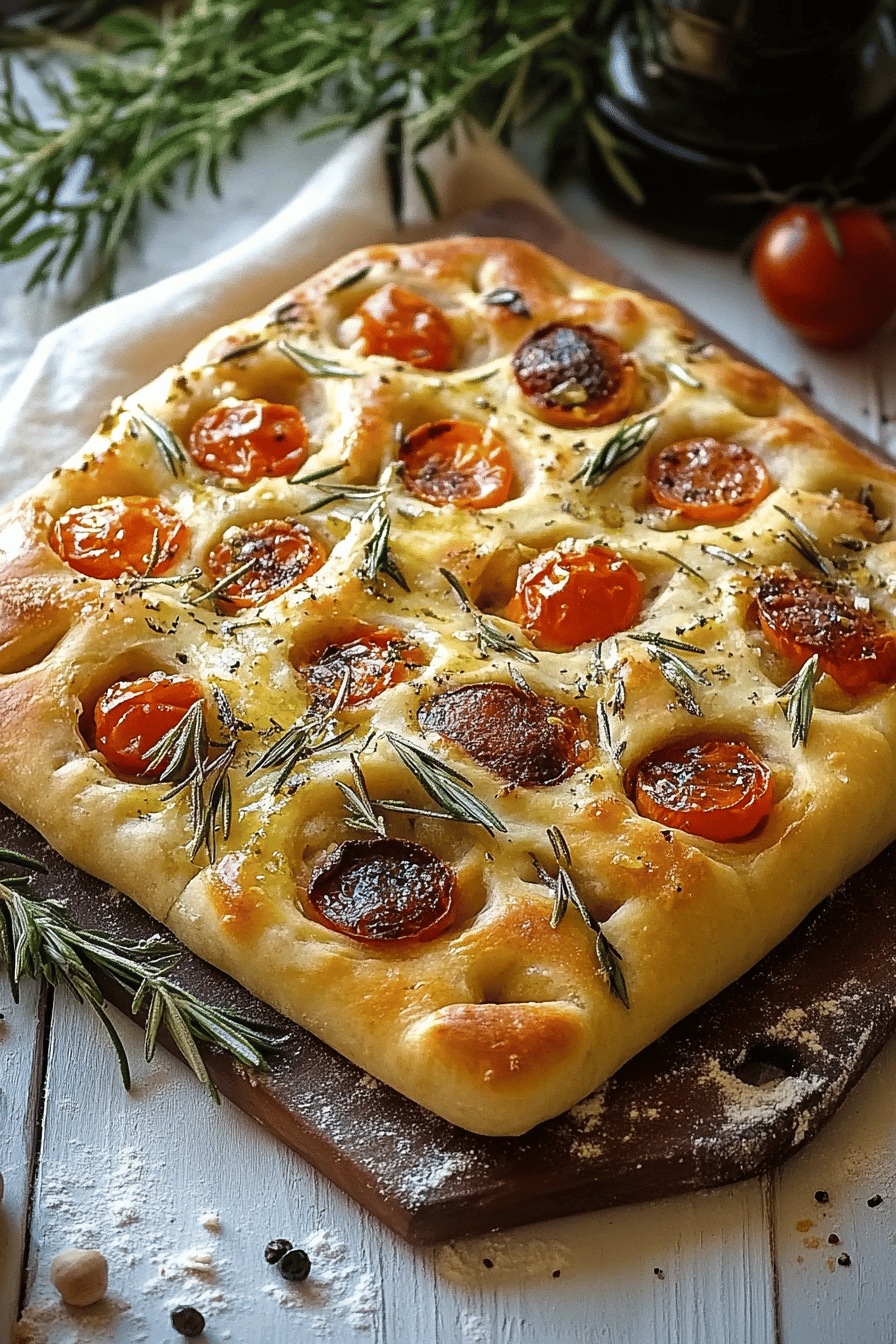
Pour the dough out into your prepared, oiled baking pan. It will be sticky, so you might want to lightly oil your hands or use a spatula dipped in oil to help spread it evenly into the corners. It might not fill the pan completely at first, and that’s okay. Cover the pan again and let it rise for another 45-60 minutes, or until it’s visibly puffed up and nearly doubled in size. Once it’s risen, uncover it and gently dimple the surface all over with your oiled fingertips. Really press down, creating those signature indentations. Now, drizzle another tablespoon or two of olive oil over the top, letting it pool in the dimples. Sprinkle with your chosen toppings like rosemary and flaky sea salt. If you’re using tomatoes or olives, gently press them into the dough.
Step 7: Bake
Preheat your oven to 400°F (200°C). Bake the focaccia for 20-25 minutes, or until it’s beautifully golden brown on top and the bottom is crispy. You can peek underneath with a spatula to check for that lovely golden color. The aroma will be incredible!
Step 8: Cool & Glaze
Once it’s out of the oven, let it cool in the pan for about 10 minutes. This is the perfect time to give it an extra little drizzle of olive oil if you like, or even brush on a light glaze made from olive oil and a pinch of garlic powder for extra flavor. Then, carefully turn it out onto a wire rack to cool a bit more, or serve it warm directly from the pan. I usually can’t resist slicing into it while it’s still warm!
Step 9: Slice & Serve
Use a sharp knife or a pizza cutter to slice the focaccia into squares or rectangles. Serve it warm, and watch it disappear! It’s perfect for tearing and sharing.
What to Serve It With
This focaccia recipe is so versatile, it’s almost ridiculous! It’s not just a side bread; it can be the star. For a lovely breakfast, I love serving warm slices with a dollop of good ricotta cheese and a drizzle of honey. The sweetness and creaminess are just divine with the slightly savory bread. For brunch, it’s absolutely stunning alongside a big frittata or some scrambled eggs with smoked salmon. A simple bowl of mixed greens with a light vinaigrette feels instantly more elegant when served with this. As a more sophisticated dessert, you can even toast slices and top them with mascarpone, fresh berries, and a dusting of powdered sugar – sounds unusual, I know, but trust me, it’s a surprisingly delightful treat! And for those cozy snack moments, it’s perfect just on its own, or dipped into a bowl of hearty tomato soup or a rich lentil stew. My kids actually love having it for after-school snacks, just plain or with a little butter. It really does work for every meal!
Top Tips for Perfecting Your Focaccia
Okay, so I’ve made this focaccia recipe more times than I can count, and I’ve picked up a few tricks along the way that I think will make yours absolutely perfect. First, about the flour: while all-purpose works beautifully, if you can get your hands on bread flour, it really does give the focaccia an even chewier, more open crumb. Don’t overwork the dough when you mix it in Step 4; just bring it together until no dry flour remains. Overmixing can lead to a tough bread, and we want it light and airy! When you’re dimpling in Step 6, really get your oiled fingers down into the dough. Those dimples aren’t just for looks; they hold all that delicious olive oil and help create that fantastic texture. For ingredient swaps, if you don’t have fresh rosemary, dried rosemary works just fine, just use a little less as the flavor is more concentrated. And for flaky sea salt, it really does make a difference for that final crunch, but regular fine sea salt will do in a pinch. When it comes to baking, ovens can be finicky! If your oven tends to bake hot, keep an eye on it during the last few minutes and you might need to tent it loosely with foil to prevent the top from getting too dark before the inside is fully cooked. I’ve found that baking it on the middle rack gives the most even results, ensuring a crispy bottom without burning.
Storing and Reheating Tips
This focaccia is best enjoyed fresh, of course, but it stores surprisingly well! If you have leftovers (which is rare in my house!), you can keep it at room temperature, well-covered with plastic wrap or in an airtight container, for up to 2 days. It might lose a tiny bit of its crispiness, but it’s still delicious. If you plan on storing it for longer than 2 days, your refrigerator is your best bet. Wrap it tightly in plastic wrap, and then in aluminum foil, or place it in a freezer-safe bag. It will keep well in the fridge for up to 4-5 days. For even longer storage, the freezer is your friend! Wrap individual portions or the whole loaf tightly in plastic wrap, then in foil, and freeze for up to 3 months. When you’re ready to reheat, if it’s been at room temperature or in the fridge, you can pop slices into a toaster oven or a regular oven at around 350°F (175°C) for a few minutes until warmed through and the crust is crisped up again. For frozen focaccia, let it thaw at room temperature first, then reheat as usual. Honestly, even cold, it’s still pretty darn good!
Frequently Asked Questions
Final Thoughts
Honestly, making this focaccia recipe is such a joy, and the result is always so rewarding. It’s more than just bread; it’s that feeling of accomplishment and the pure delight of sharing something delicious that you made with your own hands. It’s the perfect example of how simple ingredients and a little bit of patience can create something truly spectacular. I really hope you give this focaccia recipe a try. I’m convinced it will become a staple in your kitchen too. Don’t be afraid to experiment with toppings once you’ve mastered the basic dough – that’s part of the fun! I’d absolutely love to hear how yours turns out, or any of your favorite topping combinations. Leave a comment below and let me know what you think! Happy baking, everyone!
Focaccia Recipe
Ingredients
Dough
- 3.5 cups all-purpose flour
- 1.5 teaspoons instant yeast
- 1 teaspoons salt
- 1.25 cups lukewarm water
- 3 tablespoons olive oil for the dough
Topping
- 2 tablespoons olive oil for drizzling
- 0.5 teaspoons flaky sea salt
- fresh rosemary sprigs optional
Instructions
Preparation Steps
- In a large bowl, whisk together the flour, yeast, and salt.
- Pour in the lukewarm water and olive oil. Mix until a shaggy dough forms.
- Turn the dough out onto a lightly floured surface and knead for 8-10 minutes until smooth and elastic.
- Place the dough in a lightly oiled bowl, turning to coat. Cover with plastic wrap or a damp towel and let rise in a warm place for 1-1.5 hours, or until doubled in size.
- Grease a 9x13 inch baking pan with olive oil. Gently press the dough into the pan, spreading it evenly.
- Drizzle the top of the dough with olive oil and sprinkle with flaky sea salt and rosemary, if using. Dimple the dough with your fingertips.
- Let the dough rest uncovered for another 15-20 minutes while you preheat the oven to 425°F (220°C).
- Bake for 20-25 minutes, or until golden brown and cooked through.
- Let cool slightly before slicing and serving.

