You know those nights when the Halloween spirit hits you like a candy-fueled tornado, and you *need* to whip up something festive, but the idea of complicated recipes just sends shivers down your spine? Yeah, me too. That’s exactly why I’m practically bursting to share these incredibly easy Halloween cookies with you. Forget those elaborate ghost meringues that take hours or those pumpkin sugar cookies that require a degree in frosting art. This recipe is my go-to when time is short but the craving for something sweet and spooky is STRONG. It’s the kind of cookie that looks impressive enough for a party but is so straightforward, you can even get the kids involved without losing your sanity. Honestly, it’s become a yearly tradition, right up there with carving pumpkins and debating whether to watch Hocus Pocus for the millionth time. I always feel a little thrill when I pull these out of the oven, knowing how simple they were to make but how much joy they bring.
What are some easy Halloween cookies?
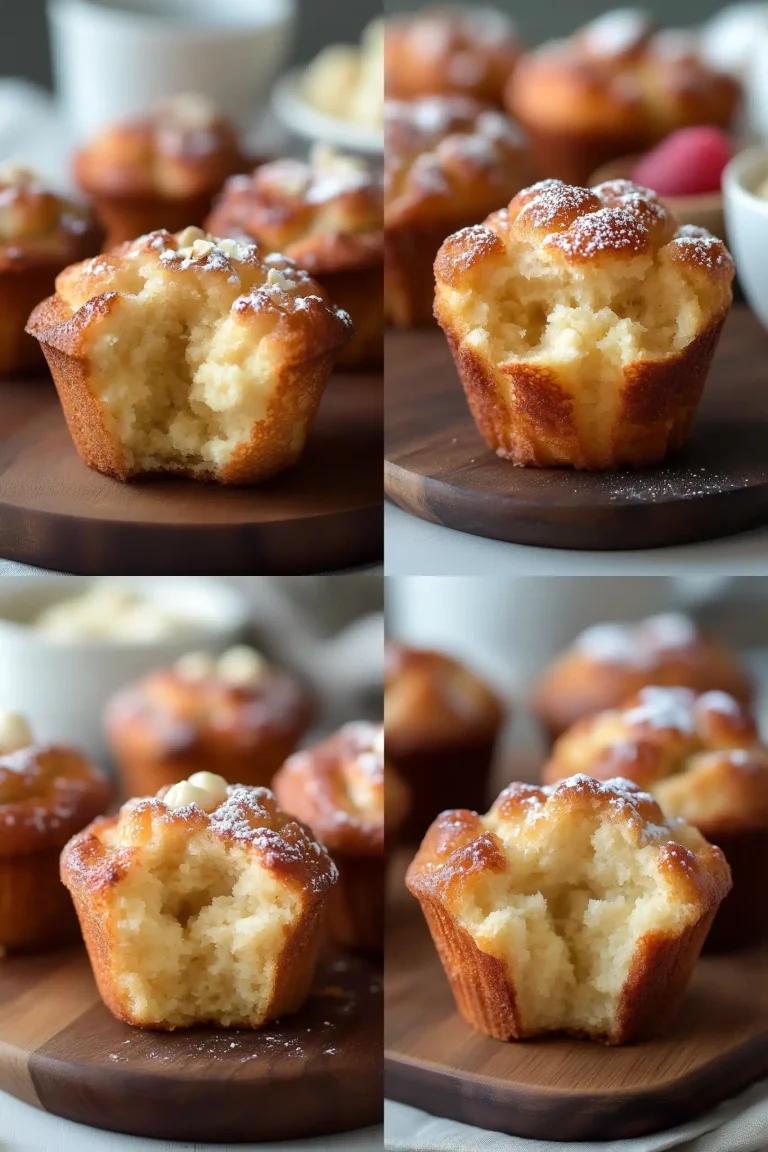
So, what exactly are these magical, no-fuss Halloween cookies? Think of them as your friendly neighborhood cookie – approachable, reliable, and always a hit. They’re essentially a wonderfully soft, subtly spiced cookie base, swirled with a rich, decadent chocolate filling, and then decorated with just enough flair to scream “Halloween!” without being overly complicated. The beauty of this recipe is that it uses super common pantry staples, so you likely won’t even need a special trip to the grocery store. It’s like the culinary equivalent of a cozy sweater on a crisp autumn evening. The “swirl” effect makes them look like little marbled masterpieces, perfect for any Halloween gathering, classroom party, or just a fun afternoon baking session. No fancy cutters, no intricate piping – just pure, simple deliciousness with a festive twist.
Why you’ll love this recipe?
Honestly, where do I even begin with why this recipe is a lifesaver and a crowd-pleaser? First off, the flavor. Oh my goodness, the flavor! The cookie itself has this comforting, warm spice profile that just screams autumn – think cinnamon and a hint of nutmeg, but nothing too overpowering. Then you get those ribbons of rich chocolate that melt in your mouth, creating this perfect sweet and slightly bittersweet contrast. It’s seriously addictive. But the real magic for me, and why I think you’ll adore it too, is how unbelievably simple it is. We’re talking minimal steps, very little fuss, and a whole lot of delicious payoff. This isn’t one of those recipes that requires you to chill dough for hours or carefully shape every single cookie. It’s forgiving, it’s quick, and it makes your kitchen smell absolutely divine. Plus, let’s talk about budget! All the ingredients are everyday items, so you won’t break the bank preparing a whole batch (or two!). And versatility? You can totally customize the swirl – use dark chocolate, milk chocolate, or even white chocolate chips. You can also add a sprinkle of festive orange or black sanding sugar after they bake for extra sparkle. It’s the kind of recipe that makes you feel like a baking superstar, even if you’re just starting out. It’s way less fussy than my usual elaborate gingerbread houses, but it brings just as much cheer!
How do you make these easy Halloween cookies?
Quick Overview
The whole process is surprisingly streamlined. You’ll mix up a simple cookie dough, create a luscious chocolate filling, and then artfully swirl them together before baking. It’s a one-bowl wonder for the dough, and the filling comes together in mere minutes. The ‘swirling’ is the fun part, where you get to be a bit artistic without any pressure. The result is a beautifully marbled cookie that’s soft, chewy, and packed with flavor. This method is a lifesaver when you’re short on time but still want to impress. It’s designed for maximum flavor with minimum effort.
Ingredients
For the Main Cookie Batter:
Here’s what you’ll need to create that perfectly soft cookie base. Make sure your butter is softened – I always forget this step and then have to microwave it for a few seconds, which works in a pinch, but truly soft butter makes for a creamier dough. And for the eggs, room temperature is best! If I forget to take them out, I just pop them in a bowl of warm water for about 10 minutes.
- 1 cup (2 sticks) unsalted butter, softened
- 1 1/2 cups granulated sugar
- 2 large eggs, room temperature
- 1 teaspoon vanilla extract
- 2 1/2 cups all-purpose flour
- 1 teaspoon baking soda
- 1/2 teaspoon salt
- 1 teaspoon ground cinnamon
- 1/4 teaspoon ground nutmeg (optional, but I love it!)
For the Chocolate Swirl Filling:
This is what gives our cookies that beautiful marbled look and an extra punch of chocolatey goodness. I usually opt for semi-sweet chocolate chips because they offer a nice balance, but feel free to experiment! Sometimes, when I’m feeling fancy, I’ll even chop up a good quality dark chocolate bar for a richer flavor. It really makes a difference.
- 1 cup semi-sweet chocolate chips (or your favorite kind!)
- 2 tablespoons unsalted butter
For the Simple Glaze (Optional, but recommended for that extra Halloween sparkle!):
This is super basic but adds a lovely sheen and a little extra sweetness. You can leave it plain, or add a drop of food coloring to make it orange, black, or even a spooky green! I usually just do a simple white glaze and add sprinkles.
- 1 cup powdered sugar
- 2-3 tablespoons milk (or water)
- 1/2 teaspoon vanilla extract
Step-by-Step Instructions
Step 1: Preheat & Prep Pan
First things first, let’s get our oven ready to do its magic! Preheat your oven to 375°F (190°C). Then, line your baking sheets with parchment paper. This is a lifesaver for easy cleanup – I can’t tell you how many times I’ve forgotten this and regretted it later! Parchment paper ensures your cookies slide right off and prevents them from sticking. If you don’t have parchment, lightly greasing your baking sheets will work, but parchment is definitely my preference.
Step 2: Mix Dry Ingredients
In a medium bowl, whisk together the flour, baking soda, salt, cinnamon, and nutmeg (if you’re using it). Whisking them together ensures everything is evenly distributed, so you don’t get pockets of salt or baking soda in your cookies. This is a simple step, but it makes a difference in the final texture. Set this bowl aside for now.
Step 3: Mix Wet Ingredients
In a large bowl, cream together the softened butter and granulated sugar until light and fluffy. This usually takes a good 3-5 minutes with an electric mixer. You want it to look pale and airy. Then, beat in the eggs one at a time, followed by the vanilla extract. Make sure to scrape down the sides of the bowl as you go to ensure everything is incorporated evenly. This creamy base is what gives our cookies their tender crumb.
Step 4: Combine
Now, it’s time to bring it all together! Gradually add the dry ingredients to the wet ingredients, mixing on low speed until just combined. Be careful not to overmix here – that’s the secret to a tender cookie! Overmixing can develop the gluten too much, leading to tough cookies. You’re looking for a soft dough that just comes together. If it seems a little too sticky to handle, you can pop it in the fridge for about 15-20 minutes, but usually, it’s good to go.
Step 5: Prepare Filling
While the dough is chilling (if you decided to do that), let’s get our chocolate swirl ready. In a microwave-safe bowl, combine the chocolate chips and the 2 tablespoons of butter. Microwave in 30-second intervals, stirring between each, until smooth and melted. Be careful not to overheat it! You want a smooth, pourable chocolate mixture. If you don’t have a microwave, you can melt this gently in a double boiler over low heat.
Step 6: Layer & Swirl
Now for the fun part – making them spooky and swirly! Drop rounded tablespoons of cookie dough onto your prepared baking sheets, spacing them about 2 inches apart. You can also drop spoonfuls of the melted chocolate mixture in dollops on top of the cookie dough. Then, using a toothpick or a knife, gently swirl the chocolate into the dough to create a marbled effect. Don’t over-swirl; you want distinct streaks of chocolate. I usually do about 3-4 swirls per cookie. This is where you can really get creative with your patterns!
Step 7: Bake
Bake in your preheated oven for 10-12 minutes, or until the edges are lightly golden brown and the centers are set. The exact baking time will depend on your oven and the size of your cookies. It’s always better to underbake slightly for a chewier cookie. Keep an eye on them, especially towards the end, as they can go from perfect to overdone pretty quickly. My oven tends to run a little hot, so I usually start checking at the 9-minute mark.
Step 8: Cool & Glaze
Let the cookies cool on the baking sheets for about 5 minutes before transferring them to a wire rack to cool completely. Once they’re totally cool, you can whip up the glaze. In a small bowl, whisk together the powdered sugar, 2 tablespoons of milk, and vanilla extract. Add more milk, a teaspoon at a time, if needed, until you reach your desired drizzling consistency. Drizzle the glaze over the cooled cookies. If you’re adding sprinkles, do it immediately after drizzling the glaze so they stick. Let the glaze set before serving.
Step 9: Slice & Serve
Once the glaze is set, your easy Halloween cookies are ready to be devoured! These are best served at room temperature. They’re perfect for a Halloween party platter, a lunchbox treat, or just an afternoon snack. The contrast between the soft cookie and the slightly crisp glaze is just divine. You can arrange them on a platter for a festive display or package them up in cellophane bags tied with ribbon for goody bags.
What to Serve It With
These easy Halloween cookies are so versatile, they fit right in no matter the occasion! For a casual breakfast treat, I love pairing them with a steaming mug of coffee. The sweetness of the cookie cuts through the bitterness of the coffee beautifully, and it’s just a comforting way to start a crisp autumn morning. If you’re planning a Halloween brunch, these add a wonderful sweet element to the table. They look so festive next to some deviled eggs or a fruit salad. For a more elegant dessert spread, I like to serve them alongside some rich chocolate mousse or a scoop of vanilla bean ice cream. The warm spice of the cookie with cold ice cream is pure bliss! And for those cozy, late-night snack cravings, they’re perfect all on their own. My kids always ask for them after school, and they disappear in minutes. We’ve even made them for a “spooky movie night” where we’ll serve them with Hot Chocolate, and it’s always a hit with the whole family. They’re just so comforting and delicious, no matter how you serve them.
Top Tips for Perfecting Your Easy Halloween Cookies
I’ve baked these cookies more times than I can count, and over the years, I’ve picked up a few tricks that I think really make a difference. When it comes to the dough, the key is not to overmix it once you add the flour. Seriously, just mix until it’s combined. A few streaks of flour are fine; they’ll get incorporated as you swirl. Overmixing is the number one culprit for tough cookies, and we definitely don’t want that! For the chocolate swirl, make sure your chocolate is smooth and melted but not too hot when you add it to the dough. If it’s too hot, it can start to melt the cookie dough too much, making it harder to swirl and potentially affecting the texture. I’ve found that using a toothpick or a thin skewer for swirling gives you the best control to create those beautiful marble patterns. Don’t aim for perfection; a little bit of randomness makes them look more homemade and charming! If you’re struggling with the dough being too sticky, don’t hesitate to chill it for 20-30 minutes. It makes it so much easier to handle and scoop. As for ingredient swaps, I’ve experimented with using unsweetened applesauce instead of some of the butter (about a 1:1 ratio for half the butter) for a slightly lighter cookie, but it does change the texture slightly, making it a bit more cake-like. If you’re out of cinnamon, you can use Pumpkin Pie spice for a similar warm flavor profile, or just stick to nutmeg if that’s all you have! And for the glaze, consistency is everything. Too thin, and it’ll run right off; too thick, and it’ll be clunky. Start with less liquid and add more gradually until it’s perfect for drizzling. My personal favorite variation is adding a tiny bit of orange zest to the cookie dough itself – it adds a lovely subtle citrus note that complements the spices wonderfully!
Storing and Reheating Tips
These cookies are pretty forgiving when it comes to storage, which is another reason I love them so much! At room temperature, they’ll stay deliciously soft and chewy for about 3-4 days, as long as they’re stored in an airtight container. I usually just pop them into a cookie tin or a good quality plastic container. If your kitchen is particularly warm, the glaze might get a little sticky, so keeping them in a slightly cooler spot is a good idea. If you need them to last longer, the refrigerator is your friend. They’ll be good in the fridge for up to a week. Just make sure they’re in a well-sealed container to prevent them from drying out or absorbing other fridge odors – nothing worse than a cookie that tastes like onions! When you want to enjoy them from the fridge, you can eat them cold, or for that just-baked warmth, you can gently reheat them. I usually pop one or two in a toaster oven on a low setting for about 30-60 seconds, or even just microwave them for about 10-15 seconds. Just be careful not to overdo it, or they can become tough. For longer storage, you can absolutely freeze these cookies. Wrap them tightly in plastic wrap, then place them in a freezer-safe bag or container. They’ll keep well in the freezer for about 2-3 months. To thaw, just bring them out to room temperature for a few hours. If you’ve glazed them, the glaze might soften a bit during thawing, but they’ll still be delicious. I often freeze unfrosted cookies and then glaze them once they’ve thawed, just to ensure the glaze stays nice and pretty.
Frequently Asked Questions
Final Thoughts
I really hope you give these easy Halloween cookies a try. They’re a testament to the fact that you don’t need to spend hours in the kitchen to create something truly delicious and festive. They bring together that comforting cookie base with a rich chocolate swirl, all with minimal fuss. It’s the kind of recipe that makes you feel like a baking hero, even on the busiest of days. If you love these, you might also enjoy my recipe for Spiced Apple Cider Donuts or my No-Bake Pumpkin Energy Bites for more easy autumn treats! They’re perfect for parties, for sharing with neighbors, or just for enjoying with a cup of tea on a cozy evening. I can’t wait to hear what you think, and I’d absolutely love to see your creations! Please feel free to share your own twists or any questions you might have in the comments below. Happy baking, and have a wonderfully spooky Halloween!
Easy Halloween Cookies
Ingredients
Main Ingredients
- 0.75 cup butter, softened
- 0.75 cup light brown sugar, packed
- 0.25 cup sugar
- 2 large eggs
- 1 tsp vanilla extract
- 1.5 cups all-purpose flour
- 5 tbsp cocoa powder
- 1 tsp baking powder
- 0.5 tsp baking soda
- 0.5 tsp salt
- 0.75 cup Halloween chocolate candies
- 0.25 cup Halloween sprinkles
Instructions
Preparation Steps
- Add the butter to a large mixing bowl and cream with a hand mixer (or stand mixer) for about 1 minute, until softened.
- Add the brown sugar and sugar and cream together with the mixer for 2 to 3 minutes.
- Add the eggs, one at a time, mixing with the mixer in between each addition.
- Add the vanilla extract and mix together.
- In another large mixing bowl, add the flour, cocoa powder, baking powder, baking soda and salt and whisk to combine.
- Add the flour mixture to the butter mixture and stir with a wooden spoon until just mixed.
- Add the chocolate candies and sprinkles and mix until evenly distributed. Be careful to not overmix.
- Cover with plastic wrap and chill in the fridge for 30 minutes.
- Preheat the oven to 375°F. Prepare a cookie sheet with parchment paper.
- Scoop the batter onto the prepared sheet and bake for 10 to 12 minutes for a regular sized cookie or 12 to 14 minutes for a large sized cookie.
- Remove the cookies from the oven and add any extra candies to the top if you like.
- Let cool on a baking rack before enjoying.