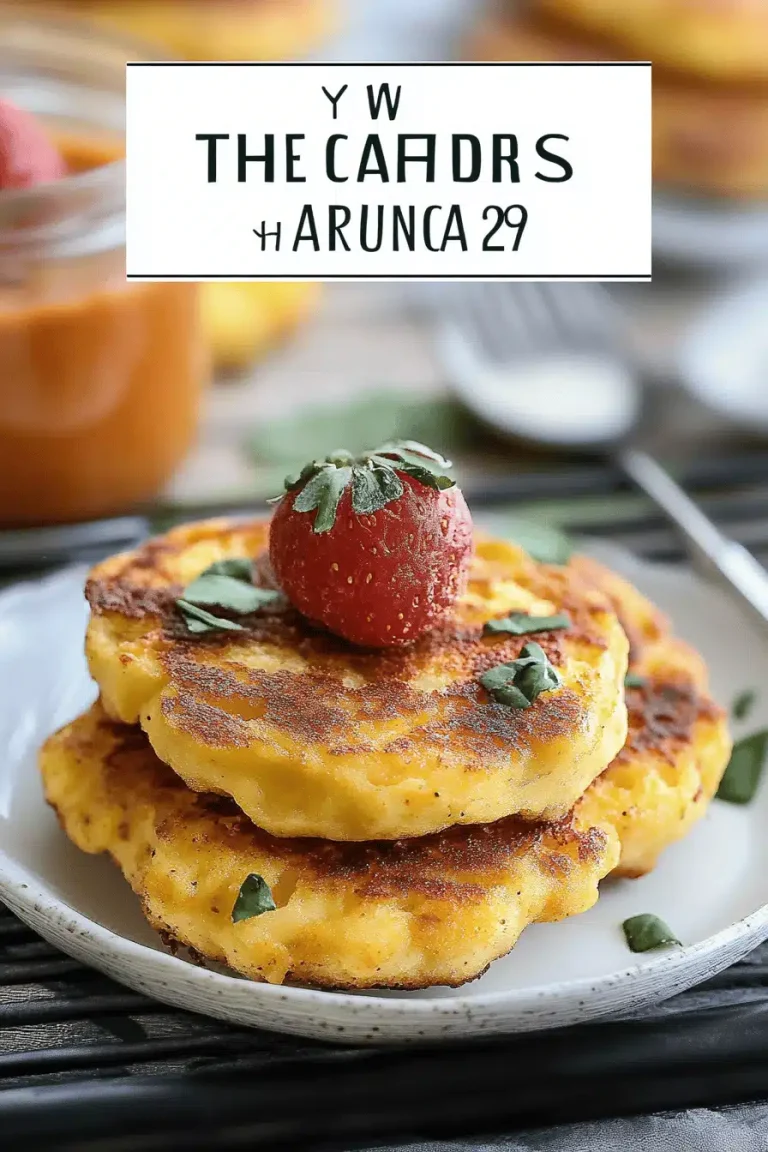
There’s something about waking up to baked eggs that feels like a warm hug on a chilly morning. I still remember the first time I tried baked eggs at a friend’s house—oozing yolk, a little crust from the oven, and that faintly caramelized edge that made my taste buds sing. It’s a bit like a fancy scrambled egg but without the fuss, and honestly, it’s become my go-to for lazy weekends or those rushed mornings when I want something comforting, nourishing, and hands-off. If you’re used to classic sunny-side-ups or boiled eggs for breakfast, baked eggs might just surprise you. They’re richer, creamier, and have that lovely oven-baked flavor that feels just a bit indulgent but totally doable. Plus, they’re family-friendly; my kids always ask for seconds—and that says a lot in my house!
What is baked egg?
Think of baked eggs as eggs that get their time to shine in the oven, typically baked gently in a ramekin or small dish until they’re just set yet still silky. It’s essentially a super easy, fuss-free method of cooking eggs that lets the yolk stay luscious and the whites tender without all the flipping or stirring. The name’s pretty straightforward—it’s eggs baked instead of fried or boiled—but don’t let the simplicity fool you. You can jazz them up with all kinds of goodies like cream, cheese, veggies, herbs, or even bacon bits. It’s like your eggs got dressed up for a cozy brunch party right in your oven. The best part? You barely have to babysit them, so you’re freed up to sip your coffee or toast some bread while they cook.
Why you’ll love this recipe?
What I adore about baked eggs is how they strike this perfect balance between cozy comfort food and a simple, hassle-free dish. First off, the flavor is next-level. When you bake eggs gently, the yolks turn this golden, custard-like beauty that’s richer than your regular fried egg and more delicate than boiled. The texture is smooth and just a little gooey, which makes every bite feel special.
Now, I get it—sometimes you don’t want to fuss with a hundred ingredients. Baked eggs are pure and simple; a few pantry staples, some fresh herbs or cheese if you like, and you’re set. No flipping, no tricky timing; just pop them in the oven and they bake themselves while you get a head start on other things. Plus, this recipe is super budget-friendly. Eggs, a splash of cream, salt, and whatever add-ons you have in the fridge can transform this into breakfast, lunch, or a light dinner.
Versatility is another huge win here. You can keep it classic with just butter and salt, or pile on spinach, tomatoes, mushrooms, or a sprinkle of spicy pepper flakes. During busier weeks, I toss in whatever veggies are wilting in the fridge; it’s a sneaky way to eat greens without much effort. And for anyone who loves shakshuka, baked eggs are like a calmer, easier sibling—same comforting vibes but zero stress.
Honestly, my kids ask for this at least twice a week. It’s quick, comforting, and we can customize it every time. I think you’re going to appreciate how this one’s a lifesaver on busy mornings or when you want something cozy but not heavy.
How do I make baked eggs?
Quick Overview
Making baked eggs is ridiculously straightforward. You preheat your oven, prep your ramekins with a little butter or oil, crack the eggs, add a splash of cream or milk for richness, sprinkle on your favorite seasonings or toppings, and then bake them gently until the whites are just set but the yolks are still luscious and soft. It’s all about timing and a gentle oven temperature to avoid rubbery whites or hard yolks. The best part? You can leave them in the oven while you get your coffee or toast ready—it’s almost magical how stress-free this simple baking method is.
Ingredients
For the Main Batter:
– 4 large fresh eggs (organic or free-range if possible, they really do taste better)
– 1/4 cup heavy cream or whole milk (cream makes it ultra-rich, but milk works too and lightens things up)
– Salt and freshly cracked black pepper, to taste
For the Filling:
– 1/2 cup grated cheese (Gruyère, cheddar, mozzarella, or feta all work beautifully)
– Fresh herbs like chives, parsley, or thyme (about 2 tbsp chopped)
– Optional: sautéed mushrooms, spinach, diced tomatoes, or crispy bacon bits (roughly 1/2 cup total)
– A tiny pinch of red pepper flakes or smoked paprika for a subtle kick (optional)
For the Glaze:
– A drizzle of extra virgin olive oil or melted butter before serving
– Optional: a light sprinkle of flaky sea salt or fresh herbs on top
– For a fancy finish, a little grated Parmesan or a dollop of crème fraîche goes a long way
Step-by-Step Instructions
Step 1: Preheat & Prep Pan
Set your oven to 350°F (175°C). Grab four small ramekins or oven-safe dishes and brush the insides lightly with butter or oil. This keeps the eggs from sticking and contributes a lovely buttery hint. I’ve learned the hard way that skipping this step makes the cleanup way tougher, so don’t skip it!
Step 2: Mix Dry Ingredients
Since baked eggs don’t really have a dry mix like batter, this step is more for seasoning. I usually just sprinkle a tiny bit of salt, pepper, and maybe a pinch of paprika into the ramekins before adding the eggs. This helps the flavors infuse more evenly as they bake.
Step 3: Mix Wet Ingredients
In a small bowl, whisk together your cream and eggs partially, just enough to blend. I usually leave the yolks intact because I love the way they slowly bake in the ramekin, creating that luscious look. If you prefer a fully mixed scrambled effect, whisk more thoroughly—but for traditional baked eggs, nothing beats keeping them mostly whole.
Step 4: Combine
Pour the eggs gently into the prepared ramekins. Add your fillings little by little—if you’re using cheese, sprinkle some at the bottom first, then layer veggies or bacon, and finally a little more cheese on top. This layering helps everything stay cozy and meld together beautifully.
Step 5: Prepare Filling
For veggies or bacon, make sure they’re pre-cooked since the bake time is short. Mushrooms should be sautéed until they release their moisture and turn golden, spinach wilted quickly in a pan, bacon crisped and chopped. This prevents soggy baked eggs and ensures maximum flavor. Mixing fresh herbs in at the end brightens things up and adds that “just-picked” freshness.
Step 6: Layer & Swirl
I like to give the ramekins a gentle swirl by running a spoon lightly through the mixture before baking—this swirls the yolk just a touch and creates a lovely marbled effect. It’s not necessary, but it feels fancy and makes a pretty presentation.
Step 7: Bake
Place the ramekins on a baking sheet and pop them into your preheated oven. Bake for about 12 to 15 minutes, but start checking at 10 minutes because ovens vary. You want the whites set but still tender, and the yolk jiggly but warmed through. If you bake too long, the eggs get chalky, and no one wants that.
Step 8: Cool & Glaze
Take the ramekins out carefully (they’ll be hot), and let the eggs rest for a couple of minutes. This lets the residual heat finish setting them. Then drizzle a bit of olive oil or melted butter on top. If you like, add a sprinkle of flaky salt or some fresh herbs right before serving—it perks everything right up.
Step 9: Slice & Serve
You don’t have to slice baked eggs like a cake, but if you baked them in a larger dish, slicing into wedges is fun and easy. For individual ramekins, scoop out warm with a spoon and enjoy immediately. Serve with toasted bread—my favorite is crusty sourdough or a buttered baguette. They’re perfect for dipping into all that silky yolk.
What to Serve It With
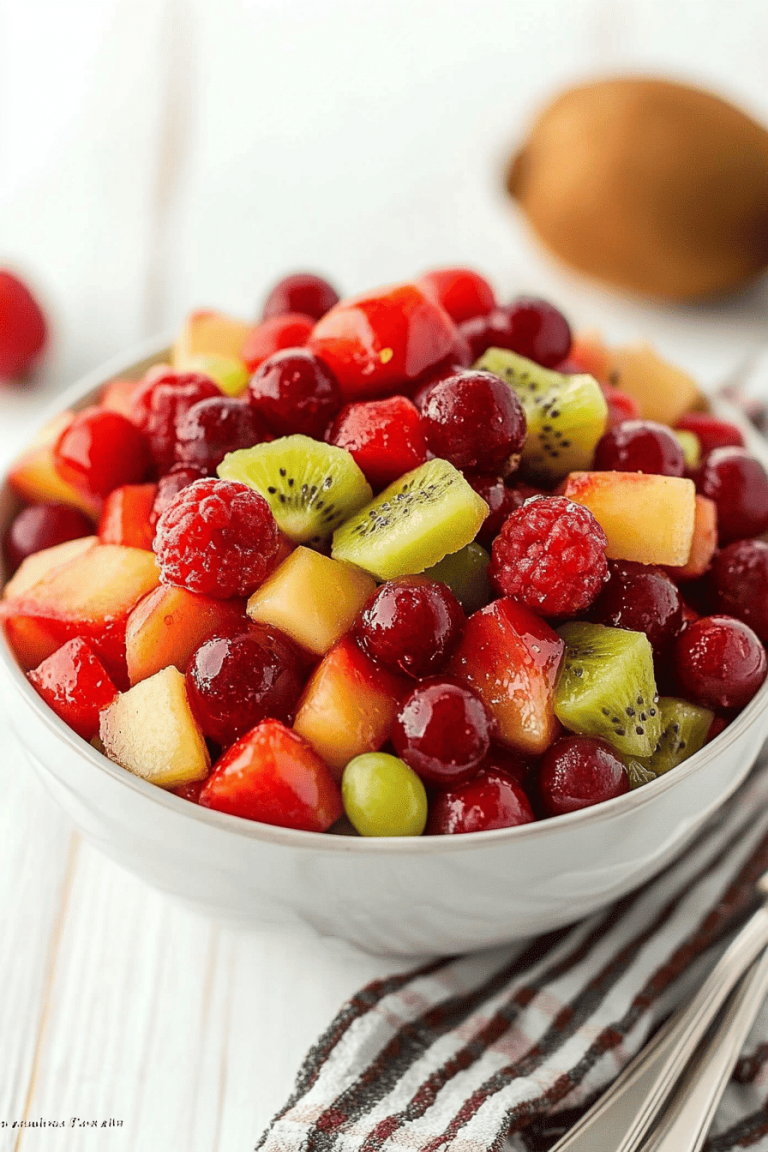
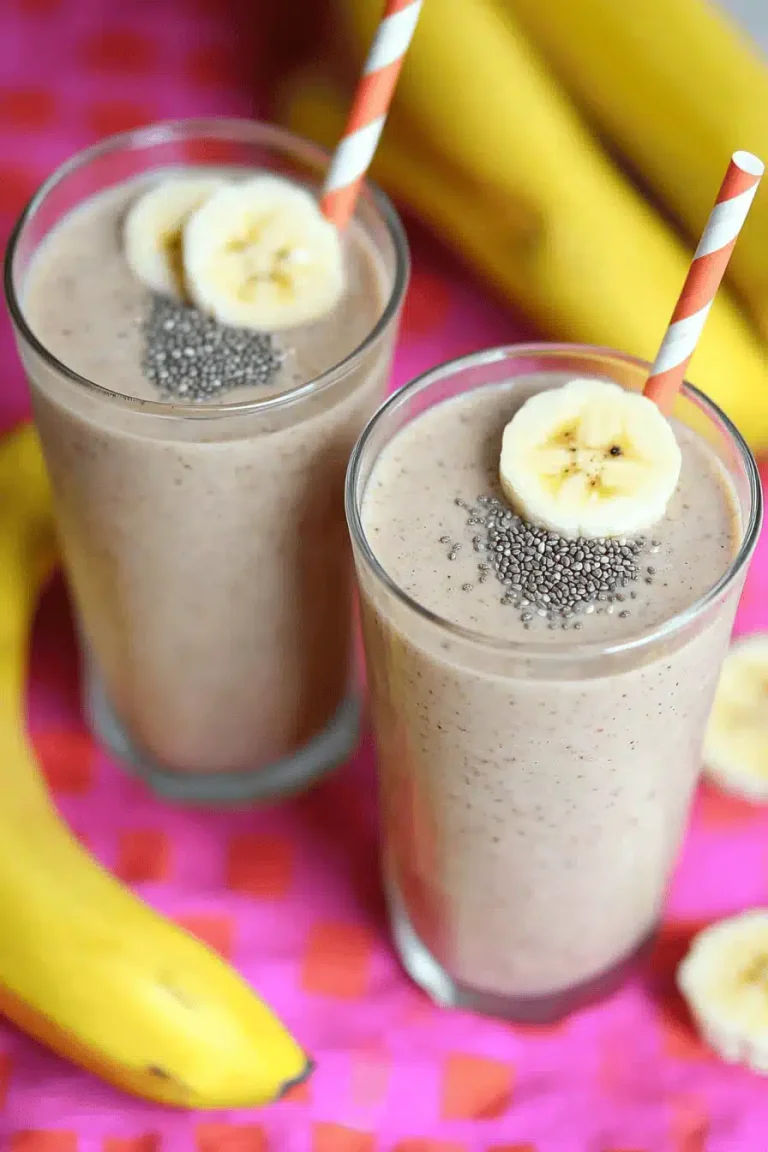
For Breakfast: I love pairing baked eggs with a strong cup of dark roast coffee and a side of fresh fruit. The crispness of berries balances the richness of the eggs beautifully. Sometimes, I throw avocado slices on the side for a little extra creaminess that my kids devour.
For Brunch: Make it a little fancy with a salad of baby arugula tossed in lemon vinaigrette. A chilled glass of sparkling water with a splash of orange juice adds a festive vibe. Guests always comment on how lush yet homey this combo feels.
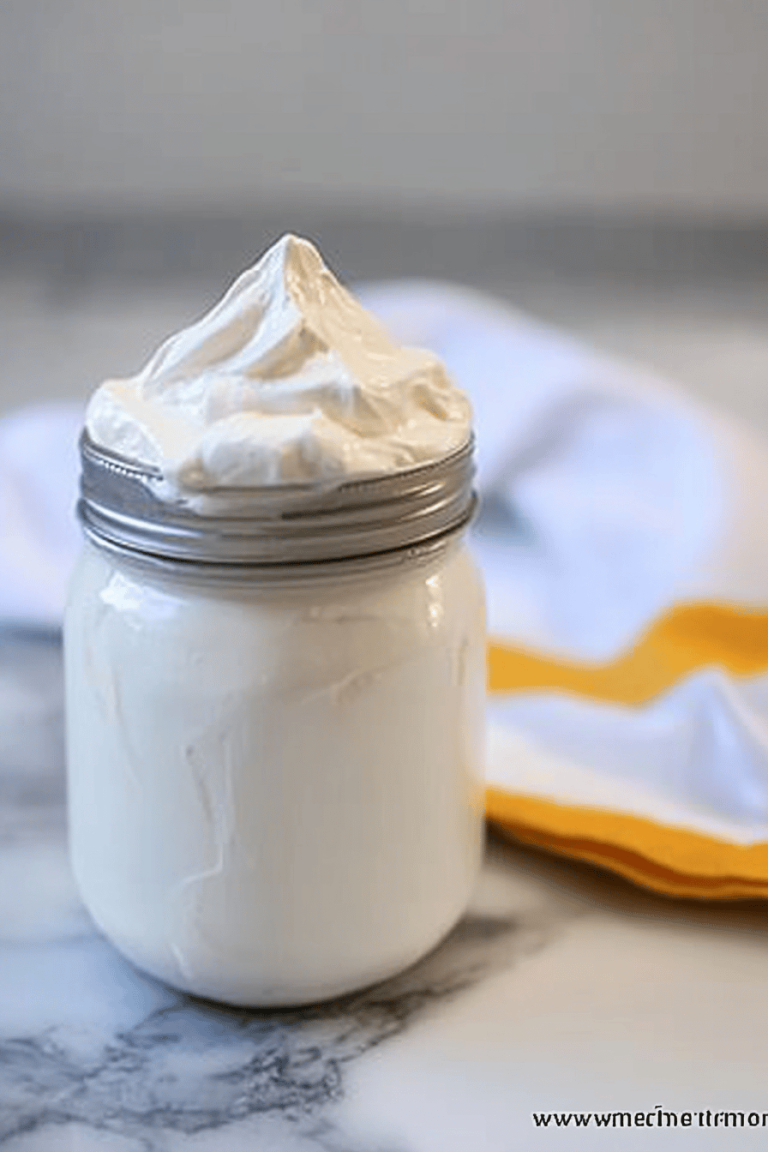
As Dessert: Yes, I know it sounds odd, but when topped with a drizzle of honey and a dusting of cinnamon, baked eggs can play a starring role in a super simple, sweet treat at the end of the day. Serve alongside some toasted nuts or a dollop of vanilla yogurt for an unexpected pleasure.
For Cozy Snacks: When I want a mid-afternoon pick-me-up, I make baked eggs with a little garlic and melted cheese and pair it with a cup of herbal tea or a light sparkling cider. Sometimes, my kids and I share these as a cozy snack while curled up with a good book.
This recipe really fits into so many moments in my life—it’s become part of our weekend traditions and even our casual weeknight dinners. I love how adaptable it is and how it feels thoughtful without much work.
Top Tips for Perfecting Your Baked Eggs
Egg Freshness: Always use the freshest eggs you can find. Fresh eggs hold their shape better when baked and have the best flavor and texture. I learned the hard way that older eggs yield a watery white that spreads too much.
Ramekin Size Matters: Choose small, individual ramekins if you want perfectly cooked eggs in about 12-15 minutes. If they’re too deep or large, you’ll need more time and risk overcooking the edges. I once tried a too-big casserole dish, and it was a struggle to get the timing right.
Don’t Overmix: If you want tender whites and rich yolks, mix just enough to combine. Overmixing makes the eggs tough and scrambled rather than silky and baked. I always leave the yolks mostly intact unless I’m going for a scrambled style.
Add Cream or Milk: A splash of cream or even almond milk makes the eggs richer and more velvety. I’ve tried oat milk here too, and it adds a subtle sweetness that’s surprisingly lovely.
Customize Your Swirl: When making a marbled effect, try dipping a toothpick or fork gently to create nice patterns, but don’t overdo it or the eggs become cloudy. Less is more!
Bake Low and Slow: Keep your oven around 350°F. I experimented with higher temps for speed but found that lower, slower baking is how you get that silky-in-the-middle perfection.
Glaze It Up: Olive oil adds a fruity brightness, butter brings richness, and flaky salt adds crunch. I recommend trying all three separately to find your favorite. A peppery herb like thyme or oregano thrown on top at the end brightens the flavor too.
Over the years, I’ve tweaked this recipe over and over, and these little lessons keep it turning out just right. Trust me—baked eggs done right become this humble but unforgettable kitchen staple.
Storing and Reheating Tips
Room Temperature: Baked eggs are best enjoyed fresh, but if you need to wait, keep them covered loosely with foil or a clean kitchen towel for up to 2 hours. After that, the texture shifts and gets a bit rubbery.
Refrigerator Storage: Store leftover baked eggs in an airtight container in the fridge for up to 2 days. Reheat gently in a low oven (around 275°F) or microwave carefully in short bursts to avoid overcooking.
Freezer Instructions: I don’t usually freeze baked eggs because the texture doesn’t hold up well after thawing. If you must, freeze without any glaze and only for 1 month max. Thaw overnight in the fridge and reheat slowly.
Glaze Timing Advice: It’s best to add any buttery or oily glaze right before serving to keep that fresh flavor and prevent it from soaking in and going greasy during storage. I always skip glazing baked eggs before storing and add it just before serving again.
Frequently Asked Questions
Final Thoughts
Baked eggs have truly carved a cozy little spot in my heart and my kitchen routine. They’re the kind of dish that looks simple but feels like a tender homemade gift every time you serve them—silky yolks, warm, satisfying, and endlessly flexible. If you like meals with that just-right balance of ease and flavor, I hope you give this one a whirl. Play around with your favorite cheeses, veggies, and spices and make it your own—a bit like a small daily celebration.
And hey, if you’re like me and love fiddling with your recipes, you might want to check out my shakshuka or oven-baked frittata recipes next—they’re both in the same no-fuss, hands-off vein and have that same comforting vibe.
Can’t wait to hear how your baked eggs turn out—do you add bacon, spice it up with chili, or keep it classic? Drop me a comment, share your tweaks, and don’t forget to rate it if it becomes your new favorite. Happy baking and even happier eating!
baked eggs
Ingredients
Main Ingredients
- 2 tsp olive oil
- 0.25 cup diced shallots
- 1.5 lb baby spinach large stems removed
- 4 large eggs
- salt and freshly ground pepper to taste
- 2 tbsp Asiago cheese shredded or Parmesan
- baking spray
Instructions
Preparation Steps
- Preheat the oven to 400°F.
- Lightly spray four oven-safe dishes or ramekins with cooking spray.
- Heat a large skillet over medium-low heat, add olive oil and diced shallots and cook for 2 to 3 minutes.
- Add baby spinach, salt, and freshly ground pepper and cook until the spinach wilts, about 2 to 3 minutes.
- Mix in Asiago cheese and remove from heat.
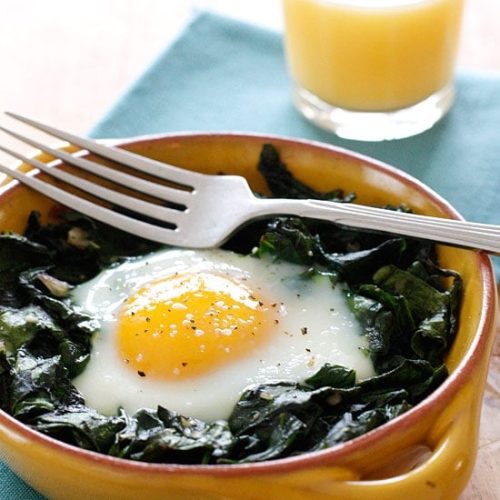
- Divide the wilted spinach mixture among the oven-safe dishes, making a well in the center of each.
- Break an egg into each dish and season with salt and freshly ground pepper.
- Place the ramekins on rimmed baking sheets and bake until the whites are set and the yolks are firm around the edges but still soft in the center, about 17 minutes.
- Serve immediately.