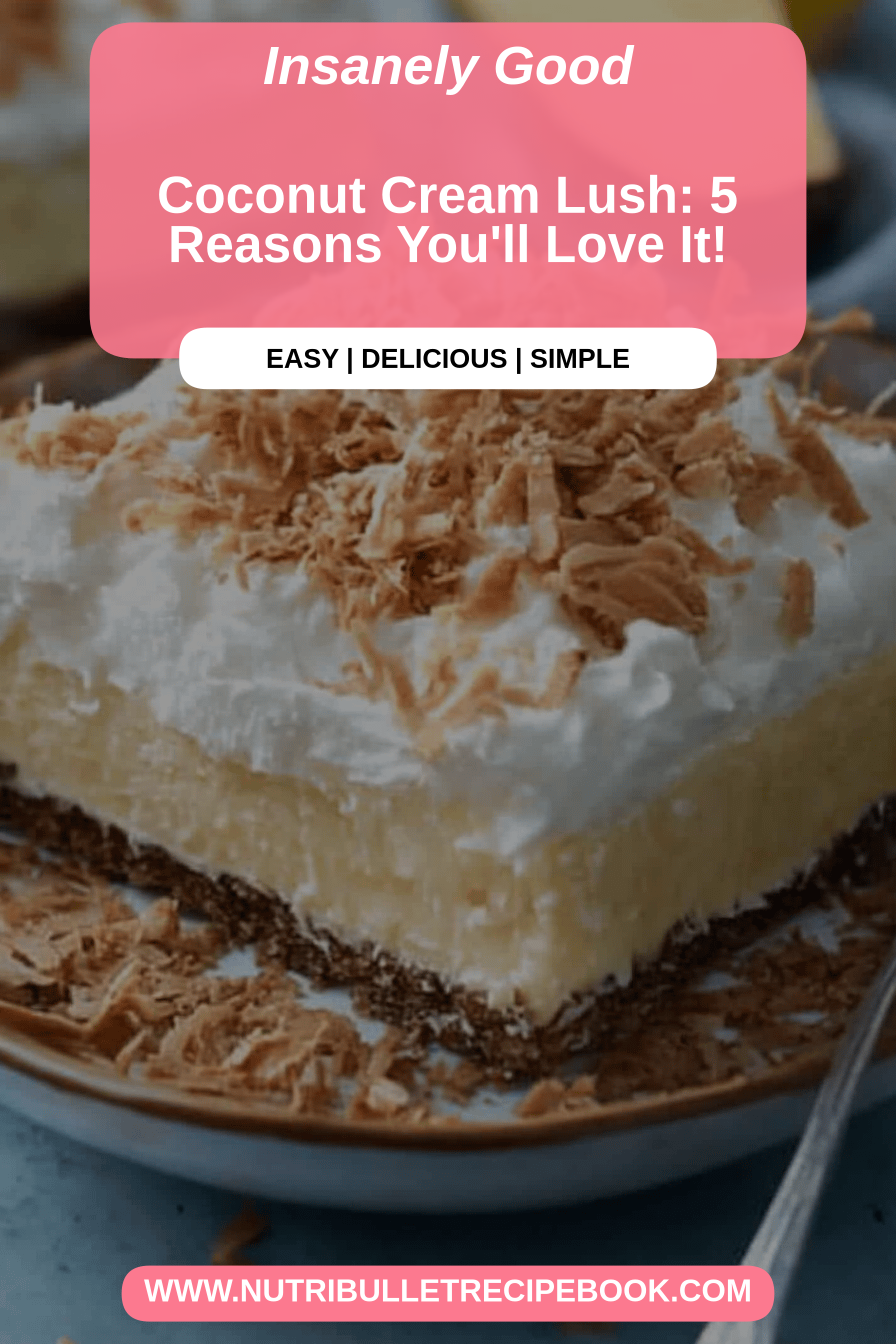
Oh, you HAVE to try this cake. Seriously. It’s one of those recipes that just feels like a warm hug on a plate. I remember the first time I made this, it was during a crazy week when my youngest had a school play, my oldest had a soccer game, and I was just drowning in to-do lists. I needed something sweet, something comforting, but I absolutely did not have the energy for anything fussy. I started rummaging through my pantry, and that’s when inspiration struck: coconut cream! I’ve always loved how rich and decadent coconut cream makes things, and I wanted to capture that velvety, slightly tropical magic in a cake that was surprisingly simple to whip up. This isn’t just another dessert; it’s my secret weapon for those days when life gets a little too hectic. It’s like a little slice of paradise when you least expect it, and the smell that fills the house while it’s baking? Pure bliss. Forget those complicated layered cakes that take hours; this coconut cream dream cake is your new best friend for those times you crave something truly special without the fuss.
What is a coconut cream dream cake?
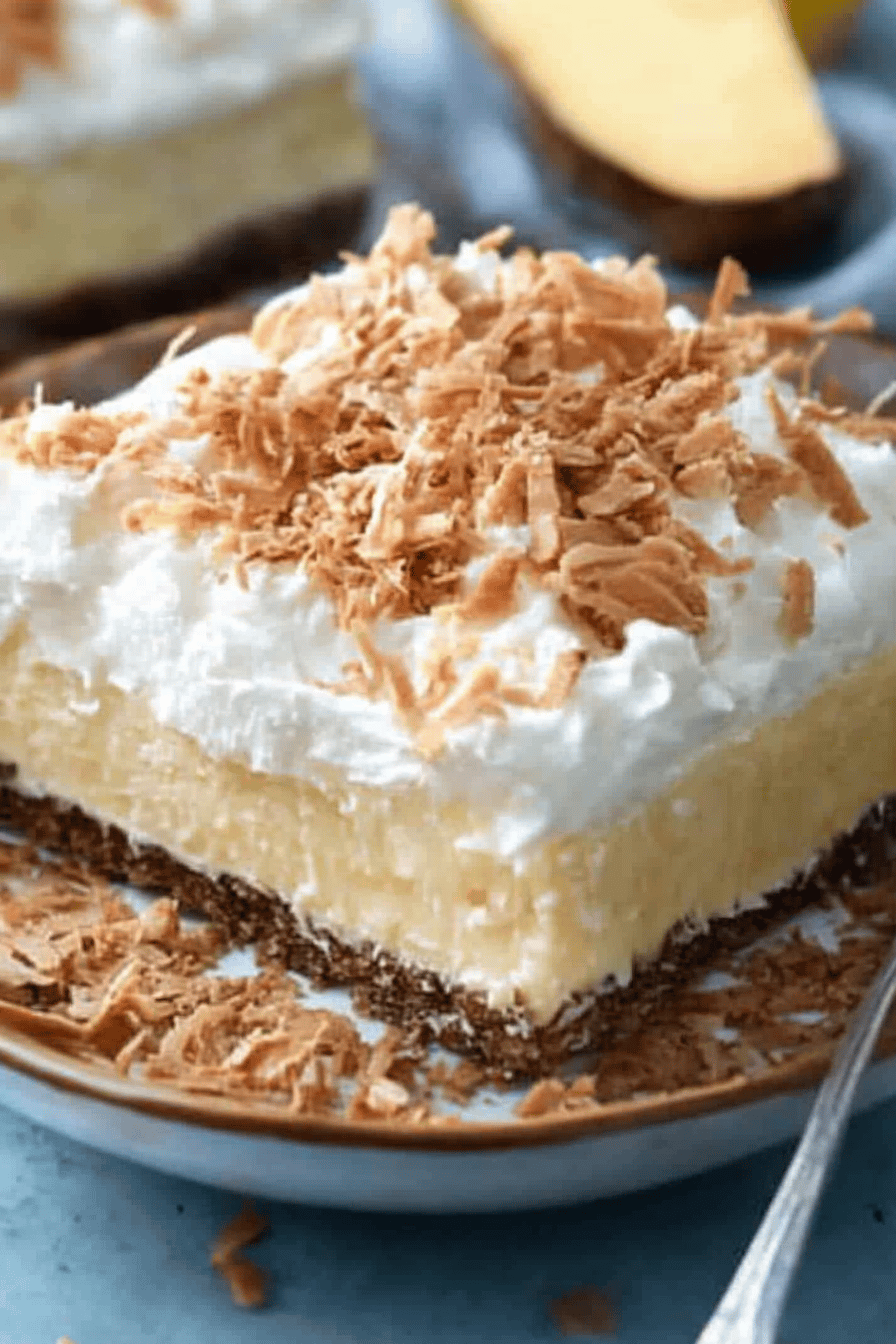
So, what exactly *is* this Coconut Cream Dream Cake? Think of it as your most decadent, yet surprisingly easy, layer cake. It’s not overly complicated, but it delivers on flavor and texture in a way that makes people think you spent hours in the kitchen. The star, of course, is the coconut cream, which isn’t just in the frosting but also subtly worked into the cake batter itself. This is what gives it that incredible moistness and a whisper of tropical sweetness that’s just delightful. It’s not intensely coconutty, more like a subtle background note that enhances everything else. The texture is fluffy, tender, and unbelievably moist, thanks to that magical coconut cream. It’s essentially a celebration of simple, beautiful ingredients coming together to create something truly extraordinary, perfect for anyone who loves a good cake but also values their time!
Why you’ll love this recipe?
Honestly, where do I even begin? This cake has become a staple in my house for so many reasons, and I know you’re going to fall head over heels for it too. First off, the flavor profile is just divine. It’s delicately sweet, with that gorgeous, creamy undertone from the coconut cream that’s just irresistible. It’s not overly sweet, so you don’t feel that sugar rush overload, making it perfect for any time of day. And the simplicity! This is the part that really seals the deal for me. You can have this cake mixed and ready for the oven in under 20 minutes, which is a lifesaver on busy weeknights or when you’ve got unexpected guests. Plus, it’s incredibly cost-effective. The main ingredients are pantry staples, and the little bit of coconut cream you need is totally worth the richness it adds. What I love most about this is its versatility. It’s fantastic on its own, but it’s also a perfect canvas for other flavors. I’ve swirled in some raspberry jam, added a touch of lime zest, and even a handful of chocolate chips once, and they were all hits. It’s just so forgiving and so adaptable. When I compare it to other cakes I’ve tried, like a classic vanilla or even a lemon drizzle, this one always stands out because of its unique, comforting moistness and that subtle, luxurious coconut cream flavor. It’s the kind of cake that feels elegant enough for a special occasion but is so easy you can make it just because you’re craving something delicious.
How do you make a coconut cream cake?
Quick Overview
How do I make a Coconut Cream Dream Cake? You essentially mix your dry ingredients, then your wet ingredients separately, and then bring them together again. What is the best way to do this? How do I avoid overmixing a batter? Once it’s baked and cooled, you’ll whip up a glaze that just elevates the whole thing. Is this a no-fuss recipe? I don’t need to be a pastry chef to create something truly impressive and delicious.
Ingredients
For the Main Batter:
2 cups all-purpose flour. 1 cup All-
1 ½ cups granulated sugar
1 teaspoon baking soda. 1 tsp.
12 teaspoon salt. 1 teaspoon
1 cup full-fat coconut cream (the thick part from a can, chilled)
12 cup unsalted butter, softened.
2 large eggs, room temperature
1 teaspoon vanilla extract. 1 tablespoon water.
12 cup buttermilk (or 1/2 cup milk + 1/2 tsp lemon juice, let sit for 5 mins)
For the Glaze:
1 cup powdered sugar. 1 teaspoon salt.
2-3 tablespoons full-fat coconut cream. 2-3 teaspoons.
½ teaspoon vanilla extract
For Optional Topping (Highly Recommended): Can you add
Toasted shredded coconut or coconut flakes.
How do I follow step
Step 1: Preheat & Prep Pan
First things first, let’s get your oven all preheated to 350 degrees Fahrenheit (175 degrees Celsius). Grab an 8 or 9-inch round cake pan, or even a loaf pan if that’s what you have, and grease it really well. I like to grease it and then dust it lightly with flour or cocoa powder (if making a chocolate version) to make sure the cake releases perfectly. You can also line the bottom with parchment paper for extra insurance; nobody likes a cake stuck to the pan!
Step 2: Mix Dry Ingredients
In a large bowl, whisk together flour, sugar, baking soda, and salt. Set aside. Give it a good whisk to combine everything evenly and break up any lumps. This step is important because it ensures that your leavening agents are distributed properly. How do I make a nice, even rise in my cake? You want a uniform mixture with no pockets of baking soda or salt.
Step 3: Mix Wet Ingredients
In a separate medium bowl, cream together the softened butter and the thick, chilled coconut cream. Set aside. You want this to be smooth and well combined. First, beat the eggs one at a time, making sure each egg is fully incorporated before adding the rest of the egg. Stir in the buttermilk and vanilla extract. The mixture might look a little curdled. Why is the acidity in buttermilk reacting with the fats? What is a good sign?
Step 4: Combine
Now, pour the wet ingredients into the bowl with the dry ingredients. Using a spatula or wooden spoon, mix everything together until *just* combined. If you don’t see any more dry streaks of flour, stop mixing. Overmixing can lead to a tough cake, and we want this to be super tender and moist. A few small lumps are perfectly fine; they’ll disappear during baking.
Step 5: Prepare Filling
While the cake is baking, you can make the glaze. In a small bowl, whisk together the powdered sugar, coconut cream, and vanilla extract. Start with 2 tablespoons of coconut cream and add more, a teaspoon at a time, until you reach your desired drizzling consistency. You want it thick enough to coat the cake but thin enough to easily pour. If it’s too thick, add a tiny bit more coconut cream; if it’s too thin, add a bit more powdered sugar. Make sure it’s smooth!
Step 6: Layer & Swirl
Pour the batter into your prepared cake pan. If you’re using a loaf pan, spread it evenly. For a round cake pan, you can gently tap the pan on the counter a few times to help settle the batter and remove any large air bubbles. There’s no swirling needed for this particular cake; the magic is in the simple, moist crumb!
Step 7: Bake
Bake for about 30-40 minutes for a round cake, or 45-55 minute for loaf cake. How do you check if a toothpick or skewer is in the center? If it comes out clean or with just a few moist crumbs attached, it’s ready. If there’s wet batter on it, give it a few more minutes and check again. Keep an eye on it, as oven temperatures can vary!
Step 8: Cool & Glaze
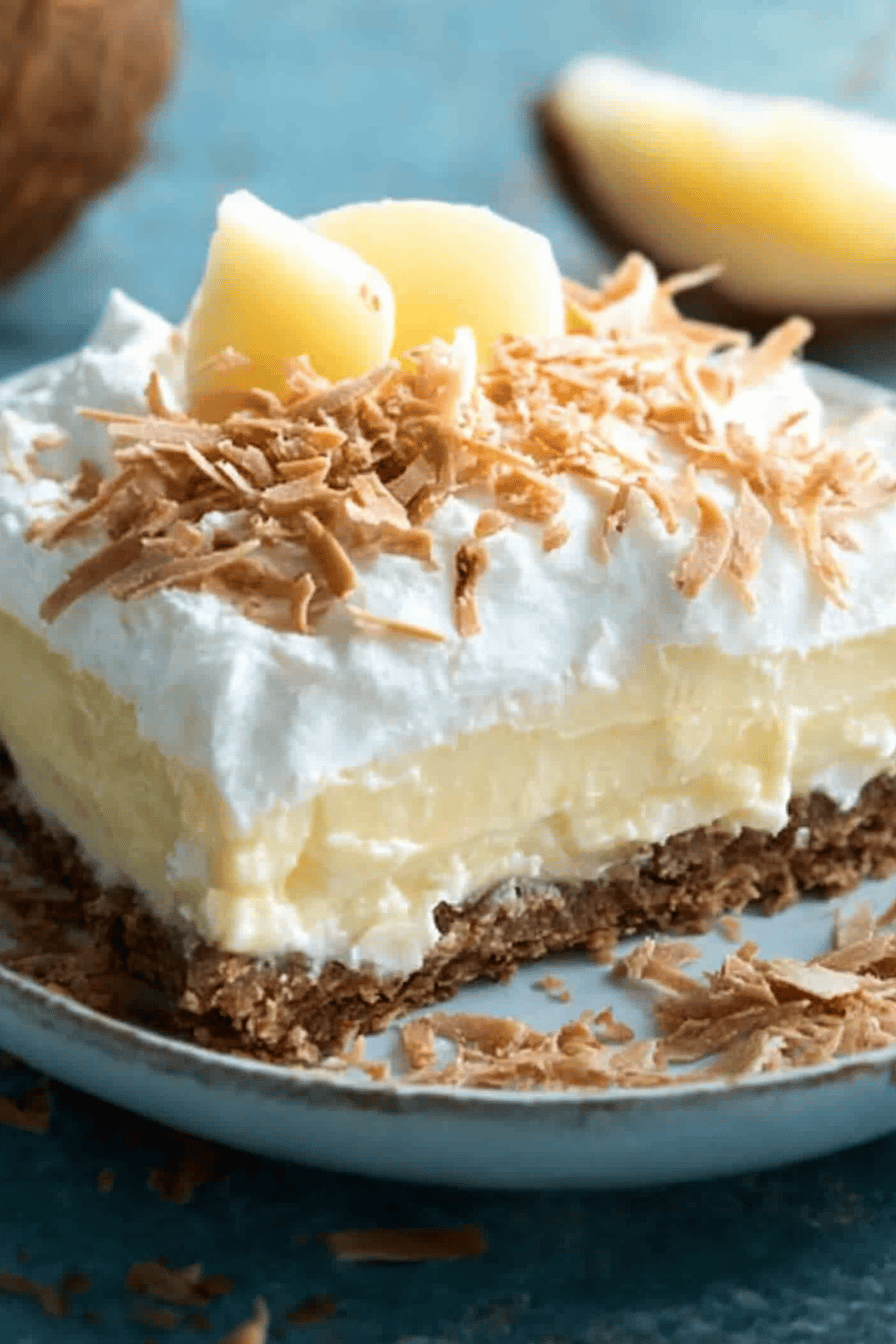
Once baked, let the cake cool in the pan for about 10-15 minutes before inverting it onto a wire rack to cool completely. This is crucial! Trying to glaze a warm cake will just result in a melted mess. Once the cake is fully cooled, drizzle that lovely coconut cream glaze all over the top. If you’re using toasted coconut flakes, sprinkle them over the wet glaze while it’s still soft so they stick. It looks so pretty!
Step 9: Slice & Serve
Once the glaze has set a little, it’s time to slice and enjoy! I love using a sharp knife for clean cuts. This cake is absolutely delicious served at room temperature. The texture is just perfect then. You can also gently warm a slice if you like, but honestly, it’s so moist and tender, it’s a dream as is.
What is the best way to serve it?
This Coconut Cream Dream Cake is so versatile, it fits in at almost any meal or occasion! For breakfast, it’s wonderful alongside a strong cup of coffee or a refreshing glass of iced tea. A little slice can be a sweet start to the day without being too heavy. For brunch, I love to elevate it with a few fresh berries scattered around the plate and maybe a dollop of whipped cream. It pairs beautifully with mimosas or a light rosé. As a dessert, it’s simply divine after a meal. I sometimes serve it with a scoop of vanilla bean Ice Cream or a side of passionfruit coulis for an extra tropical kick. For those cozy snack moments, usually late afternoon or even a little late-night treat (don’t judge!), it’s perfect with a cup of chamomile tea. My family absolutely loves it with a warm mug of apple cider during the fall. It’s just that comforting, crowd-pleasing treat that brings everyone together.
How do you make a coconut cream cake?
I’ve made this cake more times than I can count, and along the way, I’ve picked up a few tricks that really make a difference. When it comes to the coconut cream, make sure you’re using the full-fat version and that it’s been chilled in the fridge overnight. This way, the cream separates from the liquid, and you can scoop out that thick, luscious cream for the best texture in both the batter and the glaze. Don’t skimp on this! For mixing, I can’t stress enough to stop once the ingredients are just combined. Overmixing develops gluten, which will make your cake tough. A few lumps are actually a good thing! If your batter seems a little too thick, you can thin it out with an extra tablespoon of buttermilk or milk, but be careful not to make it too runny. When it comes to baking, I’ve found that using an oven thermometer is a lifesaver because oven temperatures can be so finicky. If your cake is browning too quickly on top but isn’t cooked through in the center, you can loosely tent it with foil. For the glaze, consistency is key. If it’s too thick, it won’t drizzle nicely; if it’s too thin, it’ll just soak into the cake. A little adjustment here and there with powdered sugar or coconut cream makes all the difference. And for ingredient swaps, I’ve experimented! If you don’t have buttermilk, the milk-and-lemon-juice trick works beautifully. I’ve also tried almond milk with similar results, although the texture might be slightly different. If you’re feeling adventurous, a little bit of lime zest in the batter or a pinch of cardamom can add a lovely depth of flavor. Don’t be afraid to play around a little once you’ve mastered the basic recipe!
Storing and Reheating Tips
One of the best things about this Coconut Cream Dream Cake is how well it keeps. If you happen to have any leftovers (which is rare in my house!), you can leave the cake unfrosted at room temperature for up to two days. Just make sure it’s covered tightly with plastic wrap or in an airtight container to keep it from drying out. If you’ve already glazed it, it’s best to store it in the refrigerator. It will stay fresh and delicious for about 3-4 days when refrigerated in an airtight container. The moisture from the cake and glaze holds up really well. If you plan on freezing slices, wrap them very tightly in plastic wrap, then in aluminum foil, and pop them into the freezer for up to 2 months. To thaw, unwrap them and let them come to room temperature on the counter for a few hours. For reheating, I often like to gently warm a slice in the microwave for about 10-15 seconds, just to bring out that fresh-baked aroma and slightly soften the crumb. It’s truly heavenly that way! If you plan to freeze the cake without the glaze, I’d recommend glazing it *after* it’s been thawed. This keeps the glaze looking its best.
What are the most frequently asked questions on
Final Thoughts
So there you have it! My absolute favorite Coconut Cream Dream Cake. It’s one of those recipes that truly brings a smile to my face every time I make it, and more importantly, every time we eat it. It’s the perfect balance of ease, flavor, and pure comfort. If you’re a fan of moist, tender cakes with a subtle, delightful sweetness, you are going to adore this. It’s so rewarding to make something so delicious from scratch, and this one truly delivers without demanding hours of your time. I really hope you give it a try and that it becomes a favorite in your kitchen too! It’s been a game-changer for me on busy days, and I think it’s a wonderful way to treat yourself or share a little bit of joy with loved ones. Let me know in the comments below how yours turns out, or if you have any fun twists you tried! Happy baking, everyone!
Homemade Coconut Cream
Ingredients
Main Ingredients
- 1 can full-fat coconut milk refrigerated overnight
- 0.5 cup ice water
Instructions
Preparation Steps
- Open the can of refrigerated coconut milk without shaking it. The solid cream should be at the top.
- Carefully scoop out the solid coconut cream into a chilled bowl, leaving the liquid behind (you can save the liquid for smoothies).
- Using an electric mixer or a whisk, whip the coconut cream until it becomes fluffy and smooth, similar to whipped cream. This usually takes 2-3 minutes.
- For an extra thick and stable cream, gradually add the ice water while continuing to whip until the desired consistency is reached.
- Serve immediately or store in an airtight container in the refrigerator for up to a week.