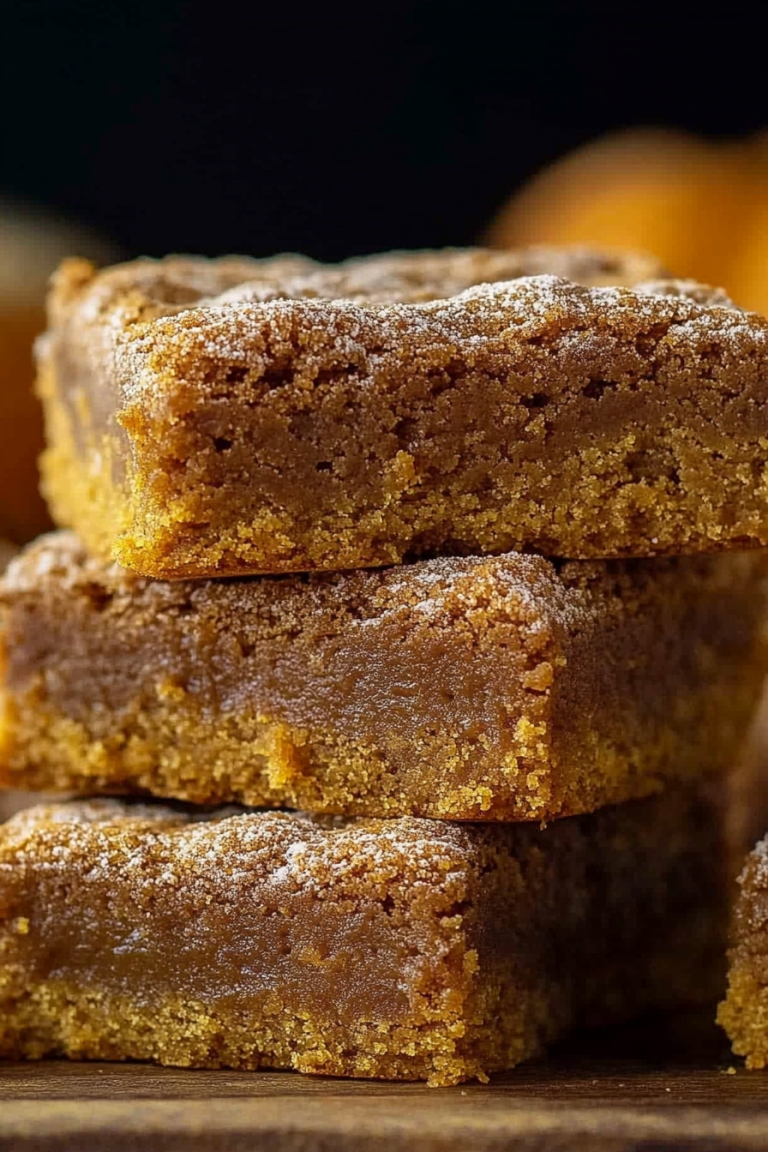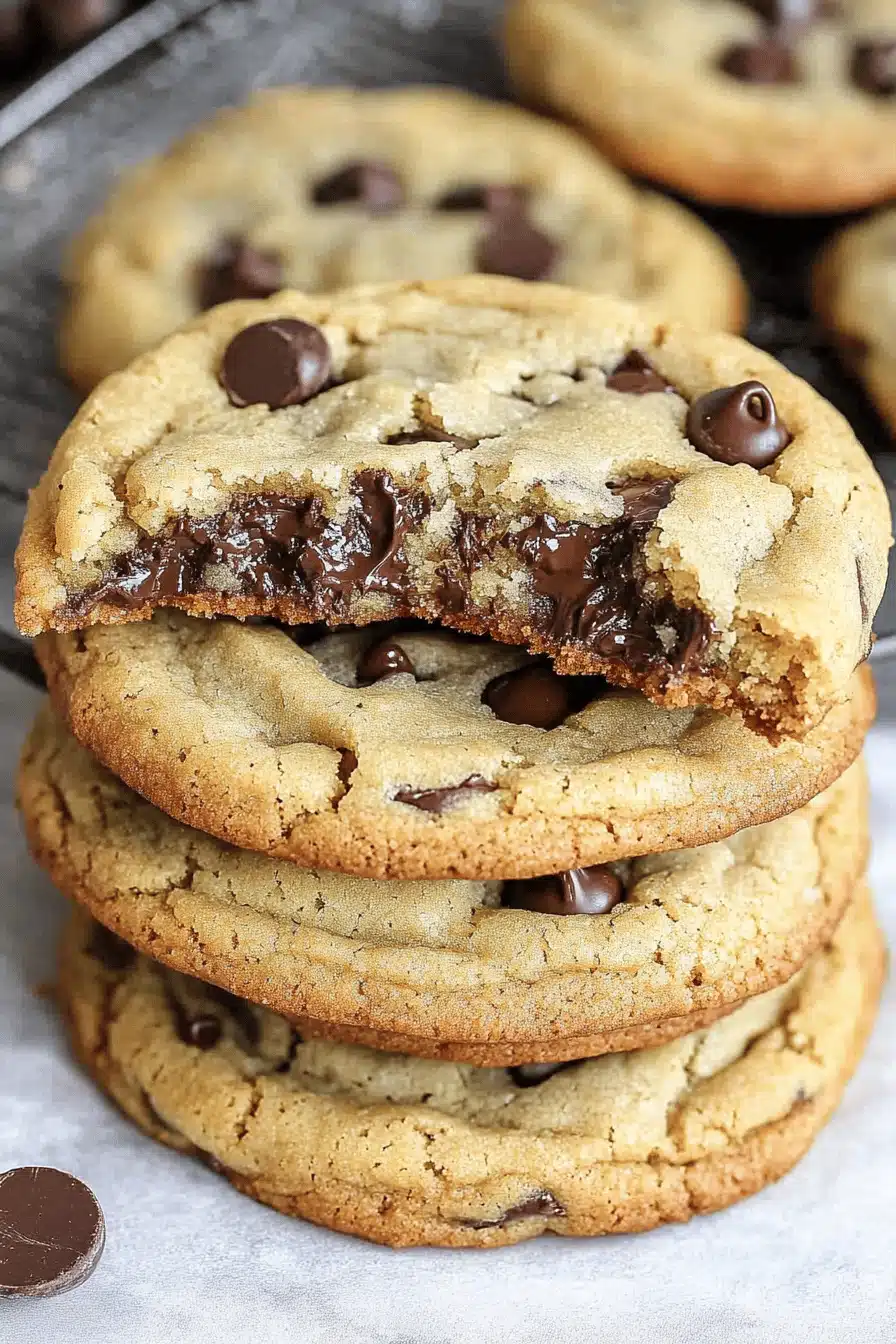
Every time I pull a batch of these soft batch chocolate cookies out of the oven, I’m instantly wrapped up in a warm, cozy hug of nostalgia. It’s that smell—the rich cocoa aroma mingling with the buttery sweetness—that takes me back to my childhood kitchen, where my mom would bake late into the evening, insisting we “just have one” before bed. These cookies aren’t your typical crispy chocolate disks; they’re soft, pillowy, almost cake-like, but in the best way possible. If you’ve ever wondered what it’d be like if a fudgy brownie and a classic cookie had a baby, well, here you go. It’s a bit like that but way better, because they’re quick to whip up and endlessly comforting. Plus, my kids have made “soft batch chocolate cookies” a permanent fixture on our family menu—they actually ask for seconds. Trust me on this one; the texture alone makes these cookies impossible to resist.
What is soft batch chocolate cookies?
So, what are soft batch chocolate cookies anyway? Think of them as chocolate cookies that skip the crunch and go straight for the soft, tender center. The “soft batch” name hints at their slightly doughy texture, a delightful departure from the classic crisp or chewy cookie. It’s essentially a cookie that stays moist and almost cake-like even a day after baking, thanks to a precise balance of ingredients and timing. Unlike chewy chocolate chip cookies that have that little bit of chewiness and give, these feel almost like a cross between a cookie and a cupcake—but without any frosting fuss. They’re perfect for those moments when you want a cookie that practically melts in your mouth, stays fresh for days, and has that chocolaty punch without being overly dense. Honestly, they’re the recipe I come back to when I want a no-fuss pleaser that’s softer, sweeter, and downright addictive.
Why you’ll love this recipe?
What I love most about soft batch chocolate cookies is how they grab your attention from the very first bite. That buttery, chocolate-rich flavor feels indulgent yet subtle, never overwhelming. It’s like a little celebration every time your teeth sink in. Plus, if you’ve ever tried baking tough or dry cookies because of overbaking or measuring mishaps, I’ve been there—and perfected this recipe to make sure every cookie is soft and tender every single time. They’re incredibly simple to make, too. No fancy ingredients or techniques—just regular pantry staples like cocoa powder, flour, sugar, and eggs. It’s a recipe that won’t make you sweat, even on busy weeknights. And, bonus, it’s budget-friendly. Honest to goodness, the ingredients are things I usually keep on hand, so whenever my sweet tooth strikes, I can dive right in without a trip to the store.
Another thing—a lot of cookie recipes stick to one playing field, but these soft batch chocolate cookies are versatile. You can easily swap in dark chocolate chips, nuts, or even swirl in peanut butter if you’re feeling adventurous. I sometimes double the recipe and freeze half because they thaw incredibly well, which makes weekday snacks a breeze. Plus, they remind me of my favorite ginger molasses cookies, only with chocolate magic. If you adore any chocolatey baked good, give these a go. They’re comfort food that melts the chaos of the day away and always bring a smile to the table.
How do I make soft batch chocolate cookies?
Quick Overview
This recipe is pretty straightforward but with a few little touches that make all the difference. We start by prepping the dry and wet ingredients separately, then fold everything gently together to keep that soft texture. The trick is to not overmix the batter, so the cookies stay tender and avoid any unwanted toughness. After you swirl in a luscious chocolate filling—a little secret ingredient that amps up the gooey factor—they bake into perfectly soft discs that hold their shape. Then comes the optional glaze that puts the finishing touch on this homemade delight. It’s quick, low-fuss, and absolutely foolproof once you get the rhythm.
Ingredients
For the Main Batter:
- 1 cup all-purpose flour – Using fresh flour really makes a difference; old flour loses that tender crumb.
- ¼ cup unsweetened cocoa powder – I always choose Dutch-processed for a richer, deeper chocolate flavor.
- ½ teaspoon baking soda – Helps the cookies rise just enough without blowing up too much.
- ¼ teaspoon salt – Balances the sweetness perfectly.
- ½ cup unsalted butter, softened – Room temperature butter keeps the batter smooth; don’t substitute with melted butter here.
- ¾ cup granulated sugar – Sweet but not overpowering.
- 1 large egg – Adds moisture and binds the dough.
- 1 teaspoon vanilla extract – Pure vanilla is the key to that warm, inviting aroma.
For the Filling:
- ¼ cup semi-sweet chocolate chips – Pop these in the microwave for 20 seconds to soften for the best swirling effect.
- 2 tablespoons cream cheese, softened – This adds tanginess and extra creaminess to the filling.
- 1 tablespoon powdered sugar – Just enough to sweeten the filling without making it cloying.
For the Glaze:
- ½ cup powdered sugar – Be sure to sift to avoid lumps.
- 1-2 tablespoons milk or cream – Adjust for desired glaze thickness.
- ½ teaspoon vanilla extract – For that finishing flavor boost.
Step-by-Step Instructions
Step 1: Preheat & Prep Pan
Preheat your oven to 350°F (175°C). Line a baking sheet with parchment paper—trust me, it’s the easiest way to keep these soft cookies from sticking or burning on the bottom. Don’t skip this step, or you’ll regret scrubbing baked-on chocolate later. I usually prep the pan right after collecting the ingredients to save time.
Step 2: Mix Dry Ingredients
In a bowl, sift together the flour, cocoa powder, baking soda, and salt. This step matters because it gives the cookies their signature light texture and helps all the dry goodies blend without clumps. If you don’t have a sifter, just whisk vigorously for about 30 seconds—that works too. The batter will smell chocolaty already!
Step 3: Mix Wet Ingredients
In a separate large bowl, beat the softened butter and sugar until fluffy and light, about 3-4 minutes with a hand mixer. This is where cookies get their tender, melt-in-your-mouth texture. Add the egg and vanilla extract, mixing just until combined. The batter should be smooth and glossy but not runny.
Step 4: Combine
Gently fold the dry ingredients into the wet mixture in two additions. The key here is not to overwork or beat the dough; a few lumps are okay. Overmixing activates the gluten, making the cookies tough, and that’s exactly what we want to avoid. Stop folding as soon as the flour disappears.
Step 5: Prepare Filling
While the oven’s warming and dough is resting, mix the softened cream cheese, powdered sugar, and semi-sweet chocolate chips in a small bowl until smooth. The filling should be creamy but firm enough to dollop and swirl. I like to microwave the chocolate chips for a few seconds first to make them easier to stir in.
Step 6: Layer & Swirl
Drop dollops of cookie batter about 2 inches apart on the baking sheet, then add smaller spoonfuls of the chocolate filling right on top of each. Using a toothpick or butter knife, gently swirl the filling through the dough. You want pretty marbling but don’t overdo it—less is more when it comes to that gorgeous swirl pattern.
Step 7: Bake
Bake for about 10-12 minutes. The recipe is forgiving here, but watch for soft edges and a set center. Don’t panic if the centers still look slightly undone — that’s exactly what keeps them soft. Remember, they’ll firm up as they cool. Opening the oven door too early can cause sinking, so try to resist peeking!
Step 8: Cool & Glaze
Let the cookies cool on the sheet for 5 minutes before transferring them to a wire rack. While they’re cooling, whisk together powdered sugar, milk, and vanilla to make the glaze. Drizzle or spread thinly over the cookies once completely cooled. The glaze isn’t mandatory but adds a lovely sweet finish and makes these perfect for gift-giving.
Step 9: Slice & Serve
These cookies are best served room temperature, so give them a good 10 minutes after glazing before digging in. They slice easily if you want to present them on a nice platter or pack them up as gifts. I like to pair with a glass of cold milk or, honestly, just a cup of strong coffee—they’re heavenly together.
What to Serve It With
For Breakfast: These cookies pair surprisingly well with a creamy latte or a mug of rich hot chocolate. Sometimes I crumble one over my morning yogurt for a quick and fun sweet treat. The soft batch chocolate cookie adds a little joy to busy mornings without feeling too heavy.
For Brunch: Want to impress your guests? Serve these cookies alongside fresh berries and a light fruit salad. A chilled mimosa or your favorite iced tea makes the perfect accompaniment. The soft texture of the cookies balances out the fresh acidity brilliantly.
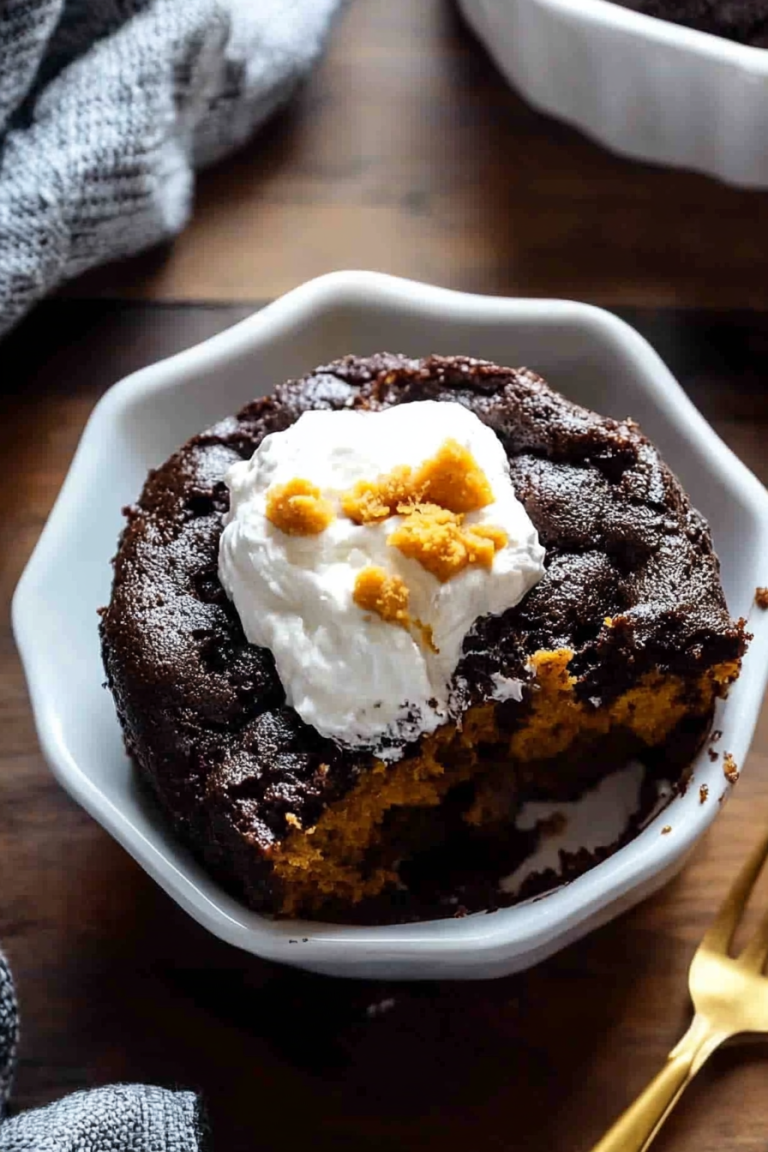
As Dessert: After dinner, serve warm with a scoop of vanilla bean ice cream or a dollop of whipped cream. Garnish with a sprig of mint or a fresh raspberry for an elegant look. It’s hard not to go back for seconds with this combo.
For Cozy Snacks: This is where the magic lives at my house. On a lazy afternoon or after school, these cookies are the ultimate comfort food. Pair with a warm mug of chai tea or even a glass of cold milk, and you’ve got a snack that feels like a big warm hug. It’s simple, nostalgic, and disappears in minutes—I’m not even kidding.
Top Tips for Perfecting Your Soft Batch Chocolate Cookies
Butter Prep: Make sure your butter is softened, not melted. It should leave a slight indentation when you press your finger but still hold its shape. I learned this after several batches went flat because the butter was too warm.
Mixing Advice: Don’t let your enthusiasm get the best of you when folding in the dry ingredients. Overmixing will sneak up and make the cookies tough. Fold gently until you just don’t see flour patches.
Swirl Customization: Use a toothpick or the tip of a knife to create gentle swirls; too much swirling will blend the filling into the batter and you lose that visual appeal. I usually stop after 5 gentle twists per cookie—enough to see the marble pattern clearly.
Ingredient Swaps: I’ve tried substituting half the butter with coconut oil, which works but adds a slight coconut flavor. For dairy-free, swapping cream cheese filling with a blend of mashed ripe avocado and cocoa is surprisingly delicious. Just keep your expectations realistic; texture might shift slightly.
Baking Tips: If your oven tends to run hot, knock the temperature down by 10°F and watch closely past the 8-minute mark. Cookies can look underdone but still be perfectly baked once cooled.
Glaze Variations: Vanilla is a classic, but I sometimes add a pinch of espresso powder to the glaze for an instant mocha vibe. Lemon zest stirred into the glaze also brightens the flavor beautifully. For a no-glaze option, a dusting of powdered sugar works wonders.
One last thing—I learned that resting the batter for 30 minutes (if you can wait that long) really lets the flavors mellow out and improves the texture. Not essential, but it’s a nice trick when time allows.
Storing and Reheating Tips
Room Temperature: Store these cookies in an airtight container or zip-top bag at room temp for up to 3 days. I find they stay soft and fresh when kept away from humid spots. If you want to keep the glaze intact, make sure cookies are completely dry before sealing.
Refrigerator Storage: Place cookies in a sealed container; they’ll last up to a week. The fridge can firm the texture slightly, so I recommend bringing them back to room temperature before eating for that perfect soft bite.
Freezer Instructions: These freeze beautifully! Stack between parchment paper in an airtight container or tightly wrapped foil. They can last for up to 3 months. Thaw at room temperature or gently warm in the microwave for about 10 seconds for near-fresh softness.
Glaze Timing Advice: If you plan to freeze, don’t glaze beforehand. Add glaze after the cookies have thawed and cooled. Glazing fresh cookies and then freezing can cause the glaze to crack or become sticky.
Frequently Asked Questions
Final Thoughts
Soft batch chocolate cookies are a little slice of comfort, nostalgia, and pure joy rolled into one. They’re the kind of treat that feels like a warm hug after a long day—the kind that disappears too fast but leaves behind those perfect little memories. I love how easy they are to whip up and how forgiving this recipe is when life gets hectic. Whether it’s a weekday snack or a special weekend indulgence, these cookies shine without a fuss. If you enjoy these, don’t hesitate to explore other variations like soft batch peanut butter or vanilla swirl cookies—they are just as delightful in their own way. I can’t wait to hear how your batches turn out! Drop a comment, share your tweaks, or rate it so we can swap stories. Happy baking, my friend!
soft batch chocolate cookies
Ingredients
Main Ingredients
- 0.5 cup unsalted butter room temperature
- 0.25 cup cream cheese room temperature
- 0.75 cup light brown sugar packed
- 0.25 cup confectioners' sugar
- 1 large egg room temperature
- 1 tablespoon vanilla extract preferably McCormick
- 2.25 cups all-purpose flour
- 2 teaspoons cornstarch
- 1 teaspoon baking soda
- 1 teaspoon Kosher salt
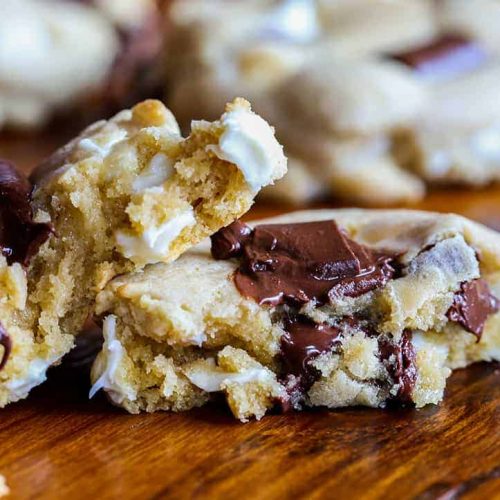
- 1 cup semi-sweet chocolate chunks
- 1 cup white chocolate morsels
Instructions
Preparation Steps
- Preheat oven to 350°F. Line three baking sheets with parchment paper.
- In the bowl of a stand mixer with a paddle attachment, beat butter, cream cheese, brown sugar, and confectioners' sugar on high for 2-3 minutes until combined.
- Add the egg and vanilla extract on low speed and mix for about 1 minute.
- Add flour, cornstarch, baking soda, and salt, then mix on low for about 1 minute until fully incorporated.
- Fold in the semi-sweet chocolate chunks and white chocolate morsels by hand until evenly combined.
- Using a 3-tablespoon cookie scoop, place dough onto prepared baking sheets, fitting 8 cookies on two sheets and 4 on the last sheet (20 total).
- Press down on each cookie dough ball with your hand or the bottom of a glass for a flatter cookie. Optionally, add extra morsels on top for presentation.
- Bake cookies for 8-10 minutes, watching closely to avoid browning. Cookies should be slightly underdone and just golden on edges.
- Allow cookies to cool for 5-10 minutes on the baking sheets before transferring to a cooling rack.