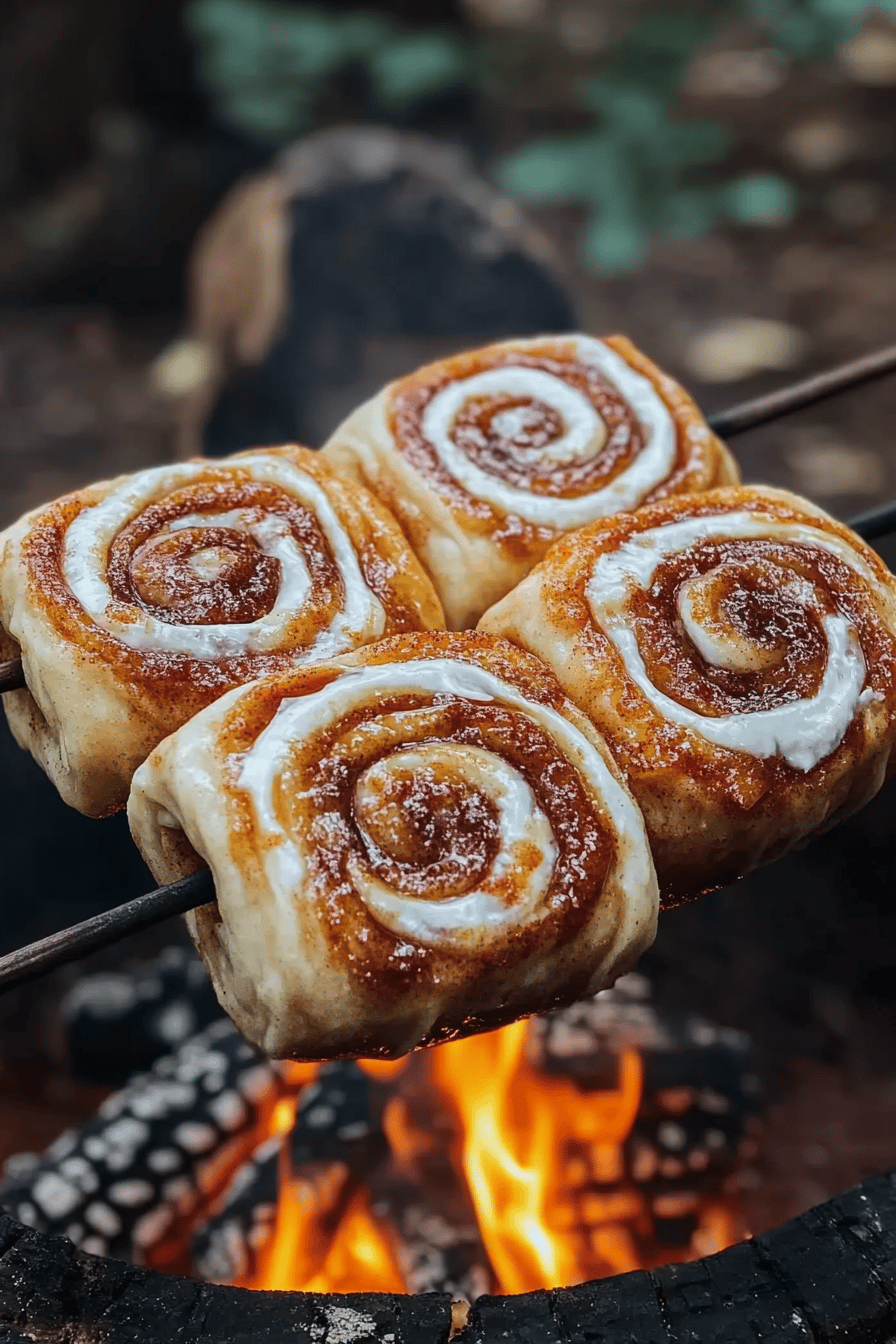
Oh, you guys. I’m so excited to share this recipe with you today! If there’s one thing that instantly transports me back to childhood summers, it’s the smell of cinnamon and sugar wafting through the air, usually accompanied by the crackle of a campfire. And let me tell you, these campfire Cinnamon Rolls capture that magic perfectly. They’re not just any cinnamon rolls; these are fluffy, gooey, ridiculously delicious rolls that are surprisingly simple to make, even when you’re roughing it a little. Think of them as a warm hug in pastry form, a little piece of home you can enjoy under the stars or even just on a chilly Tuesday morning. I’ve tried countless variations over the years, but this one, this is the one that consistently gets rave reviews from my family, especially the kids. They disappear in minutes, and honestly, I’m always sneakily trying to grab the last one before anyone else notices!
What are Campfire cinnamon rolls?
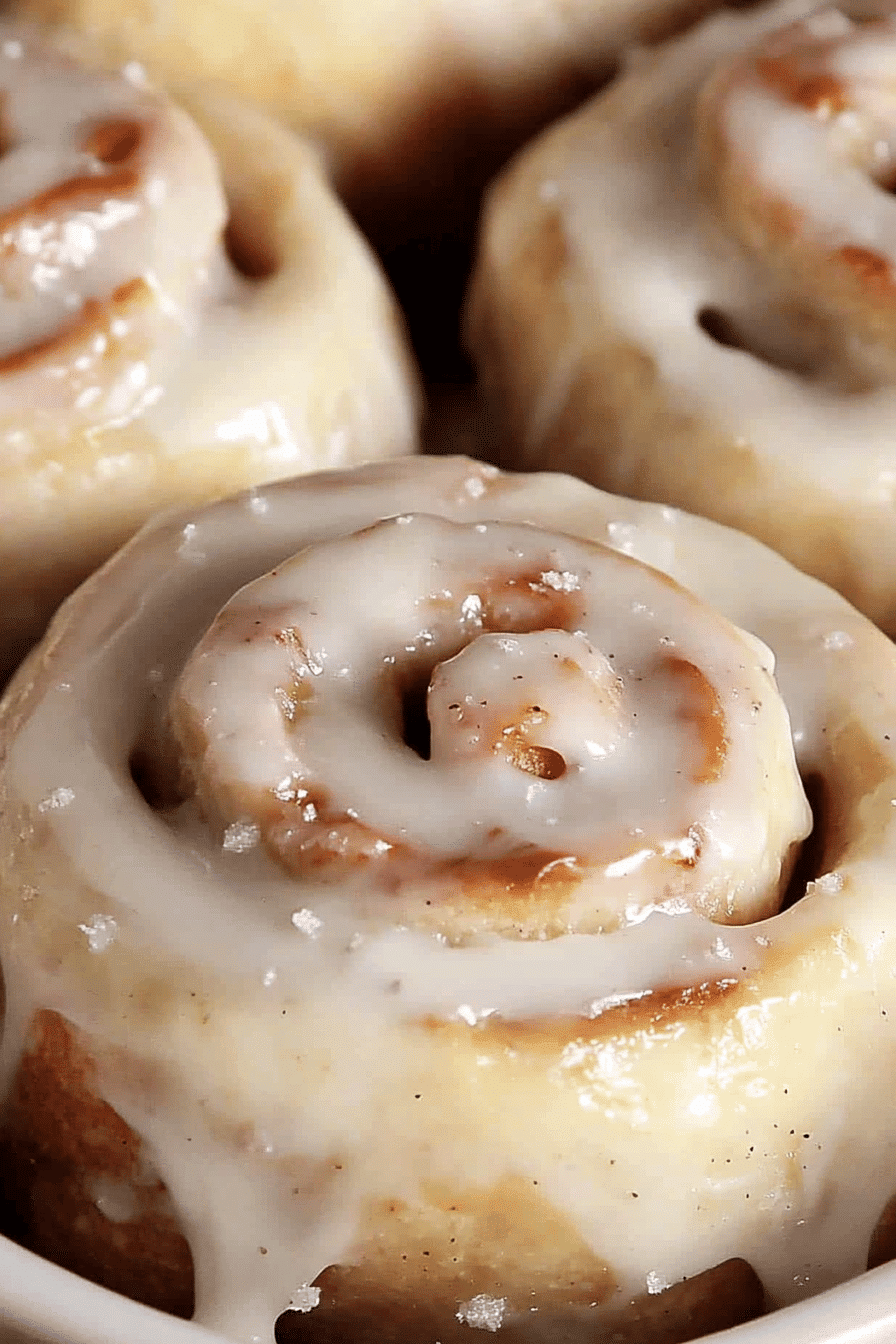
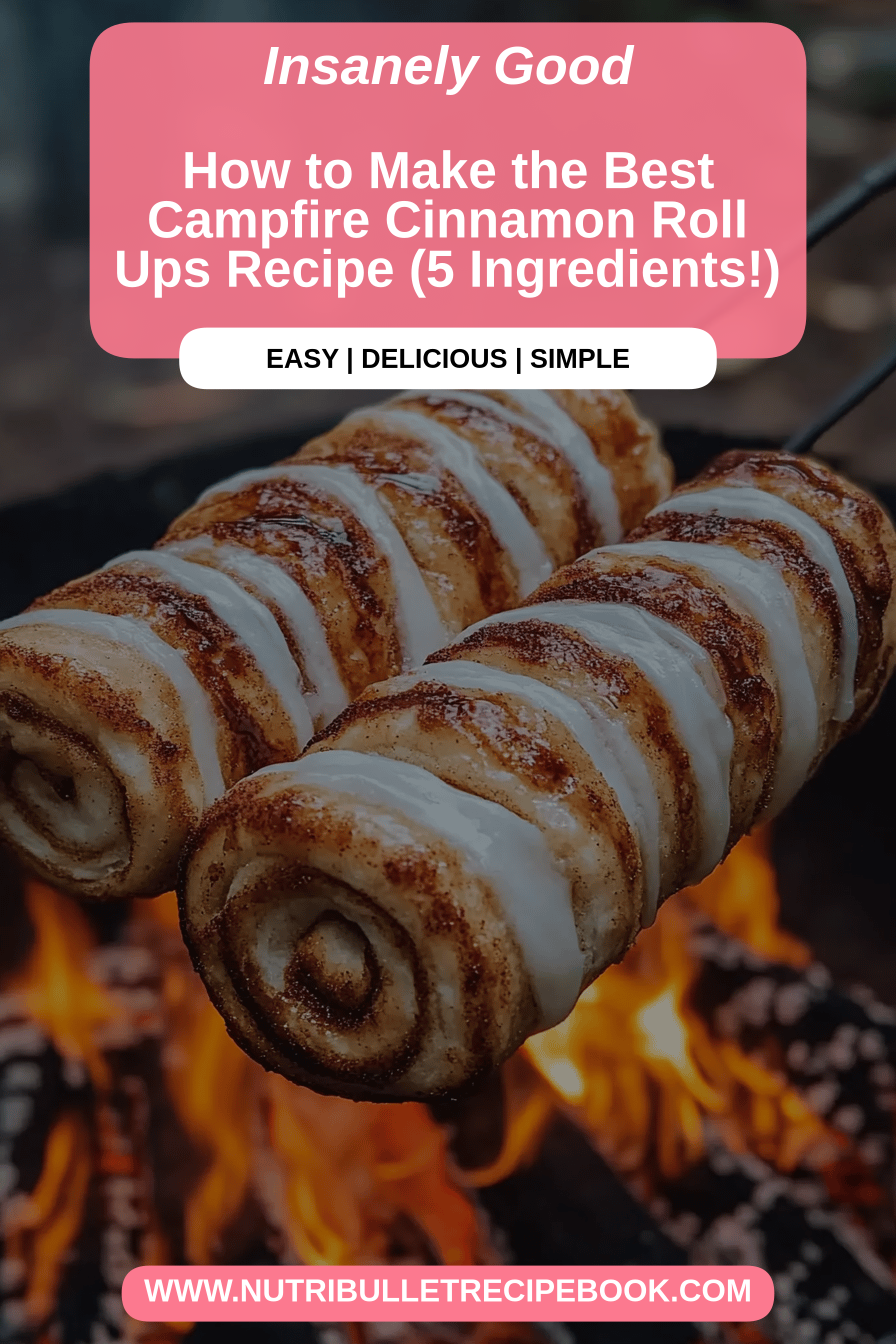
So, what exactly are campfire cinnamon rolls? Well, at their heart, they’re classic cinnamon rolls, but with a few tweaks that make them just perfect for outdoor adventures or even just bringing that cozy vibe into your kitchen. The name “campfire cinnamon rolls” really comes from the feeling they evoke – that sense of warmth, comfort, and simple joy. They’re essentially soft, pillowy dough swirled with a sweet cinnamon-sugar filling, all baked until golden brown and then drizzled with a luscious, slightly tangy glaze. It’s like a hug for your taste buds! I like to think of them as the ultimate comfort food, a little sweet treat that feels both special and utterly familiar. They don’t require any fancy equipment, and that’s part of their charm. You can even adapt them to be baked in a Dutch oven over coals if you’re feeling truly adventurous!
Why you’ll love this recipe?
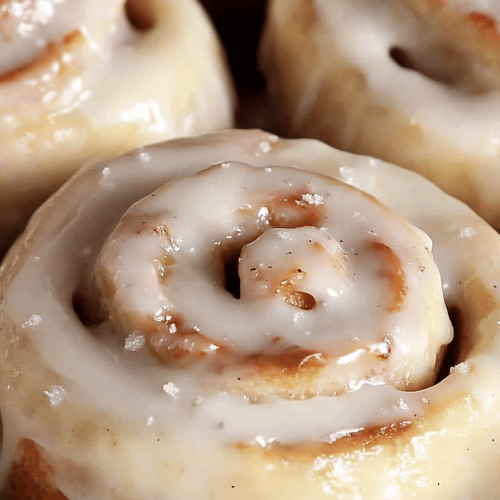
Honestly, where do I even begin? There are so many reasons why this recipe has become a staple in my home, and I just know you’re going to fall in love with it too. First off, the flavor is absolutely out of this world. Imagine that perfect balance of sweet, cinnamon-spiced dough with a slightly caramelized filling, all topped with a bright, creamy glaze that cuts through the richness just beautifully. It’s pure bliss. And the texture? Oh my goodness. They’re so incredibly soft and fluffy on the inside, with just the slightest hint of chewiness around the edges. It’s exactly what you want in a Cinnamon roll.
But it’s not just about the taste and texture. What I truly adore about this recipe is its simplicity. Even if you’re not a seasoned baker, you’ll find this surprisingly easy to whip up. I’ve tested this with busy weeknights in mind, and trust me, it’s a lifesaver! You don’t need a stand mixer or any complicated techniques. Everything comes together with just a bowl and a whisk. Plus, it’s wonderfully cost-effective. The ingredients are all pantry staples, so you can whip up a batch of these without breaking the bank. And the versatility! While they’re amazing on their own, they’re also fantastic served alongside a strong cup of coffee for breakfast, as a decadent dessert after dinner, or even as a cozy afternoon snack. I’ve even experimented with adding a pinch of cardamom to the filling, and it was divine! It truly stands out because it delivers all that comforting, homemade goodness without any fuss. It’s the perfect blend of ease and incredible flavor.
How do you make cinnamon rolls?
Quick Overview
Making these campfire cinnamon rolls is a straightforward process that’s incredibly rewarding. You’ll essentially be making a simple yeasted dough, letting it rise, spreading it with a sweet cinnamon filling, rolling it up, slicing it into individual rolls, and then baking them until they’re golden and puffed. The magic really happens when they’re warm out of the oven and smothered in that irresistible glaze. The whole process is designed to be fuss-free, even for beginners. You get that amazing homemade cinnamon roll experience without the stress, making them perfect for any occasion, whether it’s a special weekend breakfast or just a treat to brighten your day.
Ingredients
For the Main Batter:
You’ll need about 1 cup of lukewarm milk (around 105-115°F). Whole milk gives the best richness, but I’ve tested this with almond milk and it actually made it even creamier! Make sure it’s not too hot, or it’ll kill the yeast. You’ll also need 2 ¼ teaspoons of active dry yeast – that’s one standard packet. A tablespoon of granulated sugar is crucial for waking up the yeast. Then, we have 1 large egg, lightly beaten, which adds tenderness. ½ cup of melted unsalted butter will give us that lovely rich flavor and tender crumb. And finally, about 3 ½ to 4 cups of all-purpose flour. Start with 3 ½ cups and add more only if needed to get a soft, slightly sticky dough. A teaspoon of salt is also essential to balance the sweetness and enhance the flavors.
For the Filling:
This is where the cinnamon-sugar magic happens! You’ll need 1 cup of packed light brown sugar. Make sure it’s packed down so you get that nice caramelization. Then, 2 tablespoons of ground cinnamon – and don’t be shy with it! I love a really generous cinnamon flavor. And for binding it all together and making it spreadable, ½ cup of softened unsalted butter. You want it soft enough to spread easily but not so soft that it melts into a puddle.
For the Glaze:
This is my favorite part! You’ll need 1 ½ cups of powdered sugar, sifted if you can, to avoid lumps. Then, 3 tablespoons of milk or cream. I usually use milk, but cream makes it extra decadent! A teaspoon of vanilla extract for that lovely aroma and flavor. And finally, 1 to 2 teaspoons of fresh lemon juice. This is my secret weapon! It adds a slight tang that cuts through the sweetness and makes the glaze truly sing. You can skip it if you prefer, but I highly recommend it!
Step-by-Step Instructions
Step 1: Preheat & Prep Pan
First things first, let’s get our oven ready. Preheat it to 375°F (190°C). While that’s heating up, grab a 9×13 inch baking pan. You want to grease it really well. I usually use butter or cooking spray, making sure to get into all the corners. This step is super important to prevent your beautiful cinnamon rolls from sticking. Nobody wants a torn-up cinnamon roll!
Step 2: Mix Dry Ingredients
In a large mixing bowl, whisk together 3 ½ cups of all-purpose flour and 1 teaspoon of salt. This just ensures everything is evenly distributed before we start adding the wet ingredients. It’s a simple step, but it helps create a more consistent dough.
Step 3: Mix Wet Ingredients
In a separate, medium-sized bowl, combine the lukewarm milk, yeast, and tablespoon of sugar. Give it a gentle stir and let it sit for about 5-10 minutes. You should see it get nice and foamy on top – that means your yeast is alive and kicking! Once it’s foamy, whisk in the beaten egg and ½ cup of melted butter until everything is well combined.
Step 4: Combine
Now, pour the wet ingredients into the dry ingredients. Stir with a wooden spoon or a spatula until a shaggy dough forms. If the dough feels too sticky, gradually add more flour, a tablespoon at a time, until it just comes together. You don’t want to overwork it, so stop as soon as it’s no longer sticking to the sides of the bowl. It should be soft and slightly tacky, but manageable.
Step 5: Prepare Filling
While the dough is doing its thing (we’ll get to that!), let’s make the glorious filling. In a medium bowl, combine the packed brown sugar and ground cinnamon. Add the ½ cup of softened butter and mix with a fork until it forms a paste. It should be thick but spreadable. If it seems too stiff, you can always microwave it for just 10-15 seconds to soften it up a bit more.
Step 6: Layer & Swirl
Turn the dough out onto a lightly floured surface. Gently knead it for about 5-7 minutes until it’s smooth and elastic. Don’t go crazy here; we’re not making bread! Once it’s kneaded, lightly grease the bowl again, place the dough back in, cover it with a clean kitchen towel or plastic wrap, and let it rise in a warm place for about 1 to 1.5 hours, or until it’s doubled in size. Once it’s risen, punch it down gently and roll it out into a large rectangle, about 12×18 inches. Now, spread that delicious cinnamon-sugar butter mixture evenly over the dough, leaving about a ½ inch border along one of the long edges. Starting from the long edge opposite the border, tightly roll up the dough. Pinch the seam to seal it well. Using a sharp knife or dental floss (my preferred method for clean cuts!), slice the roll into 12 equal pieces.
Step 7: Bake
Arrange the sliced cinnamon rolls in your prepared baking pan, cut-side up. They should be snug but not squished. Cover the pan loosely with plastic wrap or a kitchen towel and let them rest for another 20-30 minutes. This second rise is important for those super fluffy rolls. Once they’ve had their second rise, bake them in the preheated oven for 20-25 minutes, or until they’re golden brown and the centers are cooked through. If the tops start browning too quickly, you can loosely tent them with foil.
Step 8: Cool & Glaze
While the rolls are baking, let’s whip up the glaze. In a small bowl, whisk together the powdered sugar, milk (or cream), vanilla extract, and lemon juice until smooth and pourable. If it’s too thick, add a tiny bit more milk; if it’s too thin, add a bit more powdered sugar. Once the cinnamon rolls are out of the oven, let them cool in the pan for about 10-15 minutes. This is the perfect time to drizzle that glorious glaze all over them while they’re still warm. It’ll melt slightly and create the most beautiful, shiny finish.
Step 9: Slice & Serve
And there you have it! The most incredible campfire cinnamon rolls. Let them cool just enough so you don’t burn your tongue, but serve them warm for that ultimate gooey experience. Gently lift them out of the pan with a spatula. The smell alone is enough to make everyone happy. Enjoy them right away for the best texture and flavor!
What to Serve It With
These campfire cinnamon rolls are pretty much a star on their own, but they do play wonderfully with others! For a cozy breakfast, they are simply divine alongside a steaming mug of strong coffee. I love them with a side of scrambled eggs or some crispy bacon to balance out the sweetness. If you’re planning a leisurely brunch, these are an absolute showstopper. Imagine them nestled among a Fruit Salad and maybe some savory quiches or mini frittatas. A glass of freshly squeezed orange juice or some mimosa would be perfect too!
As a dessert, they’re pure indulgence. Serve them warm with a scoop of good quality vanilla ice cream or a dollop of whipped cream. They also pair beautifully with a warm berry compote. For those moments when you just need a comforting snack, these are my go-to. They’re perfect with a glass of cold milk, or even a warm mug of apple cider in the fall. My kids ask for these all the time when they want something sweet after school, and they’re always gone before dinner. I’ve found that serving them with a side of plain yogurt can actually help temper the sweetness if you’re feeling like it needs a little balance, but honestly, they’re pretty perfect just as they are!
Top Tips for Perfecting Your Campfire Cinnamon Rolls
Over the years, I’ve learned a few tricks that really make these campfire cinnamon rolls shine. Here are my top tips to ensure you get perfect results every time.
Dough Consistency is Key: When you’re mixing the dough, don’t be tempted to add too much extra flour. The dough should be soft and a little sticky. If it’s too stiff, you’ll end up with tough rolls. Aim for that pliable, slightly tacky texture; it’s what makes them so tender and light. I learned this the hard way after a batch turned out a bit too dense!
The Yeast Test: Always make sure your yeast is active. If you don’t see that foamy layer after 5-10 minutes in warm liquid with a pinch of sugar, it’s likely dead, and your rolls won’t rise. Start with fresh yeast!
Butter Softness Matters: For the filling, make sure your butter is truly softened, not melted. You want it to be spreadable like frosting. If it’s too hard, it’ll tear the dough. If it’s too melted, it will just soak in and make the dough greasy. Softened is the sweet spot!
Swirl Like a Pro: When you roll up the dough, do it as tightly as you can without squishing it. This ensures you get those beautiful, defined swirls. For slicing, I swear by unwaxed dental floss! Slide it under the roll, cross the ends over the top, and pull gently to slice. It gives you the cleanest cut without squashing the delicate layers, unlike a knife sometimes can.
The Second Rise is Crucial: Don’t skip that second resting period after you’ve sliced the rolls and placed them in the pan. This is what gives them that pillowy, airy texture. They should look noticeably puffed up before they go into the oven.
Don’t Overbake: Keep an eye on them! They bake relatively quickly. You’re looking for a beautiful golden brown color. If the tops start to get too dark before the centers are cooked, you can always loosely tent them with foil.
Glaze Timing: Apply the glaze while the rolls are still warm, but not piping hot. This allows the glaze to melt slightly and seep into the cracks, creating that irresistible gooeyness. I usually mix the glaze while the rolls are baking so it’s ready to go as soon as they come out.
Ingredient Swaps: While I love the classic flavor, feel free to experiment! For the filling, you could add a pinch of cardamom or nutmeg along with the cinnamon. For the glaze, a little bit of orange zest can add a lovely citrusy note. And if you don’t have milk for the dough, water will work in a pinch, but the richness will be a bit less. I’ve even successfully used a dairy-free butter substitute in the filling!
Storing and Reheating Tips
I love making a big batch of these campfire cinnamon rolls because they store and reheat beautifully, meaning you can enjoy that deliciousness for a few days!
Room Temperature Storage: If you plan on eating them within a day or two, you can simply keep them covered at room temperature. Just make sure they’re covered tightly with plastic wrap or stored in an airtight container. They tend to be best when eaten within 2 days this way, as they can start to dry out a bit after that.
Refrigerator Storage: For longer storage, the refrigerator is your best friend. Pop them into an airtight container or wrap them well in plastic wrap and foil. They’ll keep well in the fridge for up to 4-5 days. Keep in mind that the glaze might get a little sticky or slightly soft in the fridge.
Freezer Instructions: These freeze like a dream! You can freeze the unglazed baked cinnamon rolls. Let them cool completely, then wrap them individually in plastic wrap, followed by a layer of aluminum foil, or place them in a freezer-safe container or bag. They’ll stay good in the freezer for up to 2-3 months. To reheat, you can thaw them overnight in the refrigerator and then warm them up, or reheat them directly from frozen (this will just take a bit longer).
Glaze Timing Advice: If you’re storing them at room temperature or in the fridge, it’s generally best to glaze them just before serving or within a few hours of baking. If you’re freezing them, I highly recommend freezing them unglazed. You can then make a fresh batch of glaze when you’re ready to serve them, or re-glaze them after reheating. This keeps the glaze from becoming too sticky or watery.
Reheating: To reheat individual rolls, pop them in a toaster oven or a regular oven at around 300°F (150°C) for 5-10 minutes until warmed through. You can also gently warm them in the microwave for about 15-30 seconds, but be careful not to overheat them, or they can become tough. If you’re reheating frozen rolls, allow them to thaw first, then warm them up as described.
Frequently Asked Questions
Final Thoughts
So there you have it – my absolute favorite campfire cinnamon rolls! I really hope you give these a try. They’re more than just a recipe to me; they’re a little bit of happiness, a reminder of simpler times, and a surefire way to bring a smile to anyone’s face. Whether you’re gathering around a real campfire, planning a special weekend breakfast, or just craving something wonderfully comforting, these rolls deliver. They’re proof that sometimes, the most delicious things are also the simplest.
If you loved these, you might also enjoy my Easy Sourdough Pancakes or my No-Bake Chocolate Oat Bars for more delightful treats. I can’t wait to hear how your campfire cinnamon rolls turn out! Please leave a comment below and let me know what you think, or share your own tips and variations. Happy baking, and enjoy every gooey, cinnamon-spiced bite!
Campfire Cinnamon Rolls
Ingredients
Dough
- 2.5 cups all-purpose flour
- 0.25 cup granulated sugar
- 2 teaspoons active dry yeast
- 0.5 teaspoon salt
- 0.5 cup warm milk about 110°F
- 0.25 cup unsalted butter melted
- 1 large egg beaten
Filling
- 0.5 cup unsalted butter softened
- 1 cup packed brown sugar
- 2 tablespoons ground cinnamon
Glaze
- 1 cup powdered sugar
- 2 tablespoons milk
- 0.5 teaspoon vanilla extract
Instructions
Preparation Steps
- In a large bowl, whisk together 1 cup of the flour, sugar, yeast, and salt. Add the warm milk, melted butter, and beaten egg. Mix until well combined.
- Gradually add the remaining 1.5 cups of flour, mixing until a soft dough forms. Turn the dough out onto a lightly floured surface and knead for 6-8 minutes until smooth and elastic.
- Place the dough in a lightly greased bowl, cover with plastic wrap, and let it rise in a warm place for about 1 hour, or until doubled in size.
- While the dough is rising, prepare the filling. In a small bowl, mix together the softened butter, brown sugar, and cinnamon until well combined.
- Once the dough has risen, punch it down and turn it out onto a lightly floured surface. Roll the dough into a large rectangle, approximately 12x18 inches.
- Spread the cinnamon-sugar filling evenly over the dough, leaving a small border around the edges.
- Roll up the dough tightly, starting from one of the longer sides. Cut the rolled dough into 8 equal slices.
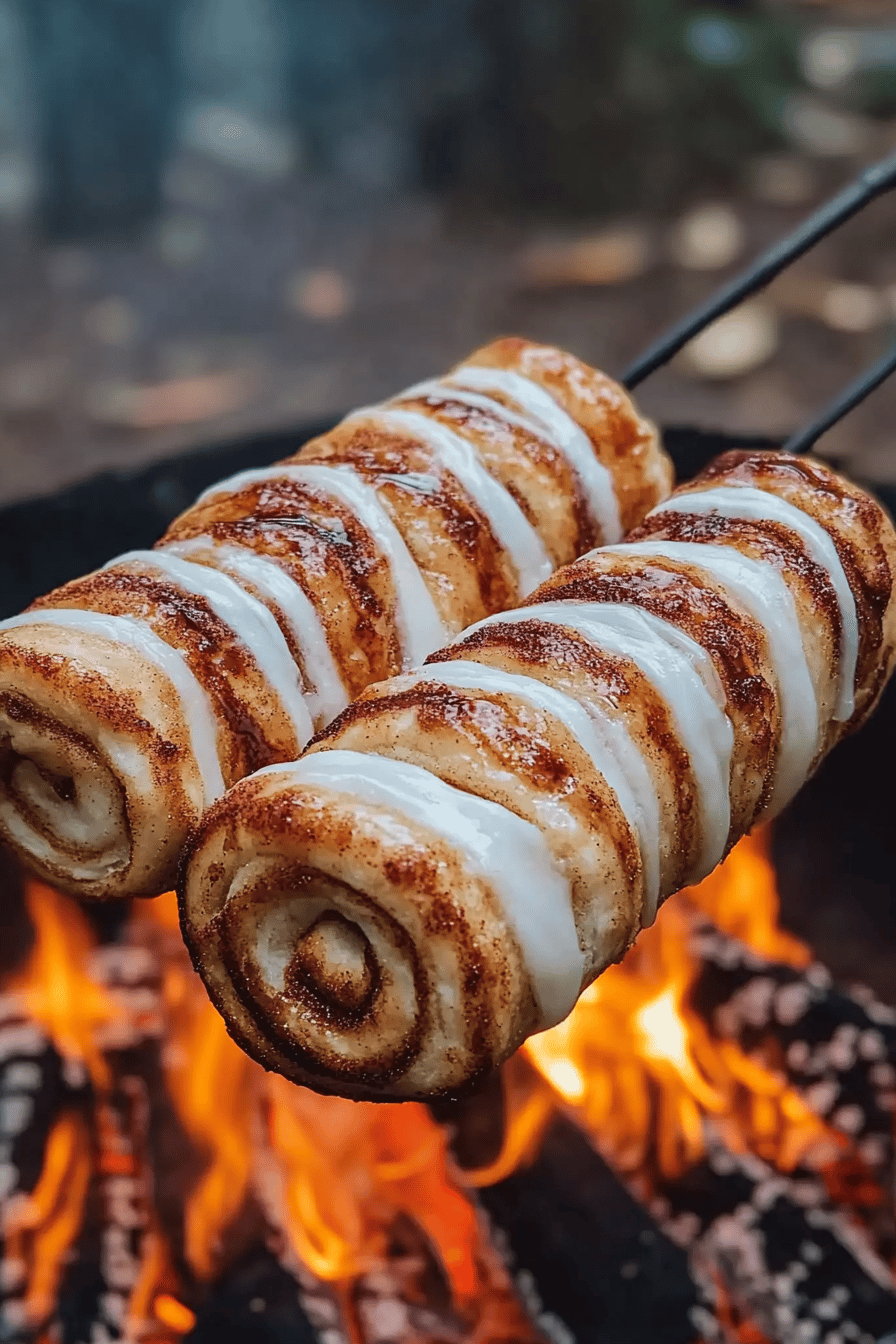
- To cook, you can wrap each roll in foil and cook over the campfire coals for about 10-15 minutes, turning occasionally, until golden brown and cooked through. Alternatively, bake in a preheated oven at 375°F (190°C) for 15-20 minutes.
- While the rolls are cooking, prepare the glaze. Whisk together the powdered sugar, milk, and vanilla extract until smooth.
- Once the cinnamon rolls are done, remove them from the heat and drizzle with the glaze.