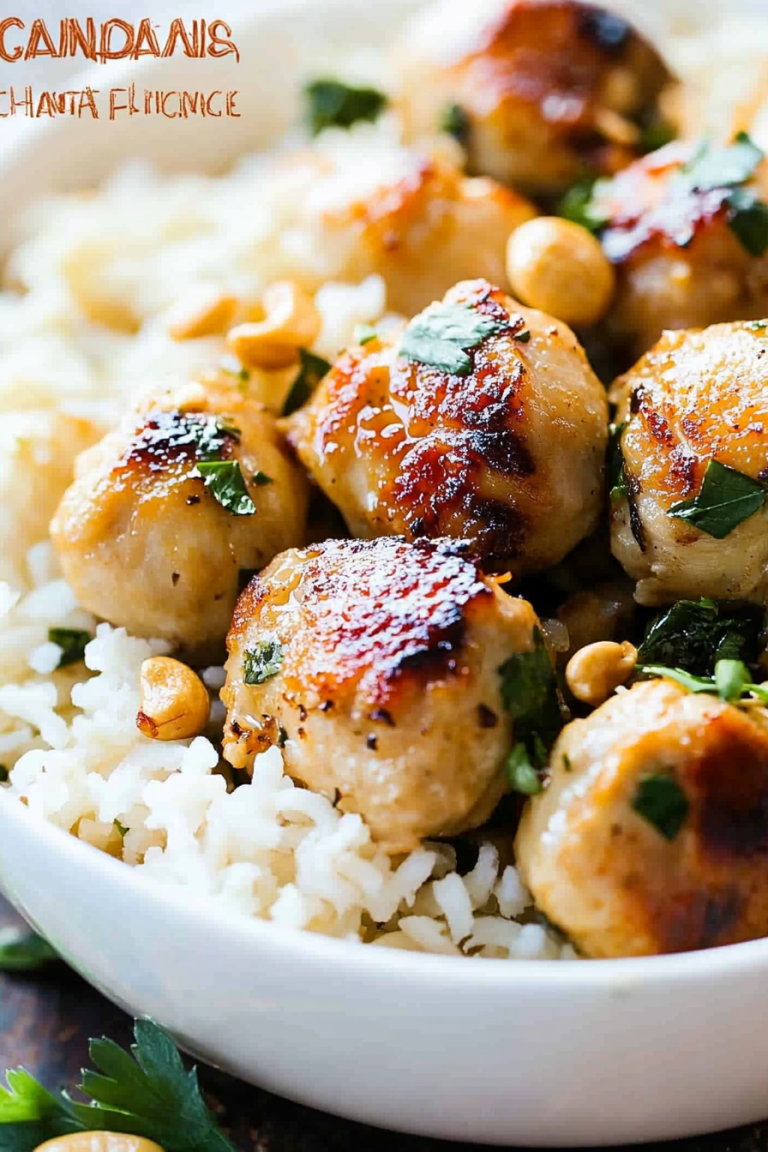
You know those nights? The ones where the clock is ticking, everyone’s hungry, and the thought of complicated cooking feels like climbing Mount Everest in flip-flops? Yeah, I’ve been there more times than I can count. And for years, my go-to answer for those chaotic evenings was… well, it wasn’t pretty. Frozen pizzas and sad salads were the usual culprits. But then, I stumbled upon this method for baked Chicken Thighs, and honestly? It changed everything. It’s ridiculously simple, uses ingredients I almost always have on hand, and the result is pure chicken perfection. Forget dry, bland chicken; these baked chicken thighs are juicy, bursting with flavor, and have the most wonderfully crispy skin you can imagine. It’s the kind of meal that makes you feel like a culinary superhero, even on your most frazzled days. It’s honestly a game-changer, and I can’t wait to share it with you.
What are Crispy Baked Chicken Thighs?
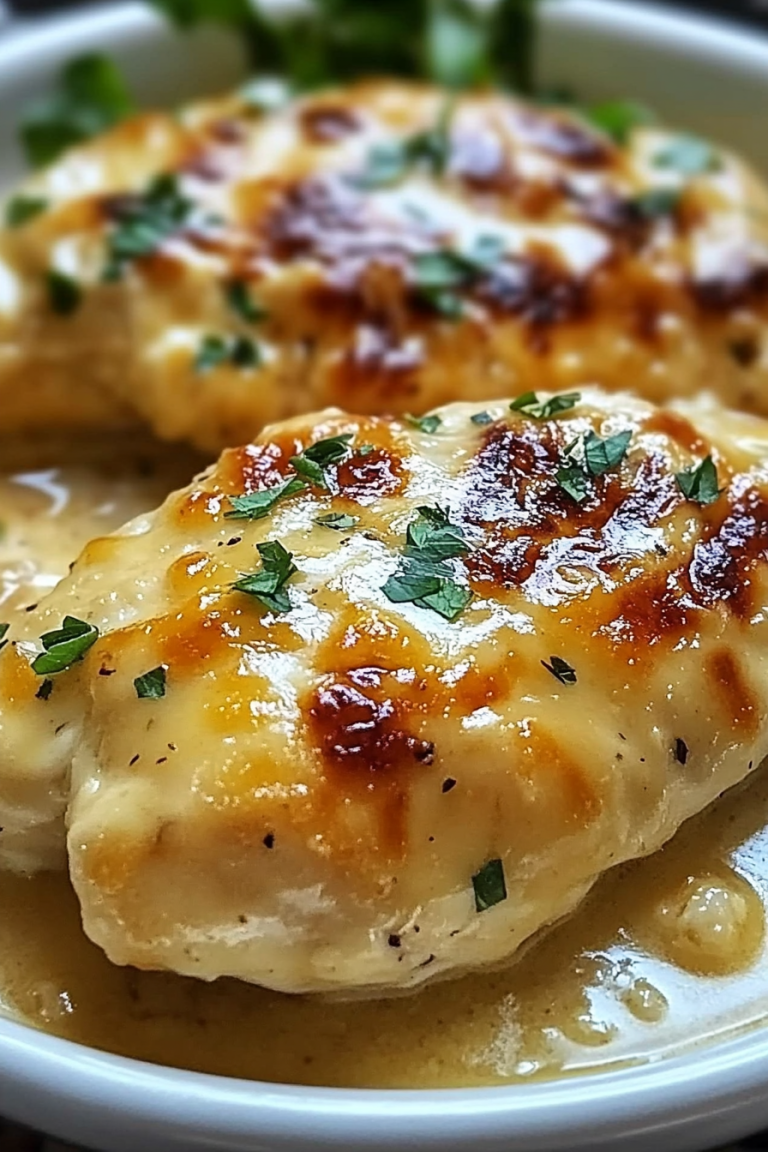
So, what exactly are we talking about here? Think of these baked Chicken Thighs as your new best friend in the kitchen. They’re not fancy, they’re not fussy, but they deliver big on flavor and pure comfort. This isn’t your grandmother’s boiled chicken (no offense, Grandma!), nor is it some complicated fried affair. This recipe is all about achieving that incredibly satisfying, golden-brown, shatteringly crisp skin while keeping the meat inside unbelievably moist and tender. It’s essentially a foolproof way to elevate a humble ingredient into something truly special. The magic happens in the oven, with a few simple seasonings and a bit of patience, transforming chicken thighs into a meal that tastes like it took hours of effort, but in reality, is surprisingly straightforward.
Why you’ll love this recipe?
Honestly, where do I even begin? There are so many reasons why this baked chicken thighs recipe has earned a permanent spot in my rotation. First and foremost, the flavor is just *out of this world*. The skin gets so wonderfully crisp, and the meat underneath is infused with whatever seasonings you choose – I’ll get to some of my favorites in a bit! It’s like a flavor explosion in every bite. Beyond the taste, the sheer simplicity of this dish is a lifesaver. On a busy weeknight, I can have these baking in under 15 minutes of active prep time. That’s huge! Plus, chicken thighs are incredibly budget-friendly. You can feed a whole family a delicious, satisfying meal without breaking the bank, which is always a win in my book. And the versatility? Oh my goodness. You can serve these with pretty much anything. mashed potatoes? Yep. A big salad? Absolutely. Rice pilaf? You bet. It’s the kind of meal that adapts to whatever you have on hand or whatever you’re craving. What I love most about this is that it consistently turns out perfectly, no matter my mood or how much time I *really* have. It’s a recipe I can always count on to deliver deliciousness.
How do I make crispy chicken thighs?
Quick Overview
The core idea is simple: season your chicken thighs generously, arrange them on a baking sheet, and let the oven do its magic. We’re aiming for a high enough heat to crisp up that skin without drying out the meat. It’s a delicate balance, and this method nails it every time. You’ll be amazed at how little effort yields such incredible results. The key is really in the preparation and giving the chicken enough space to crisp up properly. Trust me, it’s easier than it sounds!
Ingredients
For the chicken thighs: For the Thighs: For the Thighs: For the Thighs: For the Thighs:
6-8 bone-in, skin-on chicken thighs (about 2.5-3 lbs total). Using bone-in and skin-on is non-negotiable for the best flavor and texture! The bone adds moisture and helps keep things tender, and that skin? That’s where all the crispy goodness comes from.
2 tablespoons olive oil. You can also use avocado oil or another high-heat oil. This helps the seasonings adhere and promotes browning.
1 teaspoon smoked paprika. This adds a beautiful color and a lovely smoky depth. It’s my go-to for a reason!
1 teaspoon garlic powder. Because everything is better with garlic, right?
1/2 teaspoon onion powder. For an extra layer of savory flavor.
1/2 teaspoon dried oregano. A little herbaceousness brightens everything up.
Salt and freshly ground black pepper, to taste. Don’t be shy with the salt! It’s crucial for drawing out moisture and enhancing flavor.
Optional Flavor Boosters (Pick Your Favorite!):
1/4 teaspoon cayenne pepper for a little heat.
1 teaspoon dried rosemary for an aromatic touch.
Zest of one lemon for a bright, fresh kick (add this after baking, or very carefully during the last 5-10 minutes of baking to avoid burning).
Step-by-Step Instructions
Step 1: Preheat & Prep Pan
First things first, let’s get that oven preheated to 400°F (200°C). While it’s heating up, grab a large baking sheet. You can line it with parchment paper or foil for easier cleanup, but I often skip it because I love those little crispy bits that stick to the pan. Make sure the lining, if you use it, doesn’t touch the sides of the oven. Give the baking sheet a light brush with a little extra olive oil, or just leave it as is if you’re feeling brave about cleanup!
Step 2: Prep the Chicken
Take your chicken thighs out of the package and pat them *super* dry with paper towels. This is a crucial step for achieving crispy skin! Get into all the nooks and crannies. Don’t skip this. If there’s any excess moisture, the skin will steam instead of crisping. Once they’re nice and dry, place them on the baking sheet. Make sure they have a little bit of space between them – don’t overcrowd the pan, or they’ll steam instead of roast. If you have too many, you might need to use two baking sheets.
Step 3: Season Generously
In a small bowl, whisk together the olive oil, smoked paprika, garlic powder, onion powder, oregano, salt, and pepper. If you’re using any of the optional additions like cayenne or rosemary, add them here. Drizzle this mixture all over the chicken thighs. Then, using your hands (the best tools in the kitchen, right?), rub the seasoning mixture all over each thigh, making sure to get under the skin where you can. Get those fingers in there and massage that flavor onto the meat! This is where the magic starts.
Step 4: Arrange for Crisping
Once they’re all coated, arrange the chicken thighs on the baking sheet skin-side up. Again, give them some breathing room. This allows the hot air to circulate around each thigh, ensuring that the skin gets nice and crispy all over. If any thighs are tucked in too snugly, gently move them apart. This might seem like a small detail, but it really makes a difference in the final texture.
Step 5: Bake to Perfection
Pop the baking sheet into your preheated oven. Bake for 35-45 minutes. The exact time will depend on the size of your chicken thighs and your oven. You’re looking for that skin to be deeply golden brown and wonderfully crispy, and for the internal temperature of the chicken to reach 165°F (74°C) when you insert a meat thermometer into the thickest part of the thigh, avoiding the bone. You can also cut into one to check if the juices run clear. I usually check around the 35-minute mark and go from there. If the skin is browning too quickly but the chicken isn’t done, you can loosely tent the pan with foil.
Step 6: Rest is Best
Once they’re cooked to perfection, carefully remove the baking sheet from the oven. Let the chicken thighs rest on the baking sheet for about 5-10 minutes before serving. This is another crucial step! Resting allows the juices to redistribute throughout the meat, making it extra moist and tender. If you cut into them too soon, all those delicious juices will run out onto the pan, leaving you with drier chicken. Patience, my friends!
Step 7: Slice and Serve
After resting, you can serve the chicken thighs whole, or if you prefer, you can remove the meat from the bone (though I usually just serve them bone-in). They’re fantastic served with the pan juices spooned over the top. The smell that fills your kitchen at this point is absolutely incredible – a promise of the deliciousness to come!
What to Serve It With
Oh, the possibilities are endless! Because these baked chicken thighs are so versatile, they pair beautifully with almost anything. For a classic comfort meal, I love serving them with creamy mashed potatoes or a fluffy baked potato. A simple green salad with a vinaigrette is also a perfect counterpoint to the richness of the chicken. Roasted vegetables like broccoli, asparagus, or Brussels sprouts are also a fantastic choice – they roast up beautifully alongside the chicken if you have the space on another rack or a separate pan. If I’m feeling a bit more ambitious, I’ll make some homemade gravy from the pan drippings, which is just heavenly. For a lighter meal, consider serving these with a quinoa salad or some wild rice. My kids absolutely devour these with some steamed green beans and a dollop of ketchup, which is honestly the highest praise they can give!
Top Tips for Perfecting Your Baked Chicken Thighs
I’ve made these baked chicken thighs more times than I can count, and over the years, I’ve picked up a few tricks that make them even better. First, about that drying step – seriously, pat them bone dry! It’s the number one predictor of crispy skin. Don’t be afraid of it. Also, giving them space on the baking sheet is key. If they’re touching, they’ll steam, and we’re going for crispy here, not steamed. If you find your oven tends to have hot spots, consider rotating the pan halfway through baking, or even flipping the thighs over *once* during the last 10-15 minutes if the skin is getting too dark before the chicken is cooked through. But be careful when flipping – you don’t want to tear that beautiful crispy skin! I’ve learned that overmixing the spice rub with the oil can sometimes lead to uneven coating, so I tend to drizzle the oil first, then sprinkle the dry spices, and then rub it all in. It ensures better distribution. For ingredient swaps, if you don’t have smoked paprika, regular paprika works, but you’ll lose that lovely smoky depth. I’ve tried other herbs, and while basil is nice, oregano or rosemary really stand up to the richness of the chicken. And if you’re really watching sodium, you can reduce the salt slightly, but be aware it will affect the overall flavor intensity. Lastly, trust your thermometer! Ovens can be fickle, so an internal temperature reading is the most reliable way to know your chicken is perfectly cooked and safe to eat.
Storing and Reheating Tips
These baked chicken thighs are so good, you might actually have leftovers (though don’t count on it!). If you do, storing them is super easy. Once they’ve cooled down a bit, you can pop them into an airtight container and keep them in the refrigerator for up to 3-4 days. They’re still delicious cold, perfect for tossing into salads or sandwiches. Reheating is also straightforward. For best results, I like to reheat them in a moderate oven (around 350°F or 175°C) for about 10-15 minutes, or until warmed through. This helps to crisp up the skin again. You can also reheat them in a skillet over medium heat, skin-side down first to crisp it up, then flipping to warm through. Microwaving is the quickest option, but it can sometimes make the skin a little less crispy. If you want to freeze them, wrap them tightly in plastic wrap and then in foil, and they’ll keep in the freezer for up to 2-3 months. Thaw them in the refrigerator overnight before reheating.
Frequently Asked Questions
Final Thoughts
Honestly, this recipe for baked chicken thighs is one of those kitchen victories that just keeps on giving. It’s the ultimate solution for busy weeknights, lazy weekends, or anytime you’re craving something deeply satisfying and incredibly delicious without a fuss. The joy of pulling out a tray of perfectly golden, irresistibly crispy chicken thighs is immense, and the way the aroma fills your home is just pure magic. I really hope you give this a try; it’s become such a staple in our home, and I’m confident it will become one in yours too. If you love this, you might also enjoy my recipe for [Link to another relevant recipe, e.g., “Lemon Herb Roasted Chicken”] for a lighter, brighter chicken dish, or my [Link to another relevant recipe, e.g., “Sheet Pan Sausage and Peppers”] for another easy weeknight wonder. Let me know in the comments below how yours turn out, and if you have any special spice blends you love! Happy baking!

baked chicken thighs
Ingredients
Main Ingredients
- 2.5 pounds chicken thighs
- 0.25 cup olive oil
- 1 teaspoon paprika
- 0.5 teaspoon garlic powder
- 0.5 teaspoon onion powder
- 0.5 teaspoon salt
- 0.25 teaspoon black pepper
Instructions
Preparation Steps
- Preheat oven to 400°F (200°C).
- Pat the chicken thighs dry with paper towels. This helps achieve crispy skin.
- In a small bowl, mix together olive oil, paprika, garlic powder, onion powder, salt, and black pepper.
- Place the chicken thighs in a large bowl. Pour the seasoning mixture over the chicken and toss to coat evenly.
- Arrange the seasoned chicken thighs in a single layer on a baking sheet. Ensure there's a little space between each piece for even cooking.
- Bake for 35-45 minutes, or until the internal temperature reaches 165°F (74°C) and the skin is golden brown and crispy.
- Let the chicken rest for 5 minutes before serving.

