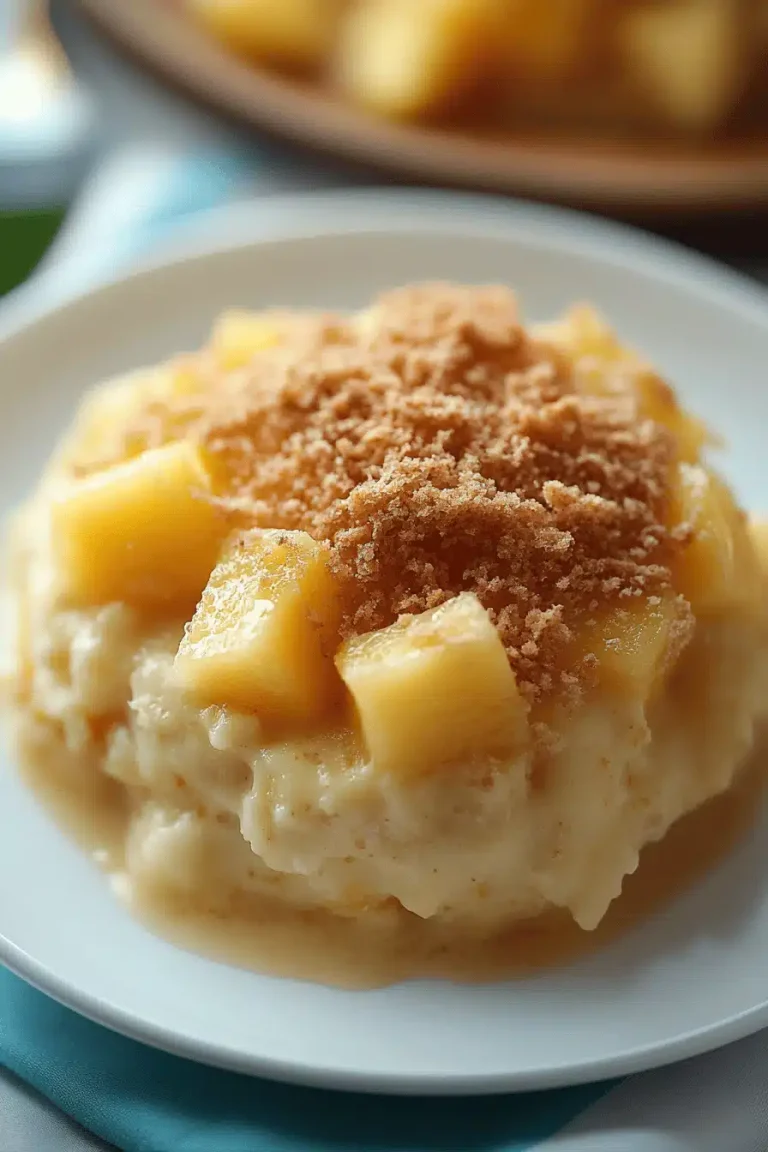
There’s something so cozy and magical about this pudding cake that just takes me back to my childhood—like the smell of vanilla and cinnamon wrapping around the kitchen while my mom baked something sweet. It’s that kind of dessert that’s deceptively simple but hits all the right notes: warm, moist, and just sweet enough to make you stop and smile. Honestly, if you’re a fan of rich, comforting desserts like bread pudding or a molten lava cake, this pudding cake will become your new best friend.
I remember the first time I made this—I was skeptical about how something called a “pudding cake” could be as tender and flavorful as it promised. The trick? A luscious, almost custardy layer beneath a soft cake crust. Every time it comes out of the oven, it smells like a hug in dessert form. And if you’ve ever wanted something that’s easy enough for a weeknight but special enough to serve when guests drop by, this recipe has your name all over it.
What is a Pudding Cake?
So, what exactly is pudding cake? Think of it as a charming in-between dessert that’s essentially a cake with a built-in pudding layer. The magic happens because when baked, the batter partially sinks and combines with a liquid mixture to make a soft, custard-like base topped with the familiar crumbly cake layer you love. It’s a bit like the love child of a souffle and a cobbler—sweet, comforting, and surprisingly elegant.
The name “pudding cake” really nails it because it’s cake and pudding rolled into one delicious dish. It’s super approachable, too, even if you’re new to baking. The recipe plays with simple ingredients you probably already have around, and it’s the kind of dessert that doesn’t fussy around with layers or decorations, but still wows everyone at the table.
Why you’ll love this recipe?
What I really adore about this pudding cake is how it hits all the sweet spots—and I’m not just talking dessert cravings here. First off, the flavor: there’s this wonderful blend of vanilla warmth and just the right amount of sweetness, with that richness that coats your tongue but doesn’t leave you feeling weighed down. It’s that kind of dessert where even a small slice feels like a treat.
Now, the simplicity really stands out. You don’t need any fancy gadgets or oddball ingredients. I whip this up on busy nights when I want something special but can’t spend hours in the kitchen. Plus, the whole thing comes together in one bowl most of the time, and it’s forgiving, which is perfect if you accidentally overmix or miss a step (don’t ask me how I know!).
Another thing I love is how budget-friendly it is. It’s mostly staples like sugar, eggs, milk, and flour—ingredients you can find in any pantry. This makes it a go-to, especially since my kids tend to ask for it the moment they catch a whiff from the oven.
Lastly, it’s incredibly versatile. You can jazz it up with berries, chocolate chips, or even a swirl of jam. I’ve tried it with almond milk and it came out silkier than ever—trust me, sometimes these little tweaks make all the difference. If you enjoy puddings or moist cakes like a molten chocolate cake or a classic crème caramel, this pudding cake will totally hit that comforting note you crave.
How do I make a Pudding Cake?
Quick Overview
Making pudding cake is surprisingly straightforward—almost like magic happening in the oven. You start by mixing your dry and wet ingredients separately, then gently combine them. The secret is pouring the batter and the pudding mixture in the same pan so they bake together, creating that perfect separation between cake and pudding inside. This method is a lifesaver on busy nights since it’s easy and practically mess-free. The result? A beautifully textured dessert with a crisp top and creamy bottom that’s like dessert alchemy.
Ingredients
For the Main Batter:
- 1 cup all-purpose flour – fresh flour makes the fluffiest texture.
- ¾ cup granulated sugar – you can reduce this a little if you prefer less sweet.
- 1 ½ teaspoons baking powder – helps keep it light and airy.
- ½ teaspoon salt – balances flavors.
- ½ cup unsalted butter, melted – I always use good quality butter for that rich mouthfeel.
- 1 large egg – room temperature for better mixing.
- ½ cup whole milk – I tested almond milk here and it really made it creamier!
- 1 teaspoon vanilla extract – don’t skimp, it’s the flavor star.
For the Filling:
- 1 cup brown sugar – packed, for that deep caramel flavor.
- 1 ½ cups boiling water – the hot water is key to creating that pudding layer under the cake.
- Optional: pinch of cinnamon or nutmeg for warmth
For the Glaze:
- 1 cup powdered sugar – sifted for smoothness.
- 2-3 tablespoons milk or cream – adjust for desired drizzle consistency.
- ½ teaspoon vanilla extract or a splash of lemon juice for brightness.
Step-by-Step Instructions
Step 1: Preheat & Prep Pan
Preheat your oven to 350°F (175°C). Grease a 9×9-inch baking dish with butter or non-stick spray. I always line mine with parchment paper too—it makes cleanup a breeze and the cake slides right out. This step feels simple but is crucial for that perfect crust. Set aside while preparing the batter.
Step 2: Mix Dry Ingredients
In a large bowl, whisk together the flour, sugar, baking powder, and salt until evenly blended. Do this gently to avoid activating the baking powder too early, which can mess with the rise. Mixing the dry ingredients first helps create fluffy, well-distributed texture in the final cake.
Step 3: Mix Wet Ingredients
In another bowl, whisk the melted butter, egg, milk, and vanilla extract until smooth and well combined. I like to warm my milk slightly—not hot, just lukewarm—especially if I’m working in a cooler kitchen. This makes mixing the batter a little easier and keeps everything silky.
Step 4: Combine
Pour the wet mixture into the dry and stir gently with a spatula or wooden spoon until just combined. It’s totally okay if there are a few lumps—don’t overmix or the cake will get tough. I’ve learned this the hard way! The batter should be thick but still spoonable.
Step 5: Prepare Filling
In a measuring cup or bowl, sprinkle the brown sugar evenly over the batter you poured into the prepared dish. Then carefully pour the boiling water over the back of a spoon across the top. This slow pour helps create that iconic pudding layer beneath the cake as it bakes. Adding a pinch of cinnamon or nutmeg here amps up the warmth if you like.
Step 6: Layer & Swirl
This part is so fun—the hot water sinks through the batter, so no need to swirl too much! But if you want to get fancy, a gentle little swirl with a knife can create lovely marbling and peek-through effects. I usually keep it simple because the texture contrast steals the show.
Step 7: Bake
Bake for about 45-50 minutes. You’re aiming for a golden top and a slightly jiggle in the center when you gently shake the pan. Don’t worry if it’s a little wobbly—remember, it’s pudding underneath! To test doneness, a toothpick inserted in the cake layer should come out mostly clean but there’s no need for it to be dry. Ovens vary, so keep an eye to avoid overbaking.
Step 8: Cool & Glaze
Let the pudding cake cool for at least 15 minutes before glazing; it’s tempting to dive right in, but the glaze won’t set properly if the cake’s too hot. Whisk the powdered sugar with milk and vanilla or lemon juice until smooth, then drizzle evenly over the warm cake. The glaze melts just enough to create a shiny, sweet finish that pairs perfectly with each bite.
Step 9: Slice & Serve
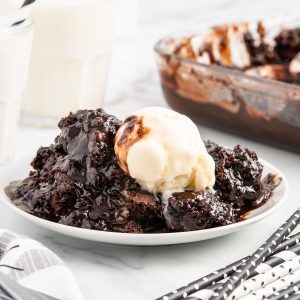
Use a sharp, serrated knife for clean cuts because the pudding layer can make the cake a bit slippery. I find warm pudding cake just irresistible, but it also chills beautifully if you want to make it ahead. Serve on its own or add a scoop of vanilla ice cream or a dollop of whipped cream for extra indulgence.
What to Serve It With
For Breakfast: I love pairing a slice of warm pudding cake with a freshly brewed cup of coffee, especially a creamy latte. It’s like a little morning treat that feels indulgent without being over the top—perfect for slow weekend mornings or cozy winter days.
For Brunch: Serve pudding cake alongside fresh berries or sliced stone fruits. A lightly whipped cream or mascarpone spread on the side brings elegance to your brunch table. I also like a sparkling mimosa or a fruity herbal tea for refreshing contrast.
As Dessert: This pudding cake shines as a comforting after-dinner dessert. Try warming it slightly and top with a scoop of creamy vanilla or cardamom ice cream. A drizzle of caramel sauce or a sprinkle of toasted nuts adds texture and richness that guests rave about.
For Cozy Snacks: When afternoon cravings hit, a small square with a cup of chai or hot cocoa feels like the ultimate comfort. My kids often ask for an extra slice around this time—a true testament to how this cake is like a warm hug in dessert form.
One family tradition we’ve adopted is serving it with cinnamon-spiced whipped cream on chilly nights. It’s a little ritual that’s become part of our seasonal cozy vibe—made all the more special because it’s easy to do yet feels so indulgent.
Top Tips for Perfecting Your Pudding Cake
Flour Quality: Freshly sifted all-purpose flour works best for lightness. Old or packed flour tends to weigh down the cake.
Mixing Advice: Don’t overmix your batter! This is probably my number one rookie mistake when making this pudding cake. Overworking the batter can cause tough spots instead of that tender crumb. Stir just until combined and resist the urge to keep going.
Swirl Customization: If you want to get creative, try swirling in a bit of melted chocolate or berry jam before baking. I usually swirl softly with a toothpick, in gentle circles or figure-eights, to keep that marbled look without overmixing.
Ingredient Swaps: I’ve played with almond and oat milk, both resulting in slightly softer puddings beneath the cake. Coconut oil can replace butter for a dairy-free twist but expect a different flavor profile. Maple syrup works well if you want to swap part of the sugar for natural sweetness.
Baking Tips: Position your rack in the center of the oven for even heat. I often rotate the pan halfway through baking to ensure it browns evenly. If you find the top browns too quickly, loosely tent with foil to finish baking without burning.
Glaze Variations: The glaze is a blank canvas—try adding a pinch of cinnamon or a splash of orange zest for a fresh twist. If you prefer something less sweet, a light dusting of powdered sugar or a brush of lemon juice after glazing gives a nice balance.
One unexpected lesson I learned was that different waters make a difference! Using boiling water straight from the kettle, rather than slightly cooled, results in a better pudding layer. It’s a small detail that I swear changes the texture entirely.
Storing and Reheating Tips
Room Temperature: Cover your pudding cake loosely with foil or plastic wrap and keep it on the counter for up to 2 days. It stays moist but the glaze might soften somewhat.
Refrigerator Storage: Store in an airtight container or cover with plastic wrap. It keeps well for up to 4 days, just note the pudding layer firms up when chilled. I like letting it come to room temperature before serving, or warming it gently to bring back the creaminess.
Freezer Instructions: This pudding cake freezes like a dream. Wrap tightly in plastic wrap and then foil, or place in a heavy-duty freezer bag. Freeze for up to 3 months. Thaw overnight in the fridge, then warm in a low oven or microwave for best texture.
Glaze Timing Advice: If you’re planning to freeze it, I suggest glazing right before serving instead of before freezing. The glaze tends to crack or become cloudy when frozen but can be quickly refreshed with a fresh drizzle after reheating.
Frequently Asked Questions
Final Thoughts
This pudding cake is really one of those recipes that makes you feel like a baking rockstar—without any fuss or fancy ingredients. It’s that rare dessert that’s cozy, nostalgic, and surprisingly elegant all at once. I love how it invites creativity with mix-ins and toppings but stands strong on its own, warm from the oven or cooled down a bit. Whether you need a quick sweet fix or you’re looking for a recipe that brings people together around the kitchen table, this pudding cake hits that sweet spot nearly every time.
Give it a try and don’t be shy about making it your own—once my friends tasted mine, they started experimenting with their own twists too. Drop me a comment with your favorite variations or how it turned out—there’s always more baking stories to share! Happy baking and here’s to many cozy dessert moments ahead.
pudding cake
Ingredients
Main Ingredients
- 1 cup all-purpose flour spooned and leveled
- 0.67 cup granulated sugar
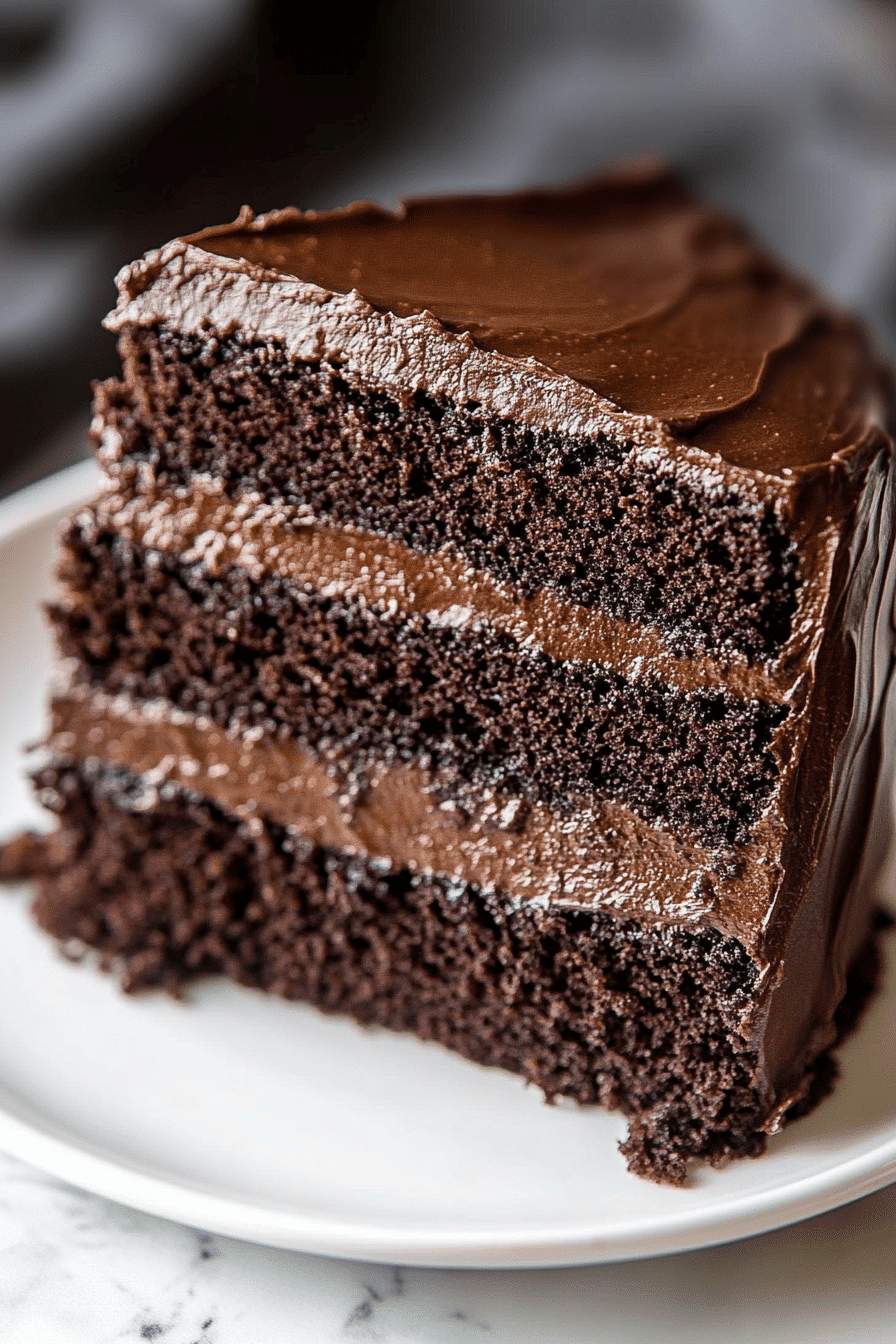
- 0.33 cup unsweetened Dutch cocoa powder
- 2 teaspoons baking powder
- 1 teaspoon salt
- 0.625 cup half and half
- 4 tablespoons vegetable oil
- 2 teaspoons pure vanilla extract
- 0.5 cup granulated sugar
- 0.5 cup light brown sugar tightly packed
- 4 tablespoons unsweetened Dutch cocoa powder
- 1.125 cups boiling water
Instructions
Preparation Steps
- Preheat the oven to 350°F. Generously spray an 8x8 inch baking dish with nonstick cooking spray and set it aside.
- In a medium bowl, whisk together the flour, 0.67 cup granulated sugar, 0.33 cup cocoa powder, baking powder, and salt until combined.
- Whisk in the half and half, vegetable oil, and vanilla extract until just combined.
- Evenly spread the cake batter into the prepared baking dish.
- In a small bowl, whisk together 0.5 cup granulated sugar, brown sugar, and 4 tablespoons cocoa powder.
- Sprinkle the sugar and cocoa mixture evenly over the cake batter.
- Pour the boiling water over the dry sugar mixture. Do not stir. Bake for 30 to 35 minutes. Remove from oven and allow to rest for 15 to 20 minutes before serving.