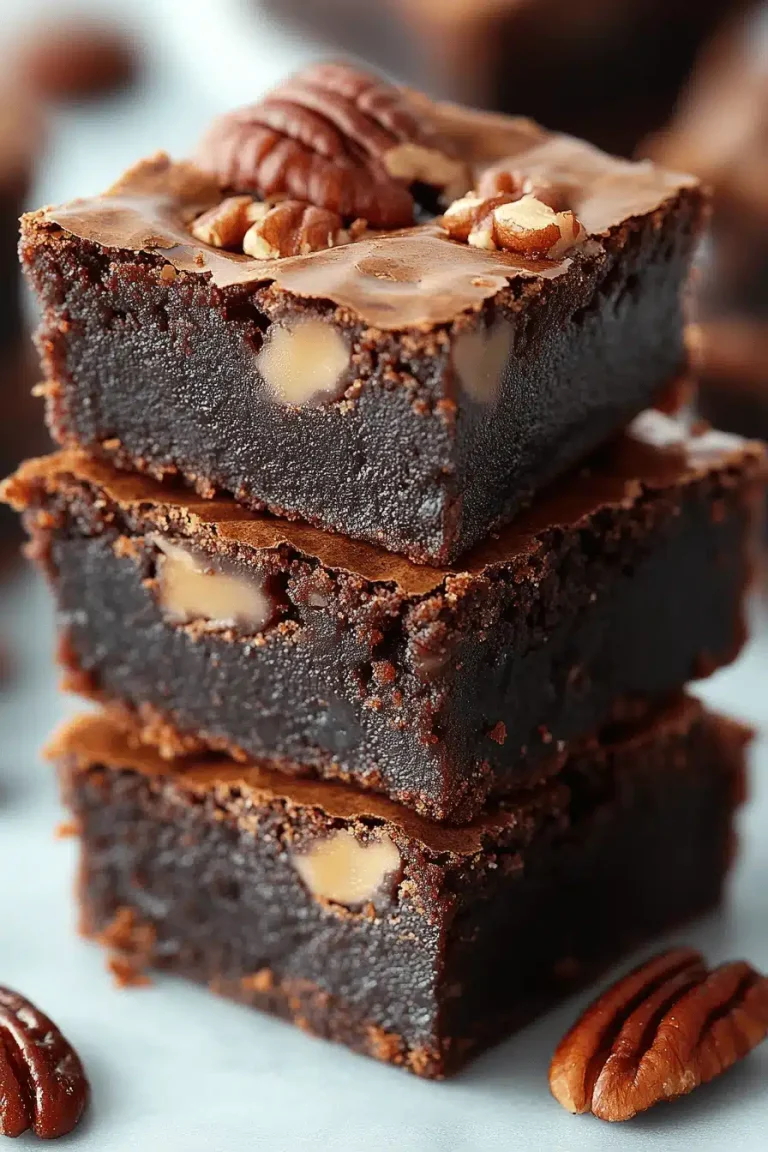
There’s a bit of magic in biting into a soft, tender cookie that tastes just like a slice of your favorite cake. I remember the first time I made cake cookies—my kitchen smelled like a bakery, and my kids couldn’t stop sneaking bites before they even cooled down. It’s one of those recipes that bridges the gap between a quick cookie fix and a cozy cake experience, all rolled into one. If you’ve ever wished for cake you can hold in your hand or cookies that don’t dry out in minutes, cake cookies are your soul-satisfying answer. They’re nestled somewhere between the best chocolate chip cookie and a slice of moist vanilla cake, but with their own personality. Honestly, these little beauties have become my go-to whenever my family needs a fast, crowd-pleasing dessert that’s still got that homemade warmth.
What is cake cookies?
Think of cake cookies as the lovechild of a fluffy cake and a chewy cookie. They’re essentially soft, cake-like cookies that stay tender and moist longer than your average cookie, giving you the best of both worlds in one bite. The name “cake cookies” can be a bit confusing because these aren’t cookies you bake from cake batter exactly—they’re a hybrid dough that includes ingredients like cake flour or even a bit of leavening that results in that tender crumb texture. It’s like having a miniature cake you can hold without slicing! In my mind, they’re a perfect excuse for sneaking in some cake indulgence without committing to a full slice or a whole pan, plus they’re super versatile for adding mix-ins or glazes that perk up their flavor without complicating the process.
Why you’ll love this recipe?
What I love most about these cake cookies is how effortlessly they hit all the right notes. First off, the flavor is gentle and nostalgic—sweet, buttery, and with that soft crumb that reminds me of Sunday afternoons at my grandma’s house. They’re not overwhelming like some ultra-sugary cookies, which means you can enjoy more than one (and believe me, I always do). The simplicity here is a real lifesaver, especially on busy weeknights or last-minute gatherings. This recipe uses pantry staples and comes together quickly, so you’re not stuck babysitting dough or fiddling with fancy techniques.
Plus, they’re incredibly cost-efficient. None of this expensive, hard-to-find stuff—just everyday ingredients that won’t break the bank or require a special trip to the store. That means I can whip these up twice a week if I have to, and my wallet doesn’t even notice!
Versatility is another winner. I’ve experimented with adding chocolate chips, swirls of raspberry jam, or even a lemon glaze, and every variation feels fresh. What’s more, these cake cookies make a charming crowd-pleaser for parties but are also totally perfect for packing in lunchboxes or pairing with morning coffee. They remind me of those classic recipes tailored by hand through years of baking adventures, simple yet special. And, as someone who’s trudged through countless cookie recipes, I can honestly say these cake cookies have become a comforting staple in my baking repertoire.
How do I make a cake cookie?
Quick Overview
To sum it up, this recipe combines a tender batter with a little extra lift to create cookies that almost feel like mini cakes. You start by preheating your oven and prepping your pans, mix your dry and wet ingredients separately to ensure even texture, then bring everything together gently to avoid tough cookies. The magic happens when you spoon the batter onto your baking sheet and watch as they rise and bake into these soft, pillowy delights. No complicated chilling or rolling out here—just straightforward steps that yield consistently delicious results. Trust me, once you’ve made these, you’ll see why they’re such a fan favorite in my kitchen.
Ingredients
For the Main Batter:
- 1 ½ cups cake flour (or all-purpose flour sifted for lightness) – the cake flour keeps it tender and fluffy, but APF works in a pinch
- 1 tsp baking powder – gives just enough lift to keep cookies soft but structured
- ½ tsp baking soda – helps with rise and texture
- ¼ tsp salt – balances sweetness
- ½ cup unsalted butter, softened – room temperature butter ensures creamy batter and tender crumb
- ¾ cup granulated sugar – classic sweetness, but you can tweak this*
- 1 large egg – binds everything together and adds richness
- 1 tsp vanilla extract – simple but essential for that warm flavor
- ⅓ cup sour cream or Greek yogurt – keeps things moist and tender, I’ve used almond milk yogurt before for a fun twist!
For the Filling:
- ½ cup jam or fruit preserves (raspberry, apricot, or classic strawberry) – optional, but adds that sweet burst
- Or ½ cup softened cream cheese mixed with 2 tbsp powdered sugar for a creamy twist
For the Glaze:
- 1 cup powdered sugar
- 2-3 tbsp milk or lemon juice (for thinner or tangier glaze)
- ½ tsp vanilla extract or lemon zest for added punch
- Optional: a few drops of food coloring or finely chopped nuts for texture
Step-by-Step Instructions
Step 1: Preheat & Prep Pan
Set your oven to 350°F (175°C) and line two baking sheets with parchment paper or silicone mats—this helps the cookies bake evenly and prevents sticking. I always prep the pans first so I don’t forget in the excitement of mixing. If you’re like me and hate too much scrubbing later, this little step is a saver!
Step 2: Mix Dry Ingredients
In a medium bowl, whisk together the cake flour, baking powder, baking soda, and salt until fully combined. This ensures your raising agents are evenly distributed so every cookie gets that perfect fluff. I like this step because it makes the dough come together smoother, and it helps avoid those annoying clumps.
Step 3: Mix Wet Ingredients
In a large bowl, beat the softened butter and sugar until pale and creamy—about 2-3 minutes with a hand mixer. You want it light and airy because this is what gives the cookies their soft texture. Add the egg and vanilla extract and mix again until fully combined. Finally, stir in the sour cream or Greek yogurt until smooth. The batter will feel thick but soft, almost like pancake batter.
Step 4: Combine
Gradually add the dry ingredients to the wet, folding gently with a spatula. Here’s the golden rule: don’t overmix! Stop as soon as you don’t see any dry flour — overworking develops gluten and makes those tender cake cookies tougher than intended. The batter should be smooth with a slightly thick consistency.
Step 5: Prepare Filling
If you’re using jam, make sure it’s room temperature so it spreads easily. For the cream cheese filling, beat together cream cheese and powdered sugar until soft and creamy. Both options add a great surprise element inside the cookie, but they shine more if your fillings are just the right thickness—not too runny, or they’ll spread everywhere.
Step 6: Layer & Swirl
Drop a generous tablespoon of batter onto the prepared baking sheets, then add a small dollop of your chosen filling on top. Using a toothpick or skewer, gently swirl the filling into the batter to create that pretty marbled effect. Don’t overdo the swirl—just enough to blend a bit without mixing completely. This step is fun and makes your cookies look extra-special when serving.
Step 7: Bake
Bake cookies for 12-15 minutes or until the edges are just starting to turn golden and the tops feel set but soft. The center should still be slightly spongy, not doughy. Every oven’s slightly different, so I usually check at 12 minutes and adjust based on how they’re browning. Don’t walk away — the smell will definitely pull you in! Baking too long will dry them out.
Step 8: Cool & Glaze
Let the cookies cool on the baking sheet for 5 minutes, then transfer to a wire rack to cool completely. The glaze should be drizzled or brushed on only after the cookies are fully cooled to avoid it melting off. If the glaze is too thick, thin it with a little extra milk or juice drop by drop. A smooth, glossy finish always feels extra rewarding.
Step 9: Slice & Serve
These cookies don’t need slicing since they’re perfectly portioned already. Serve them as is with a cup of coffee or tea. I love wrapping a few in wax paper for an impromptu snack, and my kids adore nibbling on them cold right from the fridge—it’s like a mini cake party in their hands.
What to Serve It With
For Breakfast: A mug of strong brewed coffee or a creamy latte pairs beautifully. Sprinkle a little cinnamon on your coffee, and you’ve got a cozy morning ritual in the making.
For Brunch: Arrange cake cookies on a pretty platter surrounded by fresh berries, whipped cream, and a crisp sparkling mimosa or fresh orange juice. It’s the kind of spread that feels indulgent but not stuffy.
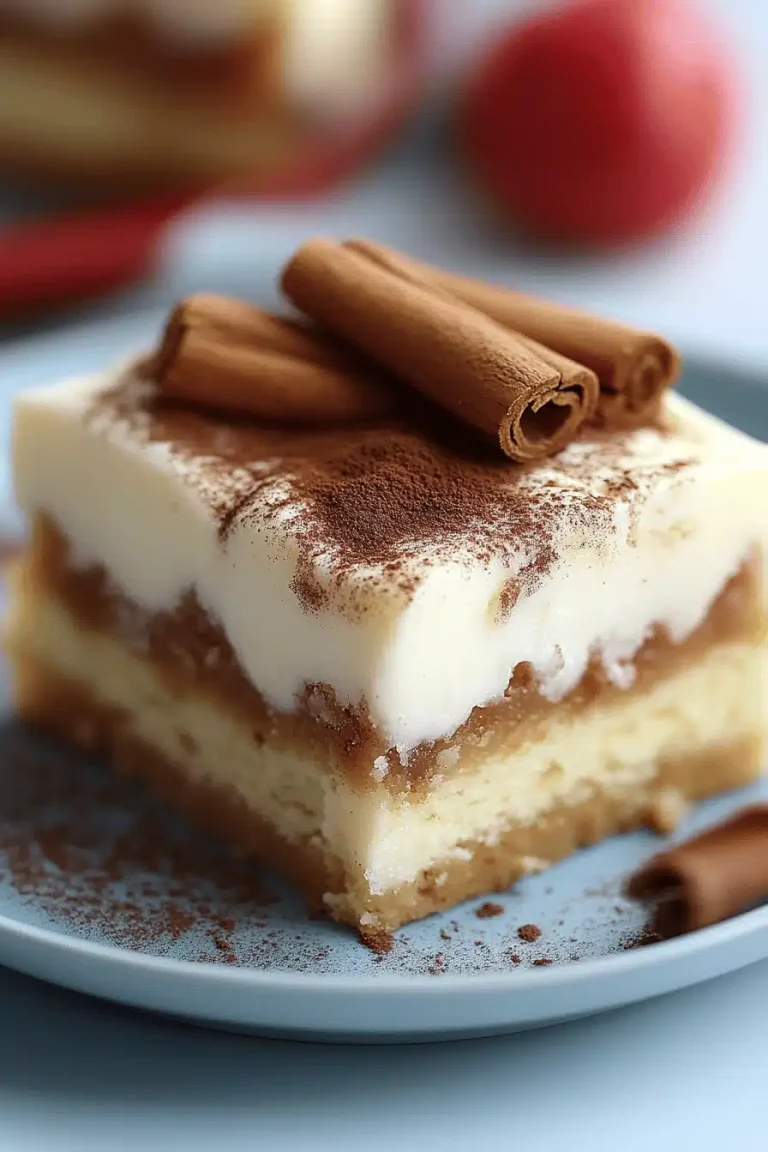
As Dessert: Serve a couple of cake cookies alongside a scoop of vanilla bean ice cream or a drizzle of warm chocolate sauce. The cool and warm contrast is beautiful—and a total hit at dinner parties.
For Cozy Snacks: These cake cookies are perfect right out of the box with a cold glass of milk or a cozy cup of chai. When my family’s curled up for movie night, I keep a plate handy and watch them disappear in minutes.
Our family tradition includes baking a batch on Sunday afternoons, then sharing them with friends over casual visits. Over the years, I’ve learned little tweaks from guests—adding nuts or lemon zest makes them feel new every time. It’s that dependable yet surprising recipe that fits any moment.
Top Tips for Perfecting Your Cake Cookies
Cake Flour Substitution: If you don’t have cake flour, you can make your own by replacing 2 tablespoons of all-purpose flour with cornstarch per cup. This little trick helps keep cookies tender and light as a feather.
Mixing Advice: Always cream butter and sugar until light and fluffy to create air pockets that make your cookies soft and pillowy. Resist the urge to overmix when combining wet and dry ingredients—gentle folding is key to keep the texture delicate.
Swirl Customization: When swirling your filling, use a thin skewer or toothpick and lift it in quick, light motions across the batter. Avoid dragging it too much, or you’ll lose the gorgeous contrast. Experiment with both savory and sweet fillings for surprising flavor combos.
Ingredient Swaps: Tried this with coconut oil instead of butter, but I noticed it changes the texture a bit—less tender, slightly crispier edges. Using Greek yogurt or sour cream works great; almond or oat yogurt actually amps up the creaminess, as I found when hosting vegan friends.
Baking Tips: Place your baking sheet on the center rack for even cooking. If your oven runs hot, lower the temperature by 10 degrees and add an extra minute or two to the bake time. Use a toothpick test to check doneness—cookies should be firm around the edges but soft in the middle.
Glaze Variations: I love playing with flavors here—a little orange zest in the glaze, or swapping lemon juice for milk adds a refreshing zing. Add finely chopped nuts or coconut flakes for texture that’s delightful when you bite in.
One lesson I learned the hard way is not to add fillings that are too wet or runny—or you’ll end up with a kitchen mess. Also, chilling the batter for 10 minutes before baking helps them keep shape better, especially on warmer days. These small steps make a big difference and turn cookie-hacking into cookie art.
Storing and Reheating Tips
Room Temperature: Stored in an airtight container, cake cookies stay fresh and tender for up to three days. I usually put them between sheets of parchment paper in a cookie tin to avoid sticking and keep the glaze intact.
Refrigerator Storage: If you want to extend their shelf life, store the cookies in a sealed container in the fridge for up to a week. Just know they may firm up slightly, so bring them back to room temp before serving for the best texture.
Freezer Instructions: These freeze beautifully! Wrap each cookie individually in plastic wrap, then pop them in a freezer bag for up to 3 months. To thaw, leave them at room temperature or gently warm them in a low oven (around 250°F) for 5 minutes. The glaze holds up surprisingly well.
Glaze Timing Advice: For freezing, I recommend adding glaze post-thaw to avoid it cracking or running. If you’re storing at room temp for just a couple of days, glazing beforehand is fine—just handle gently during transfers.
Frequently Asked Questions
Final Thoughts
This cake cookie recipe has genuinely become my little kitchen secret for turning ordinary days into special moments. The way the cookies come out soft and rich with just the right touch of sweetness reminds me why I love baking so much—it’s about comfort, sharing, and those smiles that show when you’ve made something truly good from scratch. I hope you play around with this recipe, adding your own favorite fillings and glazes, and that it brings your family those same warm, cozy feelings we cherish here. If you give it a try, drop a comment and tell me how your batch turned out—I can’t wait to hear your spin on these soft little bites. Happy baking!

cake cookies
Ingredients
Main Ingredients
- 18.25 ounce cake mix
- 2 large eggs
- 0.5 cup vegetable oil
- 1 cup add-ins (chocolate chips or M&M’s) Use 0.5 cup if adding sprinkles
Instructions
Preparation Steps
- Preheat oven to 350°F. Line a baking sheet with parchment paper and set aside.
- In a large bowl, mix together cake mix, eggs, and vegetable oil until smooth.
- Mix in desired add-ins until evenly incorporated.
- Using a medium (2-tablespoon) cookie scoop, portion dough onto prepared baking sheet 2 inches apart. Bake for 9-10 minutes, or until lightly golden at edges.
- Allow cookies to cool on baking sheet for 3-4 minutes before transferring to wire rack.