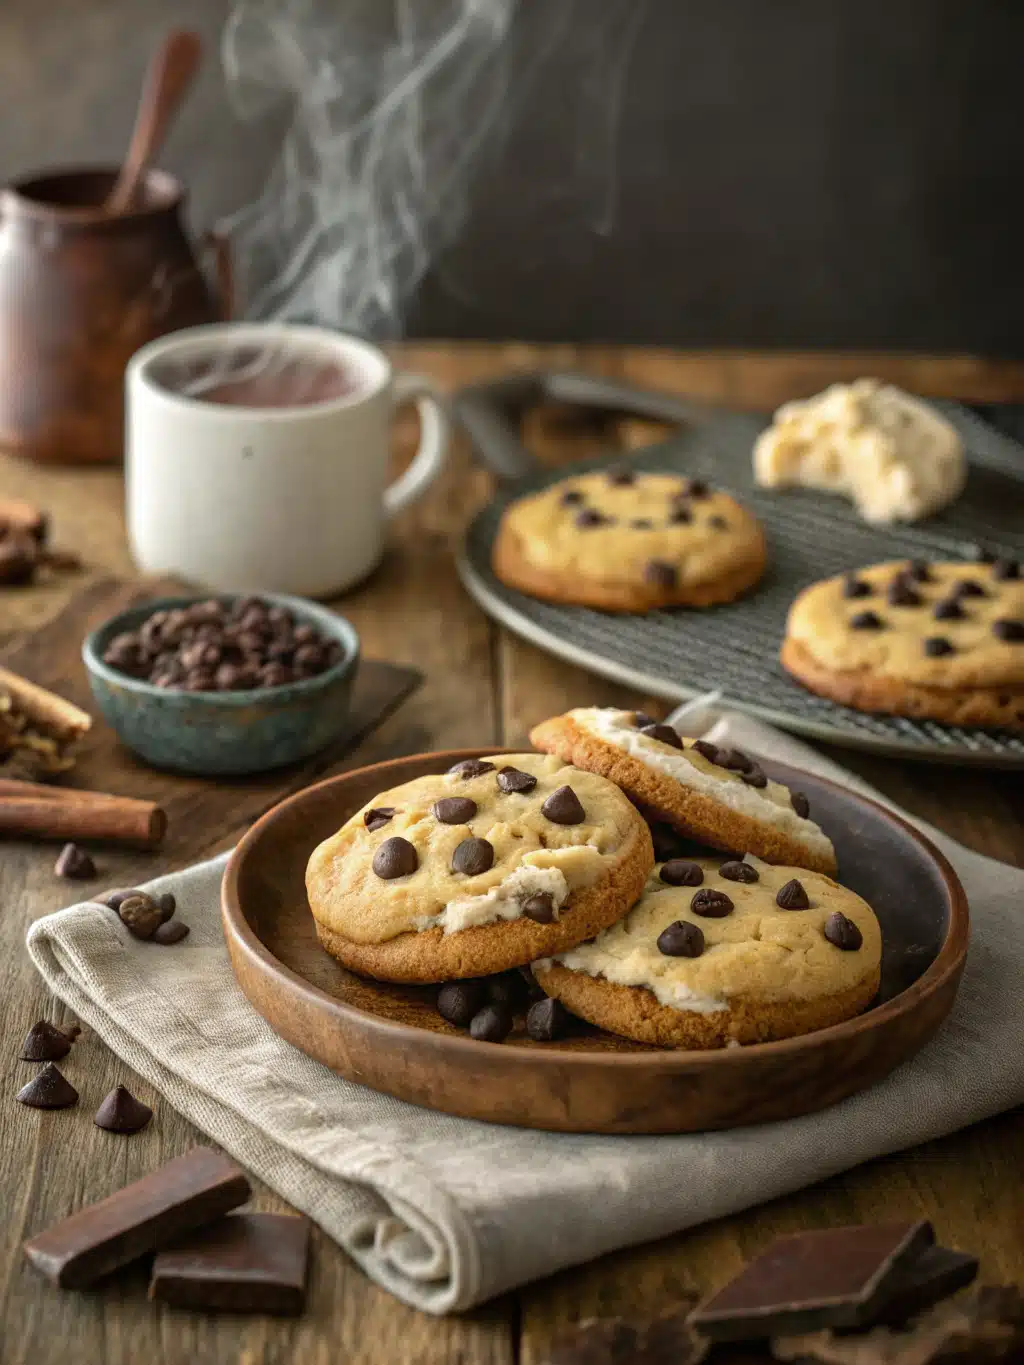
Oh, I am so excited to share this with you today! You know those days when you just need a really, *really* good chocolate fix, but you also don’t have hours to spend in the kitchen? This is my answer. These aren’t just any chocolate cookies; these are my ultimate, go-to dark chocolate cookies. They’re rich, deeply chocolatey, and have this perfect, slightly chewy texture that’s just divine. I remember the first time I perfected this recipe; it was after a particularly rough week, and I just needed something comforting and utterly decadent. It’s funny, because I’ve made countless batches of chocolate chip cookies over the years – they’re a classic for a reason – but these dark chocolate cookies? They’re on a whole other level when you’re craving that intense cocoa flavor. They’re like a warm hug in cookie form, and honestly, the smell that fills the house when these are baking is enough to make anyone happy.
What is dark chocolate cookies?
So, what exactly makes these dark chocolate cookies so special? Well, think of them as the sophisticated older sibling to your everyday chocolate chip cookie. Instead of just chocolate chips, we’re using real cocoa powder – and good quality stuff, too – to build that deep, dark chocolate flavor right into the cookie dough itself. And then, we add in some chocolate chunks or chips for those melty pockets of pure bliss. It’s this combination that gives them their intense chocolate personality. The name “dark chocolate cookies” really just says it all: they’re cookies that embrace the deeper, more complex notes of chocolate. They aren’t overly sweet, which is something I really appreciate. It’s more about that satisfying, rich cocoa flavor that lingers just perfectly. They’re essentially the ultimate expression of my love for chocolate, baked into a convenient, shareable (or not-so-shareable!) treat.
Why you’ll love this recipe?
Honestly, there are so many reasons why this dark chocolate cookie recipe has become a staple in my kitchen, and I just know you’re going to love it too. First off, the flavor is just out of this world. We’re talking serious, no-holds-barred dark chocolate goodness. It’s that deep, slightly bitter, intensely rich taste that only good quality cocoa and dark chocolate can provide. It’s the kind of cookie that makes you close your eyes with every bite. Then there’s the texture. I’ve worked hard to get this just right – they’re wonderfully chewy in the center with just the slightest crisp around the edges. They’re not cakey, they’re not too crunchy; they’re that perfect middle ground. And the simplicity! Don’t let the deep flavor fool you; these are surprisingly easy to whip up. Most of the ingredients are pantry staples, and the process is straightforward enough that even a beginner baker can achieve fantastic results. They’re also incredibly cost-effective, especially when you consider how gourmet they taste. You can make a huge batch without breaking the bank. And the versatility! These dark chocolate cookies are amazing on their own, but they’re also fantastic served with a cold glass of milk, a scoop of vanilla ice cream, or even a hot cup of coffee. They’re just so satisfying. What I love most, though, is how they always deliver. When I’m craving something intensely chocolatey and comforting, these dark chocolate cookies are my absolute go-to. They never disappoint, and they always bring smiles.
How do I make dark chocolate cookies?
Quick Overview
This recipe is all about building layers of deep chocolate flavor. We start by creaming butter and sugars, then incorporating eggs and vanilla. The dry ingredients, rich with cocoa powder and flour, are mixed in just until combined. Finally, we stir in those glorious dark chocolate chunks. The key is not to overmix and to chill the dough to get that perfect chewy texture. Baking them just until the edges are set but the centers are still a little soft is crucial for that irresistible chewiness. It’s a simple process, really, designed to give you maximum chocolate impact with minimum fuss.
Ingredients
For the Main Batter:
1 cup (2 sticks) unsalted butter, softened: Make sure it’s truly softened, not melted. This makes a huge difference in how well it creams with the sugar.
1 cup granulated sugar: For sweetness and structure.
¾ cup packed dark brown sugar: This is key for that lovely chewy texture and a hint of molasses-y depth. Don’t skip it!
2 large eggs: Room temperature is best; they incorporate more smoothly.
2 teaspoons pure vanilla extract: Always use the good stuff; it really shines here.
2 ¼ cups all-purpose flour: Spooned and leveled, not scooped, to avoid dry cookies.
¾ cup unsweetened natural cocoa powder: This is where the deep dark chocolate flavor comes from. Dutch-process can work, but natural gives a slightly different, often more intense, flavor profile.
1 teaspoon baking soda: Helps with leavening and spread.
½ teaspoon salt: Balances the sweetness and enhances the chocolate flavor.
½ cup (about 3 oz) dark chocolate chips or chunks: I love using a mix of both for varied textures. Use good quality chocolate for the best results – 60-70% cacao is perfect.
Step-by-Step Instructions
Step 1: Preheat & Prep Pan
First things first, preheat your oven to 350°F (175°C). This is the standard baking temperature for most cookies, and it ensures even cooking. While the oven heats up, grab your baking sheets. I like to line mine with parchment paper or silicone baking mats. This does a couple of things: it prevents the cookies from sticking and makes cleanup an absolute breeze. No one likes scrubbing burnt bits off a baking sheet, right? Make sure your baking sheets are clean and dry. You don’t want any residual grease or moisture affecting your cookies.
Step 2: Mix Dry Ingredients
In a medium-sized bowl, whisk together your flour, unsweetened cocoa powder, baking soda, and salt. Whisking them together thoroughly is super important. It ensures that the leavening agents and salt are evenly distributed throughout the dry ingredients. This means you won’t end up with a cookie that has one spot that’s too salty or doesn’t rise properly. You’re aiming for a uniform, dark brown mixture. I usually whisk it for about 30 seconds to a minute, making sure there are no lumps of cocoa powder. This step might seem small, but it really contributes to the overall texture and consistency of your final dark chocolate cookies.
Step 3: Mix Wet Ingredients
Now for the wet ingredients. In a large bowl, or the bowl of your stand mixer fitted with the paddle attachment, cream together the softened butter, granulated sugar, and dark brown sugar. Beat this on medium speed until it’s light and fluffy, which usually takes about 3-4 minutes. This creaming process incorporates air into the mixture, which is essential for creating a tender cookie. Next, add the eggs, one at a time, beating well after each addition. Make sure each egg is fully incorporated before adding the next. Finally, stir in the vanilla extract. You want a smooth, cohesive, and slightly pale mixture. Don’t rush this step; it’s the foundation of your cookie dough.
Step 4: Combine
It’s time to bring everything together! Gradually add the dry ingredients (from Step 2) to the wet ingredients (from Step 3). Mix on low speed, or by hand with a spatula, just until the flour streaks are *almost* gone. And I mean *almost*. Overmixing at this stage is the enemy of tender cookies. You want to be careful not to develop the gluten in the flour too much, which can lead to tough cookies. A few tiny streaks of flour remaining are perfectly fine, as they’ll disappear when you add the chocolate chunks. It’s better to slightly under-mix than over-mix here. You’re looking for a thick, rich dough that smells wonderfully of chocolate.
Step 5: Prepare Filling
Okay, so for these dark chocolate cookies, the “filling” is actually integrated right into the dough with the chocolate chunks! So, this step is really about adding those glorious pieces of dark chocolate. Gently stir in the dark chocolate chips or chunks with a spatula or wooden spoon. Use a folding motion to distribute them evenly throughout the dough. Again, be careful not to overmix. You want to see those rich, dark pieces distributed nicely, ready to melt into gooey pockets when baked. This is where the magic happens, turning a simple cocoa cookie into an irresistible dark chocolate delight.
Step 6: Layer & Swirl
For these cookies, we don’t really have a separate “layer & swirl” step in the traditional sense, as it’s a more uniform chocolate dough. However, if you wanted to get fancy, you could always reserve a few extra chocolate chunks to press onto the tops of the dough balls before baking. This makes them look extra decadent and ensures you get that perfect chocolatey finish right on top. For the best texture, I highly recommend chilling the dough. Cover the bowl with plastic wrap and refrigerate for at least 30 minutes, or up to 2 days. This chilling step is crucial for preventing the cookies from spreading too much and also helps to deepen the flavor. You’ll notice the dough becomes firmer and easier to handle.
Step 7: Bake
Now for the exciting part! Drop rounded tablespoons of the chilled dough onto your prepared baking sheets, leaving about 2 inches between each cookie to allow for spread. I like to use a cookie scoop to ensure consistent sizes, which leads to even baking. Bake for 9-12 minutes. The exact time will depend on your oven and the size of your cookies. You’re looking for the edges to be set and lightly puffed, while the centers still look slightly soft and underbaked. This is the secret to that perfect chewy texture. They will continue to cook on the hot baking sheet for a few minutes after you take them out of the oven. Don’t overbake them, or they’ll become dry and crumbly. Trust your eyes – the centers should look a little fudgy.
Step 8: Cool & Glaze
Once they’re out of the oven, let the cookies cool on the baking sheet for about 5-10 minutes. This is important because they’re still delicate when hot and need that time on the warm sheet to firm up properly. After they’ve had a chance to set a bit, carefully transfer them to a wire rack to cool completely. For these dark chocolate cookies, a glaze isn’t strictly necessary, as they are so intensely chocolatey on their own. However, if you *did* want to add a little something extra, a simple dark chocolate ganache or a drizzle of melted dark chocolate would be absolutely divine. I sometimes make a quick ganache by melting ½ cup dark chocolate chips with 2 tablespoons heavy cream. Once the cookies are completely cool, you can drizzle the ganache over them. It adds another layer of richness and looks gorgeous.
Step 9: Slice & Serve
Once your dark chocolate cookies are completely cool (or just slightly warm if you can’t resist!), they are ready to be enjoyed! If you added a glaze, make sure it’s set before slicing or stacking. The best way to cut them depends on how you’ve served them; if they’re in a neat stack, a gentle slice with a sharp knife works well. But honestly, these are usually eaten whole, one delicious bite at a time. They’re perfect just as they are, or served with a tall glass of cold milk, a dollop of whipped cream, or even a scoop of your favorite ice cream. Presentation-wise, I love placing a few on a simple plate with a dusting of cocoa powder or a few extra chocolate shavings. They’re beautiful in their own rich, dark glory.
What to Serve It With
These dark chocolate cookies are so versatile, they fit into almost any occasion. For breakfast, I know it sounds indulgent, but imagine one of these with your morning coffee. It’s like a little morning treat that just makes the day better. They’re not overwhelmingly sweet, so they pair beautifully with that slightly bitter coffee. For brunch, they can add a touch of elegance without being fussy. Arrange them on a tiered stand with other pastries and fruits. They look stunning next to a vibrant fruit salad or a creamy yogurt parfait. As dessert, well, this is where they truly shine. Serve them warm with a scoop of vanilla bean ice cream – the contrast of warm cookie and cold ice cream is heavenly. Or, pair them with a raspberry coulis for a classic chocolate-fruit combination. For those cozy snack moments, which, let’s be honest, are my favorite, they are perfect. Grab one (or two!) with a glass of cold milk after a long day, or pair them with a mug of hot chocolate for an ultimate chocolate experience. My family loves them after dinner, and sometimes, a single cookie is all the sweet ending we need. They’re also fantastic for packing into lunchboxes for a special surprise – my kids always ask for these!
Top Tips for Perfecting Your Dark Chocolate Cookies
I’ve made this recipe more times than I can count, and along the way, I’ve picked up a few tricks that I think make all the difference. When it comes to the cocoa powder, using a good quality unsweetened natural cocoa powder really makes the chocolate flavor pop. I’ve tried different brands, and some just have a much deeper, richer taste. Don’t be afraid to really whisk those dry ingredients together well; it ensures even distribution and prevents those pockets of baking soda or salt. For the creaming of the butter and sugars, I can’t stress enough how important it is to use *softened* butter. If your butter is too cold, it won’t cream properly, and your cookies might end up denser. If it’s too warm and melted, your cookies will spread too much. It should be soft enough that your finger leaves an indentation easily. When you’re mixing the wet and dry ingredients, resist the urge to overmix. Once you see just a few flour streaks, stop! Overmixing develops the gluten, and that’s what leads to tough, dry cookies, and we definitely don’t want that for our beloved dark chocolate cookies. Chilling the dough is non-negotiable in my kitchen. It prevents excessive spreading, concentrates the flavors, and makes the dough easier to handle. I usually chill mine for at least an hour, but overnight is even better if you have the patience! When baking, ovens can be so finicky. Keep an eye on your cookies during the last few minutes. They should look slightly underbaked in the center; that’s the key to chewiness. They’ll continue to firm up on the baking sheet as they cool. If you like extra-chewy cookies, you can even underbake them by a minute or two. And for the chocolate chunks, I love using a mix of chips and chopped-up dark chocolate bars. The chopped bar pieces tend to melt into more luxurious pockets of gooey chocolate. Experiment with different percentages of cacao too – I find 60-70% to be the sweet spot for that perfect balance of rich flavor without being too bitter.
Storing and Reheating Tips
These dark chocolate cookies are so delicious, you’ll want to savor them for as long as possible. Storing them properly is key to keeping them tasting fresh and delicious. At room temperature, they’ll stay wonderfully chewy for about 3-4 days, provided they are stored in an airtight container. I usually just use a simple cookie tin or a good quality plastic container with a tight-fitting lid. Make sure they’ve cooled completely before storing them, otherwise, condensation can form and make them soggy. If you’re not going to get through them within a few days, or if you want to save some for a future craving (wise move!), they do very well in the refrigerator. Pop them into an airtight container, and they should keep for about a week. The texture might firm up a little in the fridge, but they’re still delicious. If you want to keep them even longer, the freezer is your best friend! You can freeze the baked cookies in an airtight container or a heavy-duty freezer bag for up to 3 months. Make sure they’re well-wrapped to prevent freezer burn. For reheating, if they’ve been in the fridge and feel a bit firm, a quick 10-15 seconds in the microwave will warm them up beautifully and bring back that soft, chewy texture. If they’re frozen, let them thaw at room temperature for about 30 minutes to an hour, or use the microwave on a lower power setting for a short burst of time to gently warm them through. If you’ve made a glaze and stored them un-glazed, you can add the glaze after reheating, or once they’re back to room temperature.
Frequently Asked Questions
Final Thoughts
So there you have it – my absolute favorite dark chocolate cookies! I really hope you give them a try. They’re the kind of recipe that’s perfect for a cozy afternoon, a special occasion, or just when you need a little bit of pure, unadulterated chocolate happiness. They remind me of being a kid, sneaking a cookie (or two!) when no one was looking, but with that sophisticated, rich dark chocolate flavor that us adults can really appreciate. They’re simple, they’re deeply satisfying, and they truly deliver on that intense chocolate craving. If you love chocolate as much as I do, these are going to become a new favorite for you. If you enjoy this recipe, you might also want to check out my recipe for fudgy brownie cookies – they’re another decadent chocolate dream! I can’t wait to hear how yours turn out. Please leave a comment below and let me know what you think, or share your own tips and variations! Happy baking, everyone!
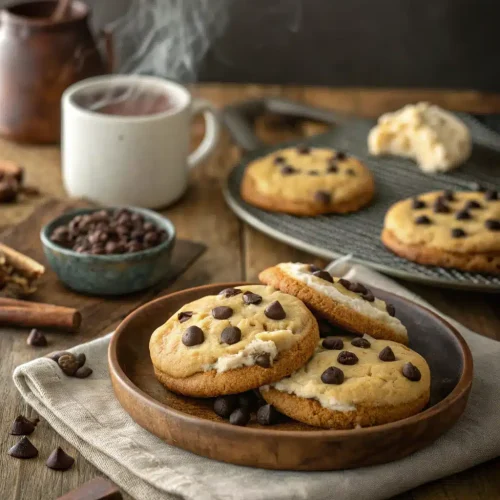
dark chocolate cookies
Ingredients
Main Ingredients
- 8 oz semi-sweet dark chocolate cut into quarters
- 6 oz white chocolate squares coarsely chopped
- 0.25 cup salted butter
- 0.75 cup brown sugar
- 2 large eggs
- 0.5 cup all-purpose flour
- 1 cup chopped walnuts optional
Instructions
Preparation Steps
- Place the semi-sweet dark chocolate in a microwave-safe bowl and heat on medium for 3 minutes. Stir until fully melted and smooth. Add the salted butter and stir until combined.
- In a large bowl, combine the melted chocolate mixture with brown sugar, eggs, and all-purpose flour. Mix until smooth.
- Fold in the white chocolate pieces and chopped walnuts.
- Drop heaping teaspoons of dough onto an ungreased cookie sheet and bake in a preheated 350°F oven for 12 minutes.
- Transfer cookies to a wire rack and cool completely before serving.