There’s something magical about the smell of cinnamon and warm apples swirling through the kitchen on a crisp fall afternoon. I still remember the first time I made apple pops—my kids couldn’t stop hovering around the stove, waiting for those golden, sweet bites. It’s funny because these aren’t your typical candy apples on a stick; they’re tender, moist little bites of apple-infused goodness that feel like a cozy hug in dessert form. Apple pops quickly became our go-to for when I want to whip up something sweet without fussing over a whole cake, and honestly, they’ve become a family favorite. If you’ve ever loved apple pie but didn’t want to deal with rolling out dough or waiting for a long bake, apple pops give you all that flavor with way less effort—and the kids absolutely adore them.
What is Apple Pop?
Think of apple pops as bite-sized, portable apple treats that combine soft, spiced batter with sweet apple chunks, all baked to perfection. It’s essentially a mini apple cake but shaped in fun, round pops you can eat with your hands. The name “apple pops” comes from the surprise element—these little delights are often served on sticks, kind of like mini cake pops, making them perfect for snacking or serving at parties. It’s a playful twist on all the apple desserts you probably grew up loving, without the mess of pie crust or the fuss of slicing. This recipe strikes a beautiful balance between nostalgic apple flavors and an easy, approachable format that’s perfect for sharing with friends or sneaking a few bites yourself anytime you get a craving.
Why you’ll love this recipe?
What I love most about apple pops is how they feel like a special treat without demanding a ton of time or weird ingredients. The flavor profile is just spot-on—the warmth of cinnamon and nutmeg paired with tender apple chunks, all wrapped in a sweet, moist batter that isn’t too heavy or too sweet. It hits that cozy comfort zone while still being light enough to enjoy any time of day.
From a simplicity angle, the recipe is a lifesaver on busy nights or lazy weekends. You probably have most of the ingredients in your pantry already, and the mixing comes together in less than 15 minutes. No fancy equipment, no multiple bowls, no complex prep—you just toss, swirl, bake, and voila.
Cost-wise, apples, flour, and simple spices make this recipe very budget-friendly. You don’t need to buy anything fancy, and yet it tastes like a bakery treat. Plus, they freeze beautifully if you want to prep a batch ahead and pull them out for quick snacks or last-minute guests.
What’s neat too is the versatility—you can mix in chopped nuts, swap out apple varieties depending on what’s in season, or drizzle caramel instead of glaze to switch things up. Honestly, it’s like your favorite apple dessert got a new fun outfit, and it’s ready to party any time of year. If you like apple muffins or spice cakes, you’ll find plenty of those familiar flavors here, but in a way that’s uniquely charming and kid-approved.
How do I make Apple Pops?
Quick Overview
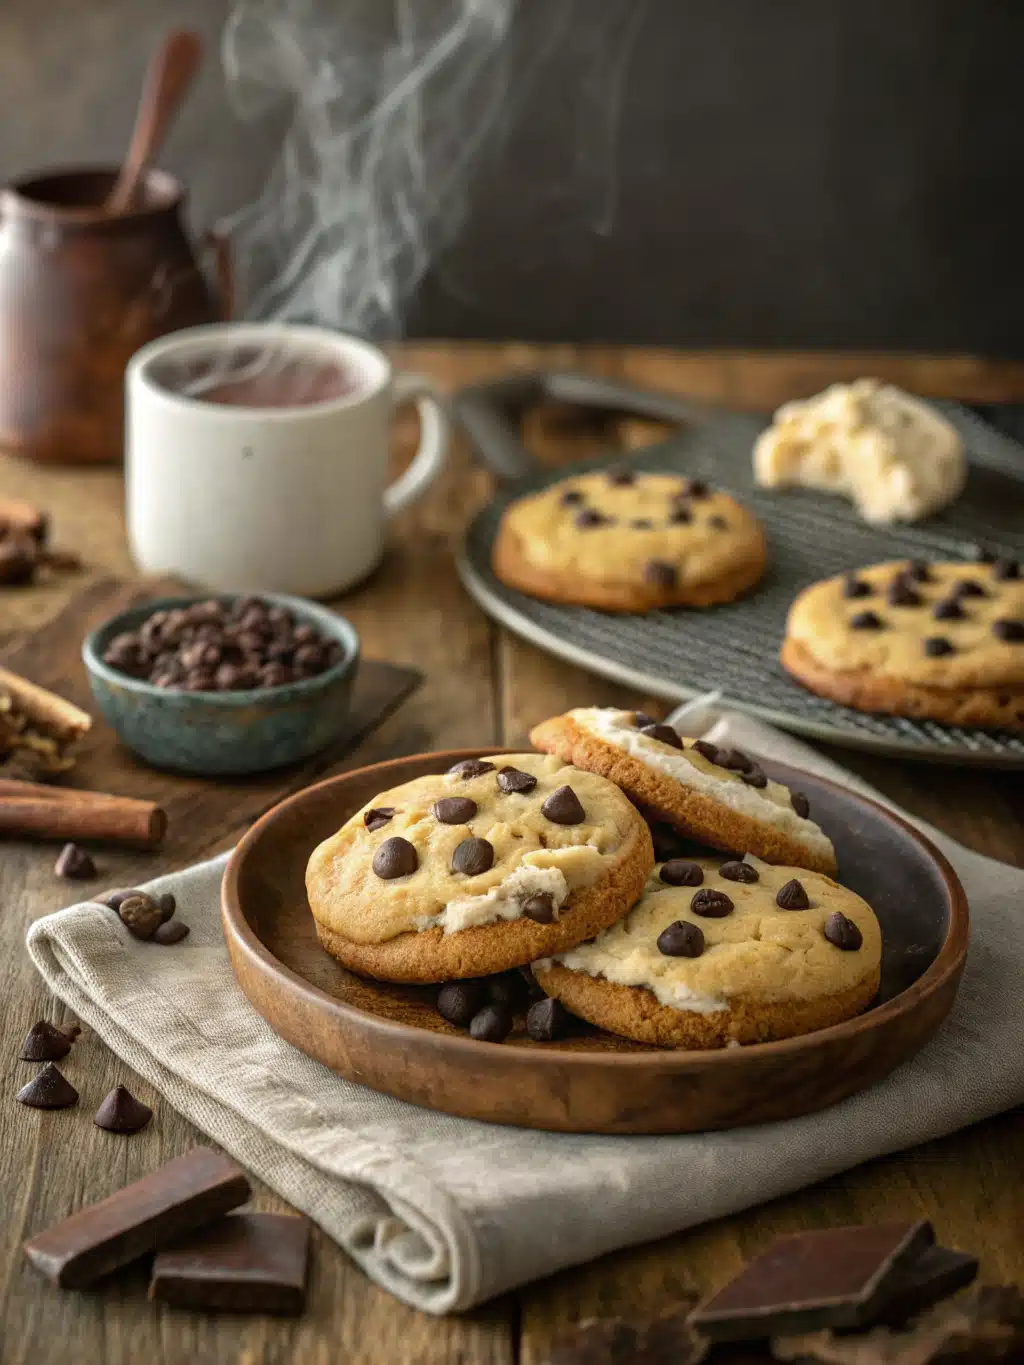
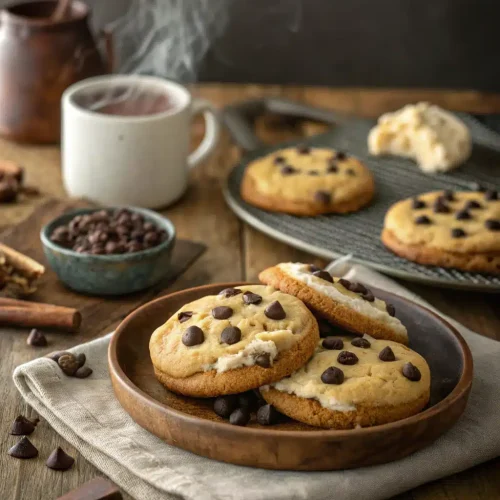
Making apple pops is surprisingly easy—first, prepare a simple batter with apples and warming spices, then swirl it with a little extra apple mixture or cinnamon sugar for that beautiful marbled effect. The pops bake quickly into moist, tender bites that are easy to snack on. What sets this method apart is the layering and swirling technique that creates lovely texture and flavor pockets, so every bite feels special. It’s the kind of recipe I always go back to when I want something quick but extra delightful, and trust me, it’s hard to mess up!
Ingredients
For the Main Batter:
- 2 cups all-purpose flour (I like to sift it to keep things airy)
- 1 tsp baking powder
- ½ tsp baking soda
- 1 tsp ground cinnamon (freshly ground if you can, makes a difference!)
- ½ tsp nutmeg
- ¼ tsp salt
- ½ cup unsalted butter, softened (room temp is key here)
- ¾ cup granulated sugar
- 2 large eggs
- 1 tsp vanilla extract
- ¾ cup buttermilk (or full-fat milk with a splash of lemon juice for acidity)
- 1 ½ cups peeled and diced apples (I like a tart Fuji or Honeycrisp)
For the Filling:
- 1 cup finely chopped apples – I usually dice these smaller than the batter apples for smooth swirls
- ¼ cup brown sugar
- 1 tsp cinnamon
- 2 tbsp melted butter (this amps up the richness)
For the Glaze:
- 1 cup powdered sugar
- 1–2 tbsp apple cider or freshly squeezed lemon juice (adjust for consistency)
- A pinch of cinnamon for garnish (optional)
Step-by-Step Instructions
Step 1: Preheat & Prep Pan
Start by preheating your oven to 350°F (175°C). I use a silicone mold or lightly greased mini muffin tin if you want adorable little pops—whatever will hold the batter in neat shapes. If you’re going for stick pops, use pop sticks and a pop cake pan or a lined tray for sturdy shape. I’ve learned the hard way that non-stick spray helps a ton here to avoid any frustrating sticking.
Step 2: Mix Dry Ingredients
In a medium bowl, whisk together the flour, baking powder, baking soda, cinnamon, nutmeg, and salt. Doing this separately ensures your spices and leaveners are evenly distributed, which makes the texture wonderfully consistent throughout. I always take a moment here to sniff the cinnamon—it’s like a little hint of cozy coming your way.
Step 3: Mix Wet Ingredients
Using a stand mixer or hand mixer, cream the butter and sugar together until light and fluffy—about 3 minutes. This is crucial because you want a tender crumb, and well-aerated butter does the trick. Then add eggs one at a time, beating well after each addition, followed by vanilla extract. Finally, alternate adding the dry ingredients and the buttermilk in three parts, starting and ending with the dry ingredients. Your batter should be smooth, creamy, and dreamy, almost like thick cake batter.
Step 4: Combine
Fold in the 1 ½ cups of diced apples gently but thoroughly. You want the fruit spread evenly without overmixing, which can make the batter tough. If your batter feels a little thick, a splash more milk won’t hurt. This is the moment when everything starts smelling like fall in your kitchen—it’s absolutely irresistible.
Step 5: Prepare Filling
Mix the finely chopped apples with brown sugar, cinnamon, and melted butter until well coated. This mixture gets swirled into the batter, creating those lovely pockets of sweet apple bliss. I sometimes add a pinch of ground cloves for a little extra warmth, but keep the flavor balanced so it doesn’t overpower.
Step 6: Layer & Swirl
Pour about half the batter into your prepared molds or tray. Drop spoonfuls of the apple filling evenly on top, then cover with the remaining batter. Use a skewer or butter knife to swirl the filling gently into the batter—don’t overdo it, or you’ll lose that gorgeous marbled look. It’s so much fun watching the patterns come to life, and it makes all the difference in presentation.
Step 7: Bake
Bake your apple pops for 18-22 minutes. I check doneness by inserting a toothpick into the thickest part—it should come out clean or with just a few moist crumbs. Every oven’s a bit different, so keep an eye starting at 18 minutes. The tops should be golden and just springy to the touch. The smell at this stage will absolutely pull everyone into the kitchen.
Step 8: Cool & Glaze
Allow the pops to cool in the pan for about 10 minutes, then transfer to a wire rack. Once they’re just warm (not hot, or the glaze will melt too much), drizzle the glaze over the tops in thin ribbons. The glaze should be smooth but not runny, so add liquid gradually. If you like, sprinkle a tiny pinch of cinnamon on top for that final cozy touch.
Step 9: Slice & Serve
If you’re making larger pops or mini cakes, slice them gently with a serrated knife for neat edges. For bite-sized pops on sticks, just grab and enjoy! These are fantastic warm but still delicious at room temperature—perfect for a quick snack or dessert. I’ve noticed that letting them sit for a bit after glazing makes them easier to handle and lets the flavors meld beautifully.
What to Serve It With
For Breakfast: Apple pops and a rich cup of coffee with a splash of cream is the breakfast dream. Serve on a small plate alongside some Greek yogurt or a dollop of ricotta. My kids love dunking theirs into warm milk. This one’s a lifesaver on rushed mornings when you want something sweet and satisfying without the sugar crash.
For Brunch: Plate your apple pops with fresh fruit salad, a drizzle of maple syrup, and maybe a fluffy omelet on the side. A lightly spiced chai latte accompanies it beautifully, adding an elegant twist to a casual weekend brunch. The visual appeal of swirled apple pops never fails to get compliments at our brunch table.
As Dessert: Serve warm apple pops with a scoop of vanilla or cinnamon ice cream for a nostalgic apple pie vibe without the fuss. A drizzle of salted caramel sauce takes it to the next level and transforms it into a crowd-pleaser after dinner. Sometimes I even sprinkle chopped pecans on top—extra crunch, extra yum.
For Cozy Snacks: When the chill hits and you’re curled up with a book, apple pops and a cup of hot apple cider or herbal tea are the perfect companions. They’re small enough to nibble on without any guilt, and the smell will fill your home with warmth and love. My family has a tradition of sharing these during Sunday evenings—it’s our little cozy ritual.
Top Tips for Perfecting Your Apple Pops
Zucchini Prep: (Just a nod to the occasional green veggie swap!) If you ever want to sneak in some grated zucchini—as I sometimes do for moisture and texture make sure to squeeze out excess water well. I learned this after a few soggy batches! Using fresh, firm zucchini keeps your pops from getting too mushy.
Mixing Advice: One of my golden rules is to never overmix the batter once the wet and dry ingredients join. Overworked batter creates dense, rubbery pops—not what we’re after! I aim for a gently combined, slightly lumpy mix so the texture stays tender and light. Using a folding motion instead of stirring aggressively helps tons.
Swirl Customization: Experiment with your swirls by varying the amount of filling or using different tools—a skewer creates fine swirls, while a butter knife gives bold, rustic waves. I even tried a toothpick once, and it made little apple “ripples” that were so charming. The key is gentle, deliberate swirling to keep that pretty marbled look.
Ingredient Swaps: I’ve swapped regular sugar for coconut sugar for a richer, almost caramel flavor that fits surprisingly well with the apple notes. For milk, almond or oat milk work great and actually yield a creamier texture. Just watch that your flour-to-liquid ratio stays right; too much liquid soured my first attempt, so measure carefully!
Baking Tips: If your oven tends to run hot, lower the temperature to 325°F and bake a bit longer for an even cook. I always place the pan in the middle rack to avoid over-browning tops. Keep a close eye starting around 18 minutes—the first couple batches I burnt a few edges because I wasn’t watching closely enough. Don’t forget: oven thermometers are game-changers.
Glaze Variations: Sometimes I substitute apple cider with orange juice in the glaze for a fresh zing, or add a drop of maple extract for that cozy flavor twist. The glaze should be pourable but thick enough to set; if too runny, add powdered sugar; if too thick, a few drops of liquid. Applying glaze to slightly cooled pops preserves the texture best.
Storing and Reheating Tips
Room Temperature: Apple pops stay fresh covered loosely at room temp for about 2 days. I like to keep them in an airtight container lined with parchment to avoid sticking and preserve softness without drying out.
Refrigerator Storage: If you want to keep them longer, pop them into an airtight container in the fridge, where they last up to 5 days. They do firm up a bit, so let them come to room temp or warm briefly in the microwave before serving to get back some softness.
Freezer Instructions: Apple pops freeze wonderfully! Wrap them individually in plastic wrap, then store in a freezer-safe container or bag for up to 3 months. I usually thaw them overnight in the fridge or warm in a 325°F oven for 10 minutes to bring back that fresh-baked feel.
Glaze Timing Advice: If freezing, I recommend glazing after thawing rather than before. The glaze can crack or become sticky during freezing, so fresh glazing always gives that perfect glossy finish.
Frequently Asked Questions
Final Thoughts
Sharing apple pops with family and friends always feels like passing along a little warmth and comfort in edible form. This recipe is one I’ve returned to many times, especially when I want something sweet and satisfying without fuss or mess. The aroma alone is enough to gather everyone in the kitchen—and they usually vanish in minutes! I hope you find as much joy in making and sharing these as I do. Whether you’re baking for a holiday, a casual snack, or an after-dinner treat, apple pops bring that perfect cozy vibe and delicious flavor to the table. If you try this recipe, please come back and tell me how yours turned out or if you switched things up—I love seeing your variations! Happy baking!
Halloween Apple Pops
Ingredients
Main Ingredients
- 5 medium Granny Smith apples
- 12 oz dark cocoa melting wafers
- 12 oz orange melting wafers
- to taste Halloween sprinkles
Instructions
Preparation Steps
- Cut each apple into 4 slices, avoiding the core. Make sure slices are slightly less than 0.5 inch thick for the popsicle stick to hold them firmly.
- Carefully insert a popsicle stick into the center of each apple slice to create the apple pops.
- Melt the dark cocoa melting wafers and orange melting wafers separately in microwave-safe bowls, heating in 2-minute intervals followed by stirring, then continuing with 30-second increments until fully melted.
- Dip each apple pop into the melted dark cocoa chocolate, coating thoroughly, then drizzle some melted orange chocolate over the coated apple pop with a spoon.
- Sprinkle Halloween sprinkles over the chocolate-coated apple pops immediately after dipping.
- Place the apple pops onto parchment paper or a metal rack and allow to set.
- Repeat the dipping and decorating process for the remaining apple pops, alternating dipping half in dark cocoa and drizzling orange, and the other half in orange chocolate with dark cocoa drizzle.
- Let all apple pops fully set on the parchment or wire rack before serving.