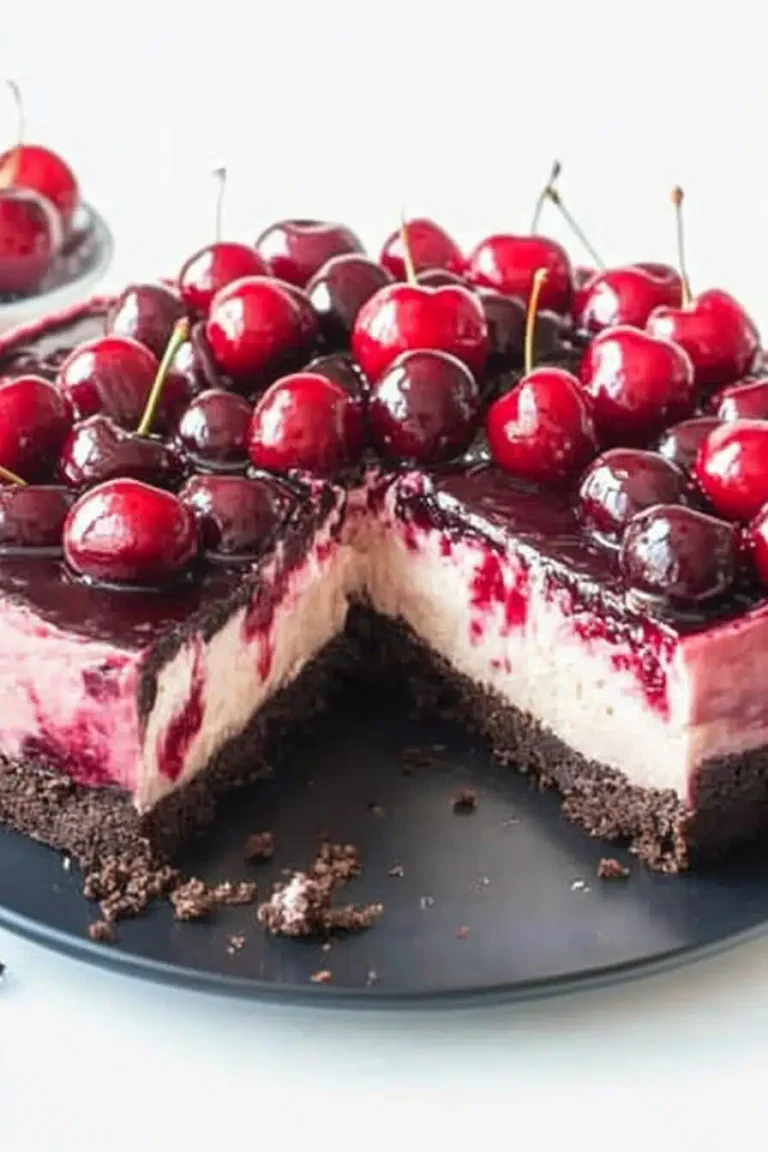
There’s something about the smell of chocolate baking in the oven that instantly takes me back to my childhood kitchen—except this time, there’s a twist: creamy avocado sneaking into the mix. I stumbled upon the idea of chocolate avocado cake a few years ago, mostly out of curiosity and a desperate need to use up ripe avocados before they turned brown. I remember biting into that first slice, fully expecting a weird, avocado-y taste, but nope—it was rich, moist, and downright indulgent, with none of that green veggie aftertaste you’d fear. It’s smoother and silkier than your usual chocolate cake, with this mild, natural creaminess that’s almost magical. If you’ve ever loved a classic chocolate cake but wanted it a little healthier or more unique (without sacrificing any of the yum), this chocolate avocado cake could easily become your new obsession. My kids even ask for seconds—and they usually aren’t fans of “healthy” versions of treats!
What is chocolate avocado cake?
Think of chocolate avocado cake as a charming crossover between a classic chocolate cake and a creamy avocado dessert. It’s basically a chocolate cake with a secret ingredient that replaces typical fats like butter or oil, giving it an ultra-moist texture without feeling heavy or greasy. The avocado melts into the batter so well that you’d never guess it’s there—unless I told you, of course! The recipe originally rose in popularity among those looking for more nutrient-packed desserts, but honestly, it caught on because it tastes fantastic. Avocado itself isn’t sweet; it’s rich, buttery, and smooth, which makes it the perfect match for cocoa. It’s like the avocado whispers to the chocolate, “Let me keep you moist and velvety,” and chocolate answers “Okay, but don’t steal my thunder!” It’s a recipe that feels a little fancy but is actually incredibly approachable for a home cook like me—and you can whip it up anytime, no fancy ingredients needed.
Why you’ll love this recipe?
What I love most about this chocolate avocado cake is how unexpectedly delicious it is every single time I bake it. The flavor is stunning—deep, chocolatey, and rich, but without that guilt-laden heaviness. The avocado gives it this luscious creaminess that’s hard to find in standard cakes made with just butter or oil. You don’t get the slightest hint of avocado flavor; instead, it just elevates the texture. It’s moist, but not soggy, and it somehow stays fresh longer than regular chocolate cake, which was a total surprise.
Another reason this recipe’s a keeper is its simplicity. I always keep ripe avocados on hand, so when that 3pm sweet craving hits, I can whip this up with pantry staples like flour, sugar, cocoa, and eggs. Plus, it doesn’t require complicated techniques—my kids have even helped me bake it on weekends. Bonus: it’s budget-friendly, especially since avocados can sometimes be costly; but because the cake uses just a couple, it stretches those pricey fruits over several slices of happiness.
Versatility is huge here, too. Whether you want to eat it plain, top it with a simple glaze, add some nuts, or even turn it into cupcakes, it’s flexible enough to suit your mood. I sometimes use almond milk in the batter to add a nutty note, or switch up the glaze with a pinch of espresso powder for a mocha twist. If you’re a fan of zucchini bread or healthier swaps in baking, this chocolate avocado cake gives you a similar vibe—moist texture, a little extra nutrition without compromising taste—which is why I often make it alongside my favorite zucchini carrot cake. Trust me, this one’s a lifesaver on busy nights or last-minute gatherings when you want dessert fast but feel like making something a little special.
How do I make a chocolate avocado cake?
Quick Overview
The process of making this chocolate avocado cake is honestly so straightforward that you’ll wonder why you haven’t tried avocado in baking before. You start by prepping your pan and mixing dry ingredients separately from the wet. Then, you blend ripe avocado with eggs and oil to keep things moist and hearty. The best part is layering and swirling a little extra avocado chocolate mixture inside for a beautiful marbled effect. Baking brings it all together with that intoxicating chocolate smell filling your kitchen. If you’re thinking, “This sounds complicated,” don’t worry—it’s a beginner-friendly recipe that yields fancy results.
Ingredients
For the Main Batter:
– 1 large ripe avocado (peeled and mashed until silky smooth; make sure it’s soft but not brown or mushy)
– 1 cup granulated sugar (or coconut sugar for a caramel note)
– 1/2 cup vegetable or canola oil (to keep things luscious)
– 2 large eggs (room temperature for best emulsification)
– 1 teaspoon vanilla extract (real vanilla always wins)
– 1 cup all-purpose flour (measured correctly, spoon and level method)
– 1/3 cup unsweetened cocoa powder (choose a good-quality one for that deep chocolate taste)
– 1 teaspoon baking soda (for lightness)
– 1/2 teaspoon salt (balances flavors beautifully)
– 1/2 cup almond milk or regular milk (adds a creamy touch; I love almond milk here—it ups the silky factor!)
For the Filling:
– 1/2 ripe avocado mashed with 2 tablespoons cocoa powder and 2 tablespoons maple syrup (or honey)
– Optional pinch of cinnamon or espresso powder for a flavor twist
For the Glaze:
– 1/2 cup powdered sugar (sifted)
– 2 tablespoons unsweetened cocoa powder
– 3-4 tablespoons milk or almond milk (adjust for drizzling consistency)
– 1/2 teaspoon vanilla extract
Step-by-Step Instructions
Step 1: Preheat & Prep Pan
Start by preheating your oven to 350°F (175°C). I usually line an 8-inch round cake pan with parchment paper to prevent sticking and then lightly grease the sides. This helps the cake come out clean and keeps the edges soft and tender. Sometimes, I even dust the greased pan with cocoa powder—it gives a nice chocolate crust without the extra flour mess.
Step 2: Mix Dry Ingredients
In a large bowl, whisk together the flour, cocoa powder, baking soda, and salt. This step is crucial because it evenly distributes the rising agent and cocoa, which prevents clumps and ensures your cake rises uniformly. I always sift the cocoa powder to avoid gritty bites—it just makes a difference I can taste every time.
Step 3: Mix Wet Ingredients
In a separate bowl or your stand mixer, mash the avocado until creamy but still smooth. Beat in the sugar, eggs, oil, vanilla, and almond milk. You want this mixture well combined and glossy but not overbeat, or you’ll lose some of the air that helps the cake be light. The consistency should be creamy and thick, like a mousse but pourable.
Step 4: Combine
Gently fold the dry ingredients into the wet with a spatula. I learned after one too many dense cakes that overmixing is a no-go here—you just want to mix enough to get rid of dry flour pockets but keep it light and airy. The batter should be thick but smooth with a rich chocolatey sheen. If it looks lumpy, give it a gentle stir; if it’s too runny, double-check your measurements.
Step 5: Prepare Filling
Mix the leftover mashed avocado with cocoa powder and maple syrup until everything is smooth and slightly thickened. This creates a luscious, chocolatey swirly filling that gets folded into the cake. If you feel adventurous, add a pinch of cinnamon or espresso powder to elevate the flavor and surprise your taste buds.
Step 6: Layer & Swirl
Pour about half the batter into your prepared pan. Spoon over dollops of the chocolate avocado filling. Then, pour the remaining batter on top. Take a butter knife or skewer and gently swirl through the batter to create a marbled effect. This are the moments I love—watching those gorgeous chocolate veining form makes it nearly impossible to wait for the cake to bake.
Step 7: Bake
Bake for 35-40 minutes or until a toothpick inserted in the center comes out with a few moist crumbs (not wet batter). Oven temperatures vary, so check around 30 minutes to avoid overbaking and drying out the cake. The edges should look set but the center should bounce back slightly when touched.
Step 8: Cool & Glaze
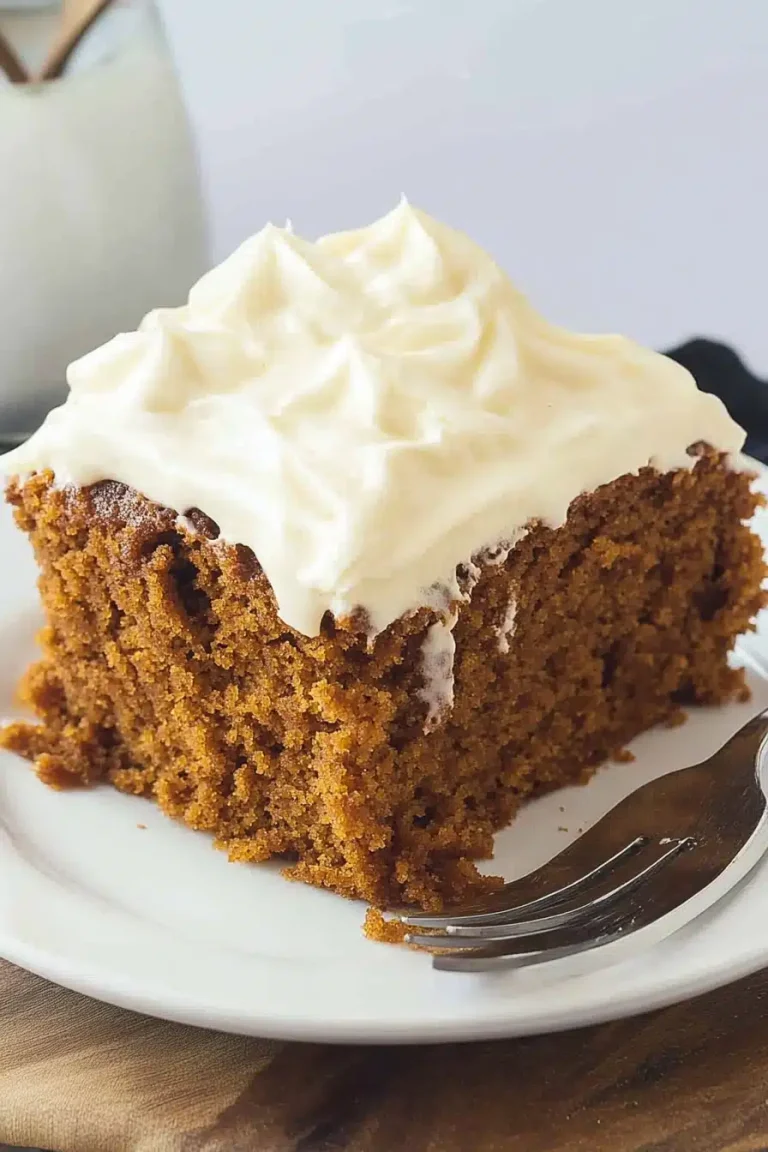
Allow the cake to cool in the pan for at least 15 minutes before removing it to a wire rack. It’s tempting to glaze immediately, but I wait until it’s mostly cool—warm cakes make the glaze runny. Whisk together powdered sugar, cocoa, milk, and vanilla until smooth but thick enough to drizzle slowly. Pour over the cake, letting it drip down the sides for that gorgeous homemade look.
Step 9: Slice & Serve
Use a sharp serrated knife for clean cuts. For best flavor and texture, I like to serve this cake slightly warm or at room temp. It’s perfect alongside a big mug of coffee or milk. The first bite is usually met with surprised “Mmm!” from everyone around the table, and then the requests for seconds begin. Garnish with fresh berries or a sprinkle of flaky sea salt for an extra wow factor.
What to Serve It With
For Breakfast: I love slicing this chocolate avocado cake thick and pairing it with a frothy cappuccino or chai tea. The richness wakes me up but never feels overwhelming first thing in the morning. A dollop of Greek yogurt or even some berry compote on the side adds a fresh contrast that makes breakfast feel special.
For Brunch: This cake looks stunning on a brunch table, especially when served alongside fresh fruit and a pot of strong black coffee or sparkling mimosas. I sometimes top it with a handful of toasted pecans or chopped hazelnuts for texture, making it feel elegant without fuss.
As Dessert: Drizzle warm chocolate sauce or caramel on the side and add a scoop of vanilla ice cream to turn this into an indulgent but still somewhat wholesome after-dinner treat. The creamy avocado holds moisture so well that leftovers still feel fresh over a couple of days.
For Cozy Snacks: Try small squares with a glass of cold milk or even herbal tea for an afternoon pick-me-up. My kids love grabbing a piece after school snack time — it’s sweet but nutrient-dense enough to keep them energized for homework.
We’ve made this cake for birthdays, random weeknight celebrations, and even for when friends stopped by unexpectedly. It’s one of those recipes that instantly lifts the vibe because it’s familiar yet special. If you like experimenting, try adding a handful of chocolate chips or top with whipped cream and a dusting of cocoa powder for extra decadence.
Top Tips for Perfecting Your Chocolate Avocado Cake
Avocado Prep: Use fully ripe avocados—they should yield slightly to pressure but not be black or stringy inside. I always mash mine with a fork until there are zero lumps; chunks can make the texture weird. If you want a brighter cake color, avoid overly ripened or brown-spotted avocados.
Mixing Advice: Don’t overmix once you add the flour. Stir just enough to combine, or you’ll get a dense, gummy mess. I learned this the hard way after one batch was as tough as a brownie! If your batter feels too thick, add a splash more milk to loosen it.
Swirl Customization: Use a thin skewer or a butter knife to gently swirl the filling. Too much swirling blends it all into one chocolate tone, so less is more here. I love seeing beautiful ribbons of darker chocolate streaks — they make every slice look like it belongs in a café.
Ingredient Swaps: You can swap all-purpose flour for gluten-free blends, but add a teaspoon of xanthan gum to help the texture. I also tested almond milk instead of dairy milk, and it made the batter creamier without changing flavor. For sweetener, coconut sugar or maple syrup work beautifully, but adjust amounts for sweetness.
Baking Tips: Oven temps vary, so if you have a hot oven, drop to 340°F and increase bake time slightly. Middle rack is best, and no peeking too early or the cake might fall. The toothpick test will save your sanity!
Glaze Variations: I’ve made this without glaze too—dust it with powdered sugar or serve alongside a dollop of vanilla yogurt for a lighter option. Adding espresso to the glaze cuts through the sweetness and deepens the chocolate flavor, which is fun when you want an adult twist.
One lesson I learned is to never rush cooling before glazing—it keeps that shiny finish instead of a messy drip puddle. And don’t be shy about swirling the filling more boldly if you want dramatic chocolate ribbons; it makes the cake look so much more inviting. Honestly, every time I bake this, I find a new tweak that makes it even better. It’s the type of recipe that welcomes you to get a little creative, which is why I keep coming back for more.
Storing and Reheating Tips
Room Temperature: Store your chocolate avocado cake in an airtight container or cover it tightly with plastic wrap. It stays fresh up to 2 days this way before starting to dry out. I usually slice and serve within this time frame, so leftovers don’t linger too long.
Refrigerator Storage: If the house is warm or you want to keep it longer, fridge storage works well for up to 5 days. Place the cake in an airtight container to prevent it from absorbing fridge smells and to keep the frosting or glaze intact. Because of the avocado, chilling can firm it up nicely without drying it out, which I appreciate on hot summer days.
Freezer Instructions: This cake freezes beautifully. Wrap individual slices in plastic wrap and place them inside a zip-lock bag or freezer-safe container. It keeps up to 3 months. When you’re ready, thaw overnight in the fridge and bring to room temperature before serving. You can glare it after thawing or before freezing, though adding glaze fresh usually looks best.
Glaze Timing Advice: It’s best to add glaze when the cake is cool but not cold if you plan to serve immediately. For making ahead or freezing, glaze right before serving to prevent it from cracking or absorbing into the cake messily. I learned this after glazing too early and having it look dull after chilling overnight. Just a little timing trick that makes a difference!
Frequently Asked Questions
Final Thoughts
This chocolate avocado cake is one of those rare recipes that feels like a secret weapon in your baking arsenal. It’s luscious, surprisingly simple, and guilt-free enough that I don’t feel bad having a second slice (or third). The way avocado gently transforms the cake’s texture without overpowering the chocolate is pure culinary magic—something I’ve happily shared with friends who thought vegan or “healthy” desserts couldn’t be delicious. If you’re looking for a crowd-pleaser that doubles as a conversation starter, this is it. Go ahead and experiment with the flavors—sometimes I toss in orange zest or swap out the glaze for nut butter drizzle. I can’t wait to hear how yours turns out! Don’t forget to come back and share your tweaks, stories, or that moment someone asked for seconds before the cake was even cool. Happy baking!

chocolate avocado cake
Ingredients
Main Ingredients
- 5 ounces dark chocolate finely chopped
- 0.25 cup baking cocoa
- 3 cups all-purpose flour
- 1 teaspoon cinnamon
- 0.5 teaspoon salt
- 2 teaspoons baking soda
- 2 teaspoons baking powder
- 0.25 cup vegetable oil
- 2 cups coffee brewed
- 1 large ripe avocado cut lengthwise, pitted, and mashed (no chunks)
- 1 cup granulated sugar
- 1 cup brown sugar
- 1.5 cups butter room temperature
Frosting Ingredients
- 4 cups confectioners' sugar
- 0.75 cup baking cocoa
- 4 tablespoons heavy whipping cream
- 2 teaspoons vanilla extract
- 1 pinch table salt
Instructions
Preparation Steps
- Preheat oven to 350°F. Prepare two 8-inch round baking pans with non-stick spray or grease and flour.
- Combine chopped dark chocolate, baking cocoa, and 3 tablespoons of brewed coffee in a heatproof bowl.
- Place bowl over simmering water and gently stir until chocolate is melted and combined. Remove from heat and let cool slightly.
- In a large mixing bowl, whisk together flour, cinnamon, salt, baking soda, and baking powder.
- In another bowl, whisk vegetable oil, remaining coffee, mashed avocado, granulated sugar, and brown sugar until combined. Stir in the melted chocolate mixture.
- Add wet ingredients to dry ingredients and whisk until smooth and fully combined, scraping the sides of the bowl. Avoid overmixing.
- Divide batter evenly between prepared pans and bake for 45 minutes or until a toothpick inserted in the center comes out clean.
- Allow cakes to cool completely in pans before removing and frosting.
- For frosting, beat butter and confectioners’ sugar in a stand mixer on medium-high speed until pale and fluffy, about 5 minutes.
- Add baking cocoa, vanilla extract, and salt. Mix on low speed until combined.
- Add heavy cream 1 tablespoon at a time while mixing until mostly combined.
- Increase mixer speed to medium-high and whip frosting for 3–5 minutes until light, fluffy, and shiny.
- Frost cooled cakes as desired.