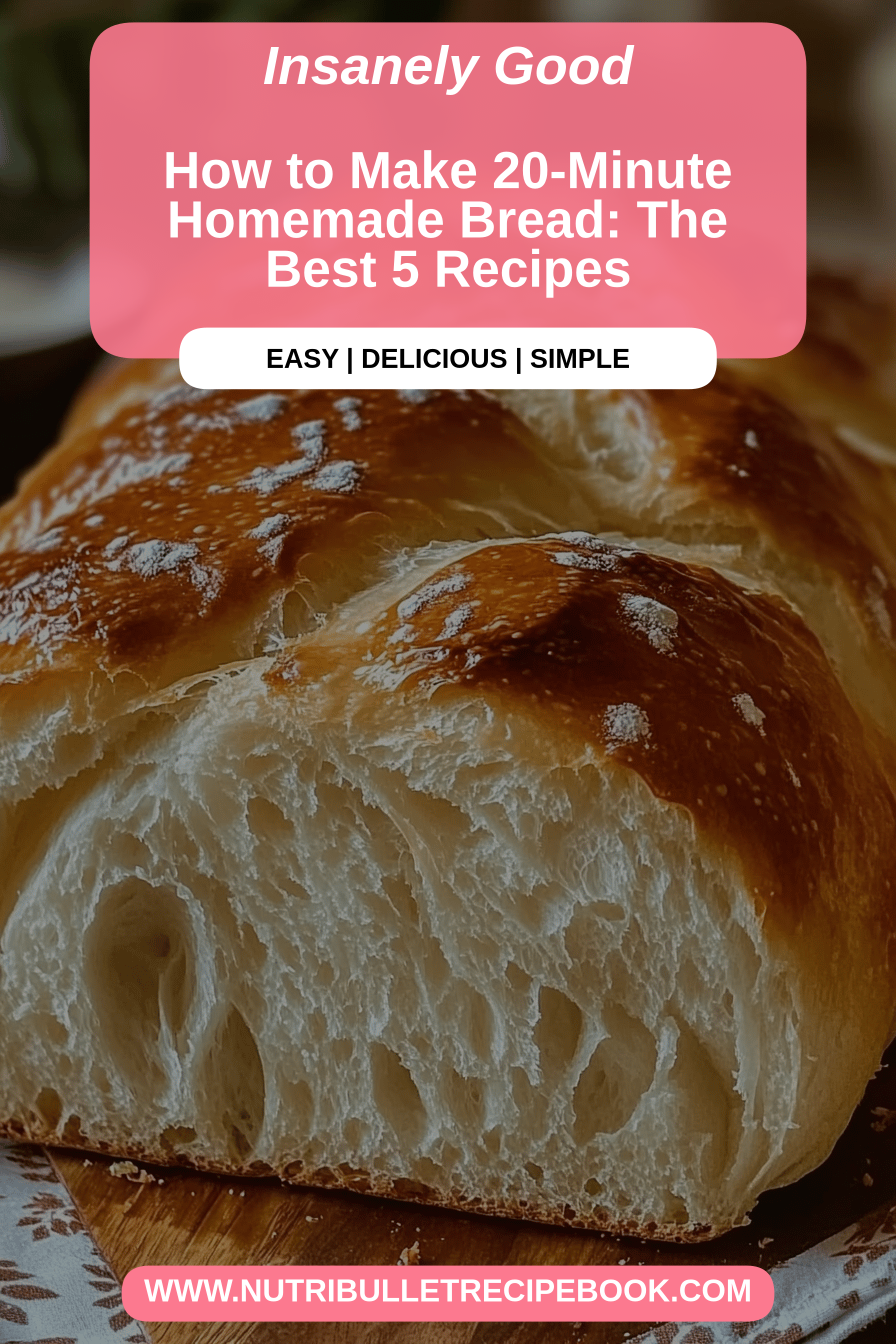
You know those days? The ones where you’re suddenly hit with a craving for something warm, homemade, and utterly comforting, but the clock is ticking faster than a runaway train? Yeah, I live for those days. Well, not really *for* them, but I’ve certainly become a master at navigating them. For the longest time, the idea of fresh bread conjured images of yeast proofs, long waits, and dough that seemed to have a mind of its own. My childhood memories involve my grandma carefully tending to her sourdough starter, a process that was beautiful but definitely not a quick fix. But then I discovered the magic of truly fantastic 20-minute bread recipes. No, seriously, you can whip up something that tastes like it took hours in under half an hour, from start to finish. It’s the kind of recipe that makes you feel like a culinary superhero, especially when you’ve got little hands tugging at your apron asking “Is it ready yet?” This isn’t just about speed; it’s about unlocking that cozy, baked-good satisfaction without the commitment of a full afternoon. It’s my go-to when I’ve forgotten about a bake sale deadline, when friends pop over unexpectedly, or honestly, just when I need a little pick-me-up after a long day. These 20-minute bread recipes are the real deal.
What are Speedy Bakes?
So, what exactly are we talking about when I say “20-minute bread recipes”? Think of them as your shortcut to that heavenly aroma and satisfying chew of freshly baked goods, without the fuss. These aren’t your traditional yeasted loaves that need hours to rise and bake. Instead, we’re diving into the world of quick breads, which rely on chemical leaveners like baking soda and baking powder to do their magic quickly. They’re essentially cakes or muffins in loaf form, but often with a texture that’s just a *little* more substantial and less sweet. It’s like the best of both worlds! You get that homemade goodness, that beautiful crust, and that tender crumb, but on a timeline that actually fits into a busy life. The name “20-minute bread recipes” really refers to the active preparation time and bake time combined, often meaning you can have a warm slice on your plate within 30-40 minutes of starting. It’s my absolute favorite category for those spontaneous baking urges or when I’m juggling a million things and still want to serve something special.
What are some of the best 20-minute bread recipes?
Honestly, the list of reasons I adore these quick bread recipes is longer than my grocery list on a Saturday morning! First off, the **flavor**. Oh, the flavor! These aren’t bland, boring bakes. We’re talking about deeply satisfying tastes that come from simple ingredients. Imagine the warmth of cinnamon and nutmeg, the bright tang of berries, or the rich depth of chocolate – all baked into a tender, moist loaf. It’s pure comfort food in every bite. Then there’s the **simplicity**. This is where these 20-minute bread recipes truly shine. The process is so straightforward; it’s virtually foolproof. You whisk your dry ingredients, whisk your wet ingredients, and then combine them. No kneading, no waiting around for dough to double in size. It’s the kind of recipe I can confidently hand over to my older kids to make themselves, and they always feel so proud of the delicious results. Plus, they are incredibly **cost-efficient**. Most of the ingredients are pantry staples – flour, sugar, eggs, a little fat, and some flavorings. You probably have everything you need right now to whip up a batch. And let’s not forget **versatility**. While the core recipe is simple, it’s a fantastic canvas for creativity. You can add nuts, chocolate chips, dried fruit, or even a swirl of jam or Peanut Butter. Serve it warm with a pat of butter for breakfast, slice it for a satisfying afternoon snack, or even toast it and serve it with a scoop of ice cream for an impromptu dessert. It’s a lifesaver! Compared to a traditional loaf that requires planning and time, these 20-minute bread recipes deliver instant gratification without compromising on taste or texture. What I love most about them is that they prove you don’t need to spend hours in the kitchen to create something truly special and delicious. They’re my secret weapon for feeling like I’ve got it all together, even when I’m on a tight schedule.
How do I make these speedy baked goods?
Quick Overview
The beauty of these 20-minute bread recipes lies in their incredibly simple method. It’s a straightforward two-bowl approach: mix your dry ingredients in one, your wet ingredients in another, and then gently combine them. Once everything is just married together, you pour it into a prepared loaf pan and bake. The chemical leaveners get to work almost immediately, creating a light and airy texture without any fuss. You’ll find that most of these recipes take about 10-15 minutes of active prep and then 20-30 minutes in the oven, truly living up to the “20-minute bread” moniker if you’re quick. It’s honestly so easy, it feels like magic!
Ingredients
What are some of the best 20 minute bread recipes that you can make with ingredients you already have in your pantry?
For the Main Batter:
All-Purpose Flour: 2 cups. I always opt for a good quality all-purpose flour. It provides structure without being too heavy. Make sure it’s spooned and leveled, not scooped directly from the bag, to avoid packing too much flour in.
Granulated Sugar: 1 cup. This provides sweetness and helps with browning. You can adjust this slightly depending on your preference, but it’s key for texture too.
Baking Soda: 1 teaspoon. This is our primary leavener, working with acidic ingredients to give our bread its rise.
Baking Powder: 1/2 teaspoon. A little extra lift and tenderness doesn’t hurt!
Salt: 1/2 teaspoon. Essential for balancing flavors and enhancing all the other ingredients. Don’t skip this!
Large Eggs: 2. These bind everything together and add richness. Make sure they’re at room temperature for easier incorporation.
Vegetable Oil (or Melted Butter): 1/2 cup. Oil keeps the bread incredibly moist and tender. If you prefer a slightly richer flavor, melted butter works wonderfully too, though it can make the crumb a touch denser. I’ve tested with both and honestly, oil is my go-to for maximum moistness.
Milk (or Buttermilk): 1/2 cup. Milk adds moisture. Buttermilk, if you have it, is even better as its acidity reacts with the baking soda for extra lift and a tender crumb. I sometimes use almond milk or oat milk, and it works surprisingly well, making it extra creamy!
Vanilla Extract: 1 teaspoon. For that classic warmth and comforting aroma.
For the Filling (Example: Cinnamon Swirl):
brown sugar: 1/2 cup, packed. This gives that lovely caramel flavor and gooey texture to the swirl.
Ground Cinnamon: 2 teaspoons. Or more if you’re a cinnamon lover like me!
Melted Butter: 2 tablespoons. To help the sugar and cinnamon bind together and create that luscious swirl.
For the Glaze (Optional but Highly Recommended!):
Powdered Sugar: 1 cup. Sifted is best to avoid lumps.
Milk (or Lemon Juice): 2-3 tablespoons. Add this a tablespoon at a time until you reach your desired drizzling consistency. Lemon juice adds a lovely bright contrast!
Step-by-Step Instructions
Step 1: Preheat & Prep Pan
First things first, get your oven preheating to 350°F (175°C). This ensures it’s perfectly ready when your batter is mixed. While the oven heats up, grab a standard 9×5 inch loaf pan. Grease it thoroughly with butter or non-stick spray, then lightly flour it, tapping out any excess. Alternatively, you can line it with parchment paper, leaving a little overhang on the sides to help you lift the bread out easily once it’s baked. This simple step prevents any sticking disasters!
Step 2: Mix Dry Ingredients
In a large bowl, whisk together your flour, sugar, baking soda, baking powder, and salt. Give it a good whisk for at least 30 seconds. This step is crucial! It evenly distributes the leaveners and salt, ensuring your bread rises beautifully and has a balanced flavor throughout. No one wants a bite that’s overly salty or flat!
Step 3: Mix Wet Ingredients
In a separate medium bowl, whisk together your eggs, oil (or melted butter), milk (or buttermilk), and vanilla extract until well combined. Make sure the eggs are fully incorporated; you shouldn’t see any streaks of yolk or white. If you’re using melted butter, let it cool slightly so it doesn’t cook the eggs.
Step 4: Combine
Pour the wet ingredients into the bowl with the dry ingredients. Now, this is important: mix *just until combined*. A few small lumps are totally okay! Overmixing develops the gluten in the flour, which can lead to a tough, dense bread. Fold them together gently with a spatula or wooden spoon until you no longer see dry streaks of flour. Seriously, don’t go crazy here!
Step 5: Prepare Filling
If you’re making a cinnamon swirl or another filling, now’s the time. For cinnamon swirl, simply mix the brown sugar and cinnamon in a small bowl until it resembles damp sand. If using melted butter for the filling, drizzle it in and mix until it forms a paste-like consistency. This is what creates those gorgeous ribbons of flavor!
Step 6: Layer & Swirl
Pour about half of the batter into your prepared loaf pan and spread it evenly. Sprinkle half of your filling mixture over the batter. Then, pour the remaining batter on top, followed by the rest of the filling. Now, take a knife or a skewer and gently swirl the filling into the batter. Don’t overdo it – just a few figure-eights or random movements will create beautiful marbling. This is where the visual magic happens!
Step 7: Bake
Place the loaf pan in the preheated oven. Bake for 20-30 minutes. The exact time can vary depending on your oven. You’ll know it’s done when a wooden skewer or toothpick inserted into the center comes out clean, or with just a few moist crumbs attached. The top should be golden brown and slightly springy to the touch. If the top is browning too quickly but the inside isn’t done, you can loosely tent it with aluminum foil.
Step 8: Cool & Glaze
Once baked, let the bread cool in the pan for about 10 minutes. This allows it to set up properly. Then, carefully invert it onto a wire rack to cool completely. If you’re adding a glaze, wait until the bread is completely cool. In a small bowl, whisk together the powdered sugar and 2 tablespoons of milk (or lemon juice) until smooth. Add more liquid, a teaspoon at a time, until it’s a drizzle-able consistency. Drizzle generously over the cooled bread.
Step 9: Slice & Serve
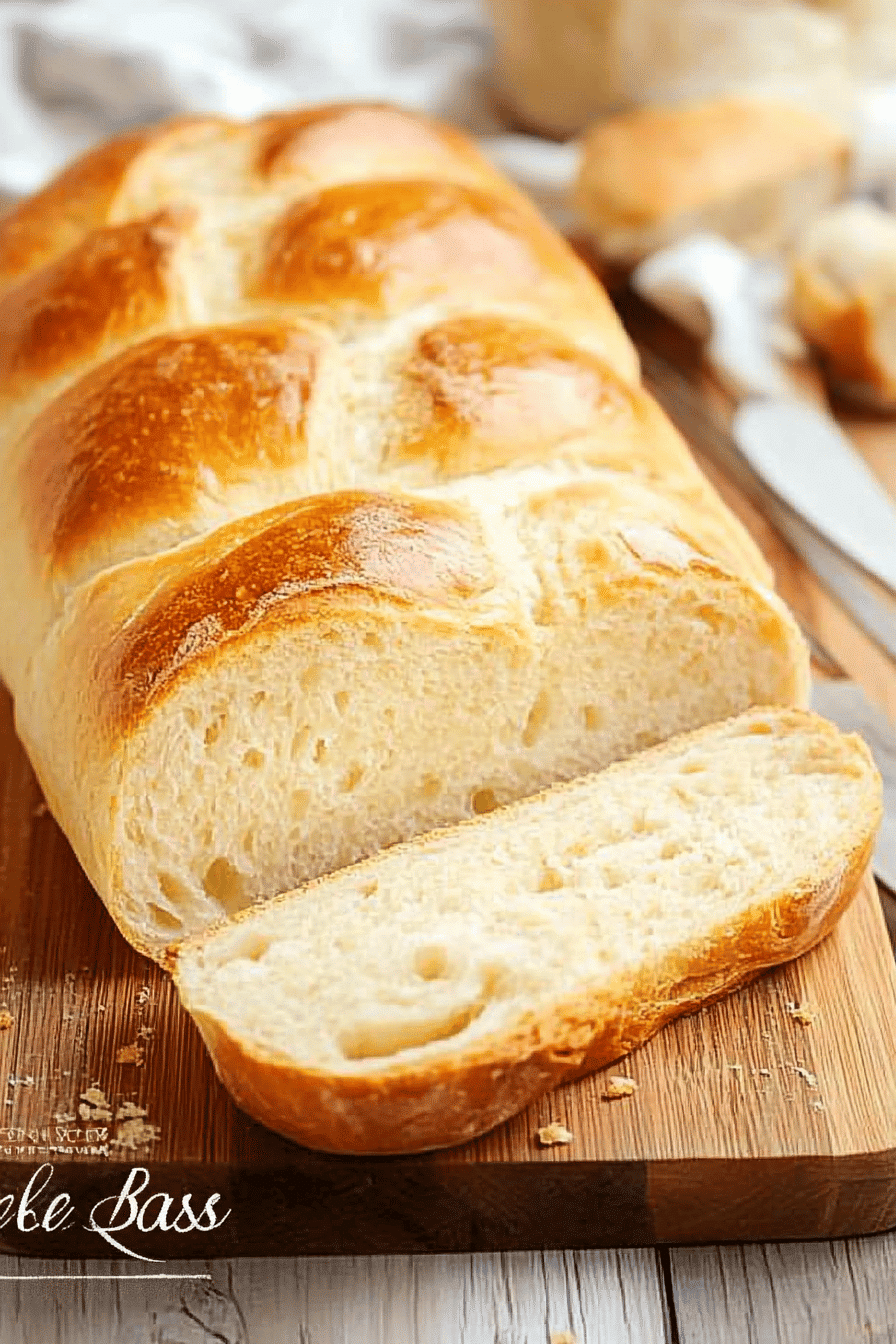
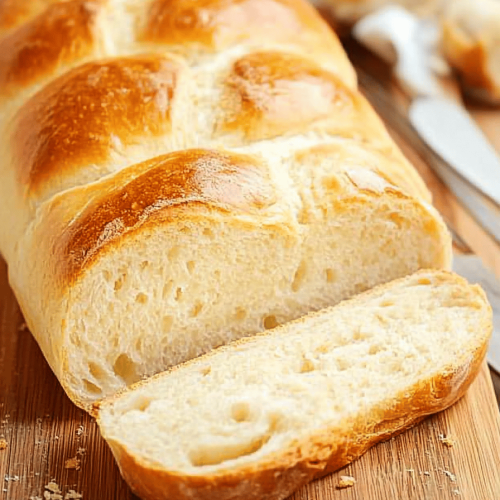
Once the glaze has set slightly (or if you skipped it!), slice your beautiful bread using a serrated knife for clean cuts. Serve it warm or at room temperature. It’s perfect on its own, toasted, or with a dollop of butter. Enjoy your delicious, homemade creation!
What to Serve It With
Part of the joy of these 20-minute bread recipes is how incredibly versatile they are! They slot seamlessly into any meal or snack time. For **Breakfast**, a thick slice toasted and topped with cream cheese or a smear of your favorite jam is pure bliss. It pairs perfectly with a steaming mug of coffee or a tall glass of orange juice. It’s a far cry from a hurried bowl of cereal! For **Brunch**, it elevates any spread. Imagine serving it alongside some fresh fruit salad, yogurt parfaits, or even a savory egg dish. A beautifully arranged platter of sliced quick bread adds a touch of homemade elegance that guests always appreciate. As a **Dessert**, especially if you’ve gone for a chocolate or berry variation, it’s a winner. A warm slice served with a scoop of vanilla bean ice cream and a drizzle of chocolate sauce is pure indulgence, and surprisingly quick to whip up! And for those **Cozy Snacks**, this is your absolute go-to. A quick slice with a cup of tea is my ultimate comfort food. It’s substantial enough to tide you over between meals without being heavy. My family especially loves it warmed up slightly in the microwave (about 10-15 seconds) for that extra gooey, melt-in-your-mouth texture. I’ve also found that pairing a berry swirl bread with a light lemon glaze is fantastic, or a Chocolate Chip version with a simple dusting of powdered sugar works a treat. The possibilities are truly endless!
Top Tips for Perfecting Your Speedy Bakes
I’ve made my fair share of quick breads over the years, and along the way, I’ve picked up a few tricks that I swear by. These little nuggets of wisdom have helped me go from “pretty good” to “absolutely amazing” every single time I bake.
Zucchini Prep (for Zucchini Bread variations): If you’re making a zucchini bread (which is a fantastic 20-minute Bread Recipe option!), the key is moisture control. Always squeeze out as much liquid as you can from the grated zucchini. I usually do this in a fine-mesh sieve or wrap it in a clean kitchen towel and wring it out. Excess water will make your bread gummy. Also, don’t peel the zucchini unless the skin is particularly tough or waxy; the skin adds nutrients and a nice fleck of color.
Mixing Advice: This is probably the most critical tip for any quick bread. I cannot stress enough: DO NOT OVERMIX. Mix only until the dry ingredients are just incorporated into the wet. A few streaks of flour are fine; they’ll disappear during baking. Overmixing develops the gluten, leading to a tough, rubbery texture. Think of it as gentle persuasion, not a wrestling match.
Swirl Customization: For those lovely swirls, don’t go too deep or swirl too much. You want distinct layers of flavor, not a muddy mess. A few gentle passes with a knife or skewer are all you need. For a bolder visual, you can also dot spoonfuls of your filling mixture over the batter and then gently swirl.
Ingredient Swaps: These recipes are wonderfully forgiving. If you don’t have buttermilk, a tablespoon of lemon juice or vinegar whisked into regular milk and left to sit for 5 minutes does the trick (it’s the acidity we’re after!). For oil, melted unsalted butter works but may yield a slightly denser crumb. You can also play with the type of milk; dairy-free options like almond or soy milk work well. I’ve even experimented with using applesauce instead of some of the oil for a healthier twist, though you might need to adjust baking time slightly.
Baking Tips: Always preheat your oven properly. A hot oven is essential for that initial lift. Position your oven rack in the center. If you notice the top is browning too quickly before the inside is cooked, loosely tent the loaf with aluminum foil. This reflects heat away from the top, allowing the center to bake through. Don’t be afraid to do the toothpick test a couple of times; ovens vary!
Glaze Variations: Don’t be afraid to get creative with the glaze. A simple powdered sugar and milk glaze is classic, but you can add a little lemon zest for brightness, a touch of orange extract, or even a pinch of cinnamon to complement the bread’s flavors. If you want a thinner glaze, just add more liquid. For a thicker one, add more powdered sugar. The key is to wait until the bread is completely cool before glazing, otherwise, it will just melt away!
Storing and Reheating Tips
One of the best things about these 20-minute bread recipes is that they store beautifully, meaning you can enjoy that homemade goodness for a few days. When it comes to **Room Temperature Storage**, I usually keep my cooled quick breads in an airtight container or wrapped tightly in plastic wrap. They tend to stay fresh and moist for about 2-3 days. If your kitchen is particularly warm, you might want to refrigerate them sooner. For **Refrigerator Storage**, wrap the bread tightly in plastic wrap, then place it in an airtight container. This keeps it from drying out and can extend its freshness for up to a week. The texture might become a little firmer, but it’s still perfectly delicious! When it comes to **Freezer Instructions**, these loaves freeze like a dream, making them perfect for batch baking. I recommend slicing the cooled bread first. Then, wrap each slice individually in plastic wrap, followed by a layer of aluminum foil or placing them in a freezer-safe bag. This triple layer protects against freezer burn. Frozen bread will keep well for up to 2-3 months. To thaw, simply unwrap a slice and let it come to room temperature, or pop it in the toaster for a few minutes. If you’re freezing a whole loaf, let it thaw overnight at room temperature. For the **Glaze Timing Advice**, if you plan to freeze the bread, it’s best to glaze it *after* thawing. Glaze applied before freezing can sometimes become sticky or separate. So, bake, cool, freeze, thaw, and then glaze for the best results!
Frequently Asked Questions
Final Thoughts
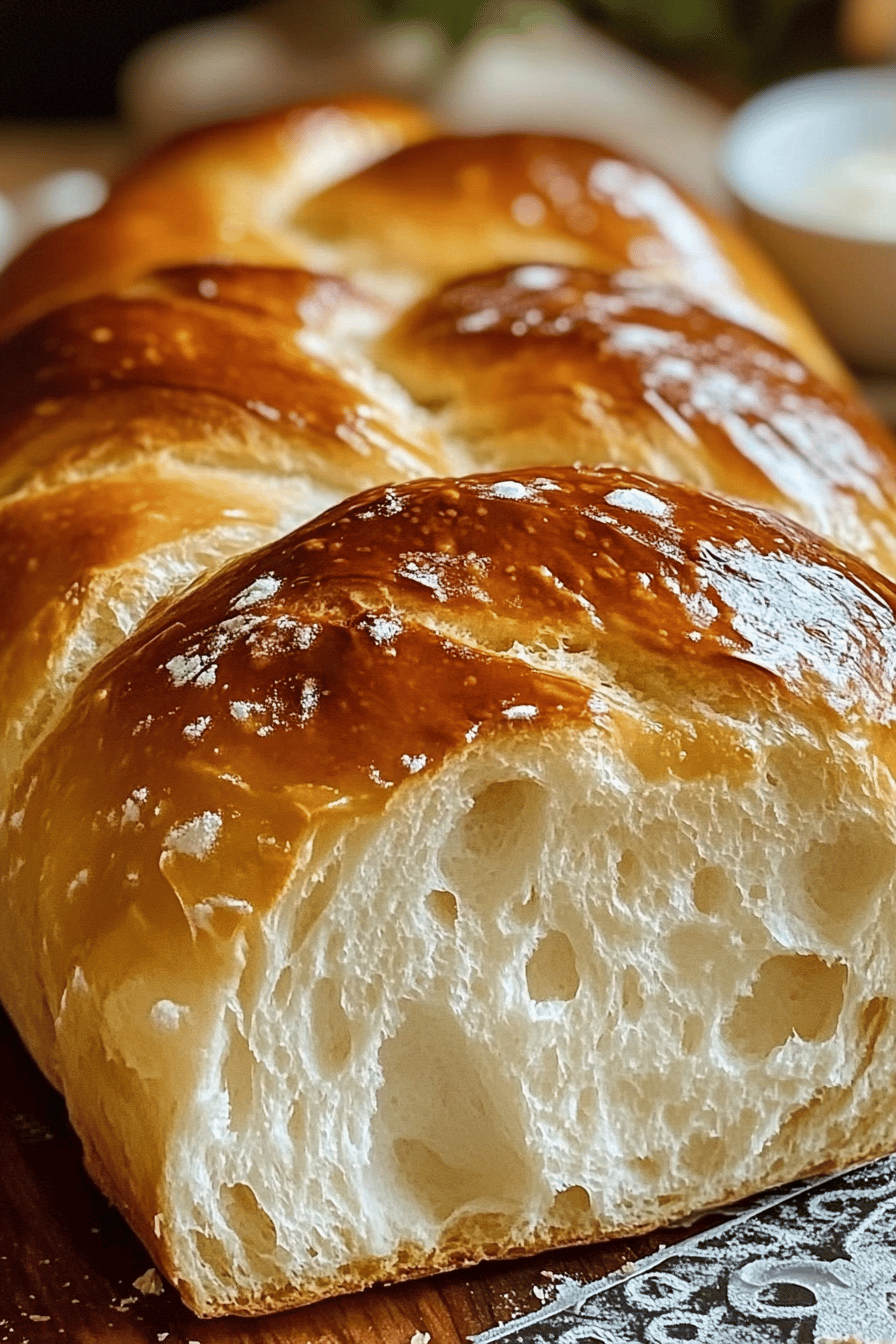
So there you have it – the secret to whipping up delicious, comforting bread in a flash! These 20-minute bread recipes are a game-changer, proving that you don’t need to dedicate hours to enjoy the magic of homemade baking. They’re forgiving, incredibly versatile, and always deliver that “wow” factor that makes everyone think you’ve been slaving away in the kitchen all day. Whether you’re a seasoned baker or just starting out, these quick breads are your new best friend for those busy weeknights or spontaneous cravings. They fill your home with the most wonderful aroma and bring smiles to faces, all without the stress. Give them a try – I promise you won’t be disappointed! And if you do whip up a batch, I’d absolutely love to hear about it in the comments below! Tag me in your creations on social media, or share your own favorite variations. Happy baking, and enjoy every single slice!
20-minute bread recipes
Ingredients
Main Ingredients
- 3 cups all-purpose flour
- 0.25 cup sugar
- 2 teaspoons instant yeast
- 1 teaspoon salt
- 1.25 cups warm water about 110°F (43°C)
- 2 tablespoons olive oil
Instructions
Preparation Steps
- In a large bowl, whisk together the flour, sugar, yeast, and salt.
- Add the warm water and olive oil to the dry ingredients. Mix with a wooden spoon or spatula until a shaggy dough forms.
- Turn the dough out onto a lightly floured surface and knead for about 5-7 minutes, or until it is smooth and elastic. Alternatively, use a stand mixer with a dough hook for 5 minutes.
- Shape the dough into a round loaf and place it on a baking sheet lined with parchment paper or a lightly greased baking sheet.
- Preheat your oven to 425°F (220°C).
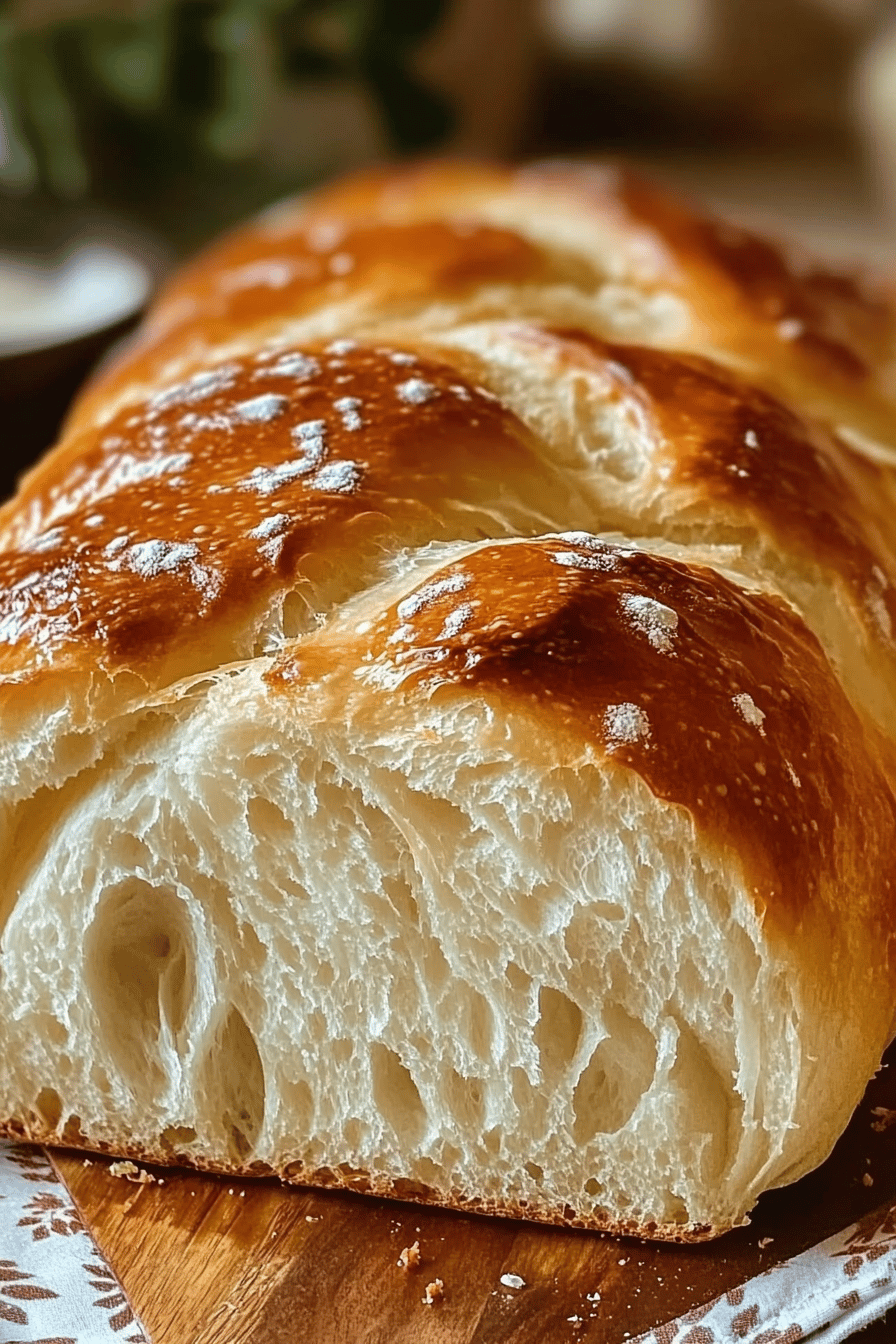
- Bake for 10-12 minutes, or until the crust is golden brown and the bread sounds hollow when tapped on the bottom.
- Let cool on a wire rack before slicing and serving.