Oh, where do I even begin with this garlic butter bread? It’s one of those recipes that, when I first stumbled upon it years ago, felt like I’d unearthed buried treasure. You know, the kind of magic that transforms simple ingredients into something utterly divine? My kitchen always smells like pure heaven when this is baking. It’s become my go-to for potlucks, weeknight dinners when I need a little something extra, and honestly, just those random Tuesday evenings when a craving hits hard. My kids, who can be notoriously picky, absolutely devour this. I swear, they’d eat the whole loaf themselves if I let them! It’s kind of like the ultimate comfort food, a warm hug in bread form, but with enough savory punch to satisfy any craving. If you’ve ever loved a really good Garlic Bread, imagine that, but somehow elevated, more sophisticated, and yet still impossibly easy. It’s truly a game-changer, and I’m so excited to share it with you!
What is garlic butter bread?
So, what exactly *is* this glorious creation? Think of it as the ultimate upgrade to your standard garlic bread. We’re talking about a pillowy soft, slightly sweet bread base that’s then generously slathered with a luscious, intensely flavorful garlic butter mixture. But here’s the secret sauce, the element that takes it from great to absolutely unforgettable: the “Everything” part. This isn’t just plain garlic butter, oh no. We’re infusing it with a symphony of savory seasonings, fresh herbs, and a touch of something special that makes it utterly addictive. It’s essentially a dream marriage between a fluffy, homemade bread and the most decadent, herby garlic butter you can imagine, all baked until golden and irresistible. It’s meant to be shared, but I won’t judge if you keep it all to yourself!
Why you’ll love this recipe?
Honestly, if there’s one recipe I could shout from the rooftops about, it’s this garlic butter bread. First off, the flavor is just out of this world. That garlic butter? It’s pungent and rich, perfectly balanced with the freshness of herbs and a hint of something unexpected that just makes your taste buds sing. It’s that kind of flavor that makes people stop mid-bite and ask, “What IS this?!” But it’s not just about taste, is it? The simplicity of this recipe is truly a lifesaver, especially on those nights when you’re exhausted but still want to serve something amazing. You don’t need any fancy equipment or complicated techniques. And talk about budget-friendly! Most of the ingredients are pantry staples, making this an incredibly cost-effective way to impress. What I love most, though, is its versatility. Serve it alongside a hearty pasta dish, with a big salad, as an appetizer, or even just as a cozy snack with a glass of wine. It always hits the spot. It’s just so much better than anything store-bought, and honestly, it’s less fuss than making a whole pizza from scratch, but with all the crowd-pleasing power.
How do I make garlic butter bread?
Quick Overview
The process is surprisingly straightforward, which is a huge part of its charm. You’ll mix up a simple dough, let it rise briefly, then we get to the fun part – creating that glorious garlic butter. We’ll then layer and swirl it all together to create beautiful pockets of flavor before a final bake. The result is a bread that’s crispy on the edges, tender in the middle, and absolutely bursting with garlic butter goodness. It’s incredibly rewarding to pull this golden loaf out of the oven, and the aroma that fills your home is simply divine.
Ingredients
For the Main Bread:
* 2 ¼ teaspoons active dry yeast
* 1 ½ cups warm water (about 105-115°F)
* 1 tablespoon granulated sugar
* 3 ½ to 4 cups all-purpose flour, plus more for dusting
* 1 teaspoon salt
* 2 tablespoons unsalted butter, softened
For the Garlic Butter Everything Spread:
* ½ cup (1 stick) unsalted butter, softened
* 4-6 cloves garlic, minced (I like to use at least 5, no apologies!)
* 2 tablespoons fresh parsley, finely chopped
* 1 tablespoon fresh chives, finely chopped (optional, but lovely)
* 1 teaspoon dried Italian seasoning
* ½ teaspoon onion powder
* ¼ teaspoon red pepper flakes (for a tiny kick, adjust to your preference)
* ½ teaspoon salt, or to taste
* A generous pinch of black pepper
For the Optional Topping:
* Grated Parmesan cheese (about ¼ cup)
* A little extra chopped parsley for garnish
Step-by-Step Instructions
Step 1: Preheat & Prep Pan
First things first, preheat your oven to 375°F (190°C). Grab a 9×5 inch loaf pan and lightly grease it with butter or cooking spray. If you’re using a baking sheet, you might want to line it with parchment paper for easier cleanup, but a greased baking sheet works just fine too. We want everything ready to go!
Step 2: Mix Dry Ingredients
In a small bowl, whisk together the warm water, sugar, and yeast. Let it sit for about 5-10 minutes until it gets foamy. This tells you your yeast is alive and ready to work its magic! In a large mixing bowl, combine 3 ½ cups of the flour and the salt. Make a little well in the center.
Step 3: Mix Wet Ingredients
Pour the foamy yeast mixture into the well of the dry ingredients. Add the softened 2 tablespoons of butter. Now, using a wooden spoon or a stand mixer with a dough hook, start mixing everything together. You want it to just come together into a shaggy dough.
Step 4: Combine
Turn the dough out onto a lightly floured surface and knead for about 5-7 minutes until it’s smooth and elastic. If the dough is too sticky, add a little more flour, one tablespoon at a time. You’re looking for a dough that’s soft but doesn’t stick excessively to your hands. Once kneaded, place the dough in a lightly greased bowl, turn it to coat, cover with a clean kitchen towel, and let it rise in a warm spot for about 30-45 minutes, or until it’s doubled in size.
Step 5: Prepare Filling
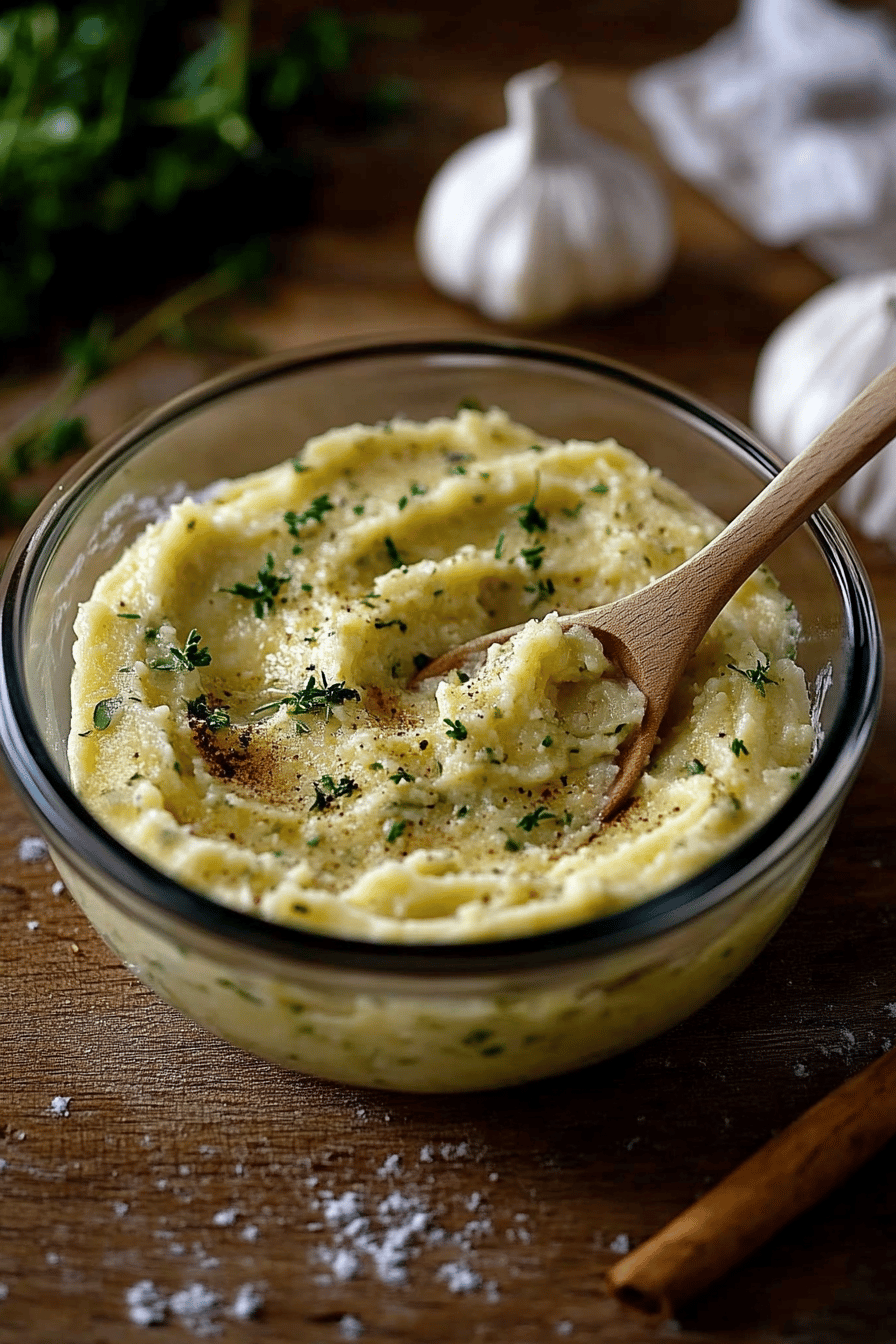
While the dough is rising, let’s make that incredible garlic butter spread! In a medium bowl, combine the ½ cup softened butter, minced garlic, chopped parsley, chives (if using), Italian seasoning, onion powder, red pepper flakes, salt, and pepper. Mix it all together until it’s well combined and creamy. Taste it and adjust the seasonings if needed. You want it to be boldly flavored!
Step 6: Layer & Swirl
Once the dough has risen, punch it down gently. Turn it out onto a lightly floured surface and roll or pat it into a rectangle, roughly 10×12 inches. Now, spread that glorious garlic butter mixture evenly over the dough, all the way to the edges. Starting from one of the longer sides, roll the dough up tightly into a log. Pinch the seam closed. You can either place this log seam-side down into your prepared loaf pan, or if you prefer a more rustic look, you can cut the log into 1-inch thick slices and arrange them cut-side up in the loaf pan or in a bundt pan. This slicing method is what creates those beautiful, pull-apart swirls!
Step 7: Bake
Cover the loaf pan (or bundt pan) loosely with plastic wrap or a kitchen towel and let it rest for another 15-20 minutes while your oven finishes preheating. Once preheated, bake for 30-40 minutes, or until the bread is golden brown and sounds hollow when tapped on the bottom. If you’re topping with Parmesan, sprinkle it over the top during the last 10 minutes of baking.
Step 8: Cool & Glaze
Let the bread cool in the pan for about 10 minutes before carefully inverting it onto a wire rack. If you used a bundt pan, this step is crucial for easy removal. For an extra pop of flavor, you can melt a tablespoon more butter and brush it over the top while it’s still warm, then sprinkle with extra parsley. Let it cool slightly before slicing.
Step 9: Slice & Serve
This bread is best served warm! Use a serrated knife to slice it, or just pull apart the glorious pieces. It’s perfect on its own or alongside your favorite meal.
What to Serve It With
Oh, the possibilities are endless with this garlic butter bread! For a simple and satisfying breakfast, I love serving it warm with a cup of freshly brewed coffee. It’s just the right amount of indulgence to start the day. At brunch, it’s an absolute showstopper. Imagine a platter of this alongside some scrambled eggs, a fresh Fruit Salad, and maybe some mimosas. It truly elevates the whole experience. As a dessert? Hear me out! If you have a sweet tooth but don’t want anything too heavy, a warm slice of this with a drizzle of honey or a dollop of mascarpone cheese is surprisingly delightful. For cozy evenings or when you need a quick snack, this is my go-to. It’s amazing with a side of tomato soup, or just devoured on its own while watching a movie. My family loves it with spaghetti Bolognese; the sauce clinging to those garlicky swirls is pure bliss!
Top Tips for Perfecting Your Garlic Butter Everything Bread
Over the years, I’ve picked up a few tricks that I think make this recipe sing even louder. When it comes to the garlic, don’t be shy! I find that using fresh garlic, minced very finely, makes a world of difference. If you’re really in a pinch, good quality garlic powder can work in a pinch, but nothing beats that fresh pungency. For the herbs, fresh parsley and chives add such a bright, lovely dimension. If you can’t find fresh chives, you can skip them or use a little more parsley. For the “Everything” part, feel free to play around! Some people love adding a pinch of smoked paprika for a smoky depth, or a little lemon zest for extra brightness. I’ve even added a sprinkle of dried dill when I’m serving it with fish, and it’s fantastic. When you’re rolling the dough, don’t overwork it. Gently roll or pat it out. The key to those gorgeous swirls is not to press down too hard when you’re layering the butter. You want to keep the air in the dough. If you’re using a stand mixer, be careful not to overmix the dough once you add the flour; it just needs to come together until it’s smooth and elastic. For baking, ovens can be so different! Keep an eye on your bread. If the top is browning too quickly but the inside isn’t cooked, you can always loosely tent it with foil. And for the ultimate test of doneness, if you have a thermometer, the internal temperature should read around 190-200°F (88-93°C).
Storing and Reheating Tips
This garlic butter bread is truly at its best when served fresh and warm, but thankfully, it stores pretty well too! For short-term storage, if you have any leftovers (which is rare in my house!), you can leave it at room temperature, well-covered in plastic wrap or in an airtight container, for up to 2 days. Just make sure it’s completely cooled before wrapping. If you need to store it for longer, the refrigerator is your friend. Wrap it tightly in plastic wrap and then place it in an airtight container or a freezer bag. It should stay good in the fridge for up to 4-5 days. When it comes to freezing, this bread freezes beautifully! Once completely cooled, wrap it very well in plastic wrap, then in aluminum foil, and finally place it in a freezer bag. It can be stored in the freezer for up to 2-3 months. To reheat, if it’s refrigerated, you can pop it in a warm oven (around 300°F or 150°C) for about 5-10 minutes until warmed through. If it’s frozen, let it thaw overnight in the refrigerator, then reheat as you would the refrigerated bread, or you can reheat it directly from frozen in a low oven, which will take a bit longer. For that just-baked flavor, a little brush of melted butter or a spritz of water before reheating can work wonders!
Frequently Asked Questions
Final Thoughts
So there you have it – my absolute favorite garlic butter everything bread! It’s the kind of recipe that makes you feel like a baking wizard, even if you’re just starting out. It’s comforting, incredibly flavorful, and has this wonderful way of making any meal feel a little more special. I truly hope you give this a try and fall in love with it as much as my family and I have. It’s more than just a recipe; it’s a little bit of edible happiness. If you make it, please come back and leave a comment to let me know how it turned out, or share your own delicious variations! I’m always looking for new ways to enjoy this amazing bread. Happy baking, and enjoy every single garlicky, buttery bite!

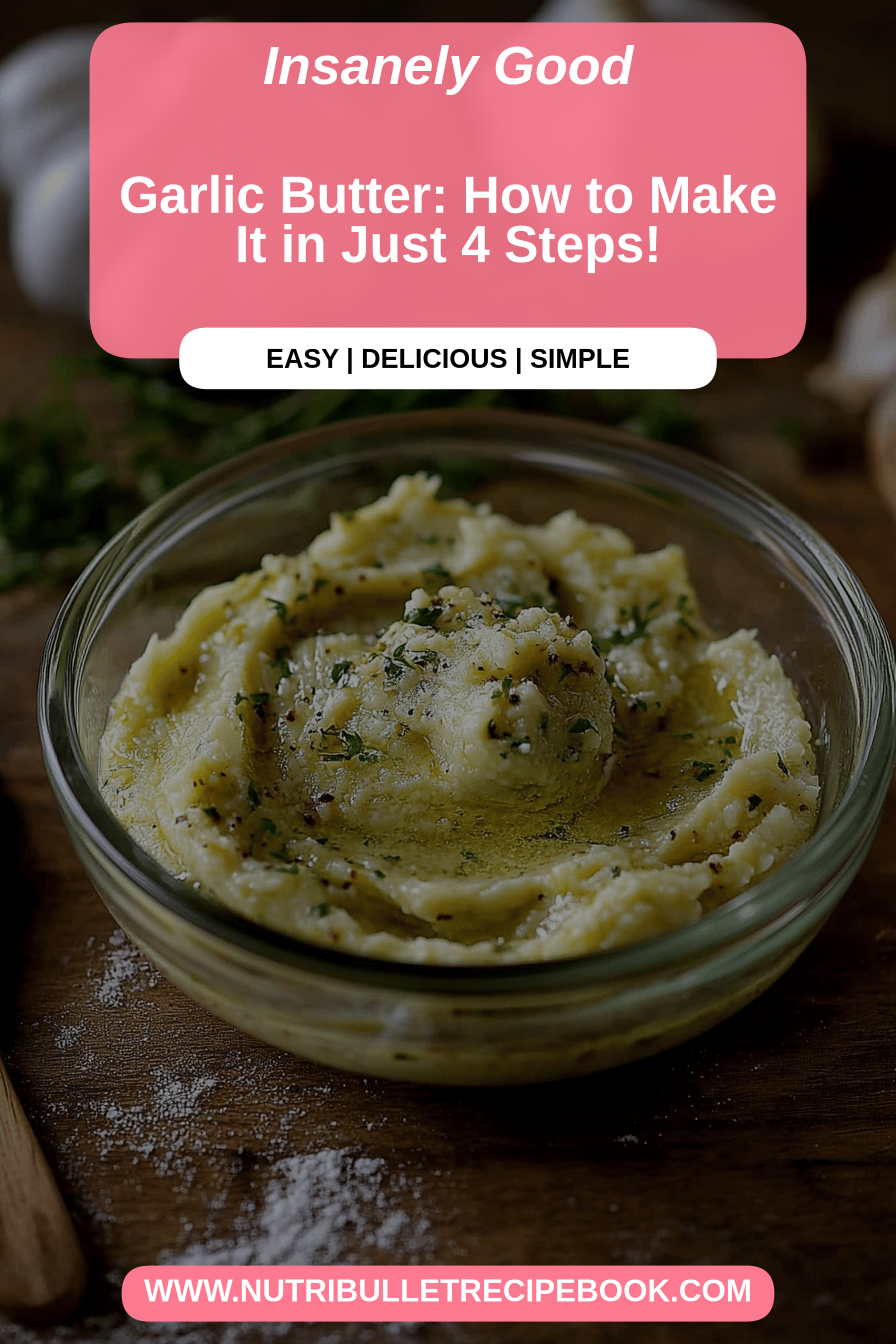
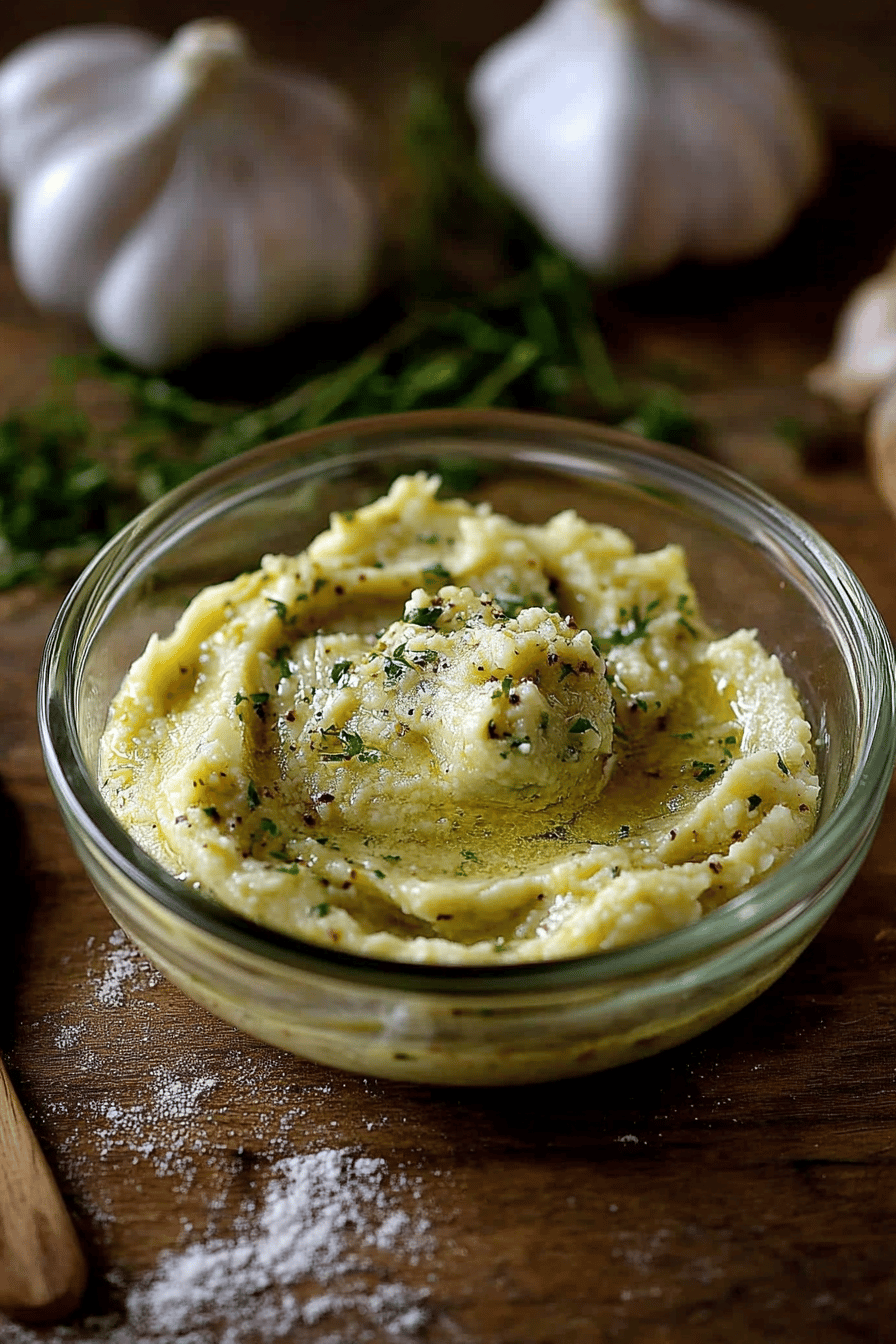
Garlic Butter Sauce
Ingredients
Main Ingredients
- 0.5 cup butter
- 4 cloves garlic minced
- 1 tablespoon fresh parsley chopped
- 0.25 teaspoon salt
- 0.125 teaspoon black pepper
Instructions
Preparation Steps
- Melt the butter in a small saucepan over medium-low heat.
- Add the minced garlic to the melted butter and cook for about 1-2 minutes, until fragrant. Be careful not to burn the garlic.
- Stir in the chopped fresh parsley, salt, and black pepper.
- Remove from heat and serve immediately. The sauce can be drizzled over your favorite dishes.