Oh, you guys, I have *got* to share this recipe with you. This Triple Chocolate Mousse Cake. It’s not just a dessert; it’s an experience. Seriously, whenever I’m craving something truly decadent, something that feels like a warm hug and a gourmet treat all at once, this is what I whip up. It’s one of those recipes that looks incredibly fancy, but honestly, it’s surprisingly manageable, even on a weeknight. I remember the first time I made it for a dinner party, and everyone raved. My friend Sarah practically inhaled her slice and then confessed she’d normally opt for a simple store-bought brownie if she was feeling lazy. This Triple Chocolate Mousse Cake changed her mind about homemade desserts forever, and that’s saying something! It’s richer than a simple chocolate cake, but lighter than a pure ganache bomb, hitting that perfect sweet spot. It’s become my secret weapon for making any occasion feel special, or just for making a Tuesday feel like a Saturday.
What is Triple Chocolate Mousse Cake?
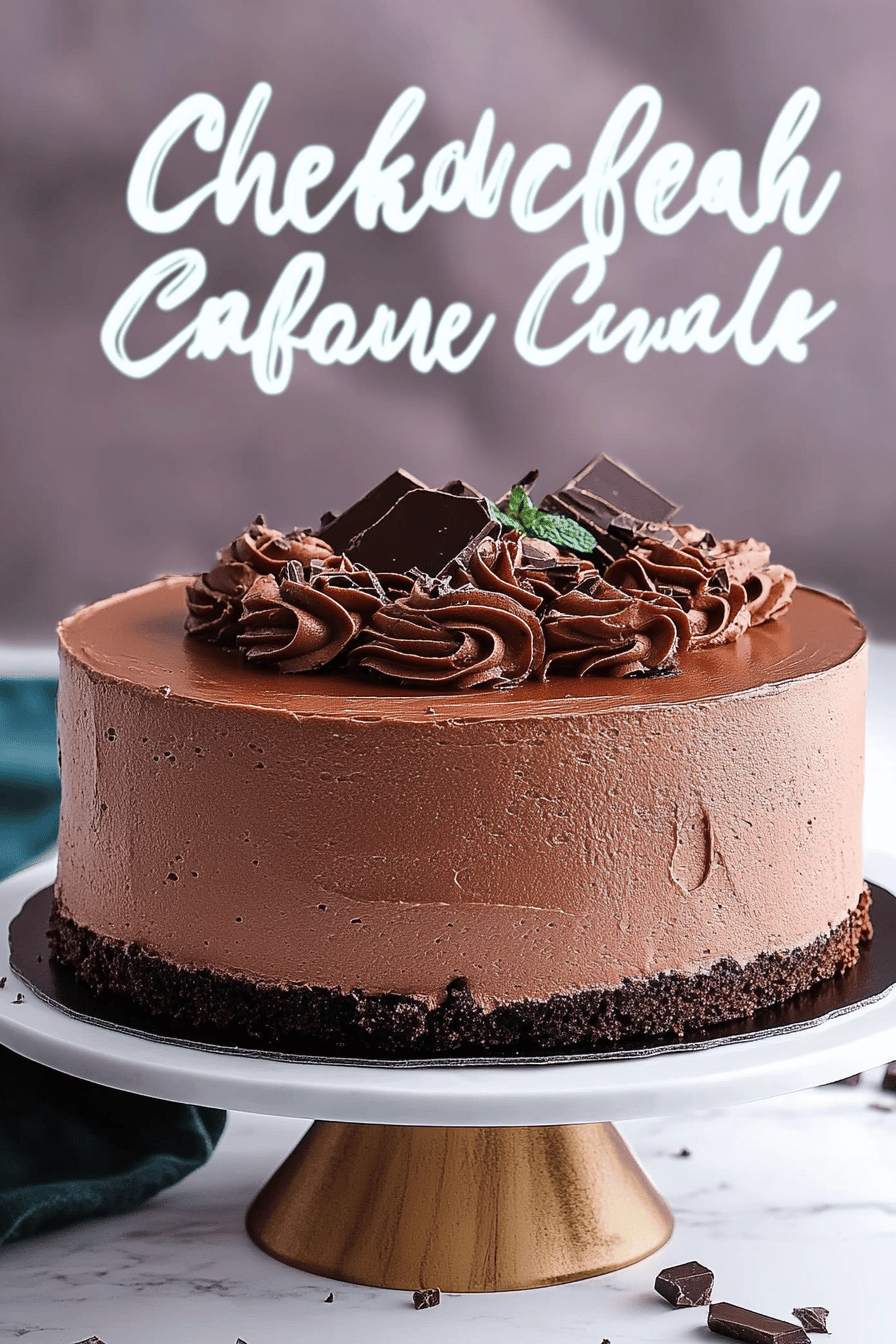
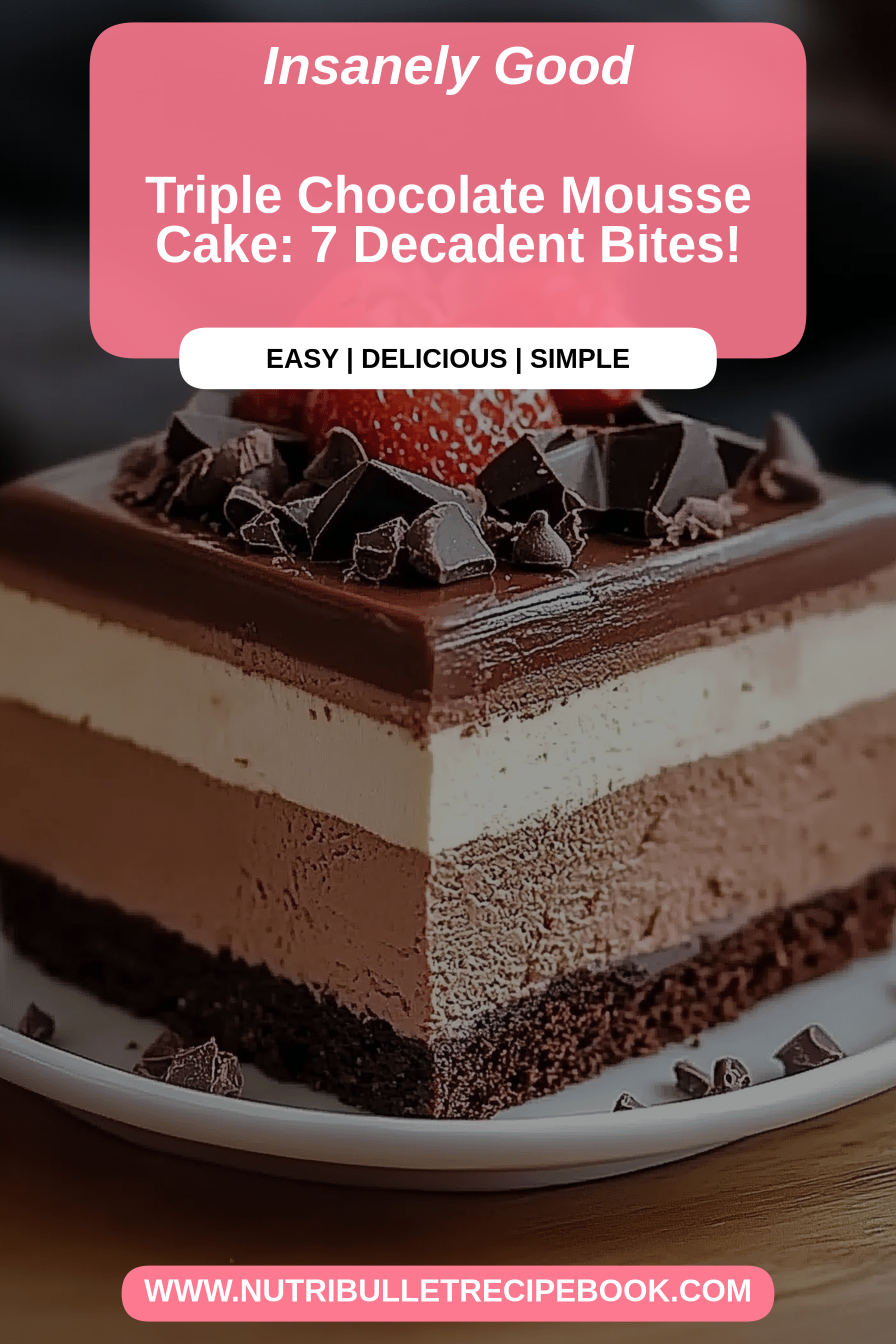
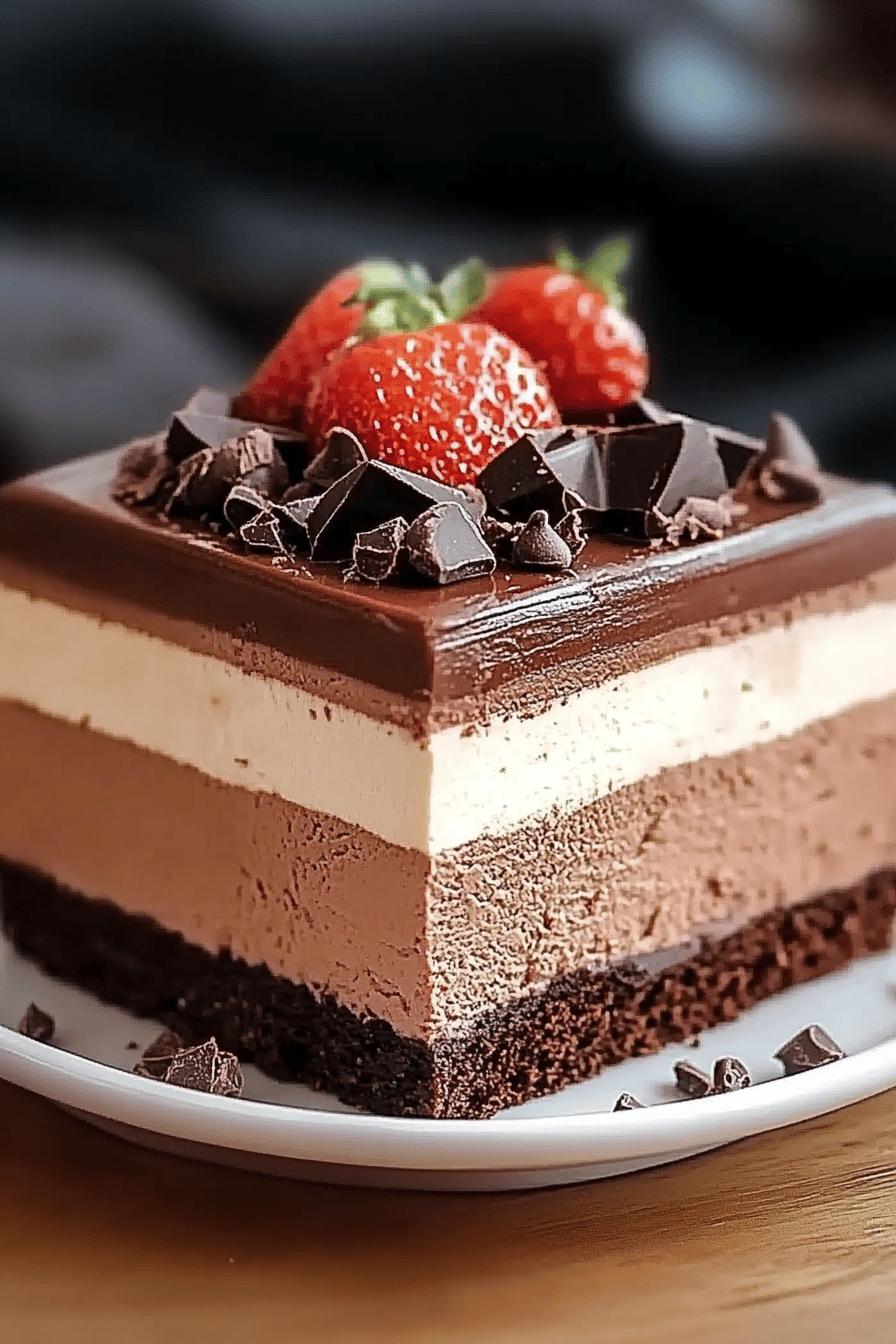
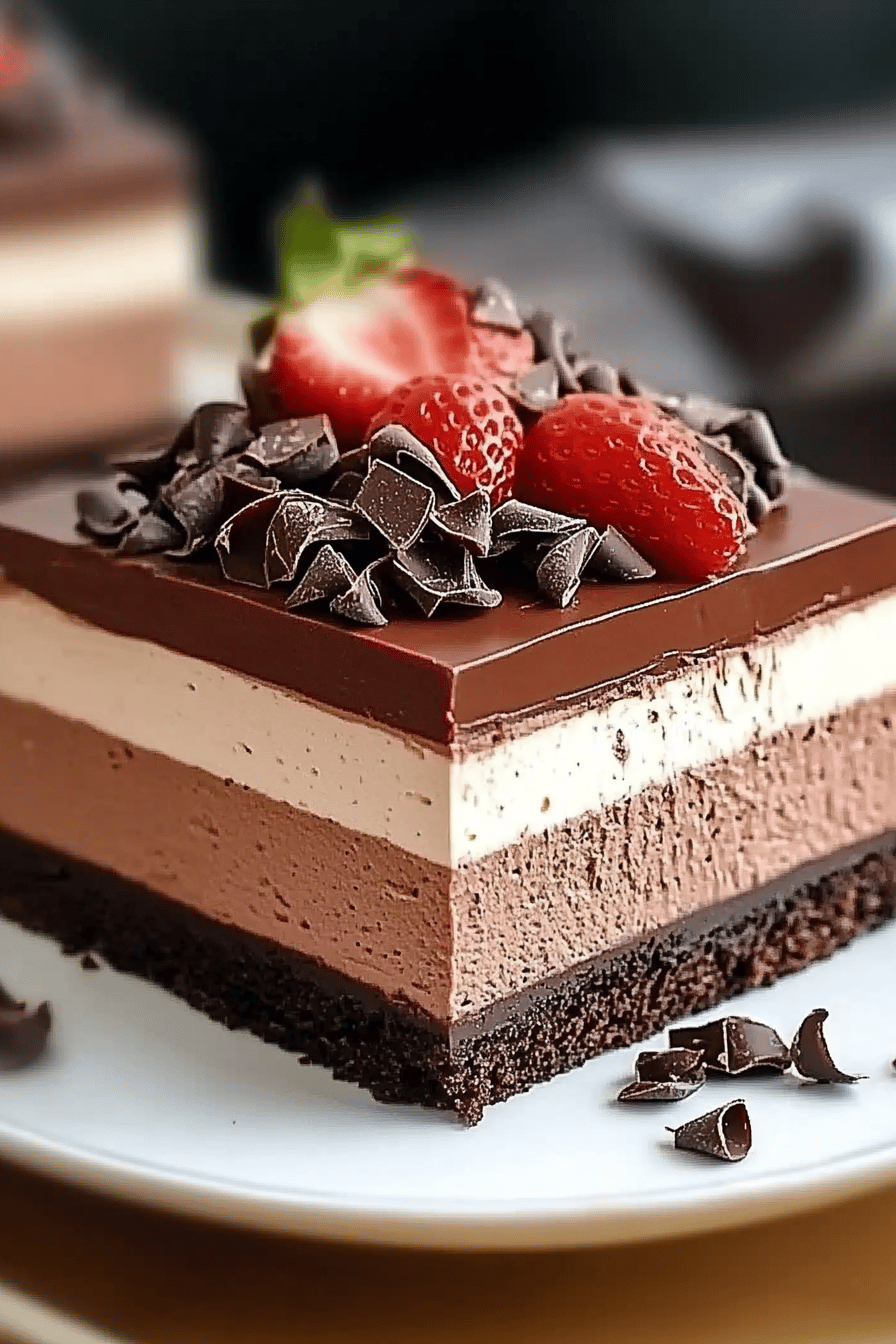
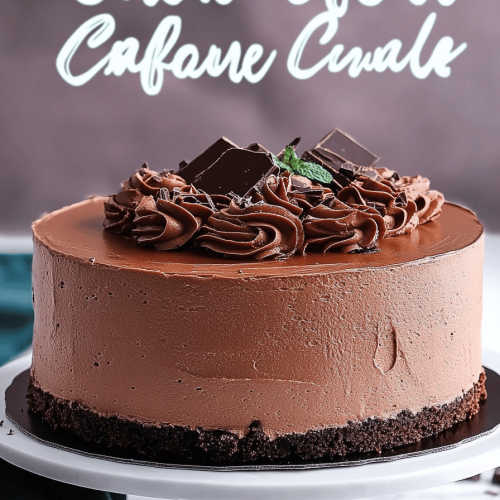
So, what exactly *is* this magical Triple Chocolate Mousse Cake? Think of it as the most luxurious chocolate dream you can bake. It’s essentially a dense, incredibly moist chocolate cake as the base, layered with, you guessed it, three different kinds of chocolate mousse! We’re talking a dark chocolate mousse, a milk chocolate mousse, and a white chocolate mousse, all swirled together in perfect harmony. It’s not a super light, airy cake, nor is it a heavy, flour-laden one. It’s got this perfect tender crumb from the cake layer that just melts in your mouth, and then the mousse layers are pure bliss. The name really does say it all – it’s an explosion of chocolate in every single bite, each layer offering its own unique chocolatey personality. It’s the kind of cake that makes you close your eyes and sigh with pure happiness. It’s essentially the ultimate celebration of chocolate in cake form, designed to wow without making you want to pull your hair out.
Why you’ll love this recipe?
There are so many reasons why this Triple Chocolate Mousse Cake has earned a permanent spot in my recipe collection, and I’m betting it will for you too. First off, the FLAVOR. Oh my goodness, the flavor! It’s an intense, deep, rich chocolate experience without being overwhelmingly sweet. The combination of dark, milk, and white chocolate means there’s a little something for everyone, and each bite is a new adventure. You get the subtle bitterness of the dark chocolate, the creamy sweetness of the milk, and the delicate vanilla notes of the white chocolate, all dancing together. It’s truly divine.
But it’s not just about the taste. What I love most about this recipe is its surprising SIMPLICITY. I know, I know, with three mousse layers and a cake base, it sounds complicated. But trust me, it’s not! Each component is straightforward, and the assembly is more fun than stressful. It’s perfect for when you want to impress without spending all day in the kitchen.
And let’s talk about COST-EFFICIENCY. While it tastes like a million bucks, the ingredients are pretty standard pantry staples for a chocolate lover. You don’t need any fancy, expensive extracts or obscure ingredients. It’s proof that you can create something truly spectacular without breaking the bank.
The VERSATILITY is another huge win. You can serve this for a formal dinner party, a casual get-together, or even just for a cozy night in with a good book. It’s also a fantastic base for other flavors – I’ve added a swirl of raspberry puree to the dark chocolate mousse before, and it was heavenly! Compared to a simple chocolate layer cake, this offers so much more texture and depth. It’s a showstopper, plain and simple. This Triple Chocolate Mousse Cake is the perfect way to satisfy any chocolate craving, and it always brings smiles to faces.
How do I make triple chocolate mousse cake?
Quick Overview
Making this Triple Chocolate Mousse Cake is a joy, I promise! You’ll start by baking a rich, moist chocolate cake base. While that cools, you’ll whip up three distinct, luxurious chocolate mousse layers – dark, milk, and white chocolate. Then comes the fun part: layering these gorgeous mousses over the cake base and swirling them together to create a beautiful marbled effect. It bakes up into a stunning dessert that looks like it came straight from a high-end bakery. The beauty of this method is that each component is manageable on its own, and assembling them is where the magic really happens. It’s truly a process that’s as enjoyable as the final result.
Ingredients
For the Main Batter:
You’ll need all-purpose flour (about 1 ½ cups), granulated sugar (around 1 cup), unsweetened cocoa powder (½ cup – I love using Dutch-processed for a deeper flavor!), baking soda (1 teaspoon), baking powder (½ teaspoon), and a pinch of salt. For the wet ingredients, grab some eggs (2 large), buttermilk (1 cup – it makes it SO tender!), vegetable oil or melted butter (½ cup – oil keeps it extra moist!), and pure vanilla extract (1 teaspoon). Finally, a cup of hot water or hot brewed coffee is key for blooming the cocoa and intensifying that chocolate flavor. Use good quality cocoa; it really makes a difference!
For the Filling:
This is where the triple chocolate magic happens! You’ll need good quality dark chocolate (around 4 ounces, chopped), milk chocolate (about 4 ounces, chopped), and white chocolate (about 4 ounces, chopped). For each mousse, you’ll also need heavy cream (about 1 ½ cups total, divided) and some powdered sugar (2-3 tablespoons total, to taste). For the dark and milk chocolate mousses, a touch of espresso powder (optional, but it really deepens the chocolate flavor!) works wonders. Make sure your chocolate is chopped finely so it melts smoothly.
For the Glaze:
A simple chocolate glaze ties it all together. You’ll need about 1 cup of semi-sweet chocolate chips and ¼ cup of heavy cream. For an extra glossy finish, a tablespoon of corn syrup or a tiny knob of butter stirred in at the end is a fantastic trick. Some people like to add a little extra vanilla extract to the glaze, too!
Step-by-Step Instructions
Step 1: Preheat & Prep Pan
First things first, get your oven preheated to 350°F (175°C). Grab a 9-inch round cake pan. I like to grease it really well with butter or baking spray and then dust it with cocoa powder instead of flour. This prevents any white streaks on the finished cake and adds another subtle layer of chocolate. You can also line the bottom with a circle of parchment paper for extra insurance, especially if your pan has seen better days!
Step 2: Mix Dry Ingredients
In a large bowl, whisk together your flour, sugar, cocoa powder, baking soda, baking powder, and salt. Give it a good whisk until everything is evenly combined and there are no cocoa lumps. This ensures your leavening agents are distributed properly, which is super important for a nice, even rise. I always do this step first because it’s like building the foundation for our delicious cake.
Step 3: Mix Wet Ingredients
In a separate medium bowl, whisk together your eggs, buttermilk, oil (or melted butter), and vanilla extract. Just mix until it’s all combined. The buttermilk is what gives this cake its incredible moisture and tender crumb, so don’t skip it! If you don’t have buttermilk, you can easily make a substitute by adding a tablespoon of white vinegar or lemon juice to regular milk and letting it sit for about 5-10 minutes until it thickens slightly.
Step 4: Combine
Now, pour the wet ingredients into the dry ingredients. Mix them together with a whisk or a spatula until *just* combined. Don’t overmix here! Overmixing can develop the gluten too much, leading to a tougher cake. It’s okay if there are a few small lumps. Then, carefully pour in the hot water or coffee. The batter will be quite thin, almost like soup, but that’s exactly what you want! This is what makes the cake so incredibly moist and fudgy. Gently stir until the batter is smooth. Pour this glorious chocolate batter into your prepared cake pan.
Step 5: Prepare Filling
While your cake is baking and cooling, let’s get the mousse layers ready. You’ll want to divide your heavy cream into three separate bowls, about ½ cup each. In the first bowl, gently melt your chopped dark chocolate (you can do this in the microwave in 30-second increments, stirring in between, or over a double boiler). Once melted and smooth, stir in about 1 tablespoon of powdered sugar and a splash of vanilla. In the second bowl, do the same with the milk chocolate, and in the third with the white chocolate. Once the chocolate mixtures are smooth, you’ll whip the cream in each bowl separately. Start whipping the cream for the dark chocolate until soft peaks form, then gradually add it to the melted dark chocolate, folding it in until smooth and mousse-like. Repeat this process for the milk chocolate and white chocolate. Be careful not to over-whip; you want a luscious, creamy texture.
Step 6: Layer & Swirl
Once your cake has cooled completely in the pan, carefully invert it onto a serving plate or cake stand. Now for the fun part! You’ll spoon dollops of each chocolate mousse over the top of the cake, alternating colors. So, spoon some dark chocolate, then some milk, then some white, and keep going until the entire cake is covered. Once you have all the mousse on top, take a knife or a skewer and gently swirl the colors together. Don’t overdo it; you want distinct ribbons of each chocolate. This is where the visual artistry comes in! It should look like a gorgeous, marbled masterpiece.
Step 7: Bake
This step is a little different because we’re actually *not* baking the mousse layers! Once the cake base is baked and has cooled completely, we just assemble the mousse on top. The whole dessert then needs to chill in the refrigerator. So, after you’ve swirled your mousses, cover the cake loosely with plastic wrap (try not to let it touch the mousse) and pop it into the fridge for at least 4-6 hours, or preferably overnight. This is crucial for the mousse to set properly and for the flavors to meld together. So, the “baking” part is really just for the cake base.
Step 8: Cool & Glaze
As mentioned in the previous step, the cooling happens in the refrigerator after assembly. This allows the mousse to set beautifully. Once the cake has chilled for several hours and the mousse is firm, you can make the glaze. Gently heat the heavy cream in a small saucepan or in the microwave until it’s just steaming. Pour it over the chocolate chips in a heatproof bowl. Let it sit for a minute, then stir until smooth and glossy. If you want it extra shiny, stir in that tablespoon of corn syrup or butter. Let the glaze cool slightly so it’s not piping hot, then drizzle or pour it over the chilled mousse. Again, you can swirl it a bit if you like! Pop the cake back into the fridge for another 30 minutes or so to let the glaze set.
Step 9: Slice & Serve
When you’re ready to serve, use a sharp knife dipped in hot water and wiped dry between each slice for the cleanest cuts. This cake is best served chilled. Each slice will reveal the beautiful layers of cake and swirled mousse, and the rich chocolate glaze. It’s pure elegance on a plate. I love serving this with a dollop of fresh whipped cream or a few fresh berries to cut through the richness, but honestly, it’s perfect all on its own.
What to Serve It With
This Triple Chocolate Mousse Cake is so incredibly satisfying on its own, but pairing it with the right accompaniments can take it to a whole new level. For those leisurely mornings when you want to treat yourself, a strong cup of black coffee is my absolute favorite. The slight bitterness of the coffee really cuts through the richness of the chocolate, making each bite even more delicious. Imagine enjoying a slice with your morning brew – pure bliss!
If you’re serving this for brunch, I like to elevate the presentation a bit. A scattering of fresh raspberries or strawberries not only adds a pop of color but also a lovely tartness that complements the chocolate beautifully. A small dollop of lightly sweetened whipped cream or even a light vanilla crème anglaise can add another layer of sophistication. For beverages, a chilled sparkling rosé or a light-bodied red wine would be delightful.
As a post-dinner dessert, this cake is the ultimate indulgence. It stands tall on its own, but if you’re feeling adventurous, a small scoop of high-quality vanilla bean or even a raspberry sorbet can provide a wonderful contrast. A dusting of cocoa powder or a few chocolate shavings can add that extra touch of elegance. For a cozy snack, sometimes I just have a small sliver with a glass of milk. It reminds me of being a kid, but, you know, a much more sophisticated version!
My family absolutely adores this cake after a Sunday roast. We’ll serve it warm or at room temperature, and it’s always the highlight of the meal. The kids can’t get enough, and neither can the adults! It’s become our go-to for birthdays, anniversaries, or just because we deserve a little something special.
Top Tips for Perfecting Your Triple Chocolate Mousse Cake
Over the years, I’ve learned a few tricks that make this Triple Chocolate Mousse Cake even better, and I’m happy to share them with you! For the Zucchini Prep (yes, the cake has zucchini, and you won’t even taste it, it just makes it incredibly moist!), make sure to squeeze out as much moisture as possible after grating. I usually grate it on the large holes of a box grater, then gather it into a clean kitchen towel or cheesecloth and wring it out really well. This prevents the cake from becoming waterlogged.
When it comes to MIXING the cake batter, remember my earlier tip: do NOT overmix once you add the dry ingredients to the wet. A few small lumps are perfectly fine. The batter will be thin, and that’s normal. For the mousse, the key to a perfect texture is to ensure your melted chocolate isn’t too hot when you combine it with the whipped cream. Let it cool slightly. And whip your cream to soft peaks; over-whipped cream can make the mousse grainy.
For the SWIRL CUSTOMIZATION, don’t go crazy! You want visible ribbons of each chocolate, not a muddy mess. Gentle, sweeping motions with a knife or skewer are best. Think artful swirls rather than aggressive mixing. Experiment with different patterns; sometimes a figure-eight motion works beautifully.
Ingredient swaps are always fun! If you don’t have buttermilk, as mentioned, a milk and vinegar/lemon juice mixture works. For the oil, melted unsalted butter is a great substitute, though oil often yields a slightly moister cake. For the chocolate, use good quality chips or finely chopped bar chocolate; the flavor will really shine through. If you’re feeling adventurous with the mousse, you could try adding a teaspoon of instant espresso powder to the dark and milk chocolate mixtures to deepen their flavor even further.
Baking the cake base is straightforward, but always do the toothpick test! Insert a toothpick into the center; if it comes out clean or with a few moist crumbs, it’s done. Ovens can vary, so keep an eye on it. For GLACE VARIATIONS, if you want a darker glaze, use bittersweet chocolate. If you want it sweeter, use milk chocolate chips. A tiny pinch of salt in the glaze can also enhance the chocolate flavor.
And a little secret I learned after many attempts: make sure your cake is *completely* cool before adding the mousse. Warm cake will melt the mousse, and that’s a sad situation indeed! This Triple Chocolate Mousse Cake Recipe is quite forgiving, but these little tips will help ensure you get that perfect, luscious result every single time.
Storing and Reheating Tips
Storing this decadent Triple Chocolate Mousse Cake is pretty straightforward, and thankfully, it holds up beautifully. For Room Temperature storage, I generally advise against leaving it out for too long, especially if your kitchen is warm. The mousse needs to stay chilled to maintain its texture. You can probably leave it out for an hour or two for serving, but for longer storage, the fridge is your best friend.
Refrigerator Storage is where this cake truly shines. Once it’s set and glazed, I like to cover it loosely with plastic wrap, making sure it doesn’t touch the glaze directly. You can also use an airtight cake carrier, which is ideal. It will stay wonderfully fresh in the refrigerator for up to 3-4 days. The flavors actually meld even more over time, making it even more delicious on the second and third day! Just make sure it’s covered well to prevent it from absorbing any fridge odors.
Freezer Instructions are also an option, though I find it’s best enjoyed fresh. If you must freeze it, wrap the chilled, glazed cake tightly in a layer of plastic wrap, then a layer of aluminum foil. It can be kept in the freezer for up to 1-2 months. To thaw, unwrap it and let it defrost in the refrigerator overnight. The texture of the mousse might change slightly after freezing and thawing; it can become a little softer or more watery, but it’s still perfectly edible and delicious.
Glaze Timing Advice is important! If you plan to freeze the cake, it’s often best to add the glaze *after* thawing. Freezing and thawing can sometimes affect the texture and appearance of a glaze. However, if you’re just refrigerating, glaze it once the mousse has set, and then pop it back in the fridge for the glaze to firm up.
Frequently Asked Questions
Final Thoughts
There you have it, my friends – my beloved Triple Chocolate Mousse Cake! I truly hope you feel inspired to give this recipe a try. It’s a dessert that looks impressive, tastes absolutely divine, and is so much more achievable than you might think. It’s the kind of cake that makes people ooh and aah, and you’ll feel like a total baking rockstar. It’s more than just a cake; it’s a way to show someone you care, a centerpiece for celebrations, or simply a treat for yourself when you just need a little bit of chocolate heaven in your life.
If you love this recipe, you might also enjoy my decadent Flourless Chocolate Cake or my easy Chocolate Lava Cakes. They offer similar rich chocolate indulgence with slightly different approaches! I can’t wait to hear how your Triple Chocolate Mousse Cake turns out. Please leave a comment below and tell me all about it, or share your own tips and variations. Happy baking, and enjoy every single glorious bite!
Triple Chocolate Mousse Cake
Ingredients
Chocolate Cake Base
- 1.5 cups all-purpose flour
- 0.75 cups granulated sugar
- 0.5 cups unsweetened cocoa powder
- 1 teaspoon baking soda
- 0.5 teaspoon salt
- 2 large eggs
- 0.5 cups buttermilk
- 0.5 cups vegetable oil
- 1 teaspoon vanilla extract
- 0.5 cups hot water
Dark Chocolate Mousse
- 8 ounces bittersweet chocolate, chopped
- 1.5 cups heavy cream, divided
- 1 tablespoon granulated sugar
Milk Chocolate Mousse
- 6 ounces milk chocolate, chopped
- 1 cup heavy cream
- 0.5 tablespoon granulated sugar
White Chocolate Mousse
- 6 ounces white chocolate, chopped
- 1 cup heavy cream
- 0.5 tablespoon granulated sugar
Instructions
Preparation Steps
- Preheat oven to 350°F (175°C). Grease and flour a 9-inch round cake pan.
- In a large bowl, whisk together flour, sugar, cocoa powder, baking soda, and salt.
- In a separate bowl, whisk together eggs, buttermilk, vegetable oil, and vanilla extract.
- Add the wet ingredients to the dry ingredients and mix until just combined. Stir in the hot water until the batter is smooth. The batter will be thin.
- Pour the batter into the prepared cake pan and bake for 30-35 minutes, or until a wooden skewer inserted into the center comes out clean.
- Let the cake cool in the pan for 10 minutes before inverting it onto a wire rack to cool completely.
- For the dark chocolate mousse: Melt the bittersweet chocolate in a double boiler or microwave. Let it cool slightly. In a separate bowl, whip 0.5 cup of heavy cream with 1 tablespoon of sugar until stiff peaks form. Gently fold the whipped cream into the cooled melted chocolate.
- For the milk chocolate mousse: Melt the milk chocolate. In a separate bowl, whip 1 cup of heavy cream with 0.5 tablespoon of sugar until stiff peaks form. Gently fold the whipped cream into the cooled melted milk chocolate.
- For the white chocolate mousse: Melt the white chocolate. In a separate bowl, whip 1 cup of heavy cream with 0.5 tablespoon of sugar until stiff peaks form. Gently fold the whipped cream into the cooled melted white chocolate.
- Once the cake is completely cool, place it on a serving plate. Pour the dark chocolate mousse over the cake, spreading it evenly. Refrigerate for 15-20 minutes until set.
- Carefully pour the milk chocolate mousse over the set dark chocolate layer, spreading evenly. Refrigerate for another 15-20 minutes until set.
- Finally, pour the white chocolate mousse over the milk chocolate layer, spreading evenly. Refrigerate for at least 1 hour (or until firm) before serving.