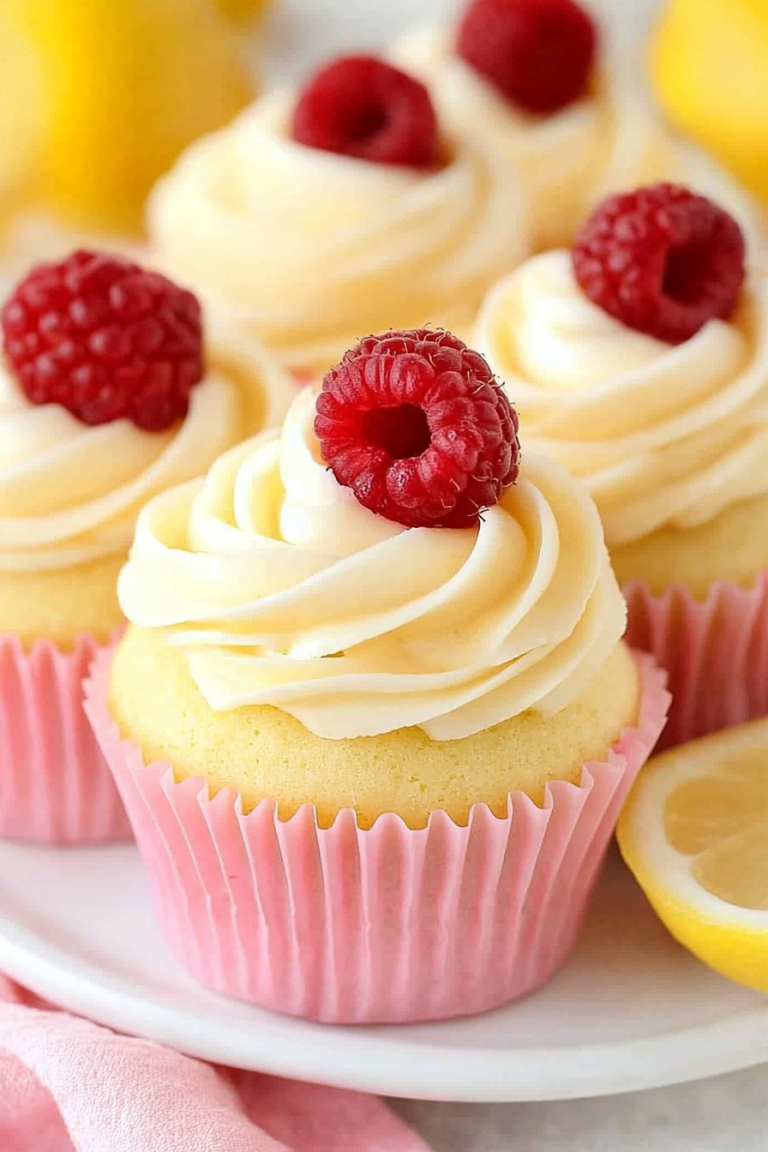
You know those moments when a craving hits, a sweet, undeniable urge for something utterly delightful? For me, it’s usually late afternoon, or maybe a quiet Sunday morning where the whole house is still asleep. And more often than not, what I’m craving is my strawberry fudge. It’s not your grandma’s dense, super-sweet fudge, oh no. This is a lighter, brighter version, bursting with the fresh, slightly tart flavor of summer strawberries. Imagine biting into a cloud that tastes exactly like the first ripe strawberry picked straight from the patch. It’s magical, really. I’ve tried countless fudge recipes over the years, from classic chocolate to Peanut Butter swirl, but this strawberry fudge holds a special place in my heart. It’s the perfect balance of sweet and tangy, creamy and melt-in-your-mouth deliciousness. It’s the kind of treat that makes you close your eyes and savor every bite, a little slice of pure joy. And the best part? It’s surprisingly simple to make, no candy thermometer needed!
What is strawberry fudge?
So, what exactly is this delightful concoction? Think of it as a dreamier, fruitier cousin to traditional fudge. Instead of relying solely on condensed milk and sugar to create that signature fudgy texture, my strawberry fudge incorporates the vibrant flavor and a touch of moisture from real strawberries. This isn’t just a flavoring extract; we’re talking about pureed, sun-kissed strawberries that infuse every bite with their natural sweetness and a lovely subtle tang. It’s essentially a creamy, dreamy confection that captures the essence of fresh strawberries in a way that’s both nostalgic and incredibly satisfying. It’s not overly dense like some fudge can be, nor is it crumbly. It’s just… perfect. The name itself, “strawberry fudge,” tells you exactly what to expect: the rich, smooth texture of fudge, elevated by the bright, unmistakable taste of strawberries. It’s a simple concept, but the execution is what makes it truly special and unlike anything you’ve probably had before.
Why you
What are some of the best reasons to make strawberry fudge?flavor is just out of this world. It’s like bottling up a perfect summer day and turning it into a sweet treat. The strawberries aren’t just a whisper; they sing through the creamy base, offering a delightful balance that cuts through the sweetness. It’s not cloying at all, which I appreciate. It’s that perfect combination of sweet and a little bit tart, making you want another piece almost immediately. Then there’s the simplicity. Seriously, if you can stir ingredients together, you can make this fudge. There are no fancy techniques, no complicated steps, and best of all, no thermometer required! This is a lifesaver when you need a quick dessert or a thoughtful homemade gift without spending hours in the kitchen. It’s incredibly cost-efficient too. You probably have most of the pantry staples already, and fresh strawberries are usually quite affordable, especially when they’re in season. It feels so much more luxurious than the actual cost of the ingredients. And the versatility! While it’s divine on its own, I love how adaptable it is. You can swirl in a little white chocolate for extra decadence, add a hint of lemon zest for brightness, or even chop in some fresh berries right before it sets for an extra texture pop. What I love most about this is how it consistently delivers. Every time I make it, it turns out beautifully, impressing friends and family without me breaking a sweat. It’s one of those recipes that just works, and it brings so much happiness with it.
How do you make strawberry fudge?
Quick Overview
Making this strawberry fudge is wonderfully straightforward. You’ll start by preparing your strawberries, then whisking together your base ingredients, combining everything until smooth, and letting it set. The key is the quality of your strawberries and a gentle hand when mixing. It’s a no-bake wonder that comes together in just a few simple steps, making it perfect for even the busiest of days or when you need a last-minute sweet fix. Trust me, the minimal effort yields maximum deliciousness!
Ingredients
For the Main Batter:
Here’s what you’ll need for the creamy base that carries all that strawberry goodness. I always opt for good quality butter – it really makes a difference in the final texture and richness. And unsalted is best so you can control the saltiness perfectly. For the sugar, granulated is standard, but I’ve experimented with a mix of granulated and a touch of brown sugar, which adds a subtle caramel note that’s lovely if you’re feeling adventurous. The vanilla extract is non-negotiable; it just rounds out all the flavors beautifully. Don’t skimp on that!
For the Filling:
This is where the star of the show comes in! We need fresh, ripe strawberries. The riper, the sweeter and more flavorful they’ll be, which means you won’t need as much added sugar. I like to wash them, hull them, and then give them a quick pulse in the food processor or mash them really well with a fork until they’re almost a puree. You can leave a few tiny chunks for a bit of texture if you like, or go for a completely smooth consistency. If strawberries aren’t in season, frozen ones work too, just make sure to thaw them completely and drain off excess liquid before pureeing.
For the Glaze:
This is optional but highly recommended for that extra touch of sweetness and that beautiful, glossy finish. It’s a simple confectioners’ sugar glaze. You’ll need powdered sugar, a splash of milk or cream (or even lemon juice for a brighter flavor!), and a tiny bit of vanilla or almond extract. The trick here is to get the consistency just right – not too thin that it runs off, and not too thick that it’s hard to drizzle. We’re aiming for a pourable, ribbon-like consistency.
Step-by-Step Instructions
Step 1: Preheat & Prep Pan
First things first, grab an 8×8 inch baking pan. You’ll want to line it with parchment paper, making sure to leave an overhang on two opposite sides. This parchment sling is your best friend for easily lifting the fudge out once it’s set. You can lightly grease the pan before lining it with parchment for extra insurance, though the parchment usually does the trick. Make sure the paper lies flat.
Step 2: Mix Dry Ingredients
In a medium saucepan (the one you’ll use for cooking), whisk together the granulated sugar, butter, and a pinch of salt. This initial step is crucial for ensuring everything dissolves evenly later on. Make sure there are no clumps of sugar.
Step 3: Mix Wet Ingredients
In a separate bowl, combine your pureed strawberries, vanilla extract, and if you’re using any, a splash of heavy cream or milk. Whisk this together until it’s well combined and looks beautifully pink. The aroma of fresh strawberries at this stage is just heavenly!
Step 4: Combine
Now, add your wet strawberry mixture to the saucepan with the sugar and butter. Place the saucepan over medium heat. Stir constantly as the butter melts and the sugar begins to dissolve. Keep stirring until the mixture comes to a gentle boil. Once it’s boiling, reduce the heat slightly to maintain a steady simmer and continue to cook, stirring frequently, for about 5 to 7 minutes. You’re looking for the mixture to thicken slightly. It should coat the back of a spoon beautifully. Be careful not to let it scorch!
Step 5: Prepare Filling
While the base is simmering, prepare your strawberry puree if you haven’t already. Mash your strawberries really well with a fork or give them a quick pulse in a food processor until they are smooth or slightly chunky, depending on your preference. This step is super simple but yields that incredible flavor.
Step 6: Layer & Swirl
Once the base has simmered and thickened a bit, remove the saucepan from the heat. Pour about two-thirds of the hot strawberry mixture into the prepared baking pan. Dollop the remaining one-third of the hot mixture over the top. Then, spoon your strawberry puree over the top of the base mixture. Now, take a knife or a skewer and gently swirl the puree into the base. Don’t overmix! You want beautiful ribbons of pink and white, not a uniform pink color. A few gentle figure-eights or random swirls are perfect.
Step 7: Bake
Oops, I meant chill! My apologies, my brain is already in fudge-mode! This is a no-bake recipe, so we skip the oven. Pop the pan into the refrigerator for at least 2-3 hours, or until the fudge is firm and set. The colder it is, the easier it will be to cut.
Step 8: Cool & Glaze
Once the fudge is firm, prepare your simple glaze. Whisk together powdered sugar, a tablespoon or two of milk (or lemon juice), and a splash of vanilla extract until smooth and pourable. Drizzle this over the chilled fudge. Let the glaze set for about 15-20 minutes in the fridge. This step adds that perfect finishing touch, a little extra sweetness and a lovely sheen.
Step 9: Slice & Serve
Once the glaze is set, use the parchment paper overhangs to lift the entire slab of fudge out of the pan onto a cutting board. For the cleanest cuts, use a sharp knife that has been warmed slightly under hot water and wiped dry. Cut into small squares. This fudge is incredibly rich, so small pieces are perfect! I like to serve it slightly chilled for the best texture, but it’s also delicious at room temperature.
What to Serve It With
This delightful strawberry fudge is so versatile, it fits into almost any occasion. For a simple breakfast treat, I love cutting it into tiny cubes and serving it alongside a strong cup of coffee or a creamy latte. It’s a little bit of indulgence to start the day right. For a more elegant brunch, imagine serving squares on a tiered dessert stand, perhaps with a scattering of fresh berries and mint leaves. It pairs beautifully with a light mimosa or sparkling rosé. When we have it as a formal dessert, I like to serve a single, perfectly cut piece alongside a scoop of vanilla bean Ice Cream or a dollop of whipped cream. The contrast of the cold ice cream and the creamy fudge is divine. And for those cozy snack moments, which are my personal favorite, it’s perfect with a glass of cold milk. My kids always ask for this when they’re lounging around on a lazy afternoon. My family has a tradition of making this every year when the first strawberries hit the market, and it always feels like a celebration of spring and summer.
Top Tips for Perfecting Your Strawberry Fudge
I’ve made this strawberry fudge more times than I can count, and along the way, I’ve picked up a few tricks that I think really elevate it from good to absolutely incredible. For the strawberries, I can’t stress enough how important ripeness is. The sweeter and more flavorful your berries, the less sugar you’ll need and the better the fudge will taste. If you’re using frozen strawberries, make sure they’re fully thawed and you’ve squeezed out as much excess liquid as possible – watery strawberries can mess with the texture. When it comes to mixing, the key is to stir constantly once it’s on the heat. This prevents scorching and ensures that sugar dissolves properly. Don’t rush the simmering process; that 5-7 minutes is crucial for the fudge to thicken to the right consistency. For the swirl, less is more. You want those beautiful marbled patterns, not a muddy mess. A few gentle passes with a knife are all you need. I learned this the hard way after a few attempts where I over-swirled and ended up with a uniform color! If you’re feeling bold with ingredient swaps, I’ve tested this with a touch of almond extract instead of vanilla, and it’s divine, especially if you’re serving it with a berry that has nutty notes. For baking, remember this is a no-bake recipe, but chilling time is crucial. Make sure it’s fully set before you even think about glazing or slicing. A good 3 hours is usually plenty, but overnight is even better if you can wait! And for the glaze, if it’s too thick, just add a tiny bit more liquid, a teaspoon at a time. If it’s too thin, whisk in a little more powdered sugar. Getting that perfect pourable consistency makes all the difference in the final presentation. Lastly, when slicing, use a sharp, warm knife – it makes such a difference in getting clean edges!
Storing and Reheating Tips
Storing this strawberry fudge is pretty straightforward, but how you store it can affect its texture. If you plan on eating it within a day or two, keeping it at room temperature is perfectly fine. Just make sure to cover it well in an airtight container or wrap it tightly with plastic wrap to prevent it from drying out or picking up any weird odors from the fridge. It stays wonderfully fresh for about 2-3 days this way. If you need it to last longer, the refrigerator is your best bet. Store it in an airtight container, and it should keep its best quality for up to a week, maybe even 10 days if you’re lucky and it’s well-sealed. The cold will firm it up a bit more, which I actually prefer sometimes! For longer storage, you can absolutely freeze this fudge. Wrap individual pieces or the whole slab very tightly in plastic wrap, then tuck them into a freezer-safe bag or container. It can stay delicious in the freezer for up to 2-3 months. To thaw, simply bring it to room temperature for an hour or two, or let it thaw in the refrigerator overnight. A little tip for the glaze: I prefer to glaze the fudge just before serving or after it’s chilled but before it’s completely firm if I’m planning on eating it within a couple of days. If freezing, I sometimes skip the glaze or add it after thawing for the freshest finish, but it holds up quite well even if glazed before freezing.
Frequently Asked Questions
Final Thoughts
There you have it – my go-to recipe for strawberry fudge that I truly hope will become a favorite in your home too. It’s more than just a sweet treat; it’s a little bit of joy, a burst of summer sunshine captured in a bite. The combination of fresh, vibrant strawberry flavor and that melt-in-your-mouth fudgy texture is simply irresistible. It’s proof that you don’t need complicated techniques or a dozen exotic ingredients to create something truly special. This fudge is perfect for those moments when you need a little pick-me-up, a sweet surprise for loved ones, or a simple indulgence just for yourself. If you’re someone who loves fruit-forward desserts but also craves that classic fudge satisfaction, this recipe is made for you. For those of you who enjoyed this, I think you might also adore my No-Bake Raspberry Swirl Bars or my Lemon Blueberry Scones – they capture a similar bright, fresh, and easy-to-make spirit. I can’t wait to hear how your strawberry fudge turns out! Please share your thoughts, any variations you tried, or even just a picture in the comments below. Happy baking (and chilling!)!
Strawberry Swirl Fudge
Ingredients
Main Ingredients
- 2 cups granulated sugar
- 0.75 cup heavy whipping cream
- 0.75 cup unsalted butter
- 1 pinch salt
- 11 ounce white chocolate morsels
- 7 ounce jar Marshmallow creme
- 1 Tablespoon strawberry gelatin mix
Instructions
Preparation Steps
- In a large saucepan, melt butter with sugar, heavy cream and salt. Cook over medium-high heat until mixture starts to boil. Stirring constantly, boil for 5 minutes.
- Remove from heat.
- Using a mixer, beat in white chocolate and marshmallow creme until fully blended and smooth (about 1-2 minutes). Pour half into a parchment paper lined 9-inch baking dish.
- To remaining mixture, beat in strawberry gelatin mix, 1 minute until smooth. Pour over first layer and using a knife, quickly swirl the two layers together.
- Allow to set at room temperature for 4 hours or overnight. Cut into bite sized pieces and enjoy!