Oh, where do I even begin with pie crust designs? For me, it’s always been the heart of the pie, the foundation that holds all that delicious filling. I remember being a little kid, watching my Grandma’s hands work magic, transforming a simple disc of dough into a work of art. She’d make these intricate lattice tops that looked like woven baskets, and I was just mesmerized. Now, years later, when I’m making a pie for a special occasion, or even just a cozy Sunday dinner, I find myself thinking about those moments. It’s more than just covering the filling; it’s about adding that extra touch of love and intention. Think about it, a plain pie is wonderful, but a pie with a beautifully crafted crust? It’s a showstopper! It tells everyone who sees it that you’ve put in that little bit of extra effort, and honestly, that makes the first bite taste even better. I’ve spent countless hours experimenting, sometimes with glorious success and other times… well, let’s just say I learned a lot from my mistakes! But the joy of creating something truly beautiful on top of that flaky, golden pastry? It’s an unmatched feeling.
What are pie crust designs?
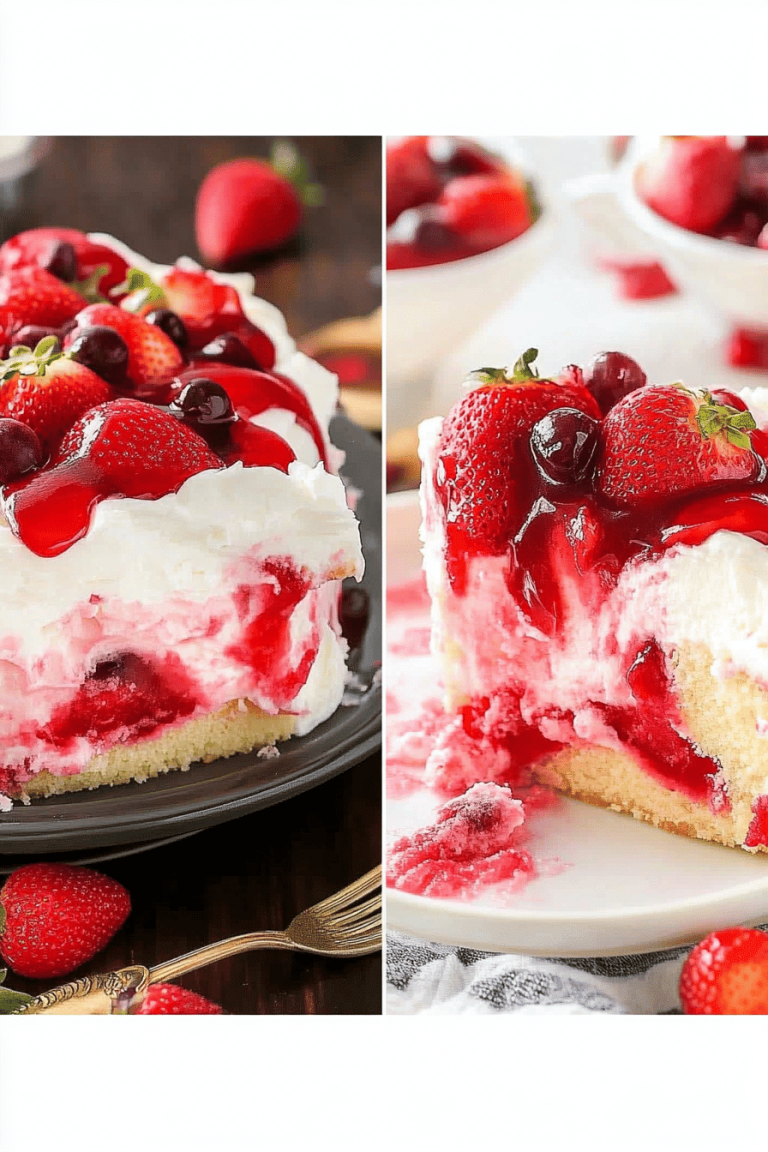
So, what exactly are we talking about when we say “pie crust designs”? At its simplest, it’s any decorative treatment applied to the top crust of a pie. Instead of just a flat lid or a basic crosshatch, we’re talking about transforming that dough into something visually appealing. Think of it as edible art! It can be anything from simple cut-outs to elaborate braids, woven lattices, sculpted shapes, or even imprints made with stamps or stencils. The idea is to elevate the humble pie from a comforting dessert to something truly celebratory. It’s about playing with texture, shape, and form to create a pastry that’s as delightful to look at as it is to eat. My Grandma used to say a pie should “speak to your eyes before it speaks to your stomach,” and that’s exactly what these designs do!
Why do you like making pie crusts?
Honestly, there are so many reasons why I’ve fallen head-over-heels for adding these special touches to my pies. First and foremost, the sheer beauty of it. A pie with a stunning crust just makes you *feel* special, doesn’t it? It’s like receiving a beautifully wrapped gift. The visual appeal is incredible, and I can’t tell you how many compliments I get on my pie crust designs alone – sometimes even before people taste the filling! Beyond the aesthetics, there’s a wonderful sense of accomplishment. When you nail a tricky braid or get those perfectly even lattice strips, there’s a little thrill of victory. It’s a tangible skill you can build, and each pie becomes an opportunity to practice and improve. What I love most, though, is the connection it fosters. When I make a pie with a special design for my family, especially the kids, their excitement is palpable. They’ll point to the shapes and ask about them, making the whole experience so much more interactive and memorable. It transforms baking from a task into a creative expression, a way to show love through delicious, edible art. And let’s not forget the simple joy of working with dough – it’s almost therapeutic, kneading, rolling, and shaping. It’s a fantastic way to de-stress, and the reward is a delicious treat.
How do I make a beautiful pie crust?
Quick Overview
Creating beautiful pie crust designs is all about understanding a few fundamental techniques and letting your creativity flow. We’ll start with a perfectly flaky pie dough, then move on to simple cutting and shaping, followed by more intricate braiding and lattice work. The key is to keep your dough chilled, work with a light touch, and not be afraid to experiment. Even simple cut-outs can make a huge difference! This guide will walk you through everything, from basic shapes to more advanced patterns, ensuring you can create stunning pies that will wow your friends and family. It’s all about having fun with it!
Ingredients
For the perfect pie dough (enough for a double-crust pie):
2 ½ cups all-purpose flour (I like to use a mix of all-purpose and a touch of pastry flour for extra tenderness, but plain all-purpose is perfectly fine!)
1 teaspoon salt
1 cup (2 sticks) unsalted butter, very cold, cut into ½-inch cubes
½ cup ice water, plus 1-2 tablespoons more if needed
1 tablespoon Apple Cider vinegar (this is my secret for extra flaky crusts!)
For Embellishments (Optional but Recommended!):
1 egg, beaten (for egg wash – makes the crust golden and shiny)
1-2 tablespoons coarse sugar (like turbinado or demerara) for sparkle
Step-by-Step Instructions
Step 1: Make the Pie Dough
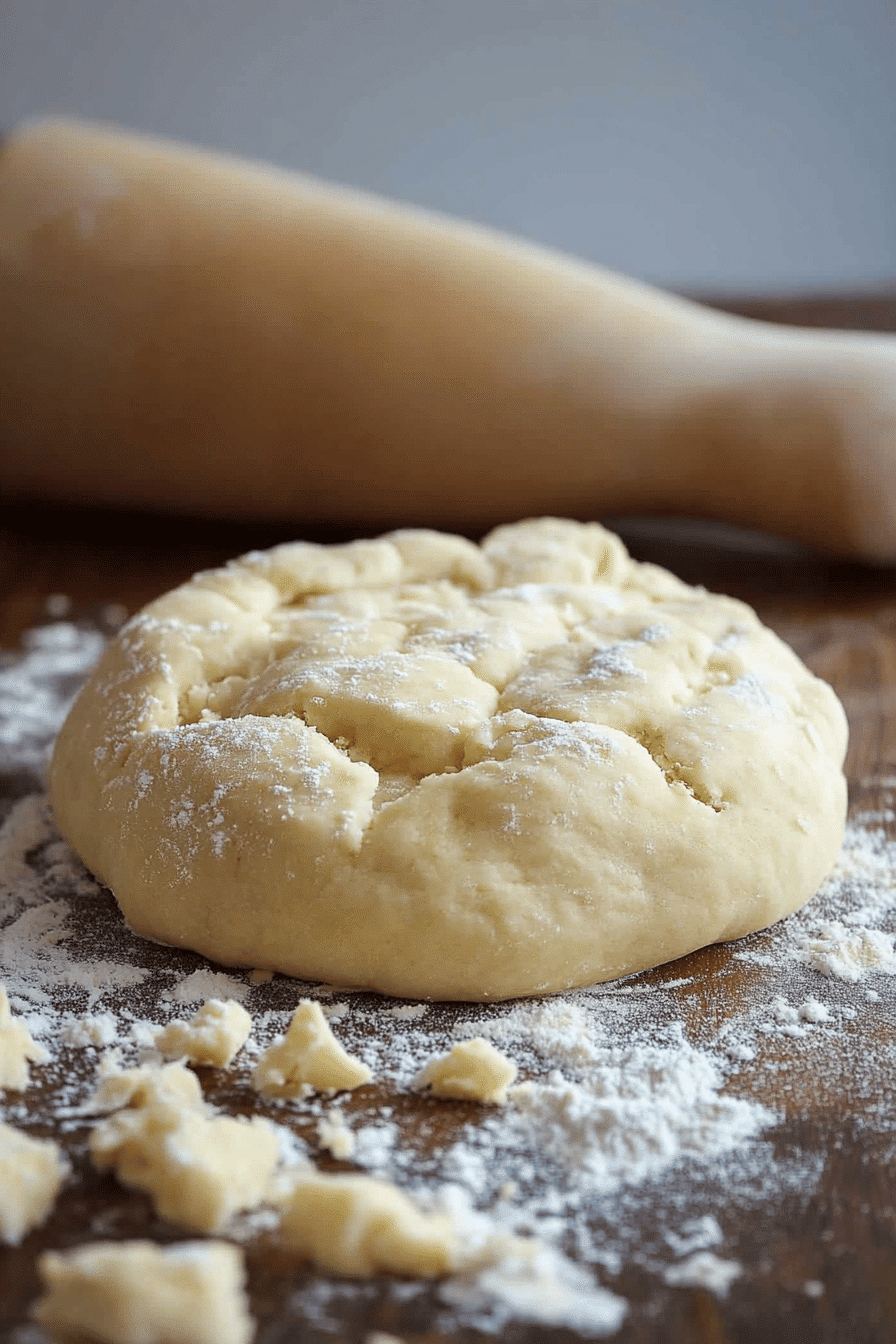
In a large bowl, whisk together the flour and salt. Add the cold butter cubes. Using a pastry blender, your fingertips, or a food processor (pulse a few times), cut the butter into the flour until it resembles coarse crumbs with some pea-sized pieces of butter remaining. This is crucial for flakiness! In a separate small bowl, whisk together the ice water and apple cider vinegar. Gradually add the ice water mixture to the flour mixture, a tablespoon at a time, mixing gently with a fork until the dough just comes together. Be careful not to overmix! You want it to be shaggy. If it seems too dry, add another tablespoon of ice water. Turn the dough out onto a lightly floured surface and gently bring it together into a ball. Divide the dough in half, flatten each half into a disc, wrap tightly in plastic wrap, and refrigerate for at least 1 hour (or up to 2 days).
Step 2: Roll Out the Bottom Crust
Once the dough is chilled, take one disc out of the refrigerator. Let it sit at room temperature for about 10-15 minutes to soften slightly, making it easier to roll. On a lightly floured surface, roll out the dough from the center outwards into a 12-inch circle. Gently transfer the dough to your pie plate, pressing it into the bottom and up the sides. Trim any excess dough, leaving about a 1-inch overhang.
Step 3: Prepare Your Filling
While the dough chills, prepare your favorite pie filling! Whether it’s apple, berry, pumpkin, or custard, make sure it’s ready to go. For fruit pies, it’s often best to have your filling ready and slightly cooled before adding it to the bottom crust to prevent the dough from getting soggy.
Step 4: Choose Your Design Technique
Now for the fun part! Decide on your design. Here are a few popular options:
Step 5: Simple Cut-Outs
Roll out the second disc of dough. Using small cookie cutters (stars, hearts, leaves, little dots – whatever you fancy!), cut out shapes from the dough. Arrange these shapes randomly or in a pattern over your filling. You can also cut larger shapes and place them strategically around the edge.
Step 6: The Classic Lattice Top
Roll out the second disc of dough into a large circle. Using a pizza cutter or a sharp knife, cut the dough into ½-inch to 1-inch wide strips. Lay half of the strips parallel to each other across the top of the filling, spaced about ½ inch apart. Gently fold back every other strip. Lay a new strip perpendicular to the folded strips. Unfold the folded strips back over the new one. Repeat this process, folding back different strips each time, to create a woven effect. Trim the ends of the strips to match the edge of the bottom crust.
Step 7: Braided Edge Design
Roll out the second disc of dough. Cut it into thin strips (about ½ inch wide). Take three strips and begin to braid them together, starting from one end. Continue braiding until you have a long, beautiful braid. You can make one long braid to go around the edge, or create several smaller braids. Gently press the braids onto the edge of the pie crust, securing them to the bottom crust. You can use a fork to press the edges together.
Step 8: Edible Imprints & Textures
For a unique touch, you can use kitchen tools to create patterns. Gently press a fork around the edge for a classic ridged look. You can also use a pastry wheel to create a decorative edge. For more advanced designs, consider using decorative stamps (ensure they are food-safe and clean them thoroughly!) to press patterns into the dough before baking. Even a simple pattern of dots or lines can make a big difference.
Step 9: Finishing Touches & Baking
Once your design is in place, brush the entire top crust (including the designs) with the beaten egg wash. This gives it that beautiful golden sheen. Sprinkle with coarse sugar for extra sparkle if desired. If you’re making a fruit pie with a full top crust or lattice, you’ll want to cut a few vents in the dough to allow steam to escape. Bake according to your Pie Recipe‘s instructions, usually at around 375-425°F (190-220°C) until the crust is golden brown and the filling is bubbly.
What to Serve It With
Oh, the joy of a perfectly designed pie! Serving it is almost as much fun as making it. For a delightful breakfast, I love a slice of a fruit pie with a beautiful lattice top paired with a strong, dark roast coffee. The tang of the coffee cuts through the sweetness beautifully. For a more elegant brunch, imagine a stunning galette with a rustic braided edge served alongside a fresh fruit salad and a glass of sparkling rosé. The visual appeal makes it feel so celebratory. As a dessert, a classic apple pie with intricate cut-outs is wonderful with a scoop of creamy vanilla bean ice cream or a dollop of homemade whipped cream. The contrast of the warm pie and cold ice cream is simply divine! And for those cozy, lazy afternoons? A slice of a rustic tart with a simple stamped design is perfect with a mug of Hot Chocolate or a soothing herbal tea. My kids always beg for seconds when they see a pie with stars cut out, and I usually serve those with a side of milk and a big hug. It really is about making the moment special, and a beautiful pie crust just does that.
Top Tips for Perfecting Your Pie Crust Designs
I’ve learned a thing or two over the years of wrestling with dough, and I’m happy to share my best tricks with you! For getting that perfect flaky crust, keeping everything COLD is your absolute best friend. I mean, butter, water, even your hands sometimes – if they feel warm, run them under cold water. When you’re rolling out your dough for designs, don’t be tempted to add too much extra flour. A light dusting is all you need. If the dough starts to get sticky or warm, just pop it back in the fridge for 10-15 minutes to firm up. For lattice tops, I find it helps to make all your strips about the same width. It looks so much neater! If a strip breaks while you’re weaving, don’t panic! Just gently press it back together – once it’s baked, you likely won’t even notice. When it comes to braids, I usually aim for a relatively tight braid so it holds its shape well. If you’re using small cut-outs, I like to arrange them on a parchment-lined baking sheet first, brush them with egg wash and sprinkle with sugar, then chill them in the freezer for about 15 minutes before placing them on the pie. This helps them keep their sharp shapes during baking. I’ve also found that a slightly thicker bottom crust holds up better to juicy fillings, so don’t roll it too thin. And for any design that involves the edge, like a braid or crimping, make sure your bottom crust overhang is generous enough to work with. My biggest lesson learned was about steam vents! For a full top crust, definitely cut those vents. Without them, steam builds up and can make your beautiful design soggy or even blow it apart. Trust me, I’ve had a few “exploding” pies in my time! Finally, don’t be afraid to embrace imperfections. A slightly uneven braid or a unique imprint adds character and shows it was made with love by a real person, not a machine!
Storing and Reheating Tips
Once your masterpiece is baked and cooled, you’ll want to store it properly to keep it tasting its best. For most fruit pies with a top crust, they’re perfectly happy sitting at room temperature for about 2-3 days, especially if you cover them loosely with plastic wrap or foil. This helps prevent the crust from getting too soft. If you have a custard-based pie or a pie with a dairy filling, it’s definitely best to refrigerate it. You can store it in the pie plate, covered tightly with plastic wrap, for up to 3-4 days. If you’re making a pie ahead of time and plan to freeze it, I highly recommend freezing it *before* baking. Once your pie is assembled with the bottom crust, filling, and your beautiful crust design, cover it tightly with plastic wrap and then aluminum foil. You can freeze it for up to 2-3 months. When you’re ready to bake it, remove the foil and plastic wrap, and bake from frozen, adding about 10-20 minutes to the usual baking time. If you have leftover baked pie, you can freeze individual slices, wrapped well, for about 1-2 months. Reheating is simple! For room temperature pie, just pop a slice in a warm oven (around 300°F or 150°C) for about 10-15 minutes until warmed through. For refrigerated pie, you can do the same, or even microwave it for a very short time (30 seconds to 1 minute) if you’re in a rush, though the oven keeps the crust crispier. If you’ve frozen a baked pie or slices, thaw them overnight in the refrigerator and then warm gently in the oven. I usually wait to add any glaze or extra sugar sprinkles until just before serving if the pie has been stored, as moisture can affect them over time.
Frequently Asked Questions
Final Thoughts
Creating beautiful pie crust designs is honestly one of my favorite parts of baking. It takes a little practice, sure, but the payoff is so incredibly rewarding. It’s not about perfection; it’s about adding that personal touch, that extra bit of love that makes a dessert truly special. Whether you’re a beginner and want to try some simple cut-outs, or you’re ready to tackle a complex lattice, there’s so much joy to be found in transforming simple dough into edible art. I really encourage you to give it a try the next time you bake a pie. It’s a wonderful way to connect with your food, impress your loved ones, and honestly, just have a whole lot of fun in the kitchen. If you loved learning about these pie crust designs, you might also enjoy my guide to making the flakiest pie crust from scratch, or perhaps my tips for perfect fruit fillings! They go hand-in-hand. I can’t wait to hear about your pie crust adventures! Drop a comment below and let me know what designs you tried and how they turned out. Happy baking, everyone!
Decorative Pie Crust Designs
Ingredients
Main Ingredients
- 2 recipes pie crust (or a refrigerated pack of 2 crusts)
- Desired pie filling or recipe
- Egg Wash
Instructions
Preparation Steps
- Roll out one pie crust (or one half of pie crust recipe) and place in a 9-inch pie plate.
- Roll out your top pie crust to a 12-inch circle and chill until ready to top the pie.
- Fill your pie with your desired pie filling.
- Remove the rolled out top crust from the refrigerator.
- Use various cookie cutters in desired shapes to plan out your design: use mini letter/number cutters to spell a message or create a "lattice" using rows of cuts using fondant cutters. Discard cut pieces of pie dough.
- Place top crust on the pie and crimp edges as desired. Brush with egg wash and bake according to pie recipe directions.